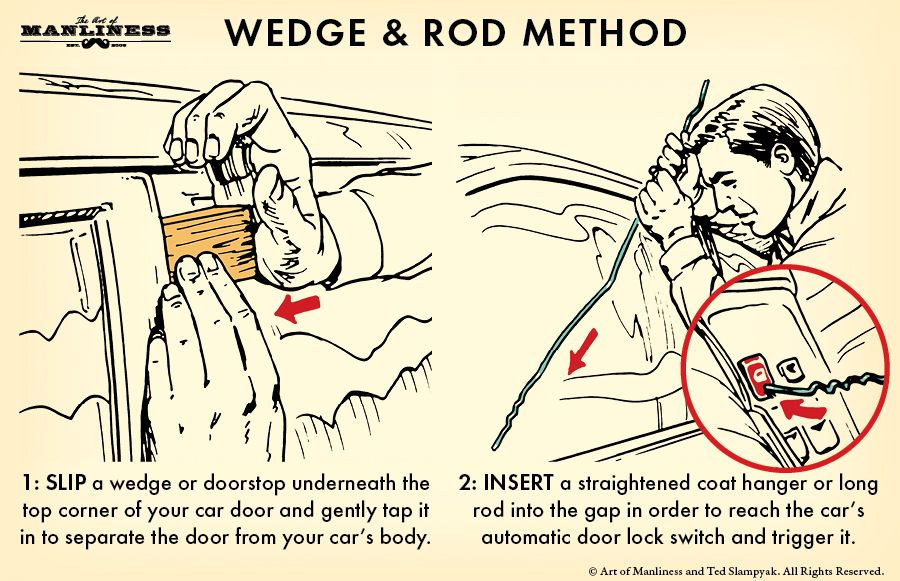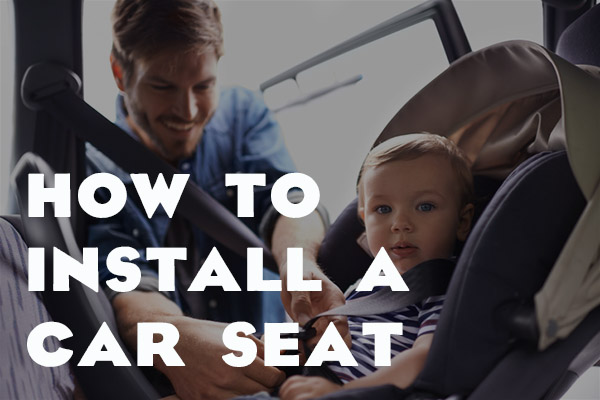
You’re a handy guy. You can replace a light bulb and unclog a toilet. How hard can it be to install a car seat? Two hours later, you’re scratching your head, trying to figure out the easiest way to do it while also keeping your baby safe and sound.
Car seat instruction manuals are terribly confusing because they list numerous ways to secure it. Really though, you only need to focus on the latch system. That’s the gold standard, and every car made after 2002 (and even some before that) uses this system. It utilizes built-in steel anchors in the car, and latches from the car seat.
It makes installing a breeze — once you know how to do it, that is (I can now install and uninstall a car seat in under 5 minutes). So why list those other ways in manuals? Just in case you happen to be driving a classic Corvette and need to tie your baby in with the seat belt. Here’s a hint though: don’t do that. Save the Corvette for when you’re driving by yourself; you don’t want baby vomit getting your seats all dirty anyway.
I’m only going to cover the latch system here, largely because most parents of car-seat-age children are driving a car that’s less than 15 years old.
Let’s get to it.
1. Get to Know Your Car Seat
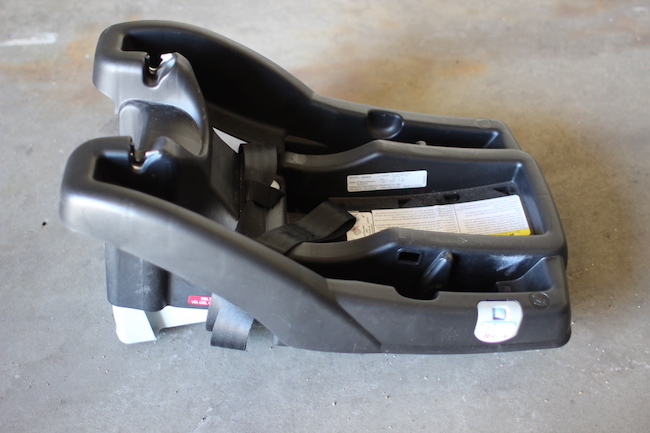
Almost all car seats these days utilize a “click and connect” type system in which the car seat base stays permanently in the car, and the actual seat where the baby lies clicks easily in and out. Makes it super easy to carry your baby into the grocery store or coffee shop.
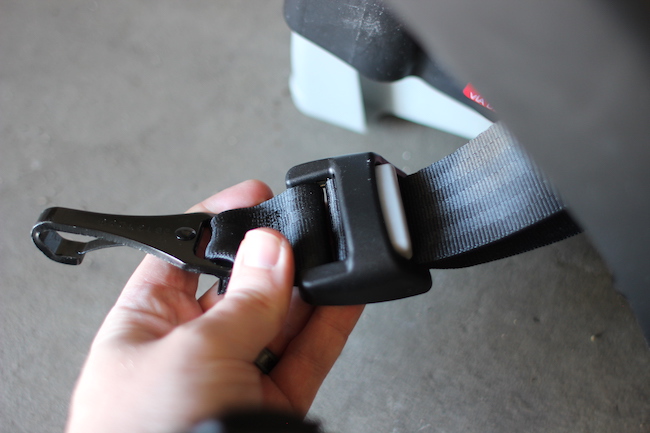
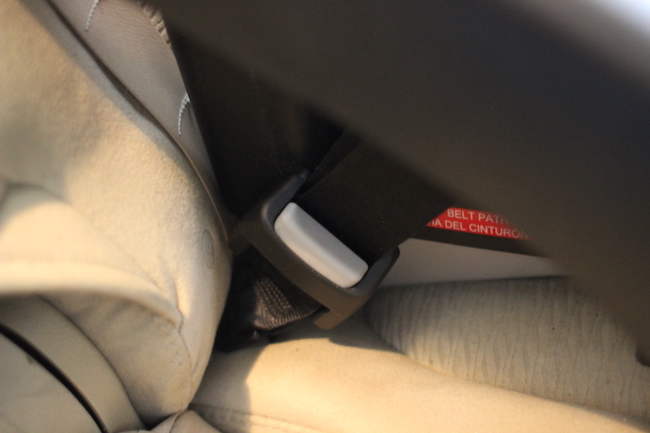
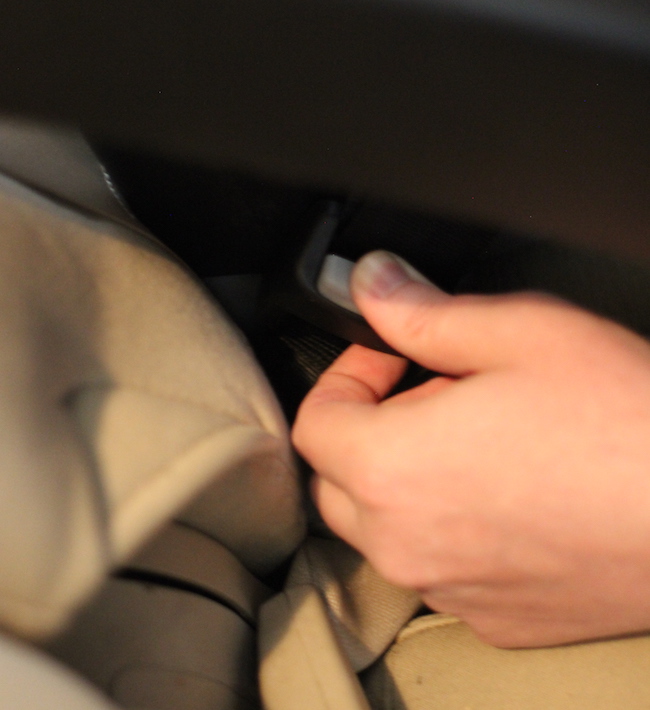
Close up of the latch that has the buckle.
From the back of the seat, you’ll see straps with hooks at the ends (sometimes it’s separate straps, sometimes the hooks are connected by a single strap). These are what you use to secure the seat in the car. One side will have a buckle for loosening and tightening.
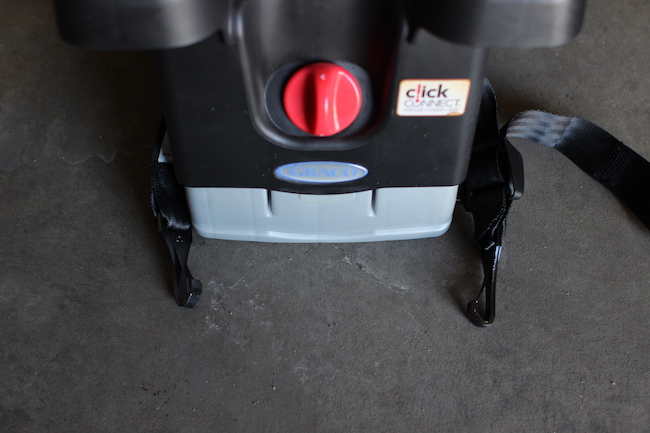
That red dial is for raising and lowering the seat to ensure it’s even — car seats are in fact tilted back quite a bit for the comfort of adult riders.
Some newer car seats use more of a clip than a hook-type latch. These are even easier to install (and tighten — which is often the hardest part).
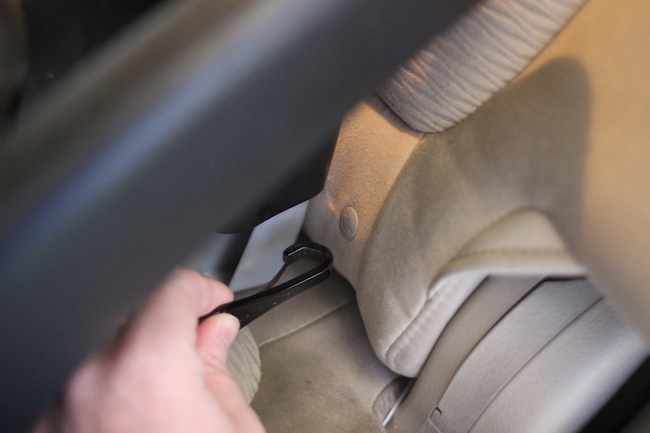
2. Find the Anchors in Your Car
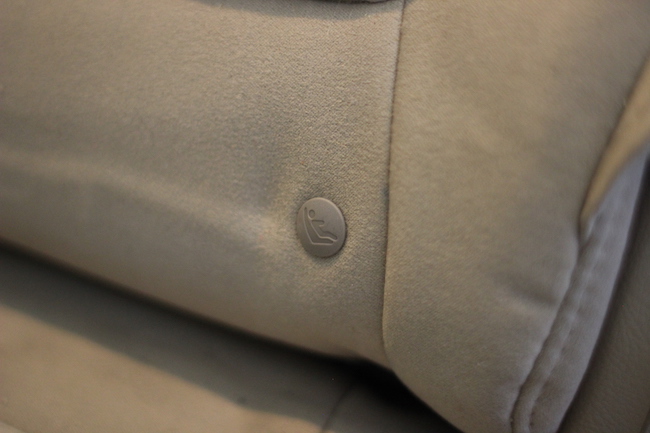
The metal anchors used to secure the car seat base are incredibly easy to find, and always marked with this little plastic tab. The anchors are found directly below this tab; sometimes they are easily visible, and sometimes they’re a little more hidden in the seat (as is the case in my own vehicle).
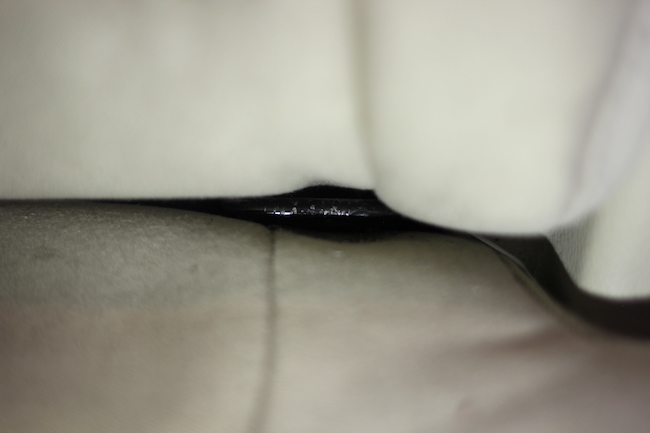
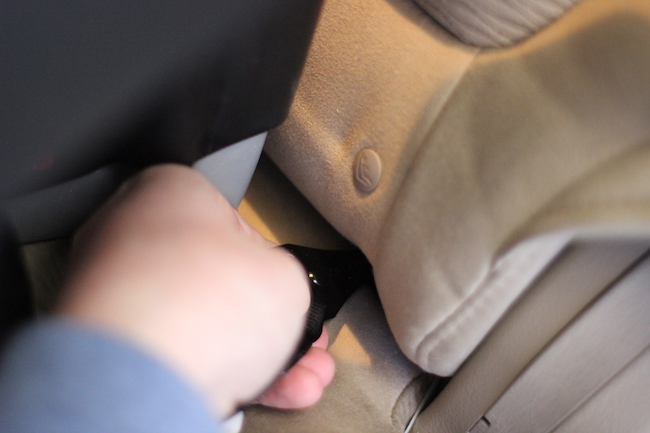
A close up of the anchor. The latch goes right over that bar and securely hooks in.
Those marks and indentations? The marks of parenthood (and car seats). They aren’t going away anytime soon, FYI. Nowadays, you can buy special pads that will theoretically protect against that.
Each back seat in a car (including the captain’s seats in minivans) will have two of these anchors — one for each side of the car seat base — already installed. Again, that’s any car made after September 1, 2002.
3. Place and Position the Car Seat

Infant car seats are positioned so the baby is facing the rear. This means the higher end of the base goes against the seat.
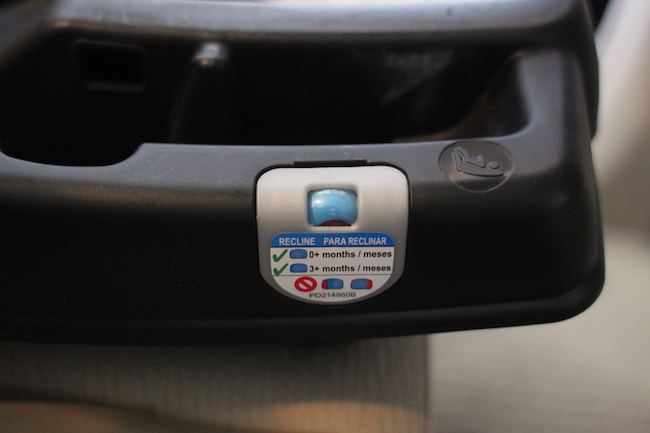
Somewhere on your car seat you’ll see a level like this. You want it to be all blue — no red showing at all. If you do see some red, you need to turn that red dial — which adjusts the gray booster, seen in the first photo of this step — to level things out.
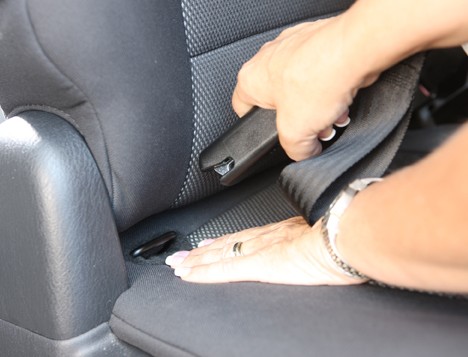
4. Attach the Latches
Grab the first hook — in my experience it doesn’t much matter which side is first — and line it up with the anchor. I have found, especially when it’s hidden in the seat a little bit, that it’s easiest to start with the hook sideways, then slip it over the anchor and turn downward to secure it.
Attach the other side after doing the first one.
5. Tighten it up!
The side with the buckle has a strap to pull in order to tighten the car seat and really clamp it down. This is the hardest part. That tightening strap is just darn stubborn — has been on every car seat I’ve installed, which has been a few more than just my own. And I’ve commiserated with other dads about this too.
Really the only way you’ll get it tight enough is to put your bodyweight on that base (so that the seat cushion compresses), get a comfortable grip on the strap, and pull with all your might. Helps to even get a knee up on the base. Ultimately, baby’s car seat shouldn’t move more than about an inch side to side (at the rear, that is; the front will understandably move a little more). It will have some wiggle, but not much.
Once it’s tightened, you’re good to go!
To loosen the straps and uninstall, you’ll then press down on the button on the buckle, and pull down/away. This also sometimes takes a tremendous amount of force. On clip-style latches, it’s usually a quick-release button that makes it even easier.

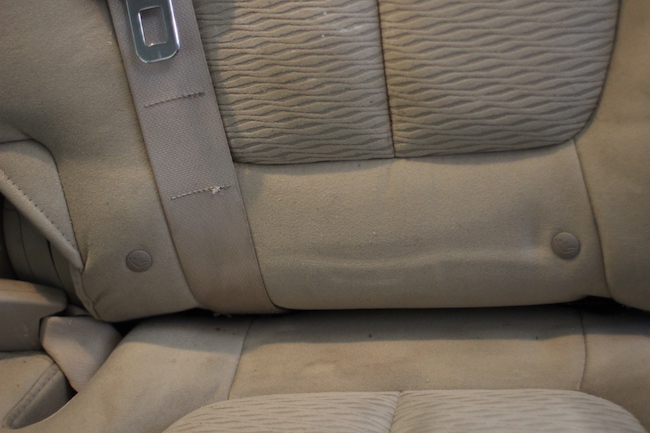
The latch system carries through to other types of car seats as kids get older, too. You can see it here at the bottom of our toddler’s seat (the latch/buckle looks exactly the same despite being a different brand).