When it comes to personal and home security, there’s one very important thing to understand: most criminals are criminals of opportunity. In my podcast with security expert Dave Young, he says that every bad guy adheres to a “bad guy equation”: the lower the effort and the higher the reward, the more likely they are to make you the target of a crime.
Thus, to discourage would-be criminals from choosing you as their next victim, you want to raise their effort, and lower their reward.
When it comes to preventing home invasions, one way to increase the effort part of the equation is by making the outside of your house as well-lit as possible. Would-be home invaders like to hit houses with shadowy exteriors, so they won’t be seen when they make their approach.
Now most homes already have exterior lights to some degree, but if your house is like mine, I had to remember to flip the switch to turn them on every night and then remember to flip the switch to turn them off every morning. Some nights I’d forget to do this, and if I did remember to turn them on at night, I’d forget to turn them off in the morning, needlessly wasting electricity during the day.
I was tired of trying to remember to perform this twice-daily task. Thankfully, I got an idea from my father-in-law on how to permanently cross it off my to-do list: install an automatic timer switch.
Duh.
But the specific automatic timer switch he recommended wasn’t just your typical automatic timer switch, which has a weakness: you program it to come on/off for the specific times, on that particular date, at which darkness falls and daylight returns. But then the seasons, and the time the sun rises and sets, changes. In December, it’s dark at 5:30 p.m., but in June, there’s still daylight at that time. You don’t need your light to come on automatically at 5:30 p.m. year-round.
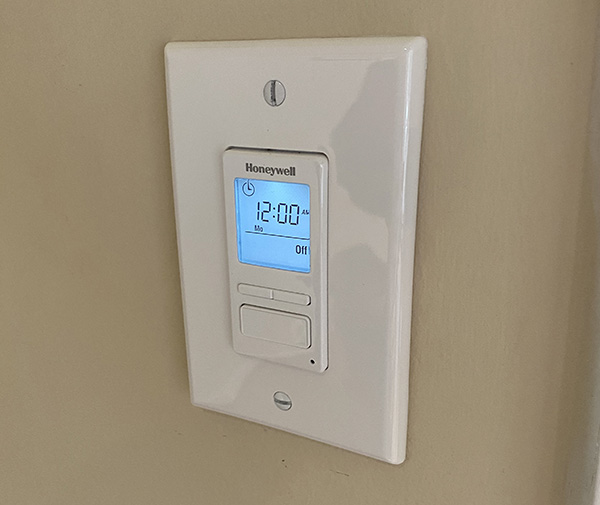
Enter the Honeywell Econoswitch (a product to which I have no connection, and simply use myself). What makes this switch different is that it has a solar timetable: enter your longitude and latitude into the Econoswitch, and it will turn on your exterior lights at dusk and turn them off at sunrise, automatically adjusting these on/off times as the timing of sunrise/sunset changes throughout the year.
You do need to do a little installment project to get the Econoswitch in place in your home. But it’s not hard to do (it will take you around 15 minutes), and it’s a game changer; you’ll never have to think about turning your exterior lights on and off again.
Materials and Tools Needed
- Honeywell Econoswitch 7-Day Programmable Light Switch Timer (one for every exterior light you want to automate)
- Rocker Wall Plate
- Flathead screwdriver
- Wire clippers
- Wire nuts
1. Turn Off Power to Light Switch
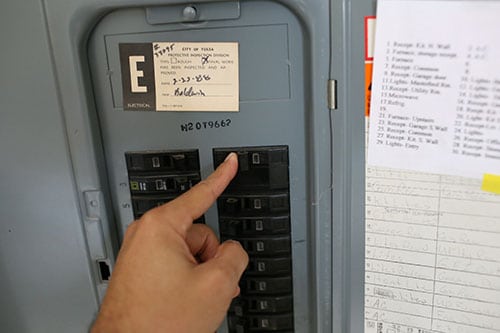
You don’t want to zap yourself while replacing the switch. Go to your breaker box and turn off the power to the light switch you’re replacing.
2. Pull Old Light Switch Out of Wall
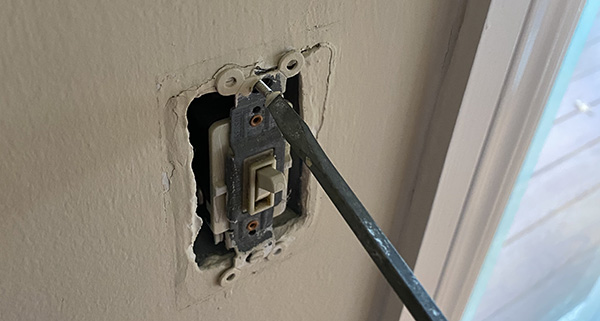
Remove the light switch plate and then unscrew the light switch from the electrical box in the wall. You just need a flathead screwdriver for this job.
3. Disconnect Wires From Old Switch
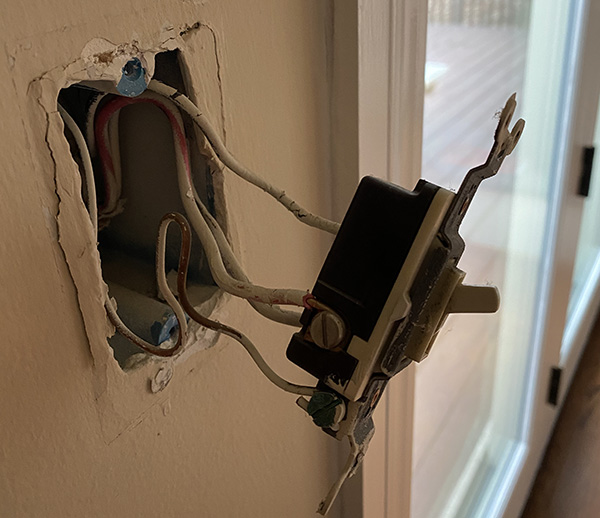
Pretty easy: Just use your flathead screwdriver to loosen the connectors on the switch. My old switch was a three-way switch which means I can turn on/off the light it’s connected to from a different switch as well. So my old switch had a bunch of wires connected to it: two black wires, a red wire, and a ground wire.
Yours might look different than this. You might just have a black, blue, and white wire. Whatever the case may be, disconnect them all from the old light switch.
4. Cut Ground and Red Wire (If You Have Them)
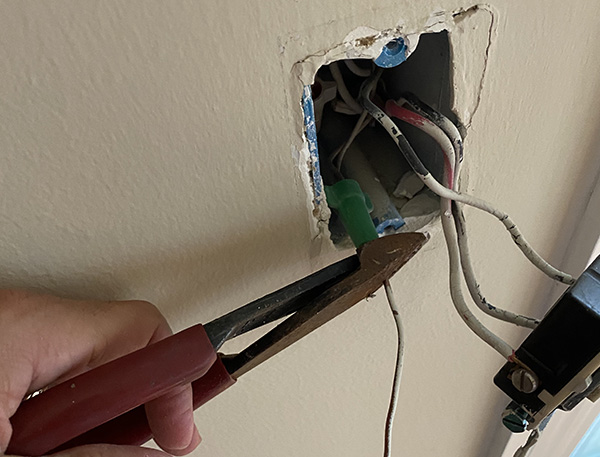
If you have a three-way switch like I do, go ahead and cut your ground and red wires down. You won’t be using them anymore and it will make stuffing the wires back in the box a lot easier later on. Be sure to cap the wires off with a wire nut.
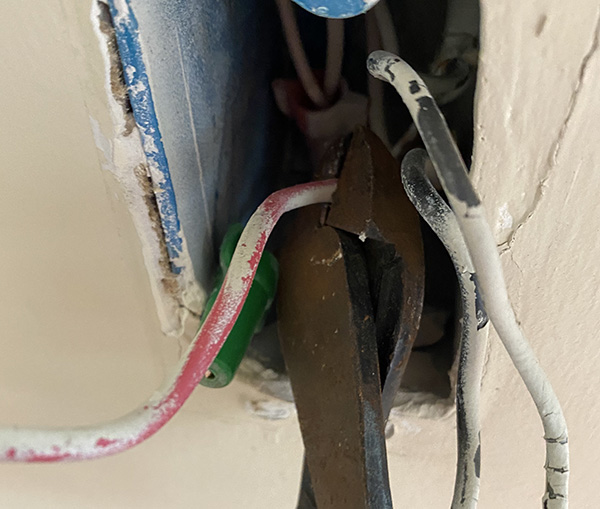
5. Pull Out White Wire (If You Need To)
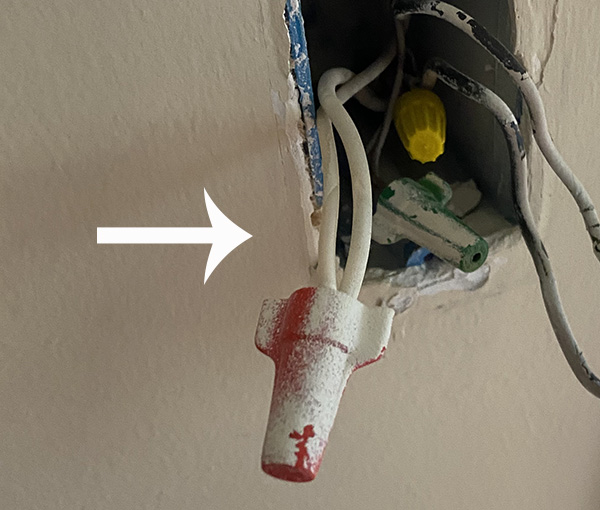
You’ll be needing to connect a white wire from the wall to a white wire on the new switch. The first time I replaced a regular light switch with a timer switch, this step confused the heck out of me because my old three-way switch didn’t use white wires and I couldn’t see it in the electrical box at first glance.
But they’re there. Stuffed way in the back. Pull them out. Mine had two white wires capped off together. You’ll just need to use one of those wires. Pull one out and re-cap the unused one.
If your old switch was already using a white wire, you don’t need to do this step.
6. Connect Wires to New Timer Switch
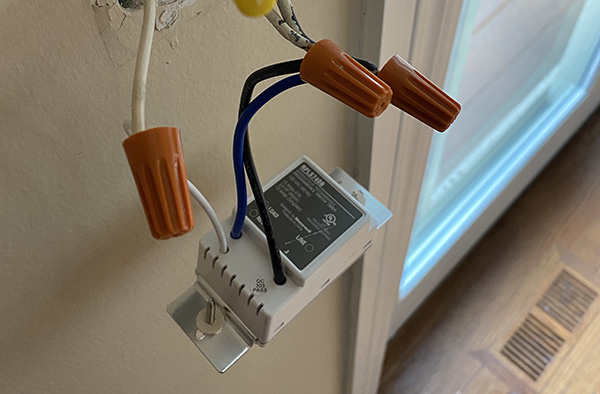
Should be simple: Connect white to white, blue to blue, and black to black.
The tricky thing for me is that I didn’t have a blue wire coming out of my wall. I had two black wires. It will still work. I just had to test the light switch to make sure I had the right wires from the wall connected to the right wires on the timer switch. If you have the wrong ones connected, the light won’t come on when you turn the power back on at the breaker box.
7. Stuff Wires Back Into Wall and Screw Timer Switch to Electrical Box

Easy peasy.
8. Screw New Rocker Plate On and Program
Bam! Done. Now just turn the power back on at the breaker box and program your switch.
You’ll enter the date and time and then your longitude and latitude. From here on out your outdoor lights will turn on at dusk and turn off at dawn, no matter the time of year. You’ll never have to think about it again. And when bad guys drive past and scope out your house, they’ll hopefully keep on driving.
For more tips for preventing a home invasion, listen to our podcast with security expert Dave Young: