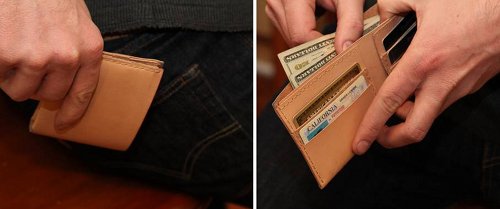
Editor’s note: This is a guest post from Sebastian Sandersius, a co-founder of Bison Made.
Like so many honest moments captured by Norman Rockwell, his depictions of this exasperating task are true to our experience. Whether trying to re-attach a button that has popped off, helping grandma thread her sewing machine, or stitching your own wallet, we have all had our frustrations with threading needles. Sometimes we get lucky but then sometimes we get caught up in the iterations of cutting, licking, and coaxing the thread into the eye of the needle.
Luckily, there is an easier way to thread a needle!
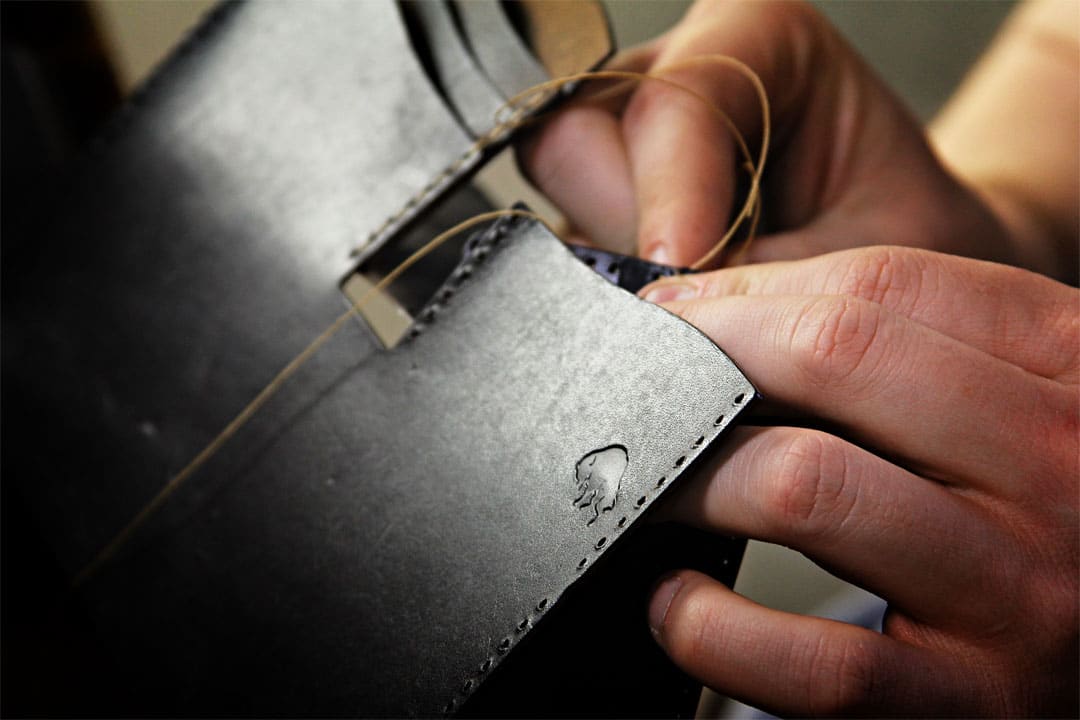
At Bison Made, we do a lot of hand-stitching to ensure our products are finished with the finest attention to detail. When I train a new employee to sew our products, lesson 1 is the best way to thread a needle.
Every time I show someone this method of threading a needle, they are astonished at how simple it is — and they take to it very quickly. I personally happened upon this easier method after countless bouts with needle and thread during the early days of developing our products. I scoured the internet and couldn’t find any documentation on this method, so I decided to write it out myself to help make this simple task common knowledge.
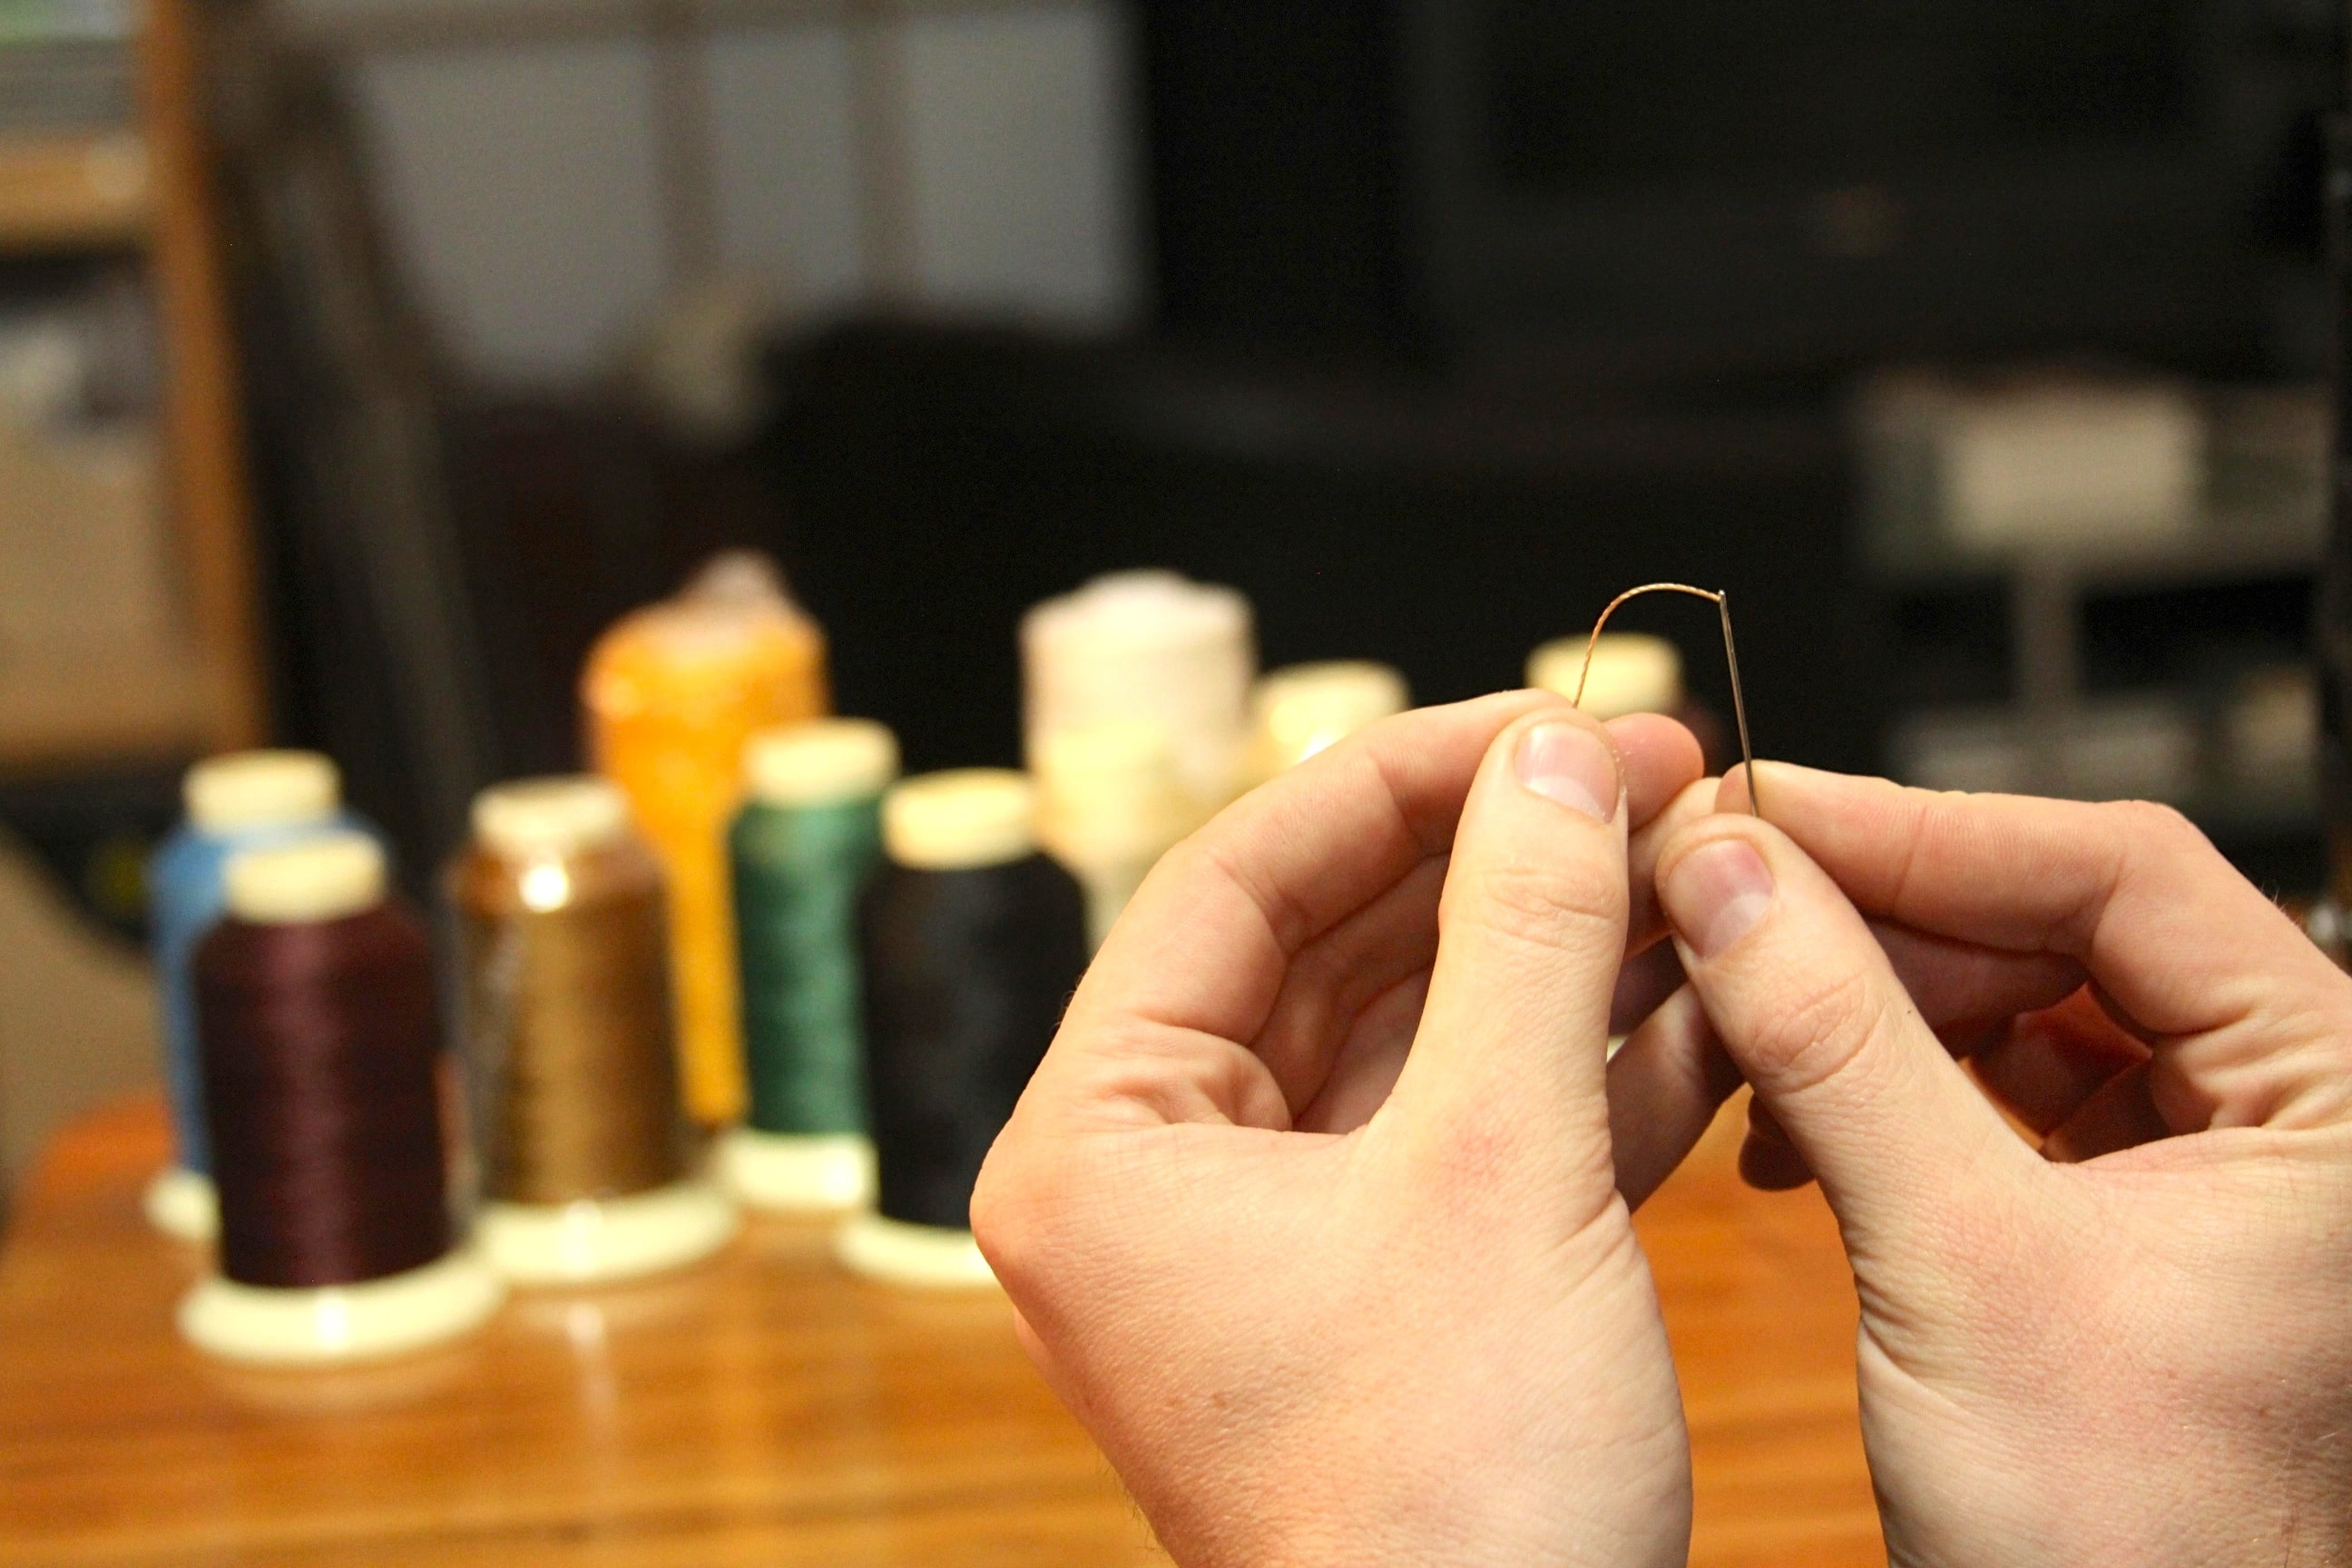
When most people thread a needle, they hold an inch or so of thread between their fingers and try to guide it through the eye of the needle. Leading it directly through is difficult, because the thread is flimsy and floppy. When you inevitably miss, the thread deflects and frays, forcing you to put it in your mouth to reform the fibers before making another attempt.
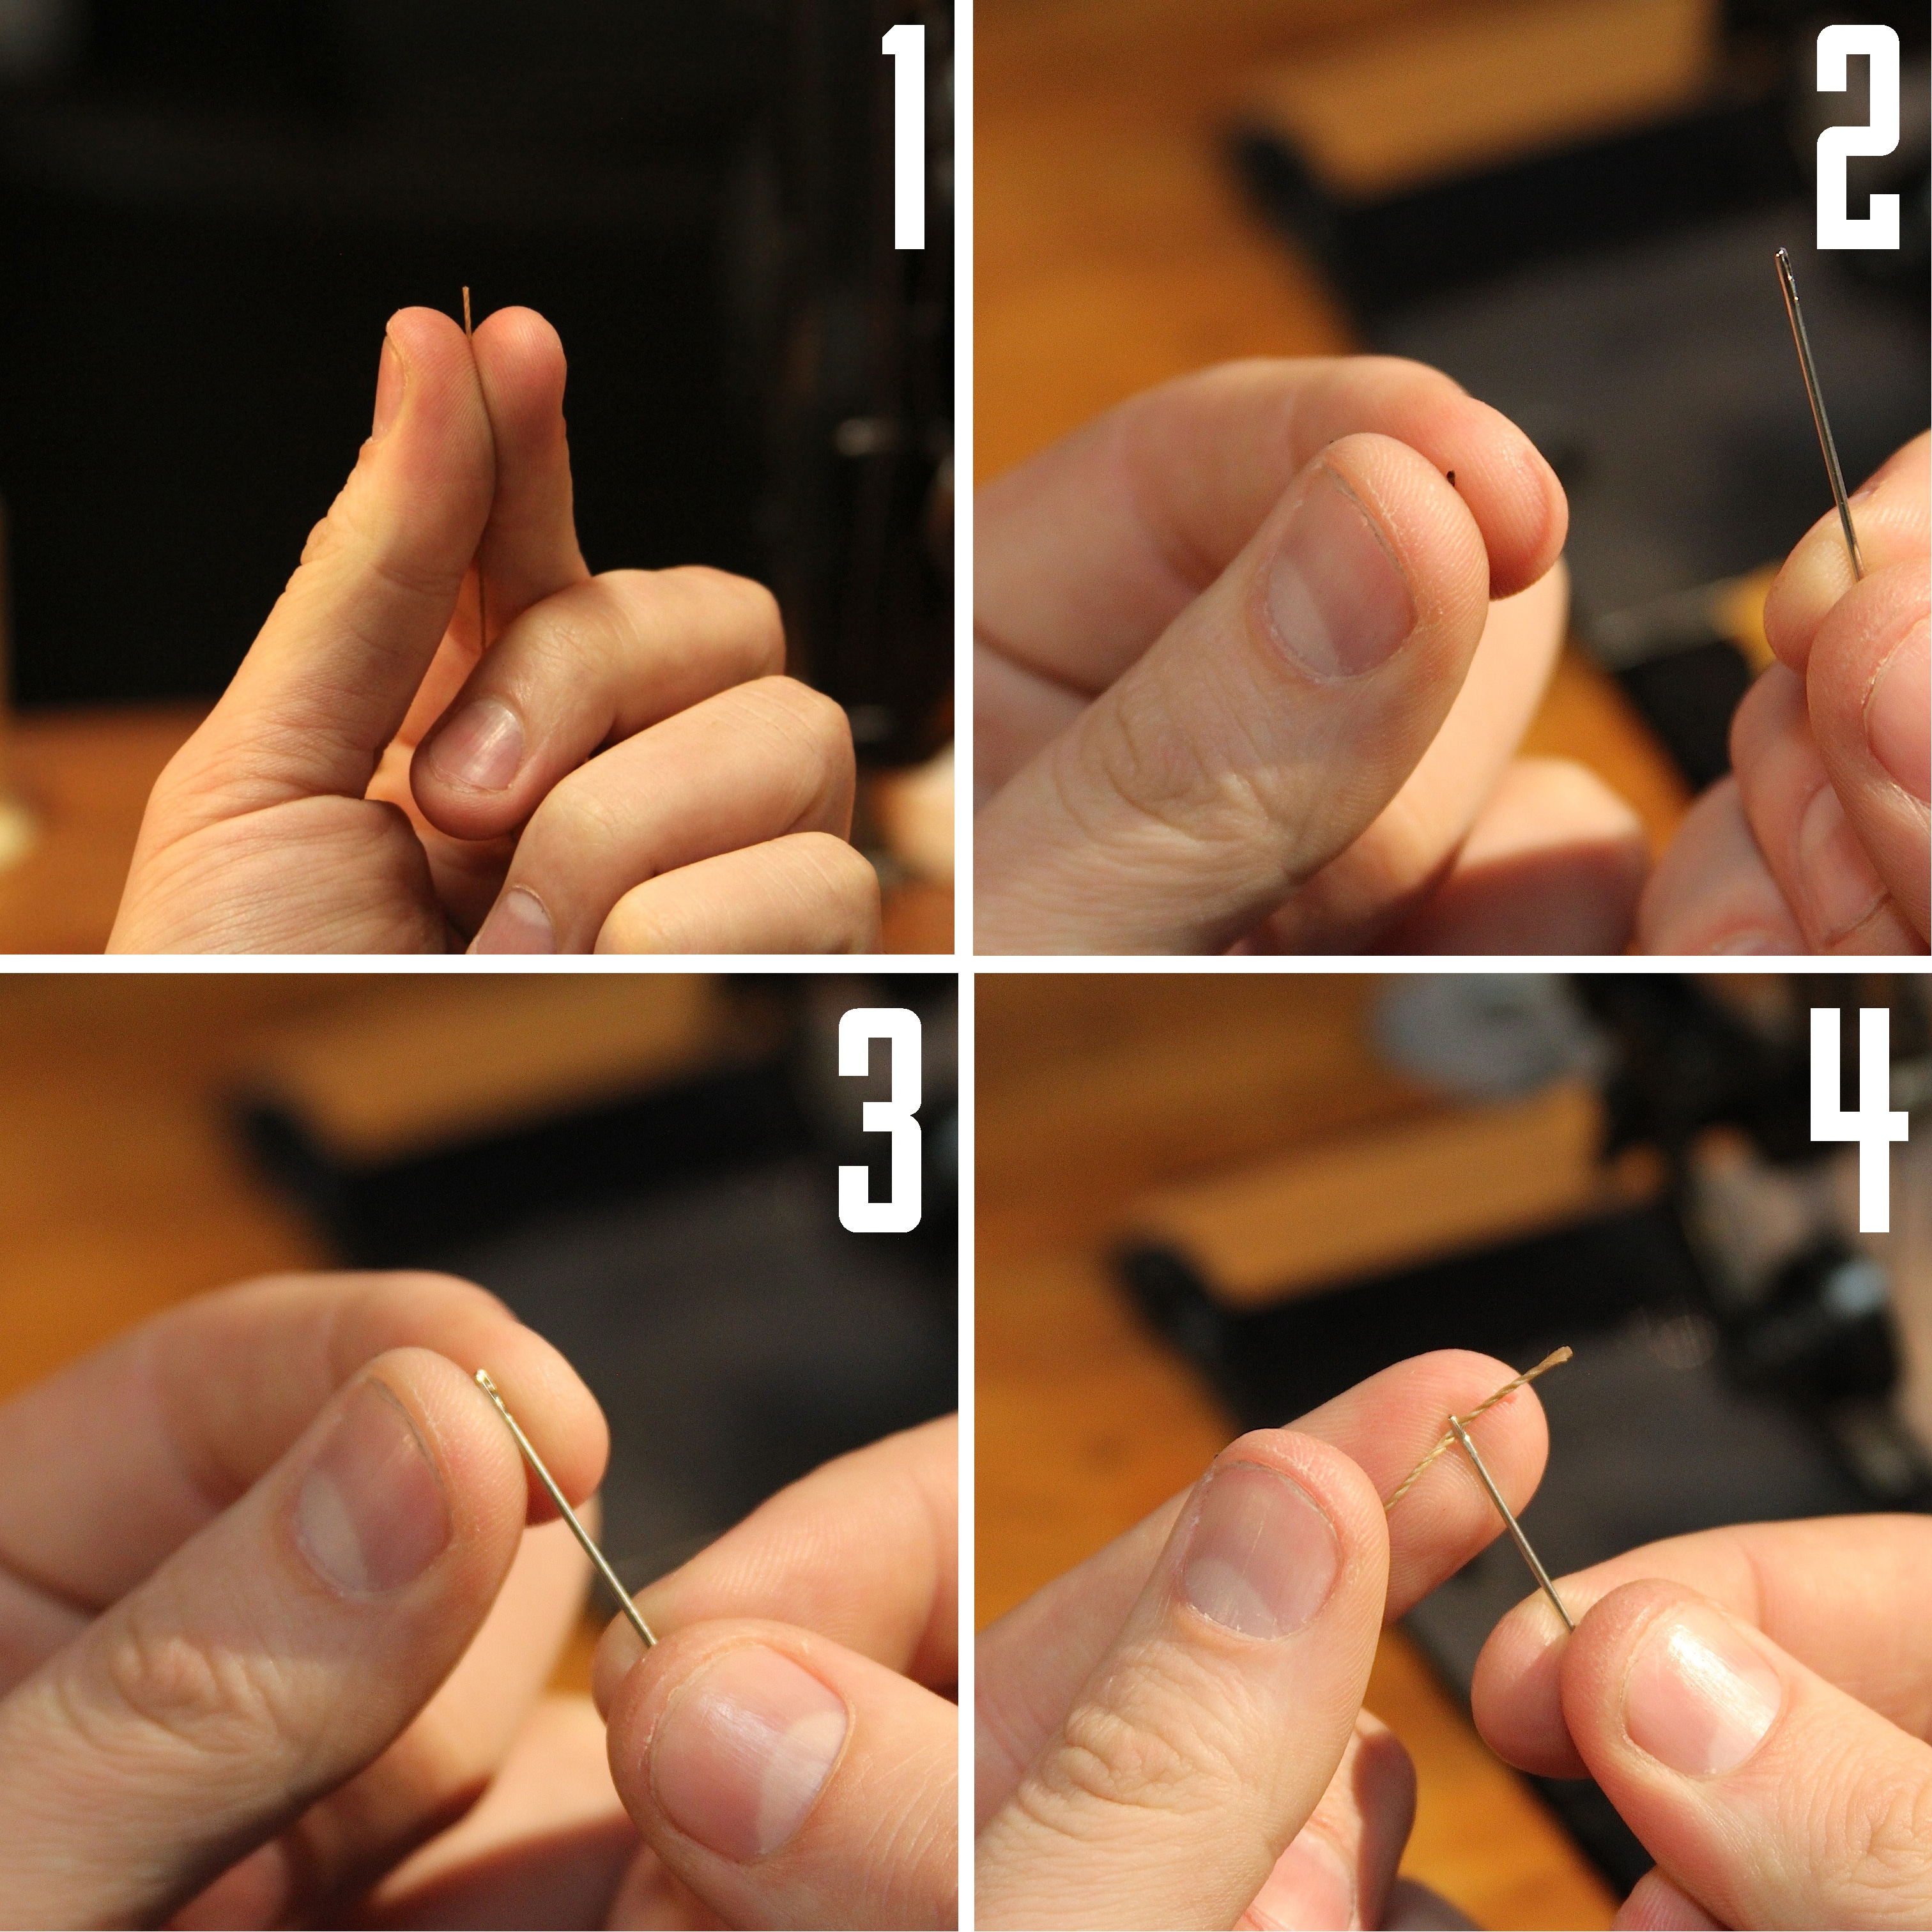
The 4-step “pinch the tip” method offers a simple, but significant improvement to this method. Here’s how it’s done:
- Hold the thread between your thumb and index fingers.
- Pinch down on the thread between your fingers until you can barely see the tip of the thread between your fingertips. With your other hand holding the needle, bring the thread and needle eye together.
- Instead of trying to push the tip of the thread through the eye of the needle as in the typical method, here you push the eye of the needle onto the tip of the thread. Your fingertips give the thread support so it will not deflect or fray. Even if the thread is too thick, pinching the tip compresses it into a shape that fits the oblong shape of the needle eye.
- With a little practice you should be able to feel with your fingers when the needle is being threaded properly. Keeping your fingers pinched together to support the thread, follow through and push the needle between your fingertips. As you part your fingertips you should reveal a threaded needle.
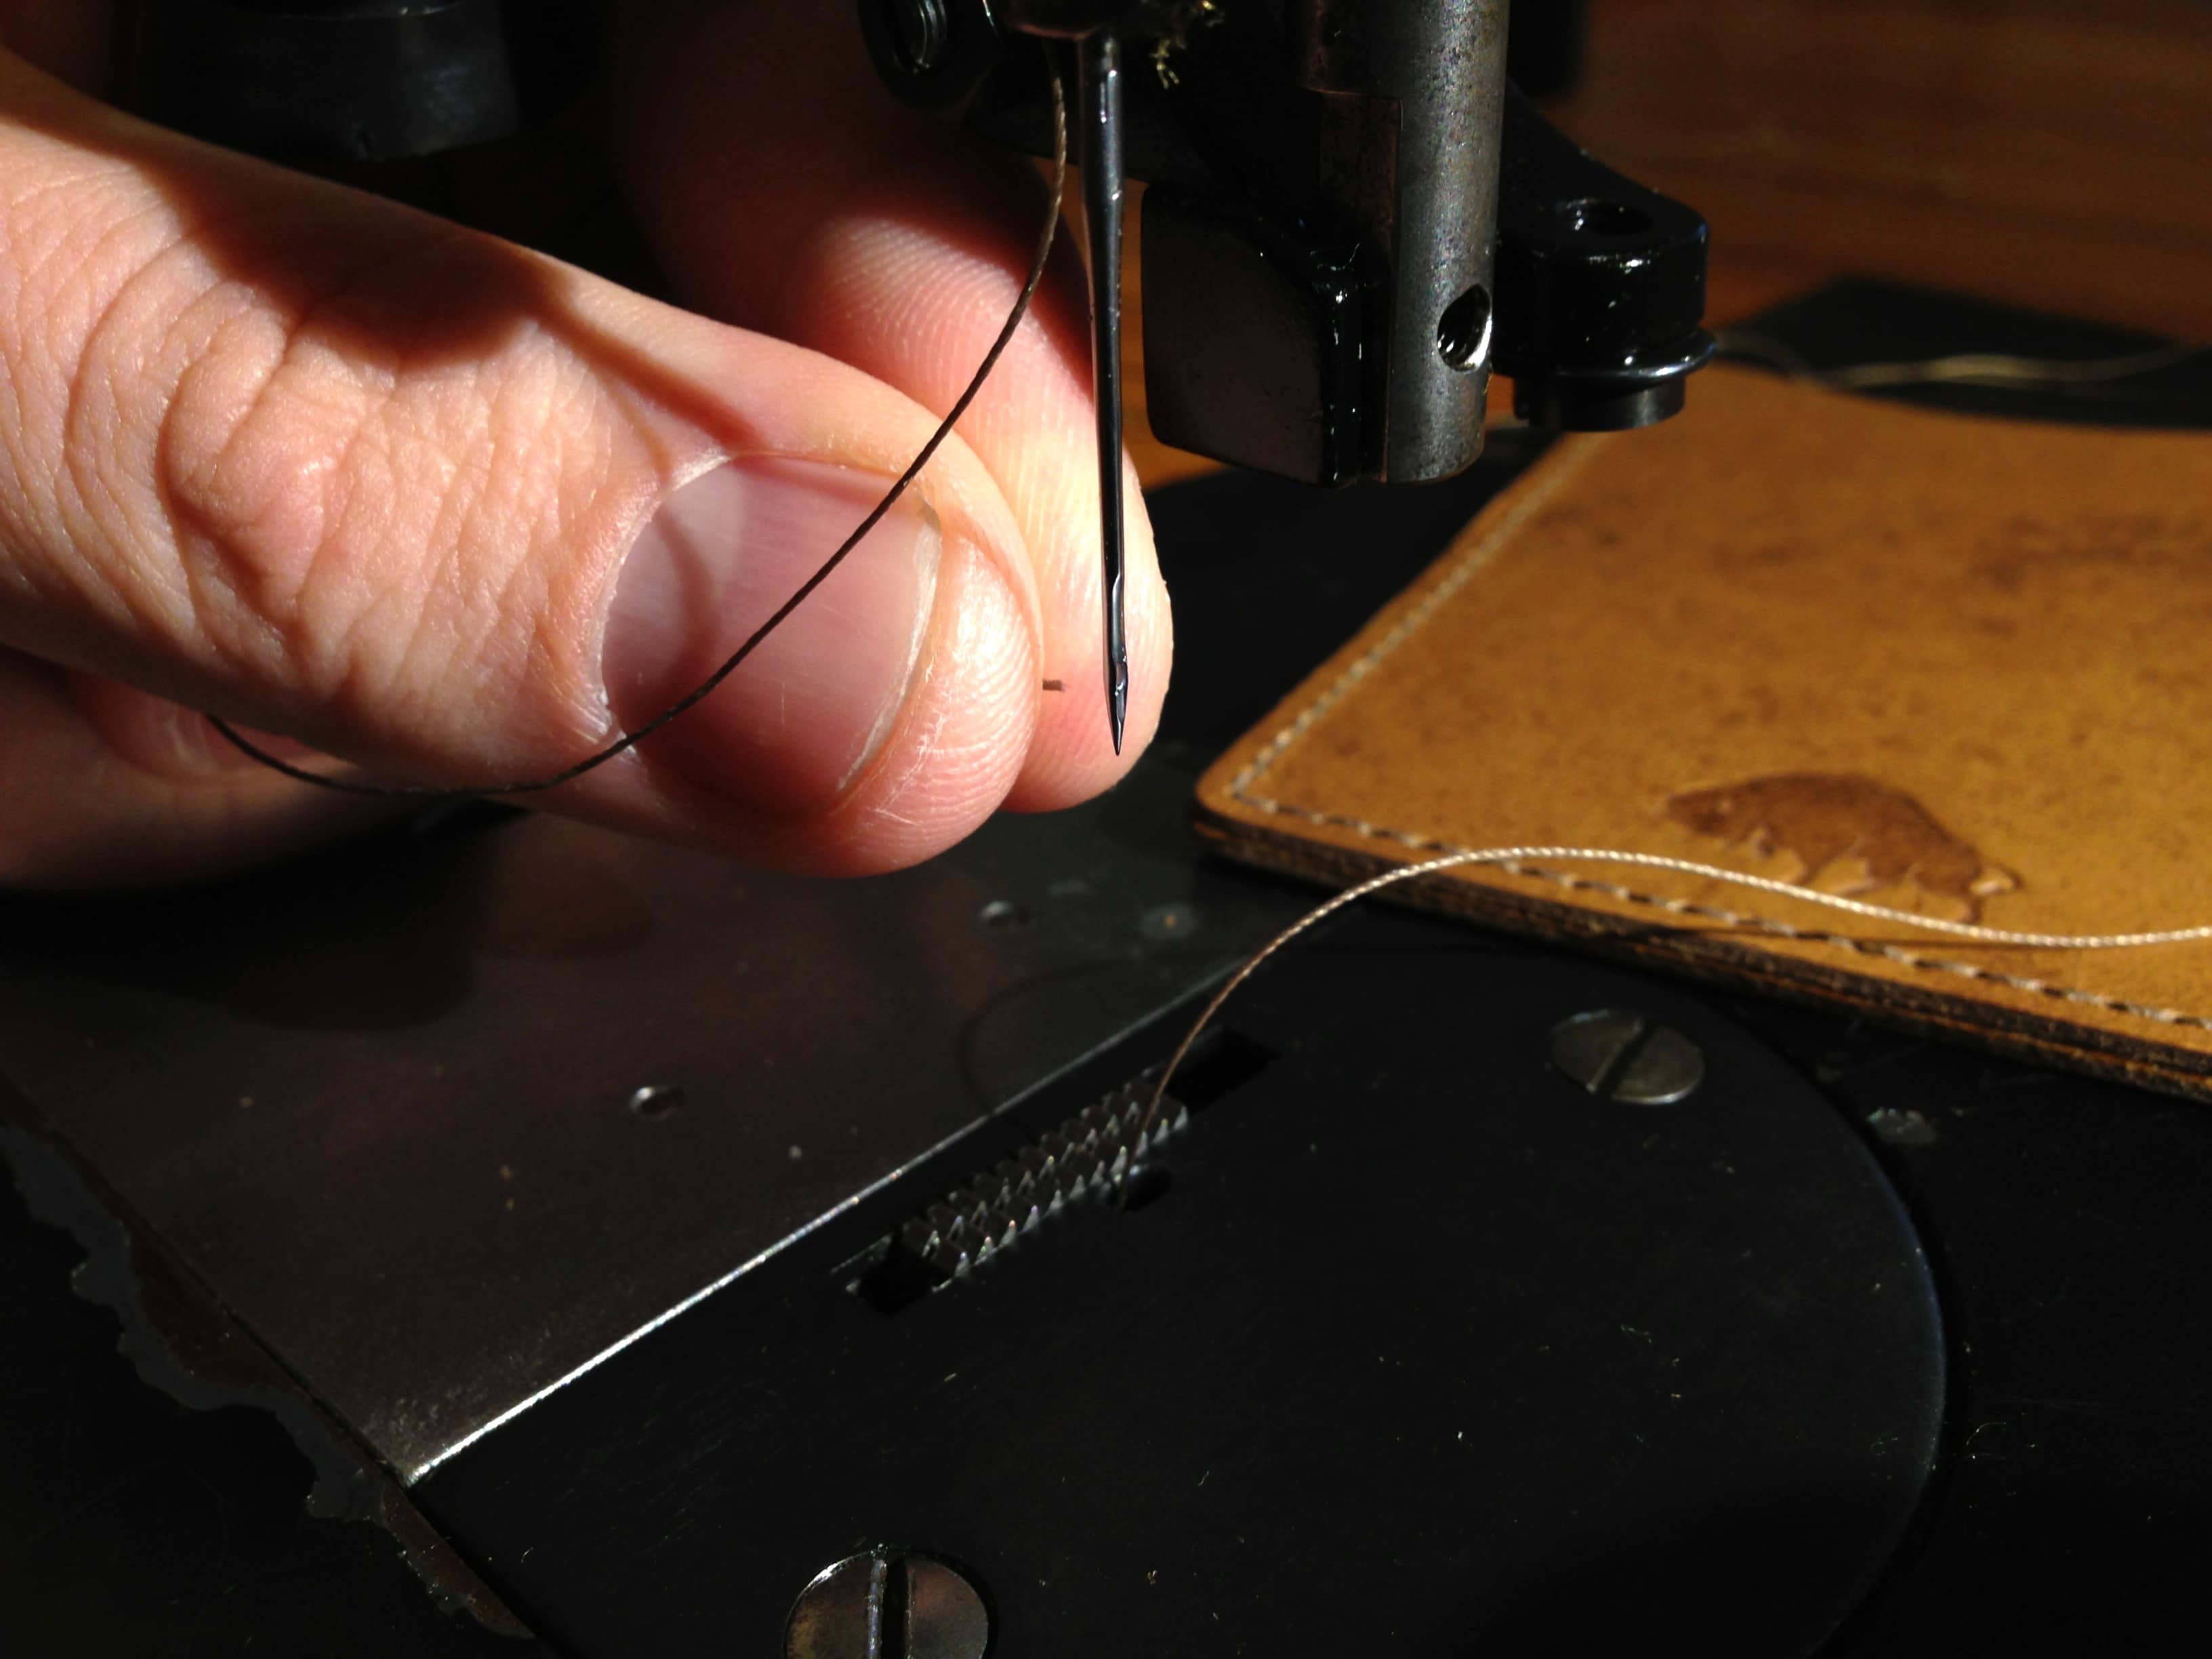
When it comes to threading the needle on a sewing machine, this same method should work just as well. The only difference is now instead of holding the needle in your other hand, the needle is fixed in place. Approach the needle eye with the pinched thread tip as shown below.
This “pinch the tip’” method will work for all types of threads: bonded, unbonded, cotton, polyester, nylon, kevlar, teflon, etc.
I hope you find this method useful and straightforward so that next time you need to replace a button or patch up a hole, you won’t be frustrated trying to thread your needle. Don’t worry about cutting a clean taper or wetting the thread in your mouth to twist the fibers tight, just pinch the tip.
__________________________________________________
Bison Made uses the principles of high-quality craftsmanship when producing quality leather carry goods. Instead of paper patterns and hand cutting, we use high precision cutting dies to create consistent leather components that are hand finished and stitched. We have taken a position that by starting with high-quality raw materials and detailed precision, beautiful and functional works that are designed for life will follow.