While much of the world is in quarantine of some form, and often sequestered with children who are itching for something to do, we thought it would be fun to offer a weekly craft/project idea you can work on together to help while away the time. If you make the craft, we’d love to see it; share on social media with the hashtag #aomkidcraft.
Think back to when you were a kid. How many times did you tear the couch apart to make forts out of the cushions and whatever blankets were lying around? Or, maybe you spent those sessions outdoors, gathering miscellaneous nails, a hammer, and some scraps of wood to create treehouses that were as inventive as they were dangerous to be inside.
Once those forts were built, you gathered inside with friends to tell secrets, hold farting contests, or read comics by flashlight. It was a sacred space.
The desire to squirrel up in some seemingly magical hideout seems inherent in all of us, and it’s not something that changes when we get older. The only difference is that we’ve replaced the treehouses and couch forts with cozy studies and cabins.
As adults, we can recreate those special spaces with our kids. It’s an opportunity to give them a nook of their own to enjoy, and it’s a great way to ensure you don’t have to put the couch back together at the end of every sleepover.
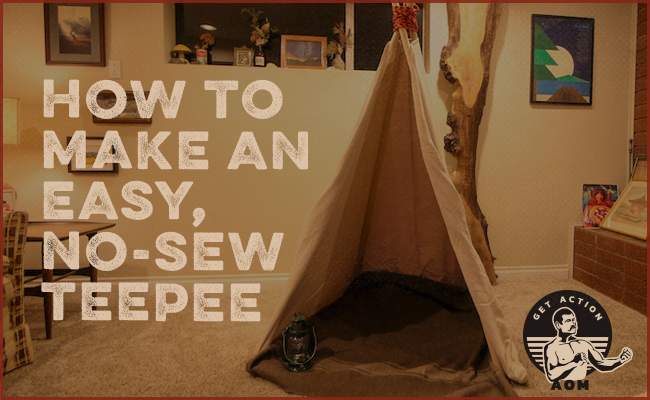
Creating this special space in the form of a teepee is an especially good choice. Teepees not only spark the imagination in harkening back to an adventurous past, but with a simple build design like we’ll show you below, they’re easy to make, perfect for indoors or outdoors, and don’t take too many supplies. Plus, they’re easy to set up, take down, and store. Our guide for a DIY teepee uses basic materials without much modification (sewing is not required, as it is for some designs). Use it as a blank slate and have your kids help out with the final aesthetics: they can dye or paint the canvas fabric, stain the teepee poles, or use a unique color rope to help make it their own.
Also, we’re giving dimensions for the materials we’re using. Use them as a general guide, not hard and fast rules. If your home improvement store has something fairly close, it should work out just fine. Here’s how to erect your household teepee.
How to Make a Kids’ Teepee in Your House (or Backyard)
Things you’ll need:
- Four 1-1/4” wooden dowels for the poles (PVC also works); I used 6′ lengths, but that can be adjusted to what’s available to you
- 6′ x 9′ canvas
- 1/4” rope; I used about 20′
- 1” screws
- Drill with bit for screws and 3/8” drill bit or spade bit
If you don’t have any of the materials lying around the house, you’re looking at about $50 in expenses, most of that being in the wooden dowels.
Step 1: Drill Holes in the Poles
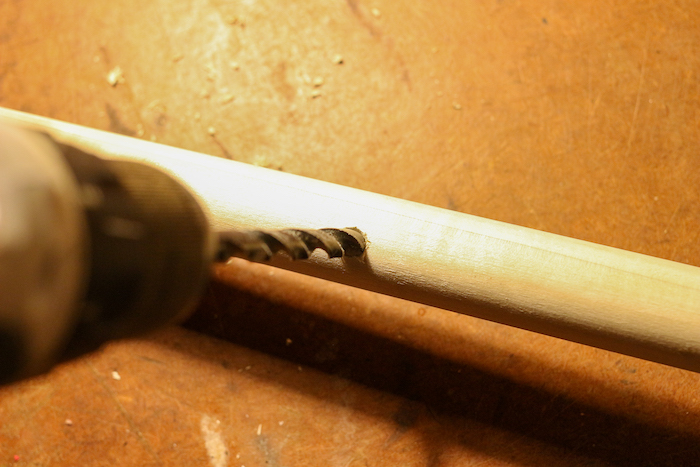
Measure down about 5 inches from the top of each dowel and drill a hole all the way through. We’re drilling a 3/8” hole because it will give our 1/4” rope a bit of extra room to fit. If you’ve got a different size rope, adjust by making your hole about 1/8” larger than the thickness of the rope.
Step 2: Start to Feed in the Rope
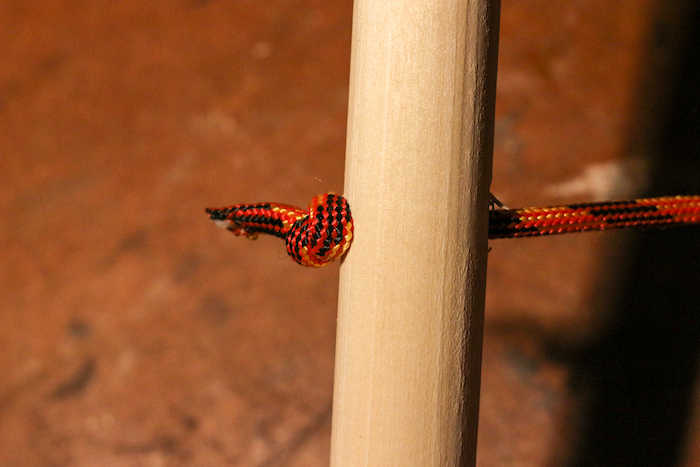
Feed one end of your rope through the hole of your first dowel and tie a simple overhand knot.
Step 3: Add a Pole
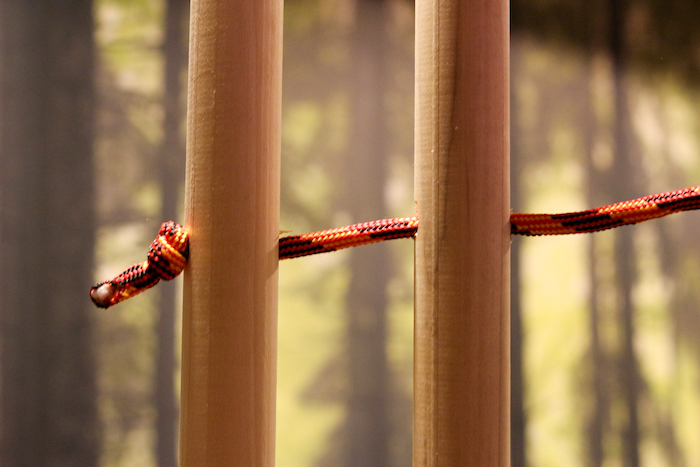
Grab another dowel and feed the other end of your rope through the hole.
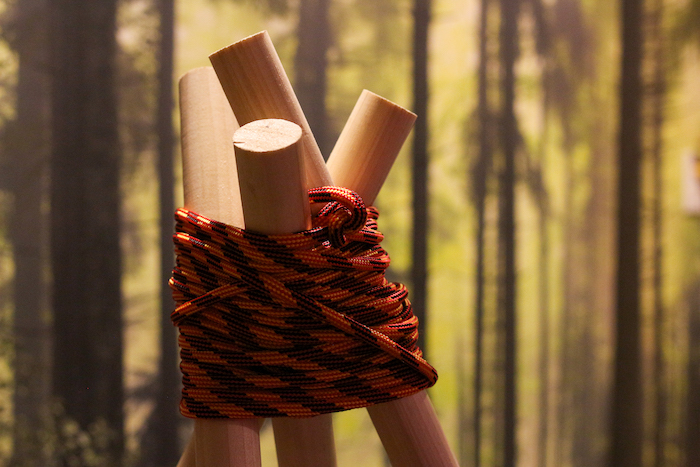
Step 4: Bring Poles Together
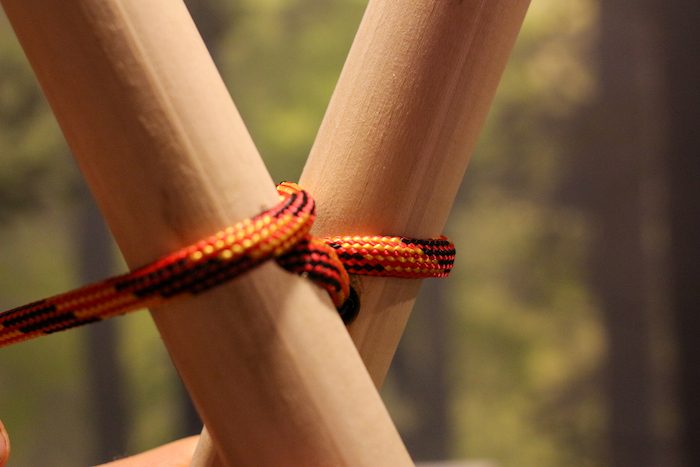
Spread the dowels out a bit, so their tops crisscross and weave your rope around both dowels. Do a combination of figure eights and loops to secure the dowels tight to each other.
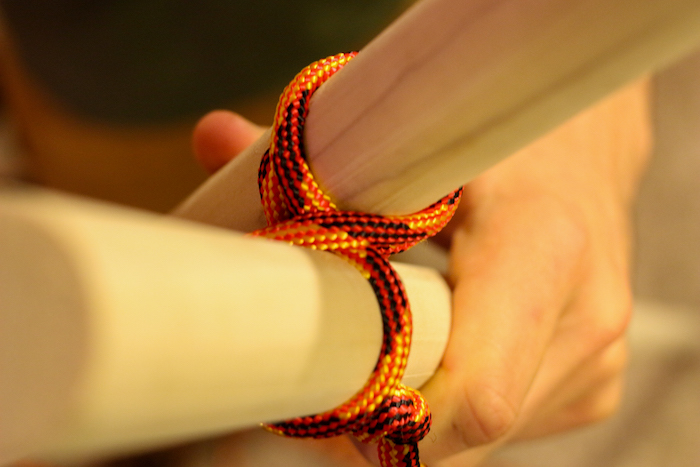
Step 5: Repeat With Other Poles

 Repeat Step 4 with the rest of your dowels. Along the way, keep the feet of the dowels spread out in a rough square shape, approximately 3 feet by 3 feet.
Step 6: Drape the Canvas
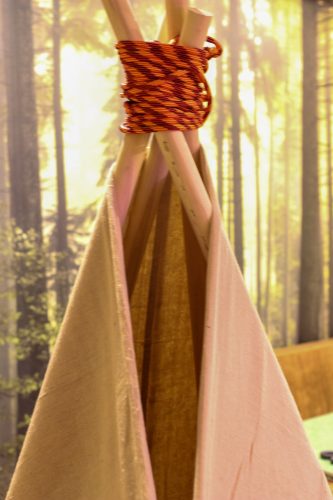
Drape your canvas over your teepee frame so that the long side drapes toward the floor and the short side wraps around the frame. Make sure to center your canvas over the back of the frame for an even wrap.
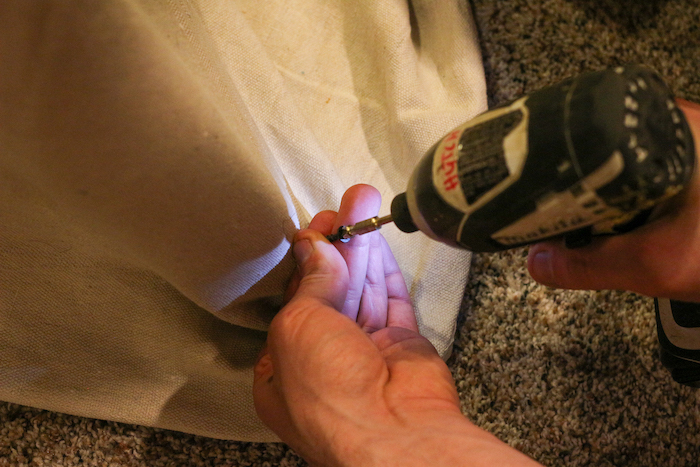
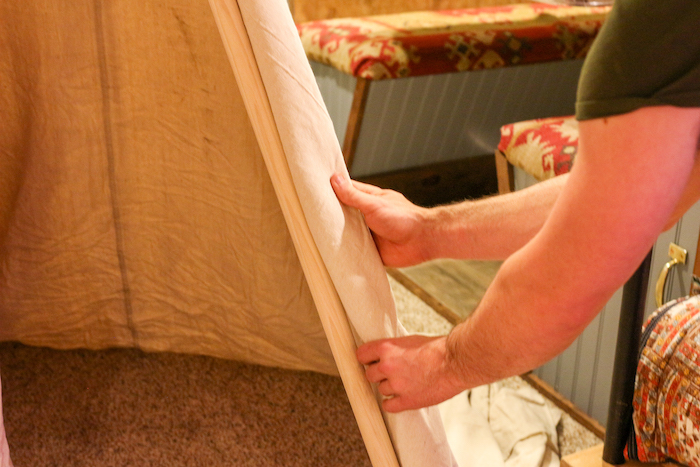
Step 7: Attach Canvas With Screws
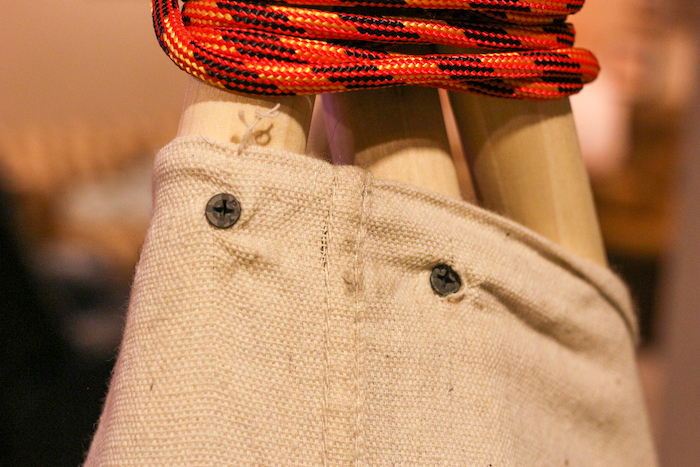
Attach the canvas to the top of your frame in the back with screws. You may want to fold the material over to give the screw something more substantial to hold. If you’ve got thinner canvas material, you may need a washer to prevent the screw from tearing through the fabric.
Work your way around the frame, attaching screws at the top and bottom of each leg to hold the canvas in place. Before you attach the screws, double-check that the legs are evenly spaced, and the canvas is relatively tight between the legs.
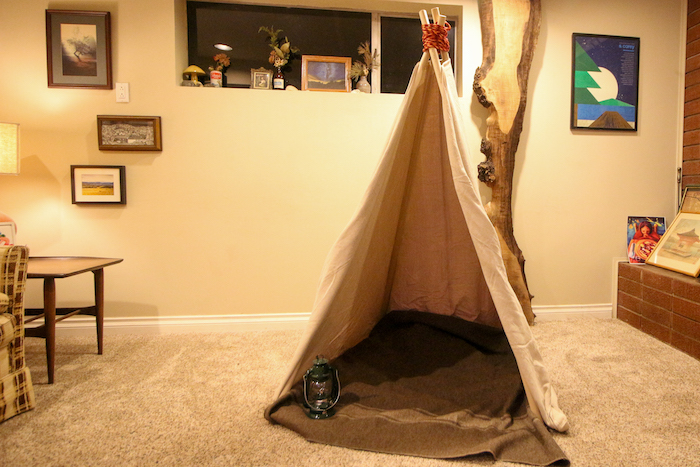
Step 8: Finish
Roll back the front flaps and tuck in the excess fabric along the floor. Add a blanket for a bit of comfort, and you’re done!
Here are some more fun, kid-friendly projects to keep your family busy:
- How to Make a Slingshot
- How to Make a Marshmallow Shooter
- How to Make Slime
- How to Make a PVC Blowgun
- How to Make a PVC Archery Bow
- How to Make a Pencil Catapult
- How to Make a Wooden Periscope
- How to Make a Battery From Quarters
- How to Make a Rubber Band Gun