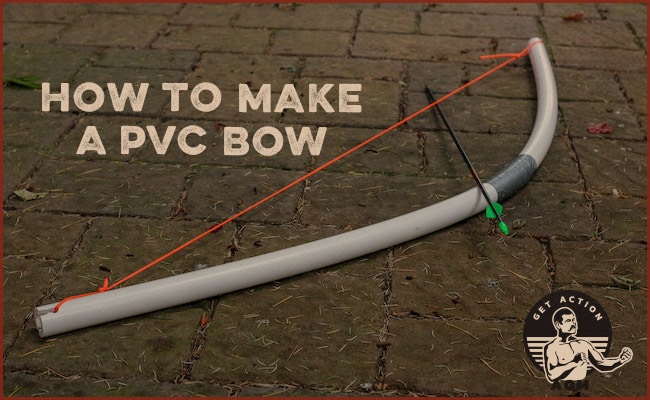
Few things are more satisfying than the thrum of a released bow string and the thunk of an arrow hitting its target. And archery isn’t just for fun (though it is that too); it can also be an important survival skill and tool. But, bows can be expensive, and you don’t always want to use them for play. Fortunately, there’s a way you can make your own bow for less than the price of dinner, and not feel bad about playing around with it, even with the kids. Enter the humble PVC pipe.
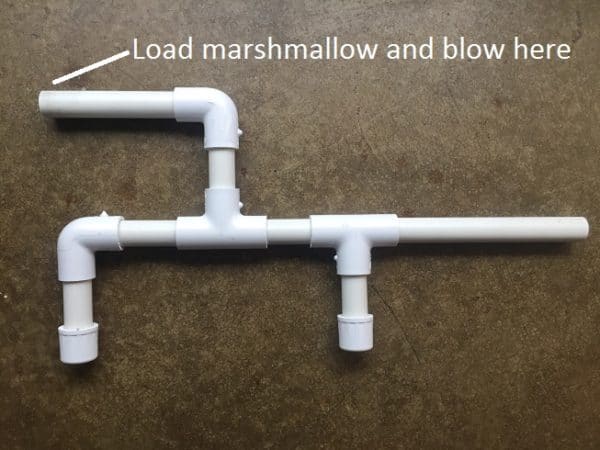
PVC is an incredibly versatile material. It’s inexpensive, easy to work with, and in abundant supply at your local hardware store. We’ve already shown you how to make both a marshmallow shooter and a potato cannon with it. Now, we’ll show you how you can turn standard sections of PVC into a surprisingly effective bow, that’s perfect for messing around with for fun, or hunting during the apocalypse (it’s legitimately capable of taking down small to medium game). Here’s how to do it.
Supplies/Tools
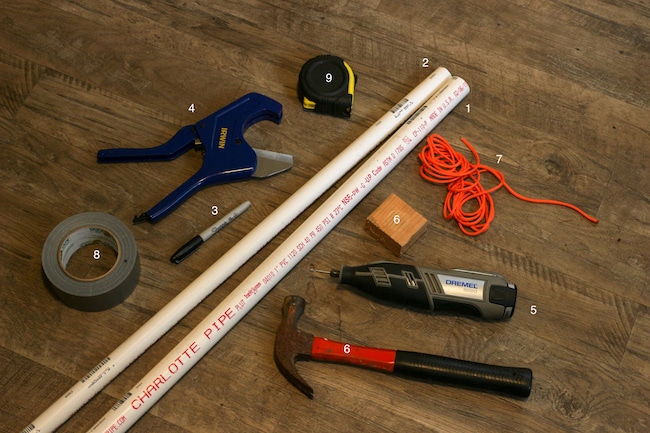
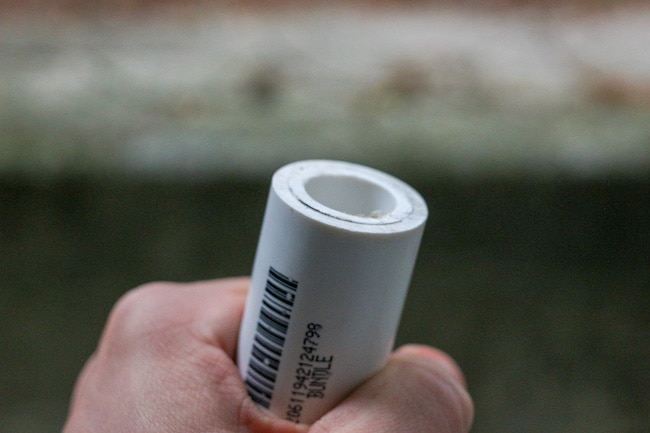
- (1) 5-foot section of 1-inch PVC pipe
- (2) 2 1/2-inch sections of 3/4-inch PVC pipe — most hardware stores stock PVC pipe in 5-foot sections; PVC is cheap, and often handy to have around, so don’t hesitate about getting extra footage of it
- Sharpie
- PVC cutter or hacksaw
- Dremel or other rotary tool (optional, but makes it easier)
- Hammer or rubber mallet
- (1) 5-foot section of military-grade paracord
- Duct tape (optional)
How to Make a PVC Bow
Step 1: Cut PVC
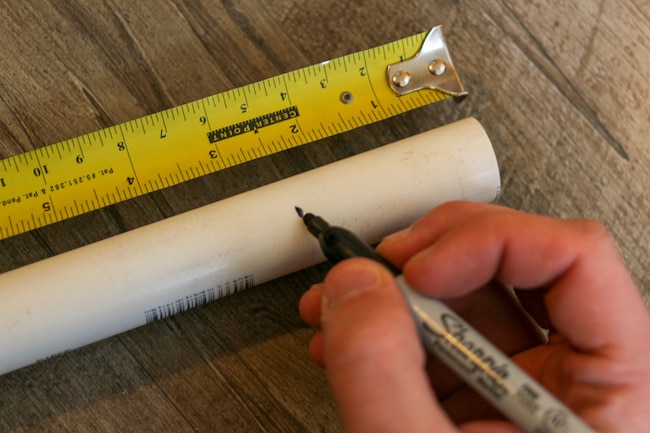
Cut two 2 1/2-inch segments of 3/4-inch PVC pipe. If you have a PVC cutter, use it. It’ll make cleaner cuts and save you time. If you don’t have one, a hacksaw will do just fine. If it leaves ragged edges on your pipe, smooth them down with a bit of sandpaper.
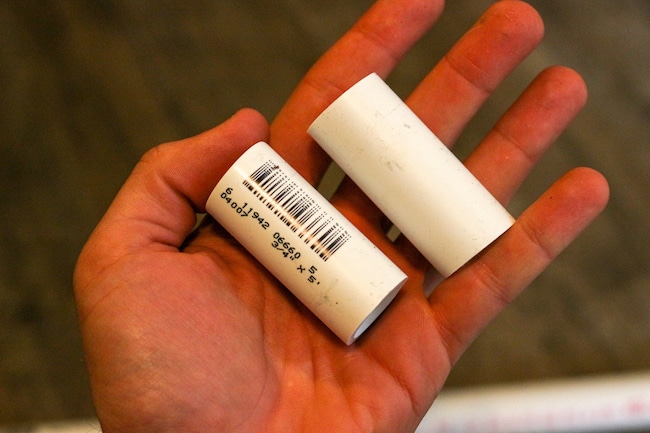
Step 2: Nest the PVC Pipes
Use a hammer or mallet to pound the two smaller pieces of 3/4-inch PVC into each end of your 5-foot length of 1-inch pipe, until they’re flush. These sections will help reinforce the ends of the bow where you’ll attach your paracord.
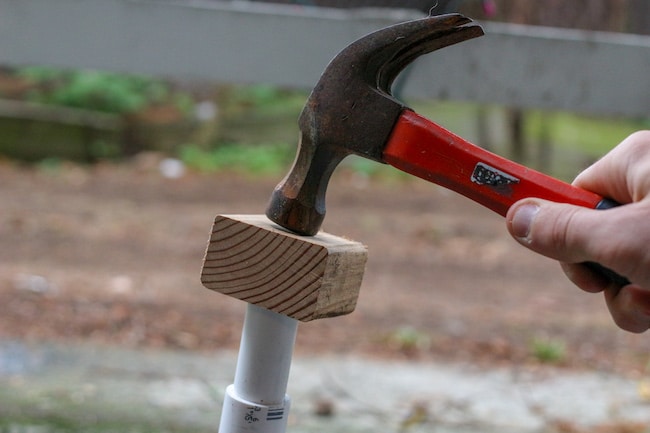
If you don’t have a mallet, a piece of wood will help distribute the impact from your hammer and reduce the chance of cracking the PVC.
Step 3: Cut the Notches
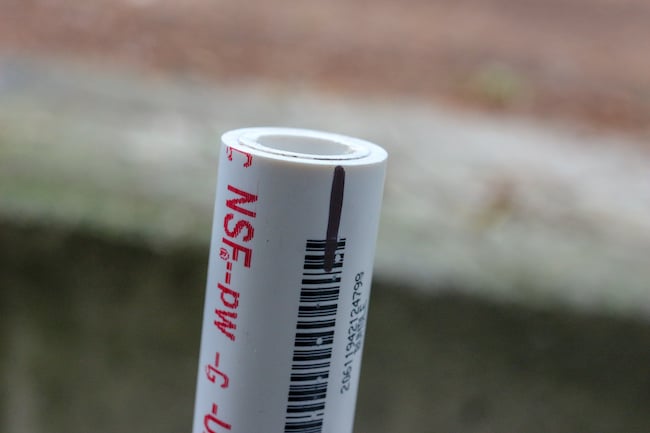
Mark two lines, about an inch long, opposite each other on each end of your bow — that’s 4 total lines. You’ll use these to guide cuts that will ultimately act as the notches where the string will be tied. Make sure that your marks line up with each other at either end of the bow.
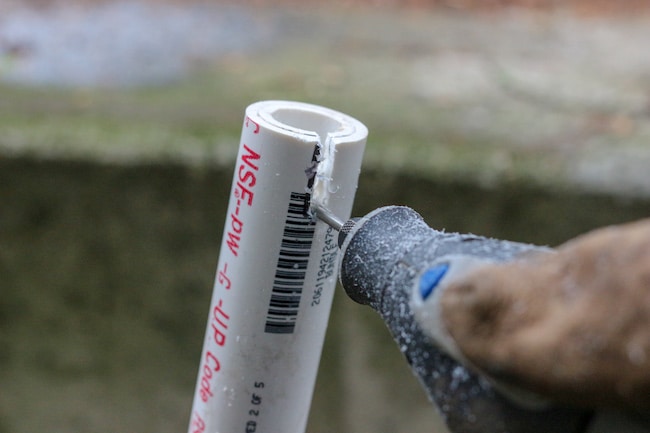
Use a Dremel, or a hacksaw in a pinch, to cut out your notches at either end of the bow. When you’re done, you should have a 1-inch deep cut that’s wide enough to fit your paracord.
Step 4: Tie Knots in Paracord

Tie an overhand loop knot at each end of your paracord. The loop tips should measure about 50” apart.
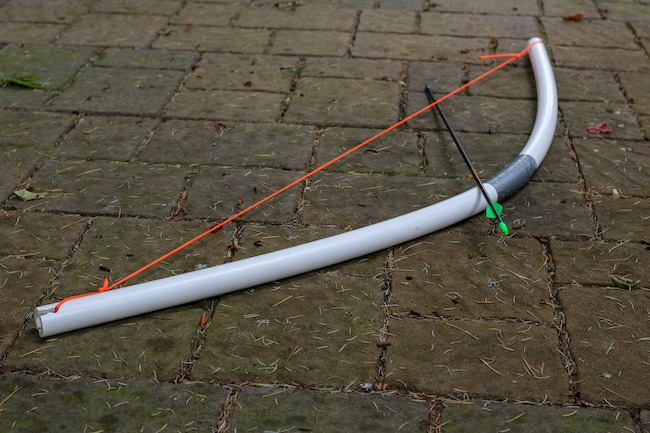
Step 5: String the Bow
String your bow by slipping one of your loop knots through the notch in one end. Then, bend the bow so that you can stretch the paracord to reach the other end.
Step 6: Finish the Grip
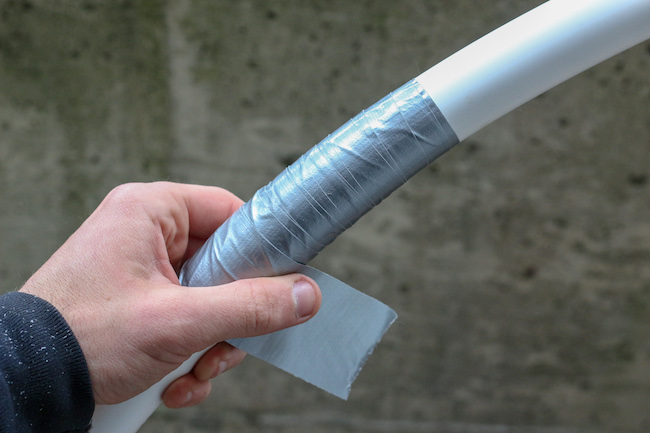
Use duct tape to create a comfortable grip on the middle of your bow and, you’re done!
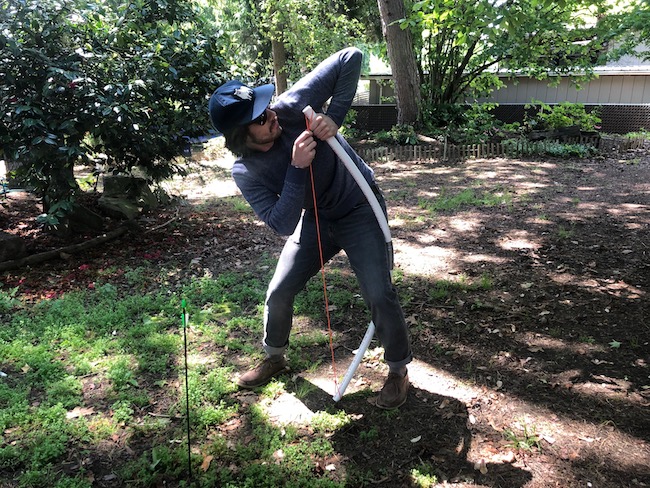
And here’s the bow in action: