While much of the world is in quarantine of some form, and often sequestered with children who are itching for something to do, we thought it would be fun to offer a weekly craft/project idea you can work on together to help while away the time. If you make the craft, we’d love to see it; share on social media with the hashtag #aomkidcraft.
Every generation seems to have its own version of the toy gun. Maybe you grew up with cap guns or spud guns. And, if you’ve spent any time around kids since about 1990, or grew up during that time, chances are you’ve engaged in a Nerf battle.
Modern toy guns that shoot 100 darts a minute and hold 200 “rounds,” can be pretty slick and cool. But what’s also pretty cool is making your own toy gun.
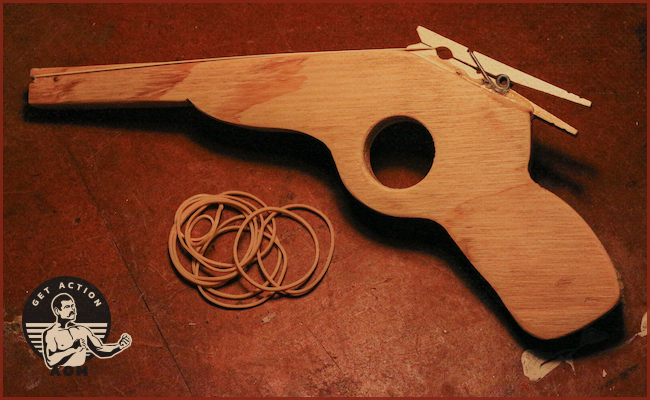
This craft recaptures the simple joy of an old school DIY shooter. Numerous varieties of rubber band guns have been around for generations, and continue to be fun to mess with. With just a piece of plywood and a few tools, you and your kid can create your own and start firing off rubber bands for target practice and intra-familial battles.
How to Make a Wooden Rubber Band Gun
Things you’ll need:
- Jigsaw
- Pen
- ~6×12 piece of plywood
- Clothespin
- Rubber bands
- Drill, with hole saw bit
- Clamps
- Glue
- Handsaw
Step 1: Trace Gun Onto Plywood
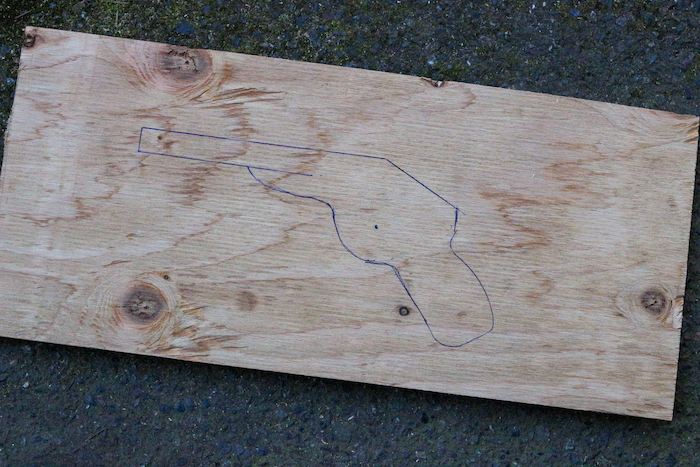
Draw out your gun onto a piece of plywood. This example uses ¾-inch plywood, but you could easily replicate this project with ½-inch or just about any board, as long as it’s wide enough and not too thick. Anything thicker than an inch would probably start to get cumbersome.
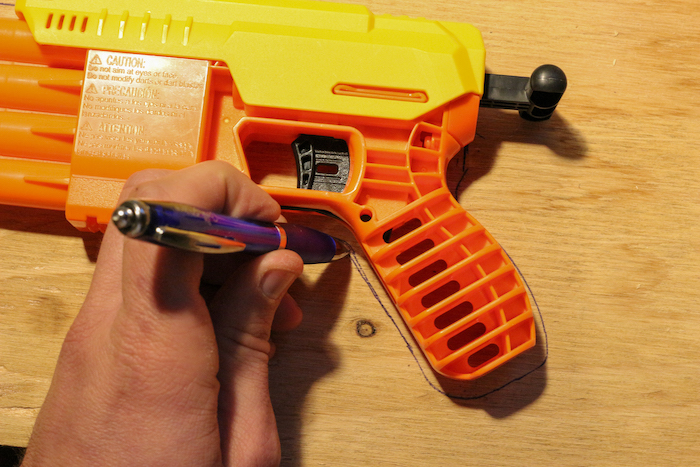
In this example, I used the handle of a dart gun to get me started, but you could freehand the whole thing.
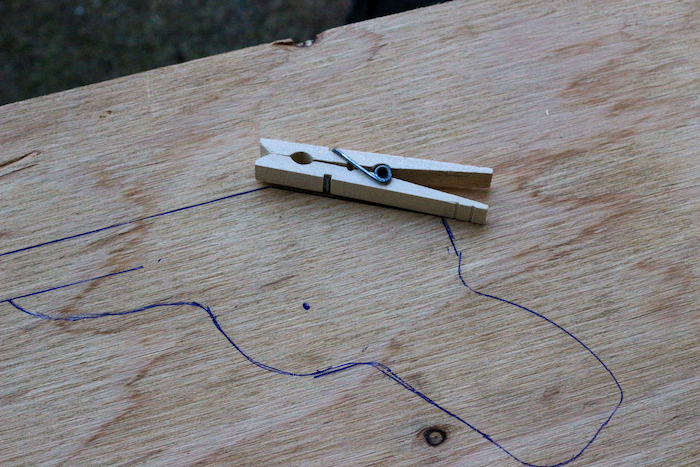
The most critical part to get right is the angle and length of the area where the clothespin will go. Make sure it’s at a fairly low angle to the barrel, and that it’s large enough for more than half the clothespin to rest on.
Step 2: Drill the Hole for the “Trigger”
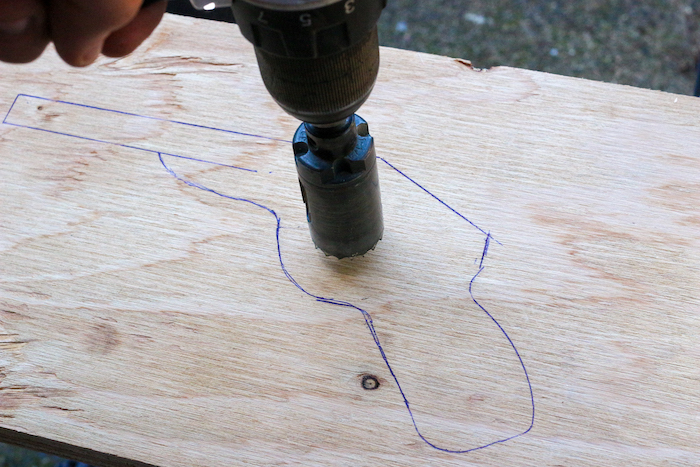

Use a drill with a hole saw bit to cut out your trigger area. For this gun, I used a 1-inch hole saw, but anything similar will work just fine.
Step 3: Cut Out the Gun
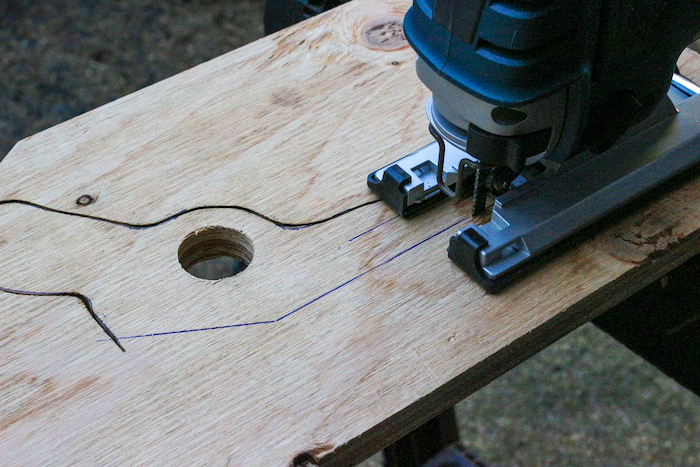
Cut out the gun with a jigsaw. If you don’t have a jigsaw, you can likely use a handsaw as long as you make your gun shape fairly simple.
Step 4: Sand
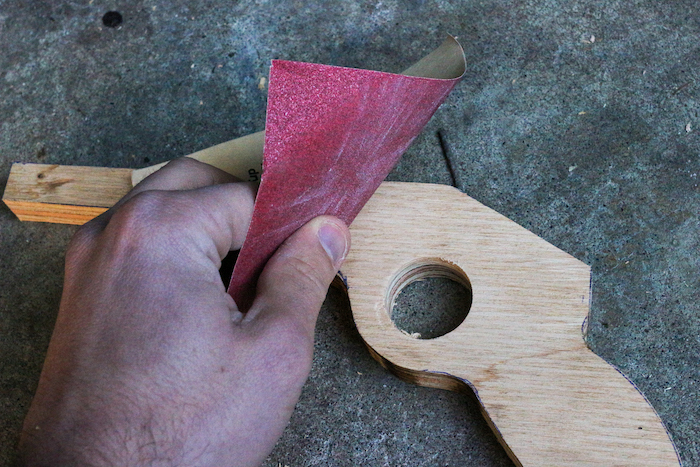
Sand the gun so it’s smooth on both sides and at the edges. Don’t forget to round over the edges in the trigger area too.
Step 5: Cut a Notch in the Barrel

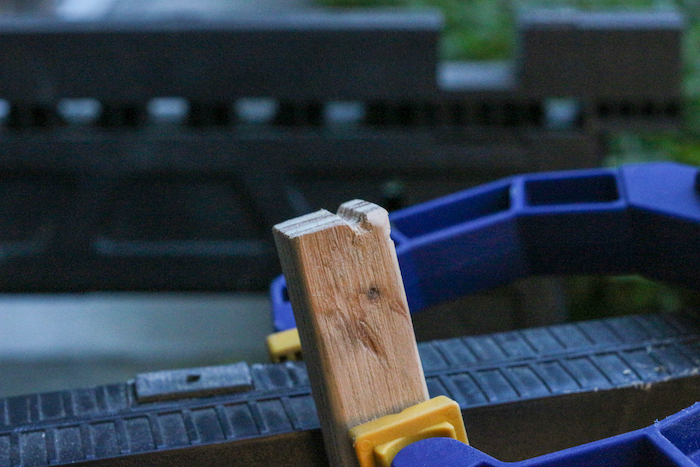
Cut a notch into the tip of the barrel to rest your rubber band in. Clamp the gun to something sturdy while you saw. I used a handsaw here, but you could also do this with a utility knife or other sharp blade.
Step 6: Attach the Clothespin
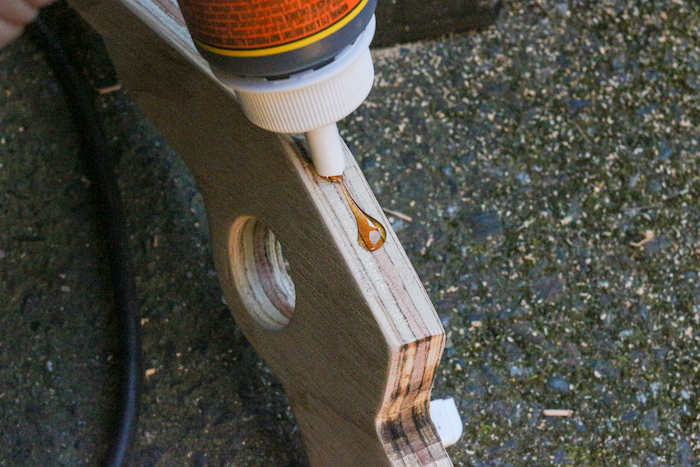
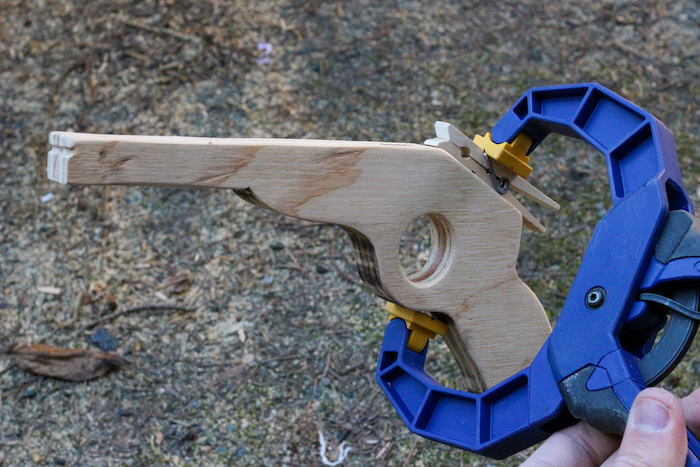
Glue and clamp the clothespin onto the rear of the gun. Position the pin so the mouth extends just above the barrel of the gun.
Step 7: Fire Away!

Once the glue dries, grab a handful of rubber bands and draw some targets. To load your “ammo,” rest one end of the rubber band in the notch at the end of your barrel. Stretch the rubber band back, open the clothespin, and then close the mouth down on the rubber band.
If you put the rubber band back into the circular slot past the mouth of the clothespin, it often gets stuck. The tension in the mouth should be enough to hold the rubber band in place until you’re ready to fire. When you’ve got your aim lined up, simply press down on the top of the clothespin with your thumb!
Here are some more fun, kid-friendly projects to keep your family busy:
- How to Make a Slingshot
- How to Make a Marshmallow Shooter
- How to Make Slime
- How to Make a PVC Blowgun
- How to Make a PVC Archery Bow
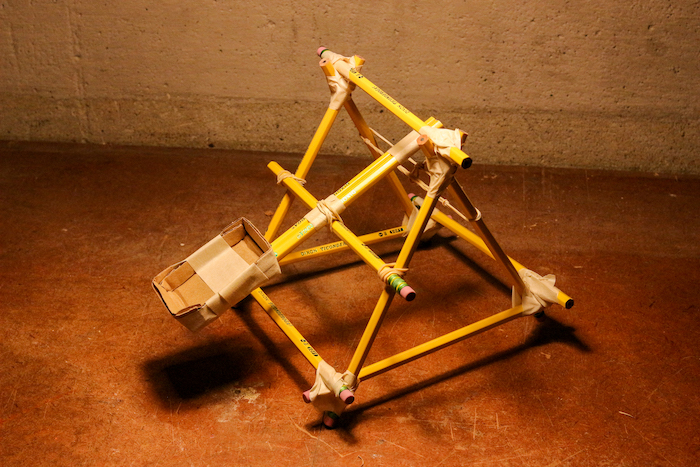
- How to Make a Pencil Catapult
- How to Make a Wooden Periscope
- How to Make a Battery From Quarters