There is perhaps no finer way to spend a summer evening than grilling and enjoying the fruit of your efforts with friends and family. Doing so of course requires a properly functioning grill. Gas grills often have a long lifespan, but that can be shortened if you don’t clean and maintain yours regularly. Burners can get dangerously clogged, gunk can build up so much that it causes small fires, and rust can take over your once-beautiful cooking machine. Luckily, maintenance and cleaning doesn’t take too much effort. Read on to find out how to keep your gas grill functioning smoothly and belching meat-searing fire.
Maintaining Your Gas Grill
There’s really not a whole lot you need to do to keep your grill in tip-top shape. Following the few tips below will ensure years and years of successful and safe cooking:
1. Routinely check for propane leaks. On a monthly basis, run some soapy water along the gas line and connections (with the propane turned on). If you see bubbles form, you know there’s a leak, and you either need to tighten the connection or replace the line.
2. Cover your grill. Keep your grill covered when not in use. Most brands make their own covers, which of course have to be bought separately, but they’re well worth it. Protecting your grill from the elements keeps it from rusting and becoming dirtier than it needs to be.
3. Clean it regularly. Beyond the detailed cleaning below — which should be done every few months when grilling a lot — you should also spot clean it after each use. (Definitely include it on your summer prep checklist.) Brush the grates, and wipe down the exterior with some Windex, and you’re good to go. It’s also a good idea to turn the grill up to high for 15 minutes once a week or so to burn off some of the excess gunk. Doing this ensures that grime doesn’t build up too much, which can happen quicker than you expect it to.
Cleaning Your Gas Grill
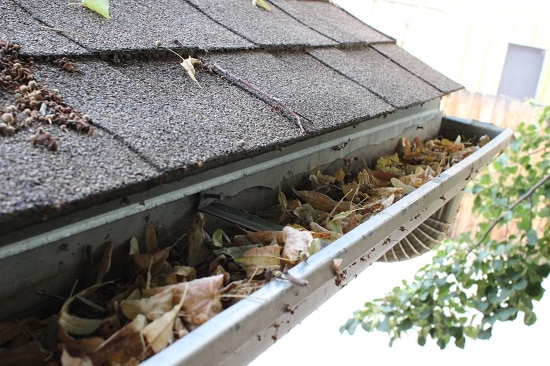
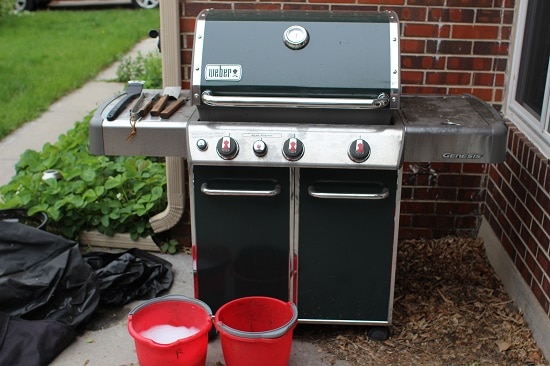
Experts seem to agree that your grill only needs to be deep cleaned 1-2 times per year, but I’d say that with regular year-round grilling it should be done every few months. Veggies fall through the grates, chunky marinades splatter, and grease from your burgers and steaks build up rather quickly. You can often use the eye test and tell when it needs to happen. You’ll see how dirty my own grill was with about 9 months between cleanings; it should have been done quite a bit sooner. If nothing else, do it before before and after the high holy summer grilling season.
All you need is a good grill brush, a bucket of soapy water, another empty bucket for your debris, and an old sponge that you don’t plan on using again.
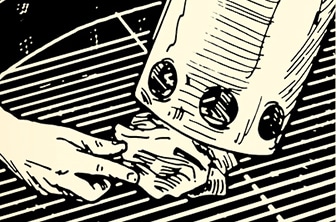
1. Give the grates an extra good scrub with your brush.
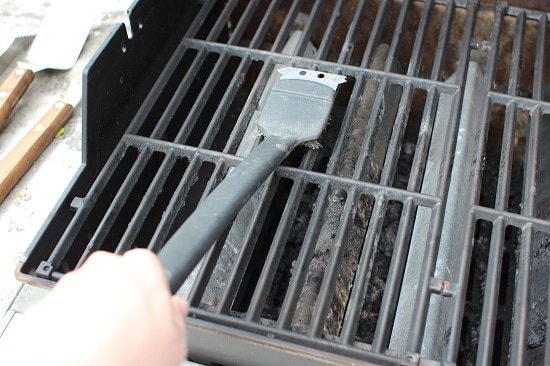
Most of us brush the grates before or after use, but this time really make sure to get all the chunks and charred meat flesh, and use a little extra force.
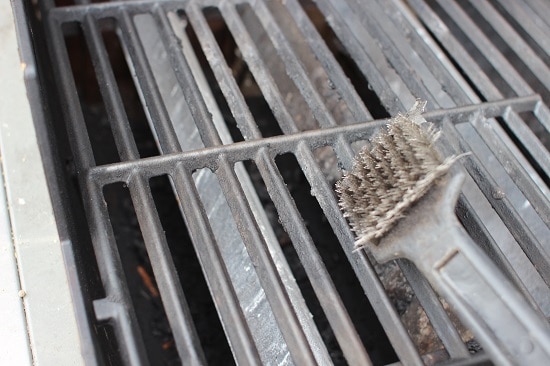
Use the metal scraper on your brush if necessary. This will help eliminate those stubborn chunks of carrion.
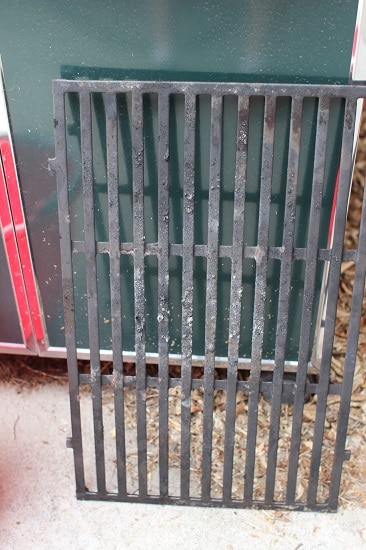
After you’ve brushed the top side real well, take the grates out. You’ll notice the bottom needs a good scraping as well. Do so now and set them aside.
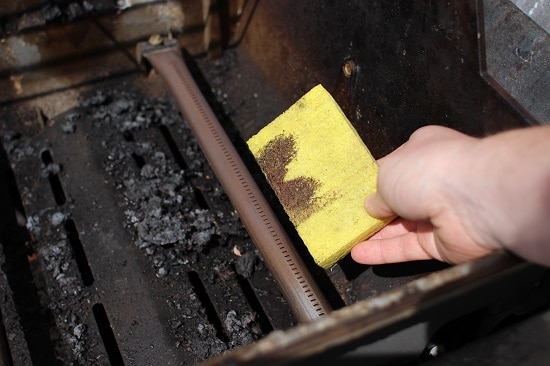
2. Remove and wash the burner protectors.

These bad boys are your burner protectors. They do just that — protect your burner mechanisms from grease and other matter that could clog them. As you can imagine, these protectors get very dirty. It’s their job to do so. Luckily, in most grills they are just set in little ledges and pull right out.
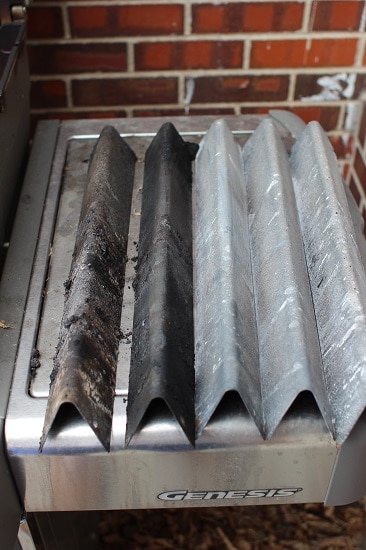
You can see their varying levels of uncleanliness. I’m not sure why two are worse than the others — I suppose I tend to grill in the same spots, which makes a couple of them get extra splatter.
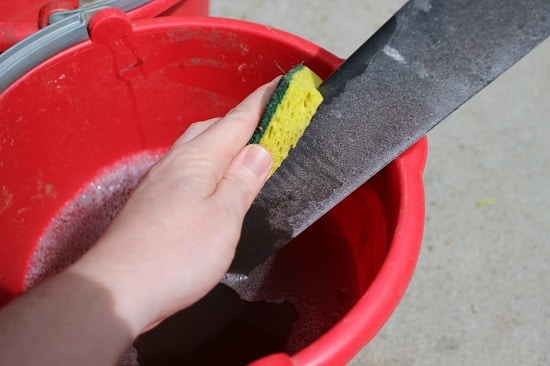
Use your soapy bucket and old sponge to give them a good scrub. That filth should wash right off, and your protectors will look shiny and new.
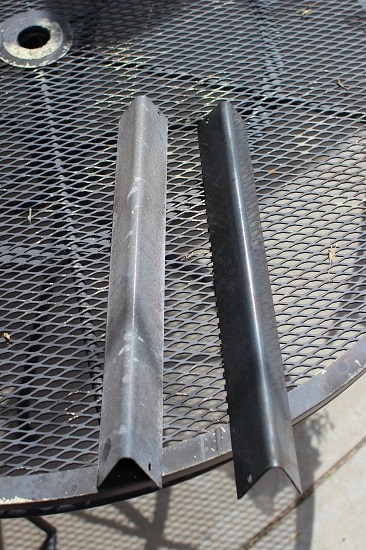
Left: dirty burner protector. Right: clean burner protector. Night and day.
3. Wipe grime from the burners.
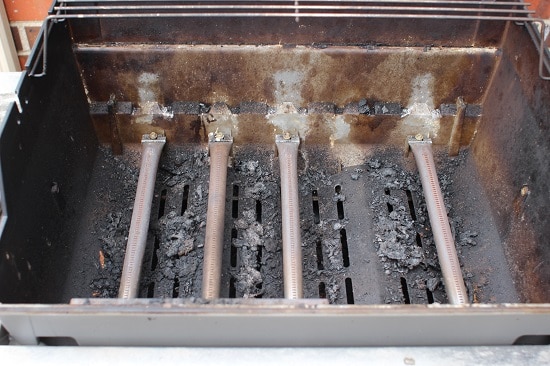
These are the burners themselves. Some grills make them easier to remove than mine — if they come out easily, you can rinse these with your soapy water as well.
I didn’t want to remove mine and risk messing things up, so I took my damp sponge and just wiped them down. I was surprised at how much grime came off. That grime can ultimately clog the burner if it’s not cleaned regularly.
4. Get rid of all the gunk at the bottom.
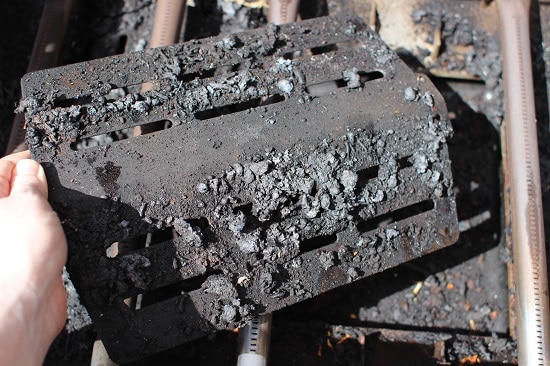
After wiping the burners, you’ll want to move on to the plates underneath. My grill has two of these, and as you can see, they were pretty filthy. These pull right out, and are easy to clean off with your grill brush. I found that the sponge didn’t do a whole lot on these plates, as this is where most of your grime ends up and you get a nice layer of char. Much like a cast iron skillet. Mostly just worry about the big chunks with these plates.
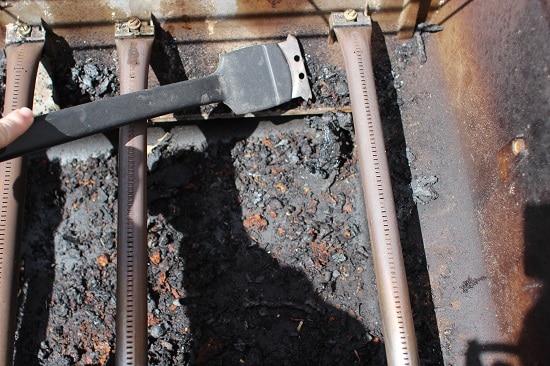
After the plates are out, you’re left with basically just the removable bottom tray. Scrape any chunks from the edges onto your tray.
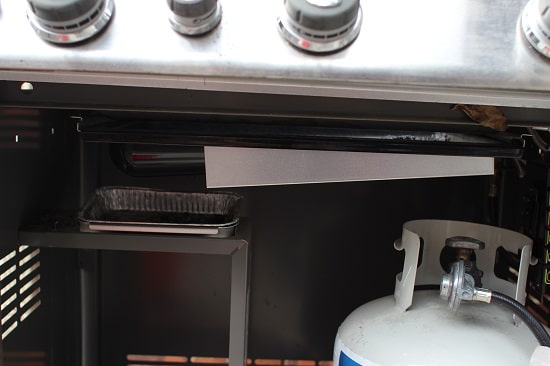
This is what my tray looks like (the gray thing sitting underneath the burners). Slides right out.
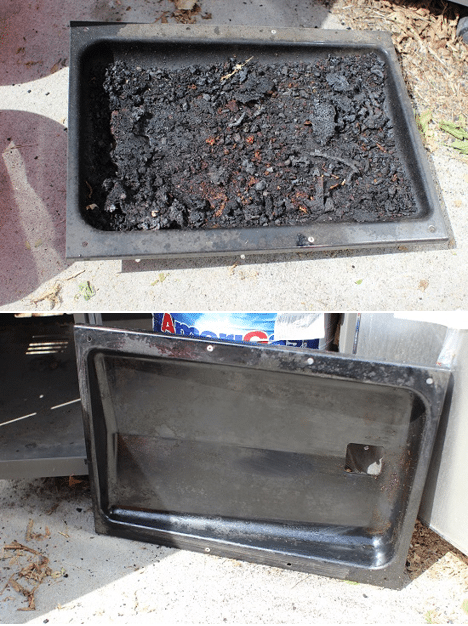
Before and after of cleaning the tray. Some of the gunk will be loose, but some will probably need to be scraped off. I also used the sponge here to get at least some of that grease and grime off. It’s not perfect, but are grills really supposed to be spotless?
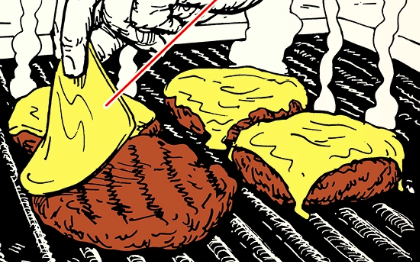
5. Put your grill back together and enjoy some tasty victuals!
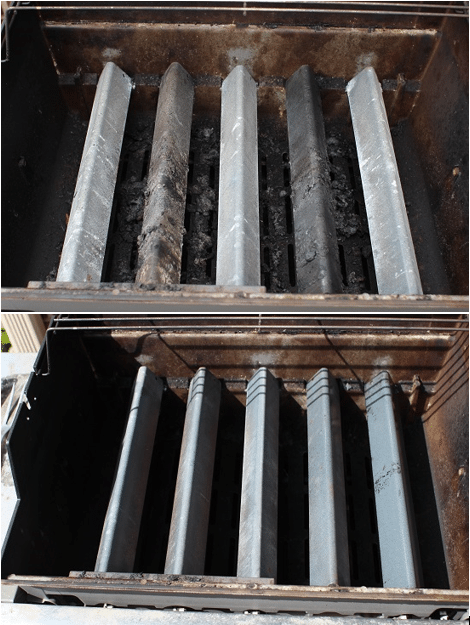
Before and after of cleaning. You’ll notice the burners are cleaned up, and you won’t notice any chunks on the bottom in the after picture. Throw the grates back on, and you’re set for another few months of grilling!