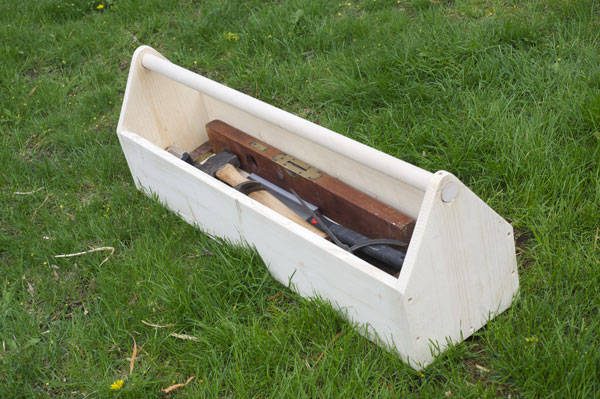
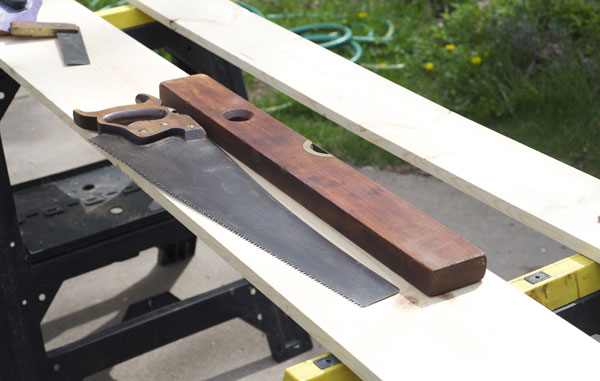
Sometimes the simplest solution is the best. If you need to carry a few tools around, an open-top toolbox is great, especially if you are a visual person and need to see things for them to exist. Plumbers love these boxes, as pipe wrenches are long and awkward to carry. I just laid out a few tools I knew I wanted to carry in this box, and made up a plan.
I wanted to build something that would carry a saw or two, a level, a few chisels, and a what-have-you or two. The size of your box is your call; I made mine long enough to hold lengthier tools. The method is the same, irrespective of the length of your toolbox.
Materials
- 6′ 1×10 clear pine
- 6′ 1×6 clear pine
- 2-4′ of 1 1/4” diameter dowel
- Wood glue
- 35-40 1 1/4” #6 wood screws
- Pilot drill bit and countersink for #6 screws
- Cordless drill
- Phillips screwdriver bit
- Bit brace
- 1 1/4” auger bit
- Japanese pull saw
- 120-grit sandpaper
- Small block plane
- Wood putty (optional)
- Varnish (optional)
There are only six pieces of wood in your toolbox: a bottom piece, two sidepieces, two end pieces, and a dowel for your handle.
Step One
Pick good, clean boards. Sometimes you’ll need to pick through the pile to get a good board without large knots (little ones are fine, they add character). You want nice, clean edges, so take care in transport.
Step Two
Choose the size of your box. I decided to make the interior length of my box 36” so it would hold some longer tools like a handsaw, level, etc. I laid out the tools I wanted to put in the toolbox to assure they’d fit.
Step Three
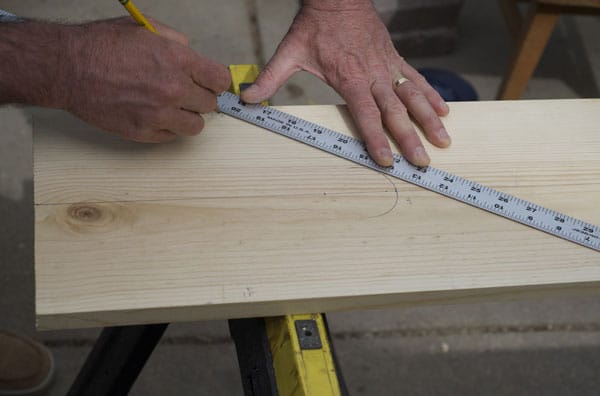
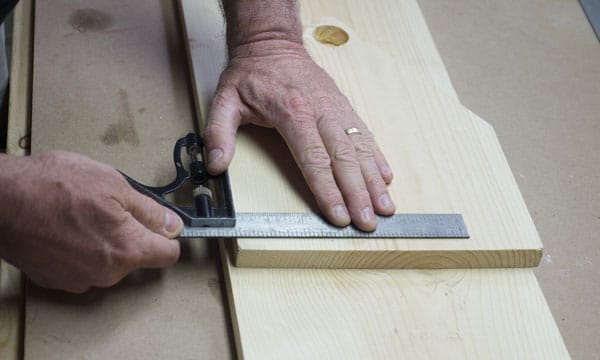
Make sure your lumber is square. Not all lumber has square ends, and if something’s a little off, it’ll show up during construction. Using a t-square, mark a fresh line an inch or so from the ends of the board and trim off. You don’t have to do this, but it’s not a bad habit to get into, especially when you see what happens when you’re fitting your last board and realize there’s an 1/8” gap where there shouldn’t be.
Step Four
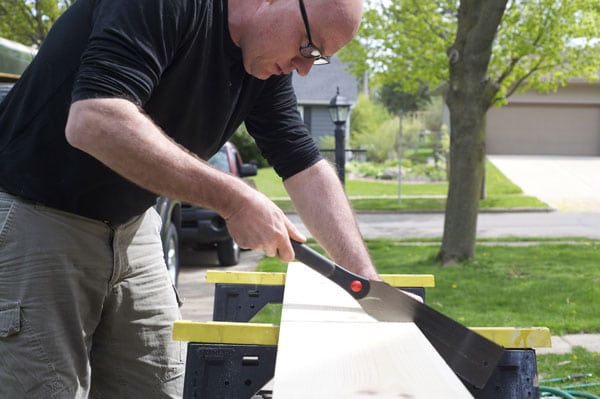
Measure and cut your pieces. I made the interior dimensions of the box 36″. Since the bottom and sides of the box will be capped by the end pieces, I cut them all at 36”. You will need two pieces of 1×6 and a single 1×10. Mark them with your square and cut.
Step Five
Design and cut your end pieces. Measure 6 1/4” from the bottom of your 1×10 and mark that spot on both sides of the board.
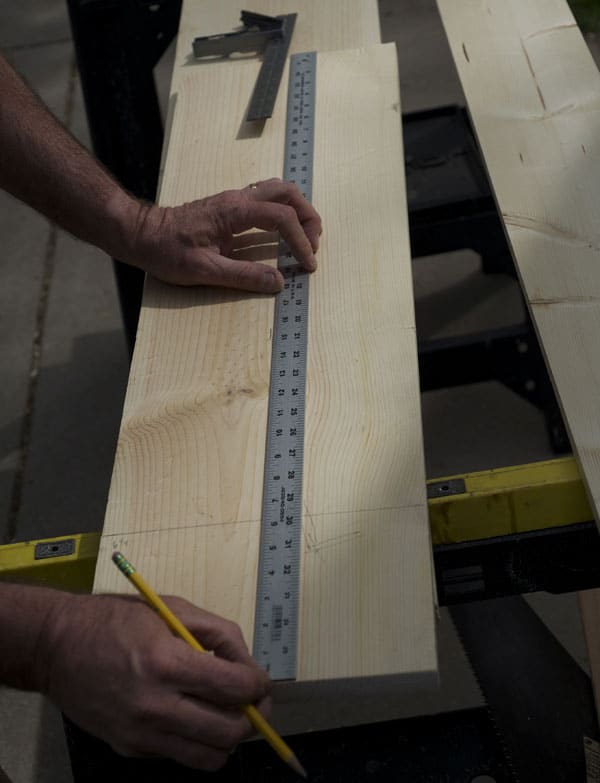
Now measure 11” from the bottom edge of the board and using your combination square, find the midpoint and mark it.
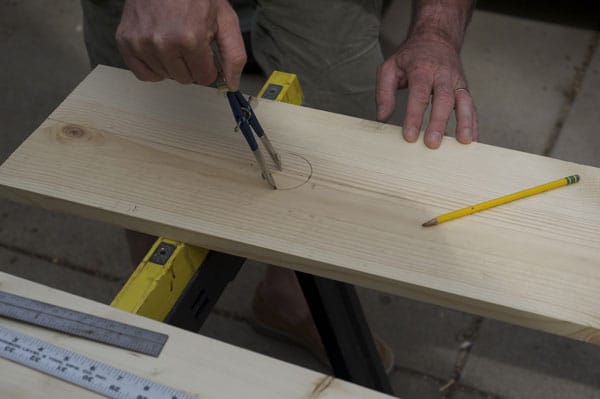
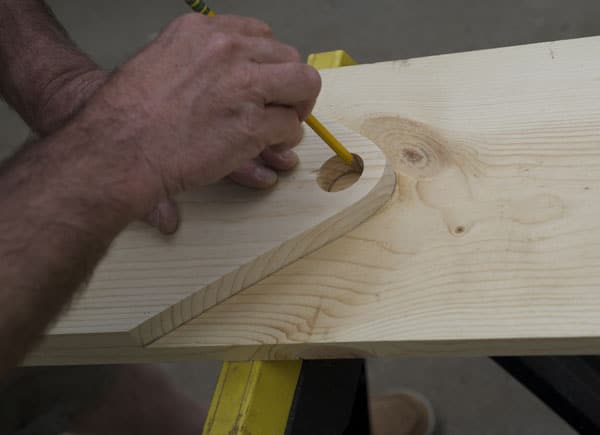
Set your compass to a 1” radius, which will make an arc of 2”. Place the point of the compass on your 11” mark. Make a circle with your compass. I didn’t complete the circle because the bottom part isn’t relevant. You’ll see why later.
Now using a straight edge, connect your mark at 6 1/4” with the tangent of the arc you created with the compass. Repeat on the other side.
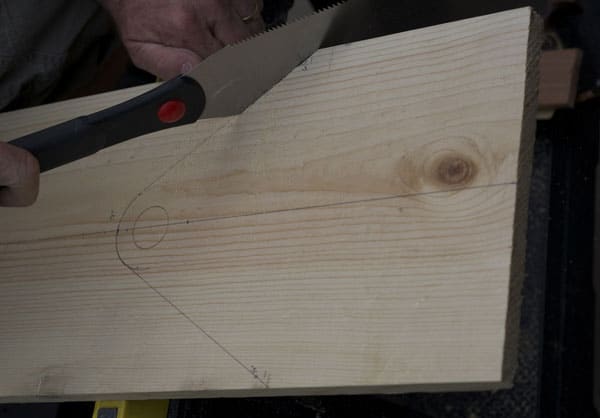
Reset your compass so that your radius is 5/16”. Placing the point of the compass on the 11” mark, draw another circle to mark a 1 1/4” hole. Using your pull saw, cut out the piece. Don’t try to follow the curve, just make a big point. Your piece will now come loose. Trim your board square and repeat the process.
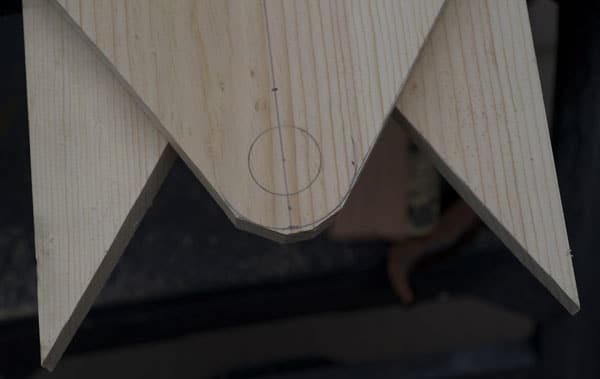
Trim the tip off the triangle as close as you can to the line. It will just save you time later when you are smoothing the end.
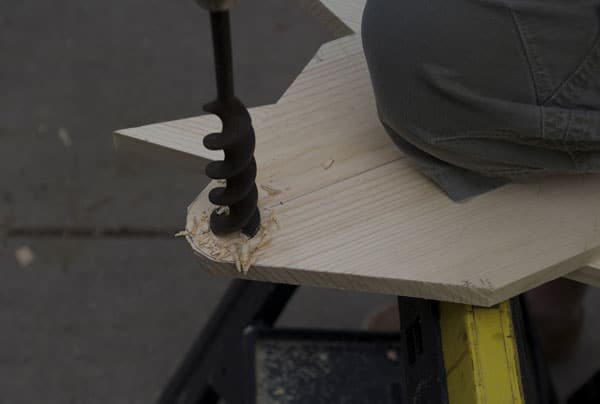
Using your brace and bit, drill the hole for your handle. Place the center screw on the bit and make sure it goes in the center of the 11” mark. If it drifts, your handle will be off center. When the center screw of the bit pokes through the wood, turn your piece over and finish the bore.
If you do not have a brace and bit you can use a cordless drill and a 1 1/4” spade bit, but you will have less control. If you do go this route, remember to stop halfway through, turn the board over and finish the bore from the backside so the wood won’t splinter.
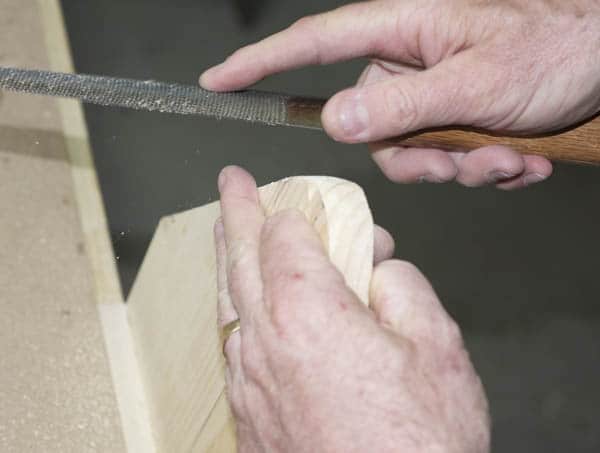
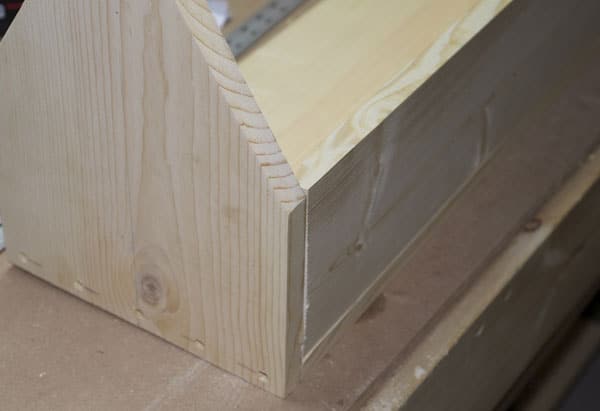
Using a rasp, clean up the top of the side pieces so you have a nice clean radius.
Repeat the whole thing for the second end piece. You can use the one you just made as a template. Be careful things are all matched up or you will have a lop-sided toolbox.
Step Six
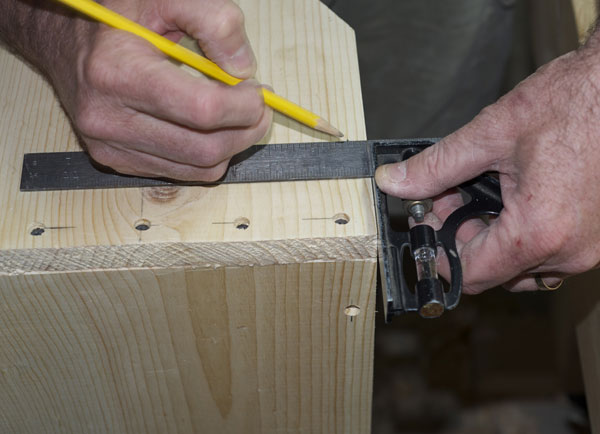
Attach end pieces to the bottom board. Since your boards are 3/4” thick, you want to make sure that you are screwing into the middle of the bottom board. Measure in 3/8” and mark. Using a combination square, mark a line across the bottom of the sidepiece.
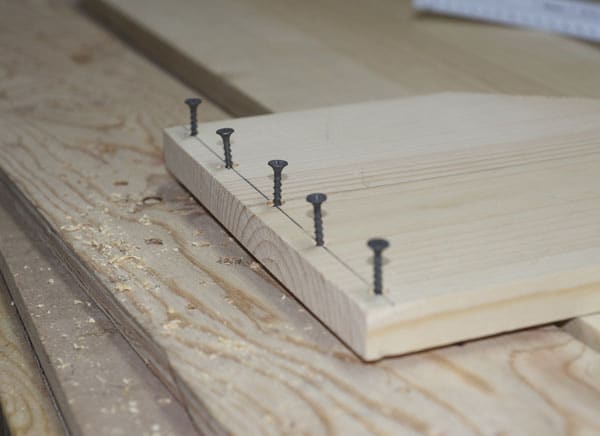
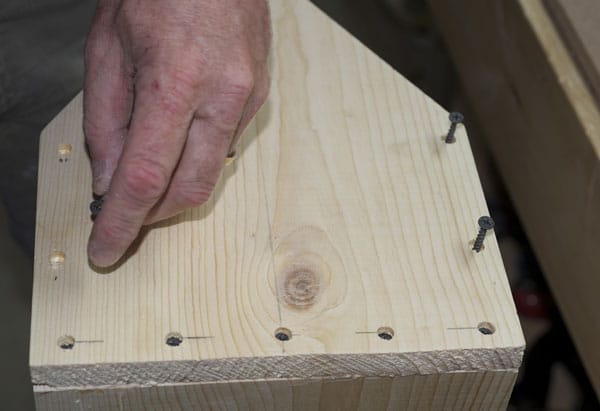
I put five screws along the bottom, so I spaced them out, one in the center and the others spaced out equally. Using a drill and a countersink, drill holes for your screws. Place your screws in the holes and drive them in until the points just barely poke through the end piece.
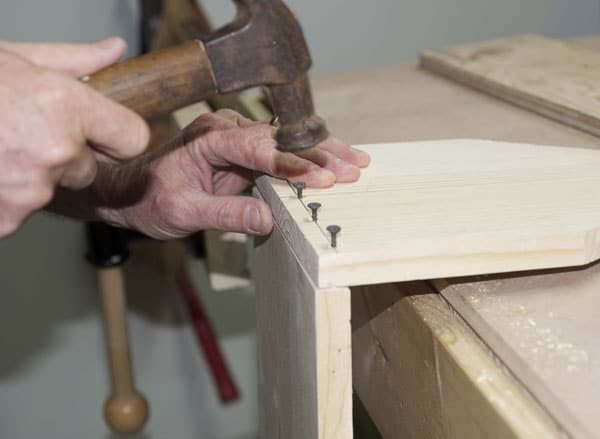
Apply some wood glue to the end of bottom board. Line up the bottom with the end piece and tap with a hammer to set them. Drive in the middle screw, and check that everything still lines up. Some squeeze out is good.
The end pieces and bottom piece should make a 90-degree angle. Repeat for the opposite end piece.
Step Seven
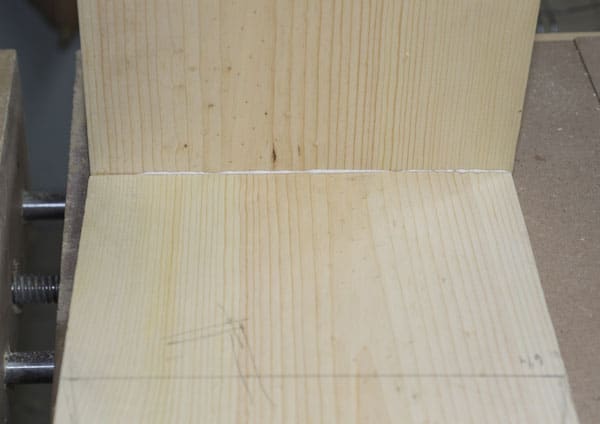
Attach the side pieces. Dry fit the pieces in place and trim if necessary. They should fit snugly but the end pieces should not be pushed out of square. Once snug and square, put glue along the edges of the side piece facing both the bottom and the end pieces.
You’ll want to use the same technique you used before by measuring 3/8” from the edge of the end piece so that the screws will go as close to the center of the side pieces as possible.
Now drill and countersink a few holes on the end pieces. Making sure things are lined up, drive the screws into the side pieces.
Step Eight
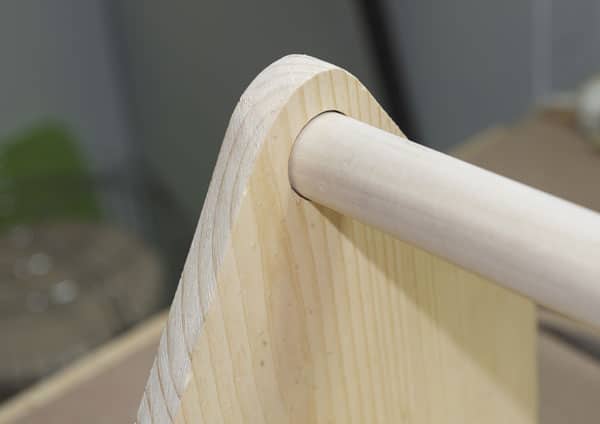
Attach the dowel. Place the dowel through the two end pieces. You want the dowel to make the end pieces square to the bottom piece. Place one end of the dowel flush with the end piece. Make sure both ends are square and mark the dowel on the outside where you will cut it. Note: the length of the dowel should be exactly the side of your bottom board plus 1 1/2”. Slide the cut dowel into the end pieces. Slide the dowel to one side and put a little glue inside the hole, and then slide it the other way and do the same.
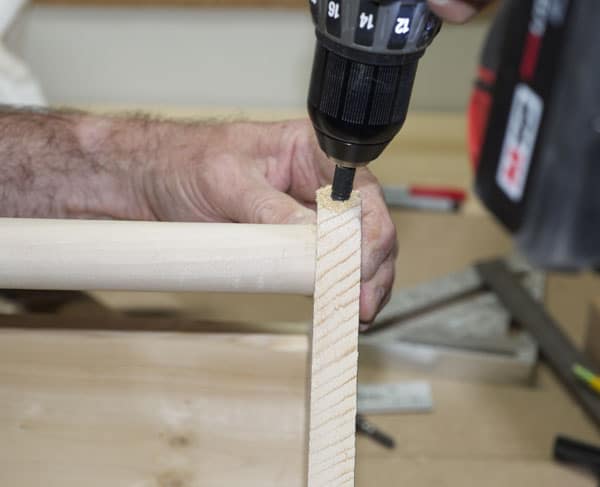
Now drill and countersink one hole in the top of the end piece on each side. Drive one screw into the end piece and the dowel. Between the glue and the screw it will never move.
Step Nine
All that’s left to do is fasten the bottom piece to the side pieces. The number of screws you use is related to the length of the toolbox. Same technique: 3/8″ from the edge, measured with your square. Drill and countersink a hole every 6 or 8 inches. I wasn’t precise because it doesn’t matter to me, but feel free to be if you want to. Watch for appropriate squeeze out.
Step Ten
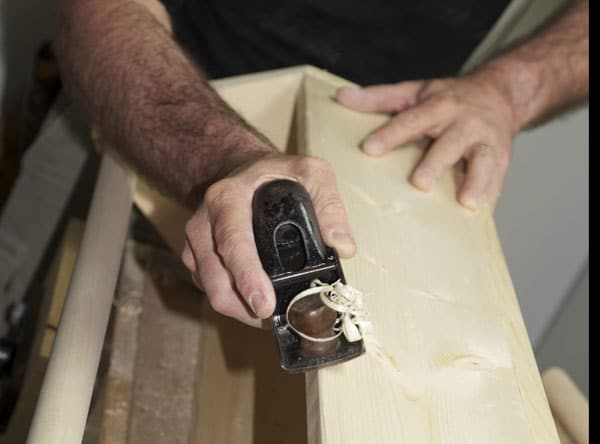
Relieve the side edges. This is unnecessary, but I like to do it. A sharp block plane can take off the little corner than is both unaesthetic and will ding up easily.
Step Eleven
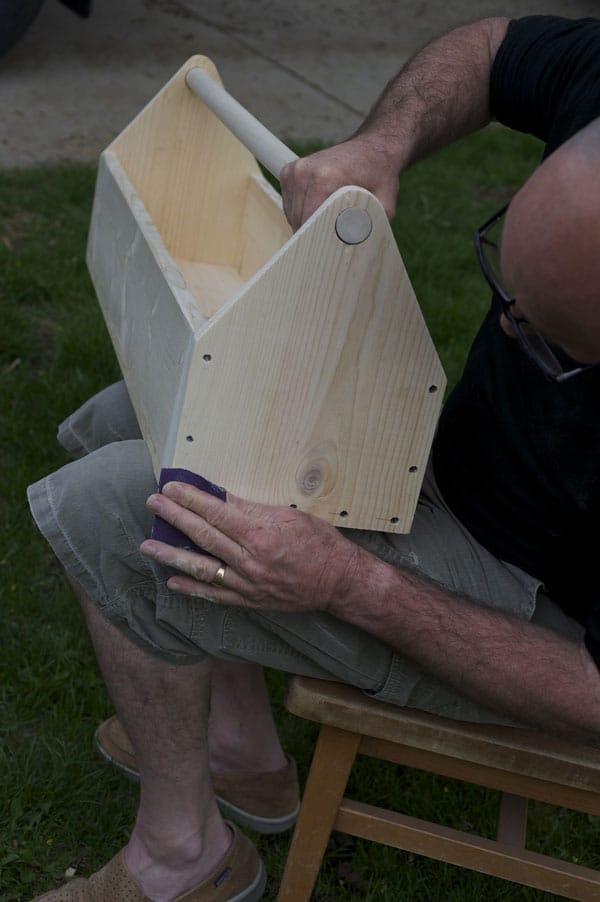
Using 120-grit sandpaper, hand sand the outside surfaces. If you’re really a stickler, you can use wood putty or wood plugs to hide the screw holes, but for me this is a “back of the truck” toolbox, so I didn’t plug or fill anything.
Another option is to finish the box. Since this isn’t sitting in the rain somewhere, it didn’t matter to me. I did decide to wipe the outside down with a Danish oil finish that penetrates the wood, but again, that’s optional. If I were giving this to someone as a gift, I probably would seal it somehow. Use varnish if you want the wood to show, or your favorite color paint if you want something a little colorful. Either way, in 30 years it will have a glorious patina.