Hanging up a flat-screen television?
Putting up wall-mounted racks so you can organize your garage?
Installing shelves?
In each of these scenarios, you’ll need to know where the studs are in your wall so that you can mount this kind of stuff securely to it.
Here’s a quick guide to how to find studs in a wall quickly and painlessly.
Using a Stud Finder

Studs are vertical wood 2x4s that make up the frame of most homes in the United States. Besides being used to provide structural support for your home, drywall is mounted to the studs to give your house its solid walls.
After drywall is affixed to the framing of your home, you can, of course, no longer see a wall’s studs with the naked eye. But there are devices which can help you “look” into the wall to find them.
There are two different kinds of these stud finders which each help you locate studs in a different way:
Magnetic Stud Finders
The more rudimentary type of stud finder uses a magnet.
Magnetic stud finders don’t actually locate studs. Instead, they locate metal fasteners (like nails and screws) that fasten the drywall onto the studs. As you slide the magnetic stud finder across the wall, its magnet will stick to the wall when you’ve come across a metal fastener; if there’s a metal fastener, there must be a stud that it’s fastened to.
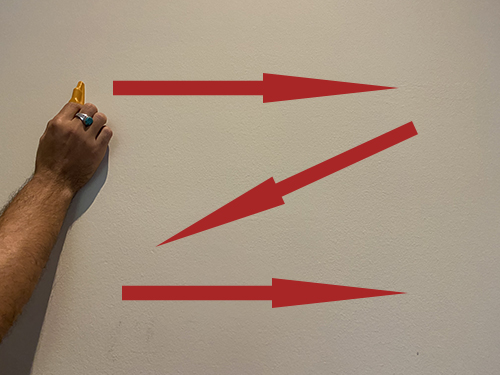
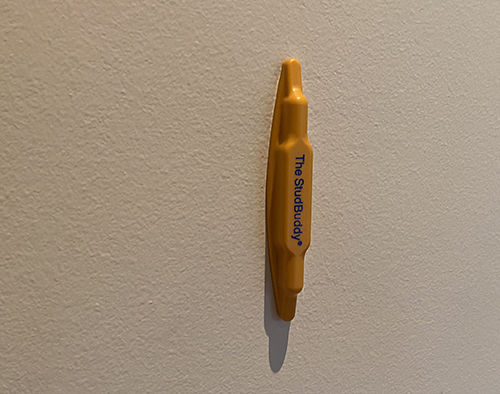
Any high-powered magnet can work as a magnetic stud finder. But there are ones made for the purpose like the StudBuddy, which you can pick up for $10 at most home improvement stores. Just run it back and forth across your wall in a zig-zag pattern. When the StudBuddy sticks to the wall, you’ve found your stud. You can leave the StudBuddy on the wall to act as your stud marker. No need to mark up your wall with pencil.
The upside of a magnetic stud finder is that it’s cheap, easy to use, and accurate.
Its downside is that you can spend a long time running it up and down and across the wall to find a metal fastener so that you can find the stud. This is the big reason why most people have upgraded to . . .
Electronic Stud Finders
Electronic stud finders use capacitance to help you locate a stud behind the drywall. If you’re interested in the details of how capacitance works, read this article. The short and dirty explanation is that an electronic stud finder can sense when there’s a density change behind your drywall. When it senses more density, thar be your stud, matey, and the stud finder will start lighting up to tell you so.
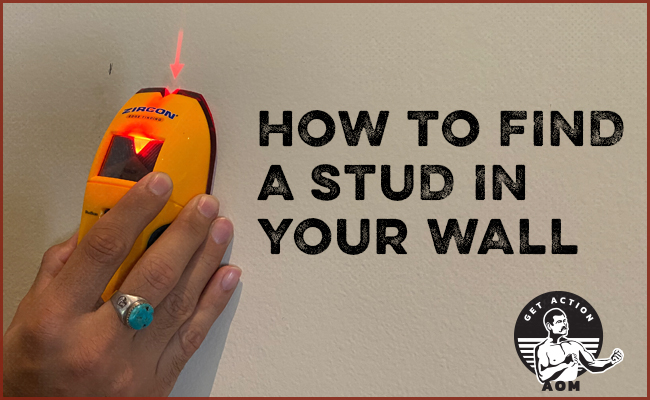
Below, I show you how to use an electronic stud finder. In the demo, I’m using a Zircon stud finder that locates the edges of studs. Zircon has stud finders that can pinpoint where the center of the stud is, but they’re more expensive.
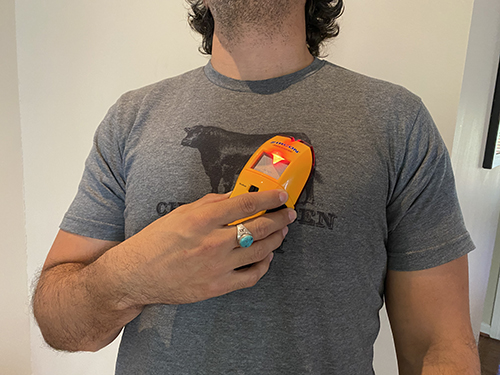
1. Run the stud finder over your chest. Look at your wife and say, “Looks like there’s a stud right here.” After appreciating your well-executed dad joke, get down to business.
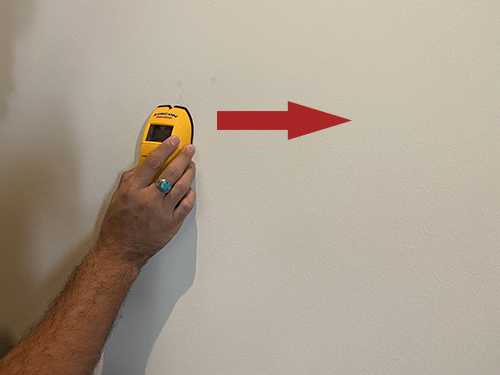
2. Place the stud finder on the wall. Press the button only after you’ve placed the stud finder on the wall. If you press it before doing so, you’ll get an erroneous reading. Slowly move the stud finder from left to right. Keep it level as you do.
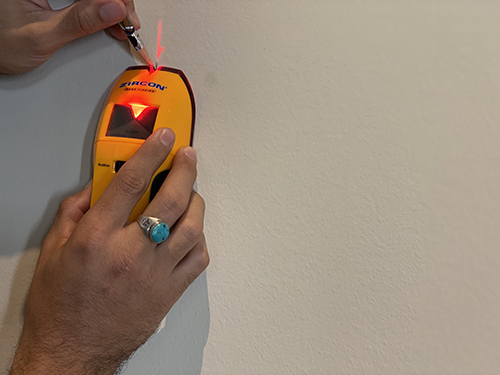
3. When your stud finder lights up, make a faint mark with a pencil. This is the outside edge of your stud.
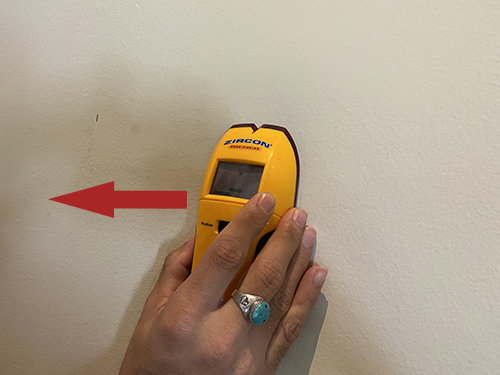
4. Place the stud finder a few inches to the right of your mark, and slowly move the stud finder left. If your stud finder lights up, make another faint mark. This is the opposite outside edge of your stud.
The middle of those two marks is the center of your stud. You can drive a nail or screw into your wall at that point, and it will be secure.
FYI, most studs are 2×4’s, but if you’ve read our primer on lumber, you know that a 2×4 isn’t actually 2 inches x 4 inches; it’s 1.5 inches x 3.5 inches. The way studs are placed in the wall, your markings on the wall should be 1.5 inches apart, so the center of the two markings will be at the .75 inch line.
Once you know where the middle of one stud is, you can easily find the center of the studs that are to the left or right of it.
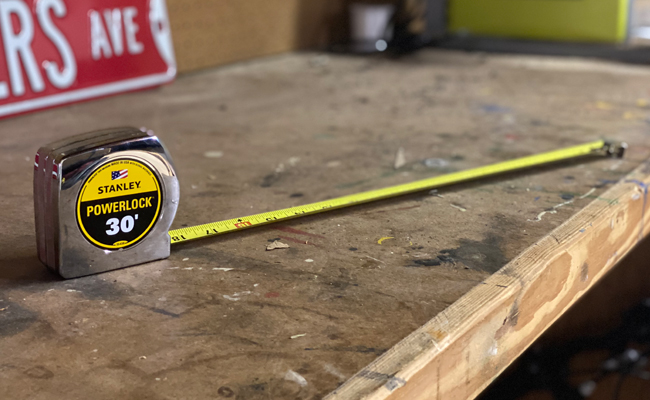
Using your trusty tape measure, place the 0 line on the center of the stud you’ve marked off on the wall. Extend your tape measure out. See how the 16″ mark on your tape measure is surrounded by a red square? That indicates the standard (in the United States) 16-on-center spacing between studs. Bam! That’s where the center of your next stud is.
Most modern electronic stud finders are pretty reliable, but I’ve had issues with some. I’ve had instances where the electronic stud finder will give multiple readings of where a stud is located and all those readings were different from each other by a half inch, leaving me scratching my head wondering where the stud actually is. On the glitchy ones I’ve had problems with, I usually end up hammering a very small nail into the wall to verify that the stud finder did indeed find the stud.
If you’re looking for speed in finding a stud, go with an electronic stud finder; if you’re looking for consistent accuracy, go with with a magnetic one.
How to Find a Stud If You Don’t Have a Stud Finder
What if you don’t have a stud finder on hand? How can you find a stud behind drywall?
You’ll need to become a stud detective.
Flashlight method. Shine a flashlight at an angle against the wall. You may (the operative word here is may) be able to see a column of slight bumps. Those are the nails used to fasten the drywall to the stud, and that column of bumps indicates where the center of the stud is.
Again, this may or may not work depending on how deep the nails were driven into the drywall and the amount of paint or plaster you’ve got over your wall.
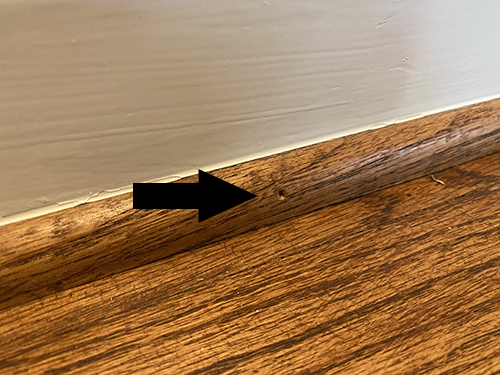
Check the baseboards for nail holes. Baseboards are usually (operative word usually) nailed to a stud. You’ll have to look really closely as the nails used to nail baseboards are really small. If you see a nail hole, there’s a good chance there’s a stud at that location. But maybe not. In my home, the nail holes in my floorboards weren’t near the studs.
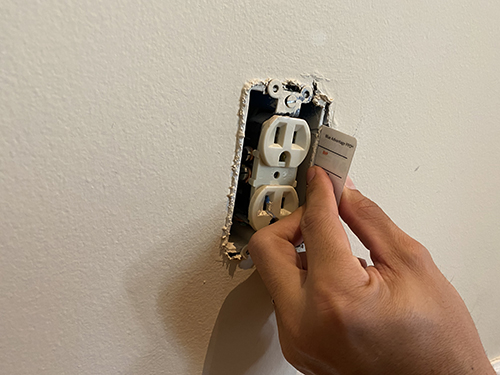
Check the outlets and light switches. Outlets and electrical switches are typically mounted to the side of a stud. To figure out which side of the stud the outlet or switch is mounted to, remove the cover plate and then slide a business card along the outside of the outlet box to feel for which side the stud is on. If you hit some resistance, you’ve found the stud.
To find the center of the stud that the outlet or switch is attached to, just measure .75 inches from the outside of the outlet. Put a mark. Center of the stud. Now you can find the center of all the studs to the left or right of that stud.
Verify by driving a small nail into the wall. If you go with one of these methods, you’ll want to verify by driving a small nail into the wall. If the nail doesn’t hit wood, you’ve missed the stud. Try again slightly to the left or right.