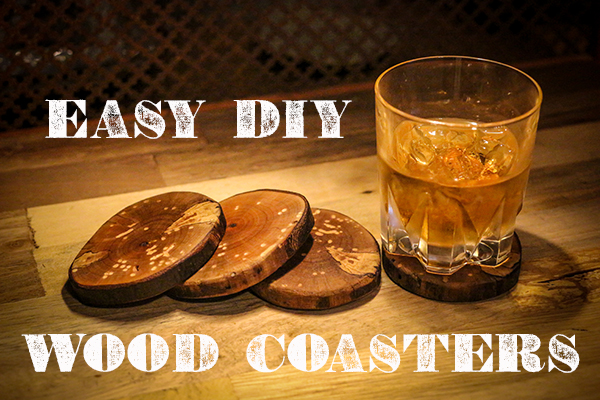
Most of us only think about coasters when we’re reminded that we haven’t successfully used one. But, maybe that’s because a lot of coasters are uninspired and boring. Making coasters out of well-seasoned logs is an easy woodworking project to tackle in just a few hours, and it’s almost guaranteed to give you a reason to remember using a coaster the next time you set a drink down on more delicate pieces of furniture. One of the best things about DIY wood coasters is the potential for experimentation. From colored epoxy resins to wood-burning techniques, there’s no limit to what you can do. The below guide is meant as a base to guide your explorations. So, let’s get started.
Supplies Needed:
- Miter saw
- Stiff brush
- Seasoned log approximately 3.5–4” in diameter
- Sandpaper (and sander if you have one, for convenience)
- Stain, shellac, varnish, or mineral oil of your choice
1. Select and Prep Your Wood
Choose a log that’s well-seasoned; otherwise it can continue drying and cracking after you’ve made your coasters, and you don’t want that. Most wood will season in a dry, well-circulated area after about six months.
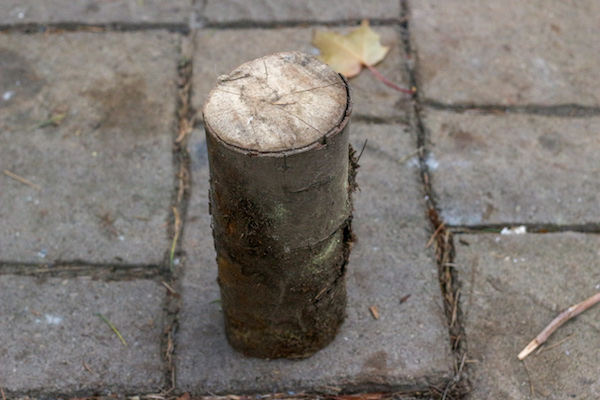
You can choose any type of wood you want. Softwoods like fir, cedar, and pine often result in a rustic look, while hardwoods like alder, beech, hickory, mahogany, maple, and oak will look more refined, and may be more durable. Look for logs that are reasonably straight, at least a foot long, and 3.5–4” in diameter.
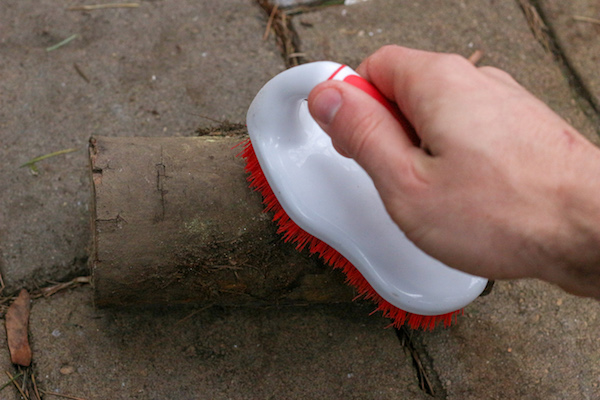
Once you’ve selected your log, use a stiff brush to remove any excess dirt and loose bark. If you want to remove your bark completely, you can do so with a chisel, hand plane, or even a hatchet.
2. Cut Your Coasters
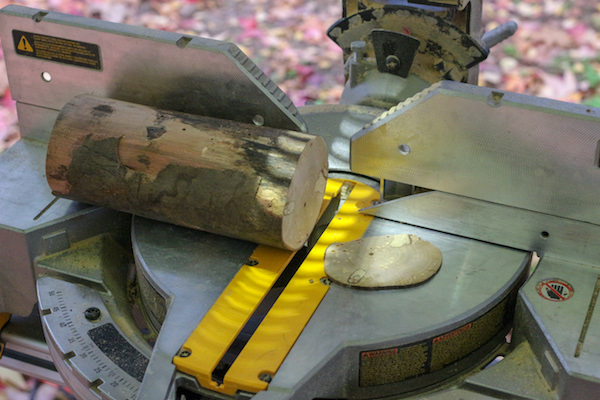
While you can certainly use a handsaw to make your wood coasters, a power miter saw makes this project much, much easier. To begin, cut off the end so that you’re starting from a perfectly flat surface.
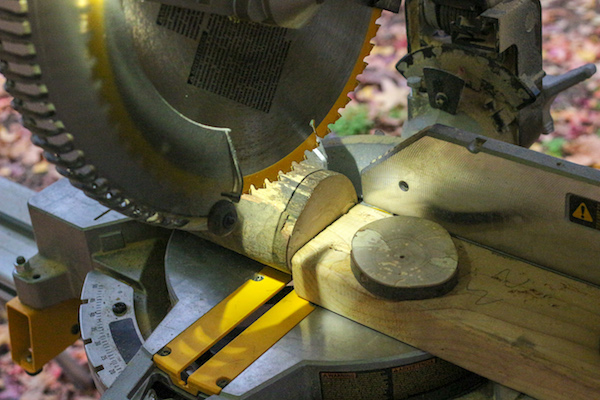
Next, set your miter saw to cut your first coaster round, approximately 1/2–3/4” thick. To guarantee consistency, clamp a scrap piece of wood to your saw base and use it as a guide for cutting subsequent coasters. Cut as many coasters as you want. Most sets of coasters contain at least four.
3. Sand and Finish
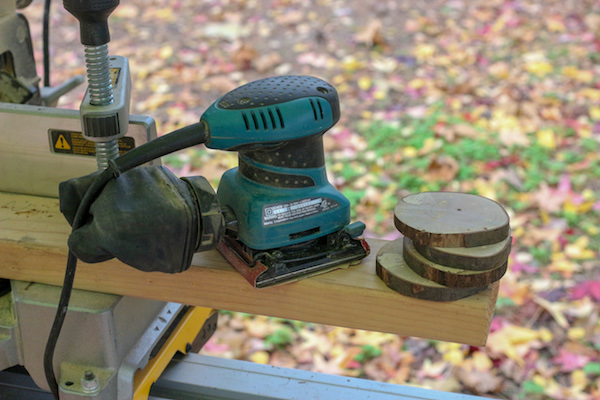
Sand your coasters by hand or with a palm sander, working from a coarse grit, like 120, up to finer grits until your coasters are as smooth as you want them.
This is also an excellent opportunity to sand off any extra loose bark or to add finishing touches, like sanding the edges smooth.
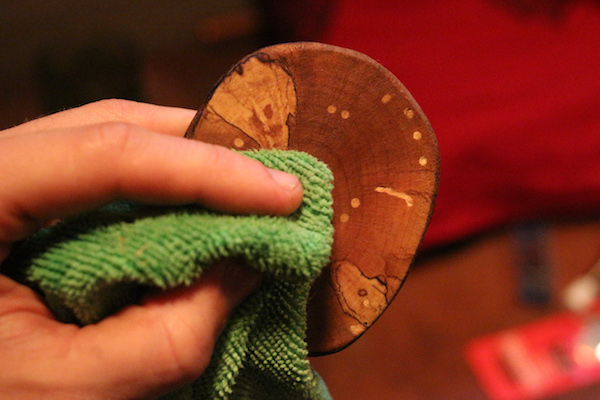
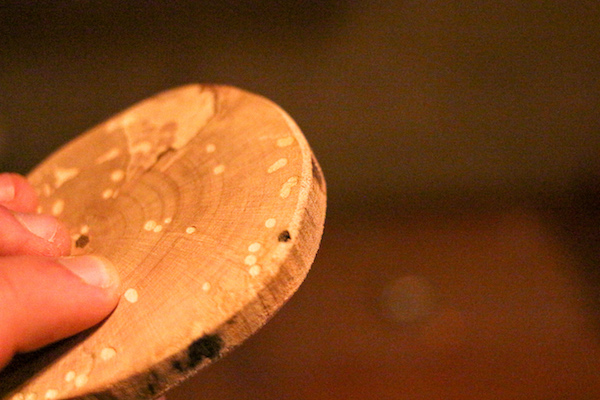
Once sanded, wipe your coasters clean of dust with a microfiber cloth and apply your choice of stain, mineral oil, shellac, or varnish (you can find tips for applying a wood finish here). Sealing the wood on all sides will help protect it from condensation from cold glasses, and prevent the wood from drying out too much which can cause cracking.