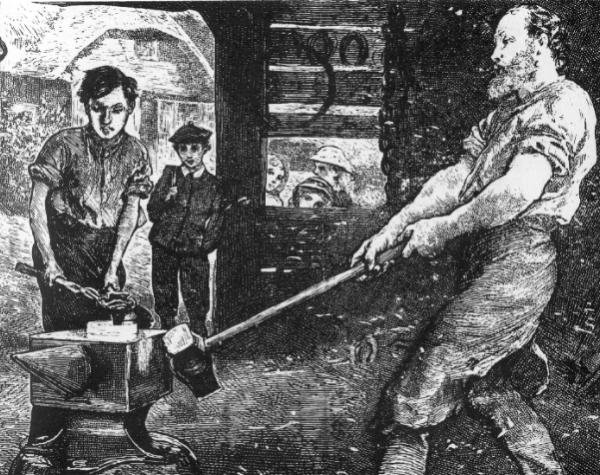
Awhile back, we covered the fundamentals of blacksmithing.
Those fundamental are interesting in concept, but now let’s try out some real-life applications to make something simple and useful for around the house.
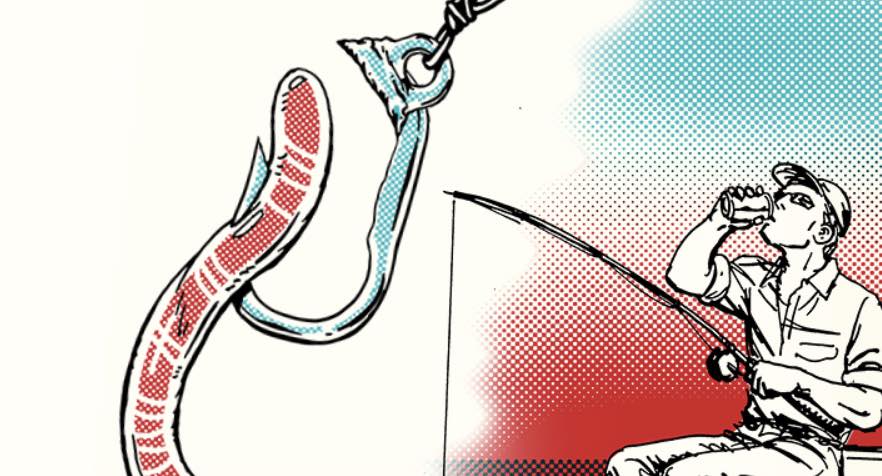
So we’re going to make three hooks. That’s because a hook is often the first thing you make when you start to become a blacksmith. It’s a cool project because no matter how ugly the hooks turn out, they’re still functional. My early work graces the walls of the darkest closets in my friends’ homes.
Because this is a pretty fluid medium and static pictures aren’t able to convey the process very well, I’ve composed a short video showing the elements of the skills and forces needed to create a hook (not necessarily in order). There are captions to keep you oriented.

Hook A (a scroll tip – the middle one) is what you’d make if you want a little more surface area so if you hung a coat on it, the hook wouldn’t dig into the fabric or liner. Hook B (a nail-point with a small curl – on the right) is what you’d want if you’re hanging something from it like a cast iron pan. You don’t want a fat tip, but that little curl makes it safer (you don’t want a fish hook), as it will hold the piece in place. No sharp points unless you’re a butcher in southern Europe.
Hook C (on the left) is a different sort of hook with a big, bulbous top that is just plain cool, but it also is a safe hook as it has the largest surface area. This one would be well-placed on a post inside a barn, holding a bridle or an extension cord.
The steps are all the same for each hook.
Step Zero: Get it hot. Propane, coal, coke, charcoal. Doesn’t matter. Get it hot.

Step One: Create and shape the tip of the hook. Scrolled, pointed or worked over the edge of the anvil like Hook C, it’s the first thing you do. The video covers this step extensively.
Step Two: Create the radius of the hook. Narrower for smaller items, larger to accommodate bridles or extension cords. Big extension cords. The problem is that we’ve created this lovely point, and now we have to mash it to get the curve in the hook. But wait! What if we cool the tip first? Easy to do. A quick quench of just the tip will allow you to work it without distorting the work. The video demonstrates this several times. Below you can see the curvature of the hook is hot, the tip is cool.

This is where you use the horn of the anvil. The horn has an infinite number of radii to choose from. Close to the face, a large radius; close to the tip, a very small one. You want to hammer in the same place all the time, moving the work. In this case, I’m hammering on top and dropping my left hand to create the curve. Otherwise you’re doing what my mentor called “chasing your work.” I can hear his Alabama drawl: “You can chase it, but you’ll never catch up.” This is very obvious in the video.
Step Three: Decide on a top. These three are finished in a classic fashion, just a simple drilled tab. You can create coils, leaves and finials, or any other shape you want. Just so long as the hook is 90 degrees to the wall, and the back sits flat, go crazy.
Step Four: Finish it. I use paste wax. It will let the metal texture show through. Some use a clear polyurethane paint or Rustoleum. For wet areas (towel bars, for example), clear poly’s a good idea, but it does make things a little too shiny for my taste.

Twisting work is not necessary but boy, it sure is fun. Some of the hooks beg to be twisted; some of them you leave plain. It depends on your aesthetic. I like to twist some stock and then pound it flat. That’s also demonstrated on the video.
This little tutorial isn’t meant to be comprehensive, of course. It’s just for having some fun and giving you a good idea of what blacksmithing actually looks like (and sounds like). To me, it sounds like fun.