I moved into my house almost four years ago, and last month I finally got around to organizing my garage.
Until about a week ago, I’d pretty much just find an empty place on the floor in the garage and put stuff there; if I ran out of empty space on the floor, I’d start stacking items. There’s a closet in the garage where I kept a lot of stuff — luggage, sports equipment, camping gear — but whenever I needed something, I’d have to pull everything out and then shove everything back into a chaotic pile. It was annoying. The garage does have this little workshop area in the back with a workbench, but it too basically turned into my junk room.
So last month I decided it was time to do something about it.
But I didn’t know where to start.
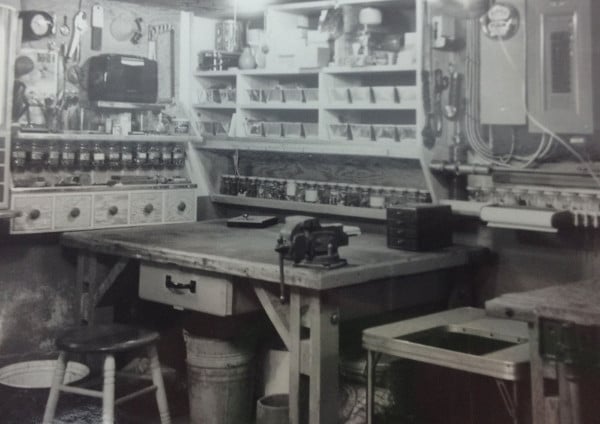
Luckily, my father-in-law, Rick Surwilo, has one of the most organized garages I’ve ever seen. He’s been able to maximize every bit of space in his so that he can fit his and my mother-in-law’s car in there along with tools, ladders, a wheelbarrow, paint cans, scrap pieces of wood, and even two fridges (one’s a mini).
So I asked him if he’d help me out and he was happy to oblige.
In the course of two weekends and with a little help from my son Gus, we were able to get my garage into tip-top shape. For those of you who have a “system” like the one I had until recently, I share what I did in the hopes that it can provide some inspiration for organizing your own garage.
Organize Your Garage As Soon As You Move In
My first tip for garage organization is to do it as soon as you move into your house. One of the reasons I put off organizing my garage for so long is that I felt like I didn’t have to because I didn’t have much stuff to store. But before I knew it, I had a full garage of tools and whatnot, but no place to put things. Even if you don’t have a lot of stuff in your garage when you first move in, put in shelves and racks. Sure, they might be empty for awhile, but they’ll fill up quickly with things you need to maintain your abode.
Put Up 1×12 Wall Shelves
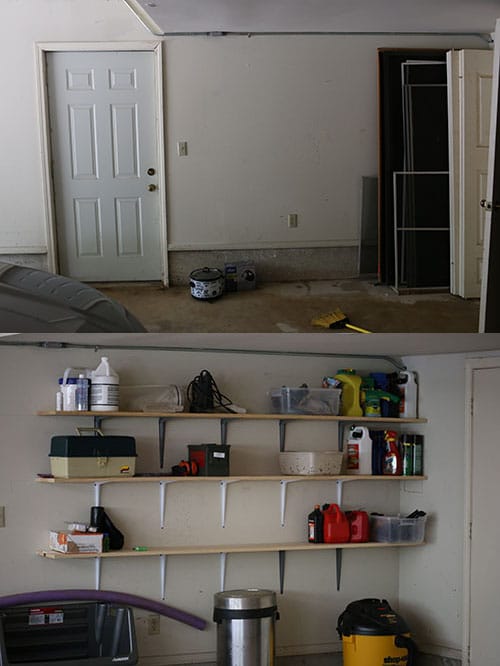
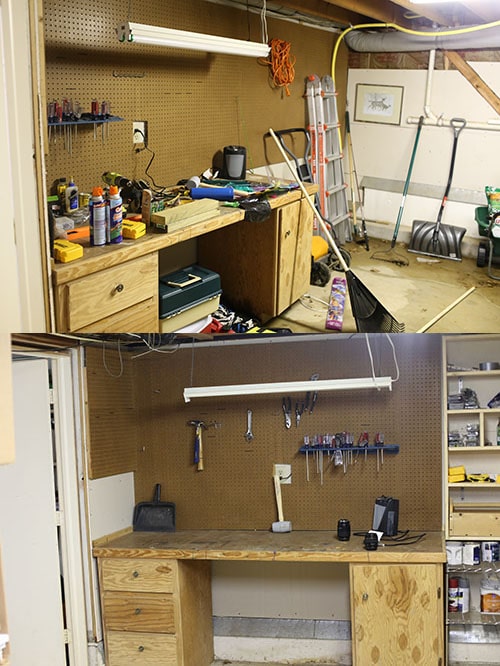
Before and after. I’ve been meaning to make homemade shaving cream in that random crockpot in the top photo, but I haven’t gotten around to it yet.
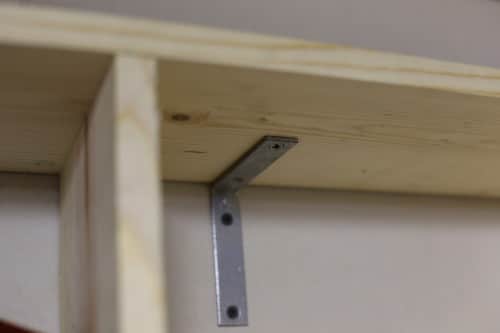
The cheapest way to add storage space in your garage is to make shelves with some shelf brackets and 8-foot-long 1×12 boards. Rick has these all over his garage. I put in four along one wall in my garage, and I’ll probably be putting more of these up in the years to come.
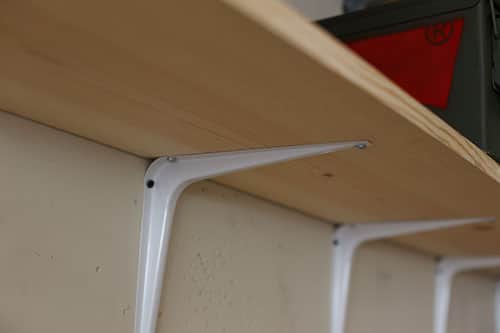
Installation is pretty simple. Just screw the brackets into your wall studs (I used 5 for each shelf). Place the 1×12 board on top of the brackets. Screw the brackets into the board. Instant shelves.
Install a Rack For Shovels, Rakes, Brooms, Etc.
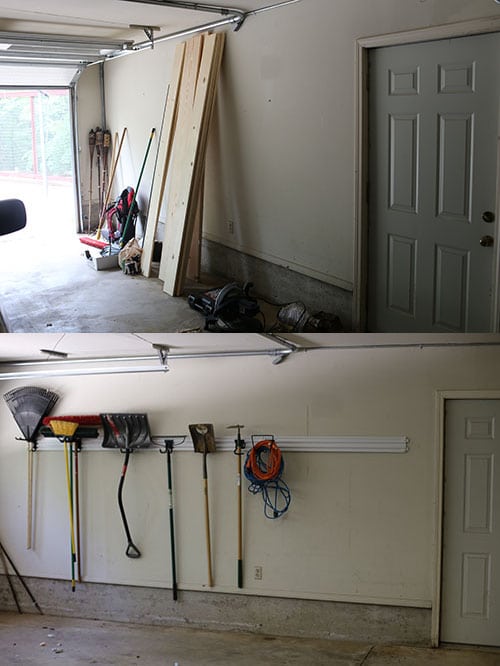
Before and after.
Season after season, my rakes, shovels, hoes, and brooms sat in the corner of my workshop. Getting the tool I needed was a hassle. It required pulling out all those that I didn’t need to get to the one I wanted.
In his garage, Rick has a rack system from Husky in place where each tool hangs individually. Getting the tool you want is a breeze and they’re off the floor. I wanted the same system.
We mounted the rack from Husky to my wall and then added the hanging attachments. Pretty easy, and I’ve still got space on my rack to add more tools.
Make a Cubbyhole Shelf
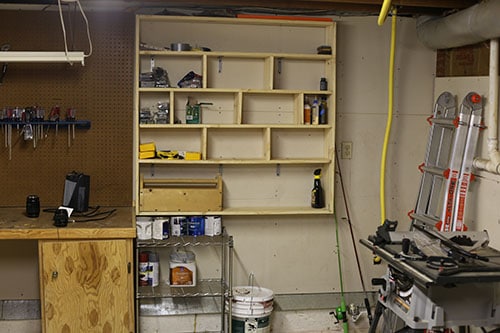
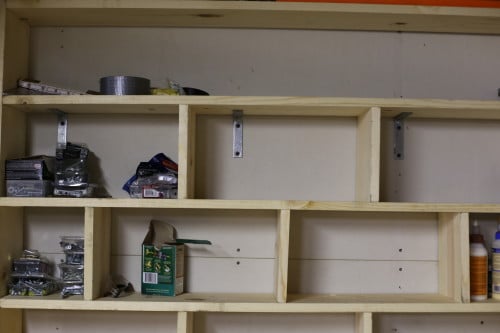
My biggest issue with the workshop area is that in the past few years I had amassed a large collection of screws, nails, wood glues, and other doodads, but didn’t really have a place to put them; they just sat on my workbench taking up valuable space. In his garage, Rick had solved the problem of expanding and encroaching doodads by building what he calls a cubbyhole shelf. It’s essentially a frame with horizontal shelves going across, divided by little vertical shelves every now and then. You basically just create little cubbies.
It’s pretty easy to put together. Here’s what you’ll need:
- 1x8s (number to be determined by how big your overall frame is going to be plus the number of shelves you want)
- Wood screws
- (8) 1 ½” corner braces
- (6) 4” corner braces
- L-brackets
- Drill
Construction is a snap. The unit we created is a 4′ x 4′ square.
Cut your 1x8s to the appropriate length. I was able to get two 4′ boards out of a single 10-foot 1×8.
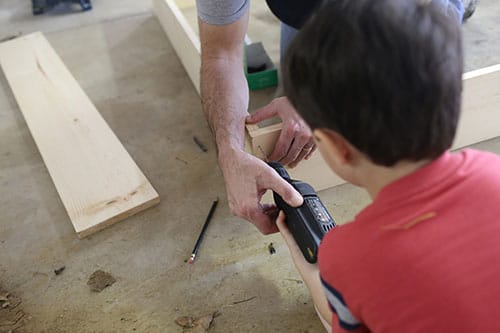
Gus helping Jaju drill pilot holes into the cubbyhole frame.
Screw the boards together to create the frame, minus the top board; hold off on that for now. Drilling pilot holes first helps make driving the screws easier.
Once you have the frame built, reinforce it by placing a couple 1 ½” corner braces in each corner of the bottom of the frame.
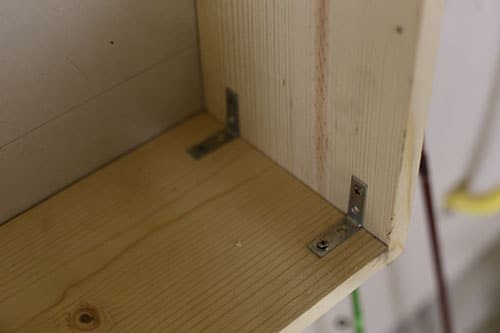
Corner braces in the bottom part of the frame.
Now we add another shelf. First, put in the vertical dividers. You’ll need to decide how many cubbies you want and how tall you want the shelf space. For the first row, I wanted three cubbies that were 8″ high, so I cut two dividers out of the 1×8 that were 8″ tall. Cut another piece of 1×8 for the shelf, and screw it all in.
Repeat the process until you get to the top of the shelving unit and then add the top of the frame.
Again, the dimensions you use and the material you’ll need will vary depending on your own garage. Adjust these plans as necessary.
Mounting the cubby shelves was simple. We just screwed in six 4” corner braces into the studs in my wall and then mounted the shelving unit onto them. I then screwed the brackets to the shelving unit like so:
Workbench before and after. Adding in the cubby shelves freed up a lot of space, and the total cost was only about $20.
Add Shelving Units Where Needed
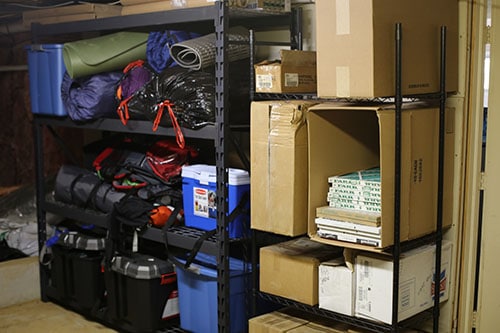
In addition to the wall-mounted shelves, Rick has some stand-alone shelving units in his garage. He built one from scrap wood (very much like the basement shelves we showed you how to build a few years ago) and he bought another from the hardware store. Rick was game for building me a big wood shelving unit, but he said that they have so many great pre-fab metal shelves these days that he recommend just buying one. So that’s what I did.
I needed a big shelf for all our camping gear. I had grown tired of hauling it out of the garage’s little closet. I wanted easier access, so I bought a shelf from Husky from Home Depot. I’ve got all my camping gear in there as well as some tubs full of Christmas lights and sports equipment.
Next to that shelving unit I put in a smaller metal unit for some boxes of tile and air filters that were taking up valuable floor space in the workshop.

I also bought one more small unit and put it beneath my cubbies for paint.
The amount of floor space those shelves freed up is amazing.
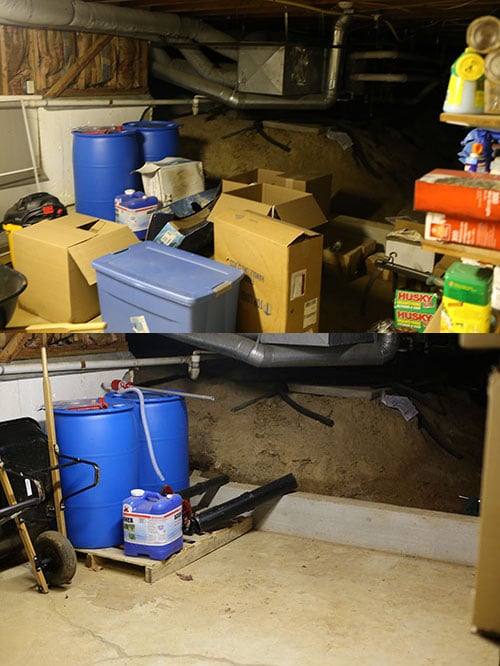
Back of the workshop before and after. Those blue jugs are filled with a supply of emergency water. Not human bodies, I assure you.
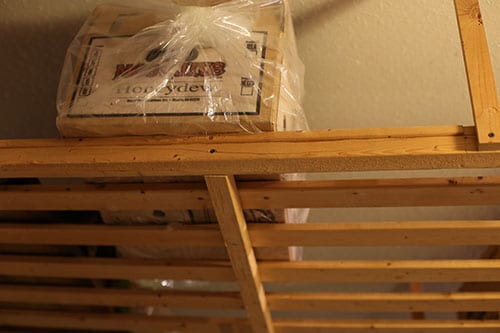
Hang Ceiling Racks

Rick’s ceiling racks. They’re great for storing stuff like scrap wood and skis. The adjacent hooks can hold a bike.
One garage organizing trick that Rick has in place is wooden ceiling racks. It’s where Rick keeps all his scrap wood from previous projects and other things that don’t fit elsewhere. You could even put some storage tubs up there if needed. I didn’t install any of these because my garage ceiling is so low.
Construction isn’t too difficult. Rick made them from 1x2s and 2x2s. He placed some corner braces in the corners for added reinforcement, and used additional corner braces to mount the entire rack to the ceiling. Here are some close-up pics for those who’d like to take a stab at it themselves.


I hope this provided some insight and inspiration to help you get your garage in order. If you’ve got any tips on organizing your garage, please share them in the comments!