The Yankee boy, before he’s sent to school,
Well knows the mysteries of that magic tool,
The pocket-knife. To that his wistful eye
Turns, while he hears his mother’s lullaby;His hoarded cents he gladly gives to get it,
Then leaves no stone unturned till he can whet it;
And in the education of the lad
No little part that implement hath had.
His pocket-knife to the young whittler brings
A growing knowledge of material things.Projectiles, music, and the sculptor’s art,
His chestnut whistle and his shingle dart,
His elder pop-gun with its hickory rod,
Its sharp explosion and rebounding wad,
His corn-stalk fiddle, and the deeper tone
That murmurs from his pumpkin-stalk trombone,
Conspire to teach the boy. To these succeed
His bow, his arrow of a feathered reed,
His wind-mill, raised the passing breeze to win,
His water-wheel, that turns upon a pin;
Or, if his father lives upon the shore,
You’ll see his ship, “beam ends upon the floor,”
Full rigged, with raking masts, and timbers stanch,
And waiting, near the wash-tub, for a launch.Thus, by his genius and his jack-knife driven,
Ere long he’ll solve you any problem given;
Make any jim-crack, musical or mute,
A plow, a couch, an organ, or a flute;
Make you a locomotive or a clock,
Cut a canal, or build a floating-dock,
Or lead forth Beauty from a marble block—
Make any thing, in short, for sea or shore,
From a child’s rattle to a seventy-four;—
Make it, said I?—ay! when he undertakes it,
He’ll make the thing and the machine that makes it.And when the thing is made—whether it be
To move on earth, in air, or on the sea;
Whether on water, o’er the waves to glide,
Or, upon land to roll, revolve, or slide;
Whether to whirl or jar, to strike or ring,
Whether it be a piston or a spring,
Wheel, pulley, tube sonorous, wood or brass,
The thing designed shall surely come to pass;
For, when his hand’s upon it, you may know
That there’s go in it, and he’ll make it go.“Whittling” by John Pierpont
Whittling is a great pastime for the man who wants to craft something, but may not have the room or tools to say, build a dining room table. Or for the man looking for something meditative to help him center his thoughts. Or simply for the guy who wants to while away time on a camping trip. It’s one of the cheapest and most accessible hobbies you can take up–all you need is a knife and some wood.
I can’t say I ever whittled a pumpkin-straw trombone or a little windmill, but as a boy I did pare many a stray twig into a tiny spear (small, yet surely capable of downing a saber-tooth tiger if needed be).
Now as a grown man I’m always looking for ways to settle my mind and new hobbies to try my hand at. When I think of relaxation, my mind often turns to the old man sitting on the porch in a rocking chair, a knife in one hand, a piece of wood in the other. And so recently I decided to explore my boyhood pastime in greater depth. Today I’d like to share what I’ve learned with you about how to get started with whittling.
What You Need: The Knife and the Wood
The Wood
Softwoods are the best for whittling because they cut nice and easy. After you’ve learned the basics of whittling, feel free to move on to harder woods. No matter which kind of wood you use, look for wood with a straight grain as it is easier to whittle than wood that has the grain going in multiple directions. Avoid wood with lots of knots–those are a booger to whittle.
Check your local lumber yard or woodworking store for whittling wood. Craft stores, like Hobby Lobby, often carry a variety of softwoods that are good for whittling. I picked up all my whittling wood at Hobby Lobby for a few bucks. Just avert your eyes from the fake flowers and wicker baskets as you shop.
Below I’ve included a short list of the most popular whittling woods.
Basswood. Basswood has been used for millennia for woodcarving. During the Middle Ages, it was the preferred wood of German sculptors who crafted elaborate altar pieces. It’s a good wood to whittle with because it’s soft and doesn’t have much grain. You can pick up basswood blocks in various sizes at your local craft store for a reasonable price.
Pine. Pine is another traditional whittling wood. It’s soft, cuts easily, and is readily available. But it has its drawbacks. Some whittlers think pine doesn’t hold detail very well. And if you’re using a fresh pine twig or branch, you’ll have to regularly clean the sticky sap off your knife while you’re whittling.
Balsa. Balsa wood is a soft, inexpensive, lightweight wood that’s perfect for beginning whittlers. You can buy it by the boatloads at craft stores like Hobby Lobby for pretty cheap. I picked up 9 blocks of balsa wood for a little under $4.
Random twigs and branches. You don’t need a pre-cut block of wood to whittle. Twigs and branches from most kinds of trees make for great whittling. There’s nothing more enjoyable than sitting around a campfire and whittling away at a twig while you talk to your buddies. Wooden knives are a popular item to whittle from a tree branch.
The Knife

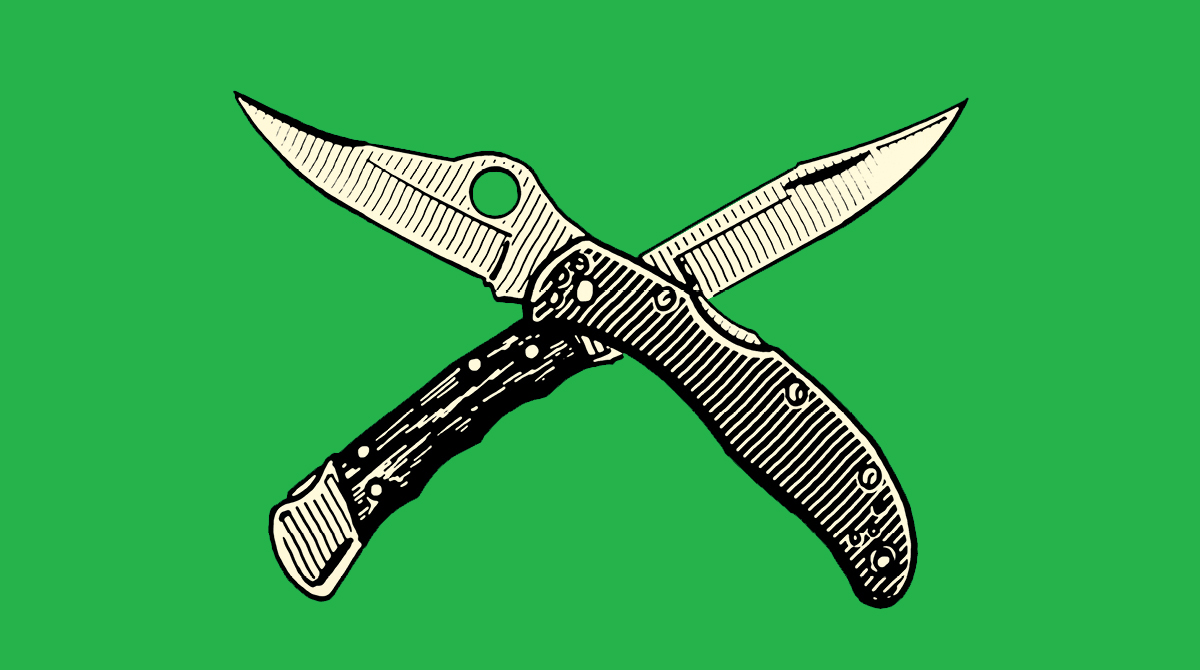
Pocket Knife. For generations, whittlers have used nothing but their trusty pocket knife to create ruggedly handsome works of art. And some whittling purists will argue that the pocket knife is the only acceptable tool for true whittling. Pocket knives are certainly an excellent choice because they’re so portable. Anytime you find a good piece of wood, you can just whip out your pocket knife and start sculpting your wooden masterpiece. Another benefit of pocket knives is that they provide multiple blade types in a single knife. When you need to do some more intricate carving, you can simply open up your smaller more flexible blade. Need to make bigger cuts? Use the larger knife blade.

Specialty whittling knives. Several types of specialty whittling knives exist on the market today. Unlike pocket knives, they’re fixed blade, meaning they don’t fold. Fixed blades offer a bit more sturdiness than what you get with a folding knife. Another nice feature of specialty whittling knives is that they often have curved handles that fit comfortably in your hand to help reduce fatigue during long whittling sessions.
Flexcut offers a wide selection of different kinds of whittling knives, and I bought this starter set from them. I’ve been happy with the knives. They hold an edge nicely and are easy to sharpen. The ergonomically shaped handle does indeed help reduce hand fatigue compared to carving with a pocket knife.
It’s nice to have a set of specialty whittling knives for when you’re whittling at home, while using your pocket knife for whittling sessions on the go.
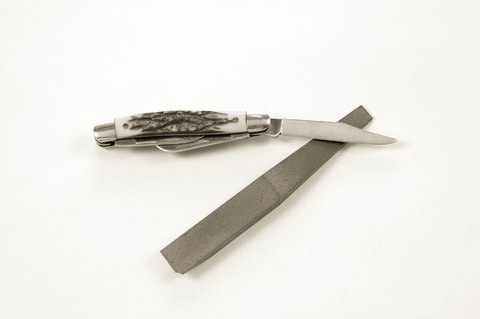
The First Rule of Whittling: Keep Your Knife Sharp

If you want your whittling experience to be pleasurable and relaxing, keep your knife sharp. The first time I tried my hand at whittling, I noticed that the wood was getting harder and harder to cut. I figured it must have been the wood, so I just soldiered on, applying more and more pressure with the knife. After my hands started aching something fierce, it finally dawned on me that my knife probably needed some sharpening.
After a few strokes on the sharpening stone and strop, I started carving again. It was like I was carving a warm block of butter. The blade glided right through the wood.
Now, whenever I feel the wood getting harder to cut, I stop and sharpen my knife.
Don’t know how to sharpen a knife? No worries. We’ve got you covered:
Whittling Safety, or How Not To Get Blood All Over Your Project
The first time I attempted some serious whittling (not just carving a twig into a spear point), I kind of went at it with reckless abandon. I thought, “Hey, I’ve used knives my whole life. I’m pretty sure I can carve this piece of wood without coming close to cutting myself.”
Pride goeth before the fall.
About five minutes in, the knife blade slipped from the wood and went right into my thumb, opening up a nice-sized cut. I pressed on, but I ended up getting blood all over my project. Another ten minutes in, the blade skipped off a knot and glanced my index finger. More blood. At this point, my wood was slippery with hemoglobin, so I had to stop.
To avoid the same bloody fate as me, I offer the following whittling safety tips:
Take it slow. No need to rush! Whittling is supposed to be relaxing and meditative. When you get in a hurry with your cuts, that’s when accidents happen. Make every cut slow and controlled.
Keep your knife sharp. Obeying the first rule of whittling will not only ensure better cuts, it will also ensure that you keep all your fingers. Instead of cutting, dull blades have a tendency to glance off the wood and head right towards your hand. While the blade might not be sharp enough to cut wood, it’s usually still sharp enough to cut human flesh.
Wear gloves when you first start. Until you get comfortable with the different knife strokes, I’d recommend wearing a pair of leather work gloves when your first start whittling. Yes, the gloves feel a little cumbersome at first, but you quickly adjust.
If you don’t wear gloves, use a thumb pad. The thumb on your knife-holding hand tends to get the brunt of the nicks and glances. To protect your thumb, wear a thumb pad. They’re really cheap–you can buy leather thumb pads on Amazon for about $1.50. The problem with these is when they wear out, you’ll have to buy another set. Another solution that works just as well is duct tape. Before you start whittling, simply wrap your knife-holding thumb with duct tape. To avoid getting sticky stuff on your thumb, use this technique:
- Wrap one layer of duct tape around your thumb with the sticky side facing out. Wrap it tight enough so it won’t slip off, but not so tight that you lose circulation to your thumb.
- Then wrap a couple of layers of duct tape around your thumb with the sticky side facing in. Four or five layers should do the trick.
Start off with soap. A great way to practice is carving soap. It’s a lot easier than wood and gives you a chance to practice the different techniques. Try carving a turtle out of a soap.
Wood Grain
Sometimes it’s easy to tell the direction of the grain on a piece of wood simply by looking at it. But oftentimes it’s not that obvious. If you’re having a hard time deciphering which way the grain is going, start making some small shallow cuts in your wood. Cuts made with the grain will peel away smoothly; cuts made against the grain will give resistance and eventually split.
Generally, you want most of your cuts to go with the wood’s grain. Cuts against the grain cause your wood to tear, split, and just plain look ugly. Plus, the resistance the wood gives when you cut against the grain makes whittling much more difficult.
Don’t get frustrated if you lose track of which way the grain runs while you’re in the middle of the project. It happens to most people when they’re first getting started with woodworking of any kind. It happened to me at least. Just keep practicing, and you’ll eventually get a feel for figuring out wood grain.
Types of Whittling Cuts
Several cutting styles exist in whittling, but we’ll just stick with the basics for the purposes of this article. The directions assume you’re right-handed. Simply flip them if you’re a southpaw.
Straightaway Rough Cutting

Use this cut at the very beginning of your project to carve your project’s general shape. Hold the wood in your left hand and your knife firmly in your right. Make a long, sweeping cut with the grain and away from your body. Don’t cut too deep or you might split the wood. Make several, thin slices to reduce the wood to the desired size and shape.
Pull Stroke (Pare Cut)

If you’ve ever seen an old-timer whittle, chances are you saw him using the pull stroke. It’s the most used cut in whittling. To perform this cut, imagine you’re paring an apple. Hold the wood in your left hand, the knife in your right with the blade facing towards you. Brace your right thumb against the wood, and squeeze your right fingers in order to draw the blade to your right thumb. Make your stroke short and controlled. Keep your right thumb out of the path of the blade. For added safety, wear a thumb pad.
The pull stroke gives you lots of control over your blade and is best for detailed cuts.
Push Stroke (Thumb Pushing)

Sometimes where you want to cut won’t allow you to do the pull stroke. That’s when it’s time to bust out the push stroke. Hold the wood in your left hand and the knife firmly in your right hand with the blade facing away from you. Place both your right and left thumbs on the back of the knife blade. Push the blade forward with your left thumb while your right thumb and fingers guide the blade through the wood.
The push stroke, like the pull stroke, gives you greater control over your knife for detailed cuts.
What to Whittle

So you have your tools and wood and know the basic cuts. Now, what to whittle?
For beginners, I’d suggest you keep it simple. Keith Randich, author of Old Time Whittling, suggests beginners whittle an egg as their first project. Yeah, an egg. I know, not very exciting. But a simple project like an egg is a good way to introduce beginning whittlers to the law of wood grains. Here’s a guide to carving your very own wooden egg.
After you’ve mastered the egg, you can move on to some simple patterns. Cowboy boots are a popular whittling project as well as animals. You can buy books with ready-to-go whittling patterns. All you have to do is simply transfer the pattern to your wood and start whittling.
Or you could just sort of wing it and make up your own pattern. I thought it would be cool to whittle a duck’s head, so I took a piece of wood, drew an outline of a duck’s head on both sides of it, and started whittling.

A duck head I started a few days ago. Not great, but it’s turning out better than I thought it would.
After months of practice, you might be ready to move on to the really cool projects like wooden chains or the mysterious ball in the cage. Maybe even one day, you’ll be as awesome as this old-timer:
Whittling Resources
If whittling looks like something you’d like to take up, I highly recommend the following books.
The Little Book of Whittling by Chris Lubkemann. A great book for beginners. Lubkemann’s focus is on whittling branches and twigs. This book has a great guide on how to carve an awesome looking knife from a tree branch. You can see them at his website here.
The Art of Whittling by Walter Faurot. Get this book when you’re ready to move on to advanced projects. It’s filled with patterns like a chain, ball and cage, and even some simple puzzles.