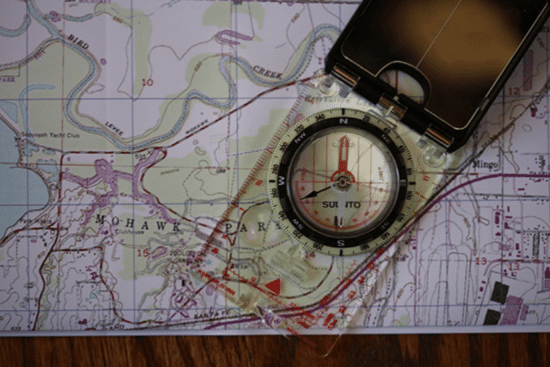
A compass is a valuable tool for outdoor exploration. If you just know the basics of how to use one to find direction, they can be useful for finding your way; if you know how to orient yourself by pairing a map with your compass, you can do a lot more.
Even when someone does know how to use a compass, however, they don’t always understand how this device actually works.
All magnets have two sides, a north pole and a south pole. Each side emits a magnetic field that pulls at opposing poles. When magnets stick together, it’s because of the attraction between north and south poles. When magnets push away from each other, it’s because two like poles (north to north or south to south) are being forced toward each other. As they say, it’s opposites that attract.
The earth itself is a giant magnet. Think of the North and South Poles. Essentially, any magnet on earth is drawn to align itself with the earth’s magnetic field. Compasses work by taking advantage of the earth’s magnetic field. The problem is, that force is fairly weak. So, a magnet sitting on a table will keep sitting on the table instead of flying through the wall to see Santa.
But, when weak magnets are placed in environments where they aren’t impeded by friction, the force of the earth’s magnetic field is strong enough to move them. And when they do move, they’ll align with the earth’s magnetic poles.
When you look at a compass needle, the part that points north is actually the south pole of the compass’ magnet being attracted to the earth’s North pole, and vice versa.
Once you understand the principles of how compasses work, you’ll understand the principles of how to make your own: create a magnet and place it in a low-friction environment. Creating your own compass is a fun science craft to do with your kids, and a nice way to practice a survival skill. With the basic mechanics down, you can use whatever materials you might have on hand in a pinch; for example, the prisoners who participated in WWII’s “Great Escape” manufactured hundreds of compasses by magnetizing slivers of razor blades and making cases from melted and repurposed phonograph records. If outdoors, a compass can be made by laying a magnetized nail, paperclip, or safety pin on a leaf floating in water.
One classic, simple way to create a DIY compass is by using just an old cork, a sewing needle, and a dish of water; it’s a design that mimics the first compasses used in China during the Song dynasty, over a thousand years ago. Here’s how to do it.
How to Make a Compass
Step 1: Make a Cork Disk
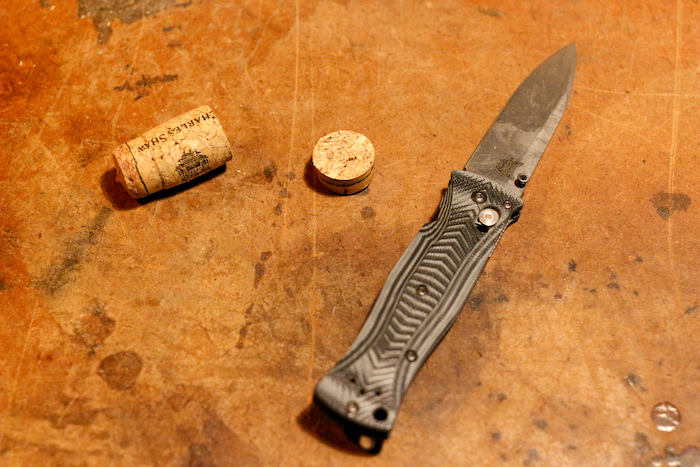
Cut the end off a cork, about 1/4-inch thick, so that you end up with a disk.
Step 2: Magnetize the Needle
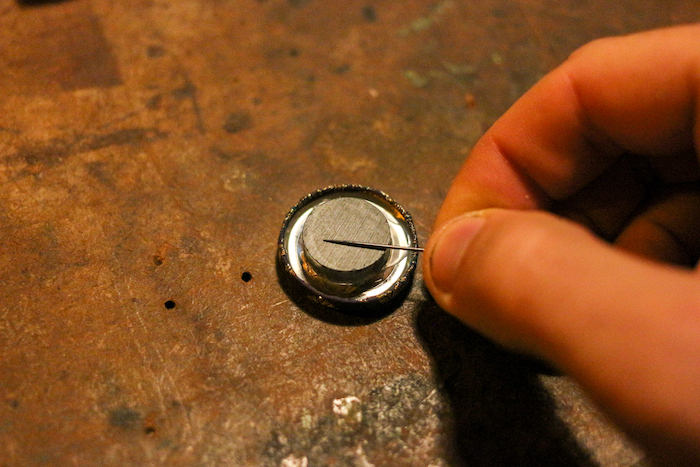
Rub the tip of a sewing needle against a magnet, making all your strokes in the same direction. Any magnet will do, but the stronger it is, the better. With a strong magnet, you may only need to make a few strokes with the needle. If all you’ve got is a standard refrigerator magnet, rub the tip of the needle against it up to 50 times. Your needle is now magnetized.
Step 3: Push the Needle Through the Cork

Push the needle through the edge of your cork disk and through the other side. You may want to use a pair of pliers for this part.
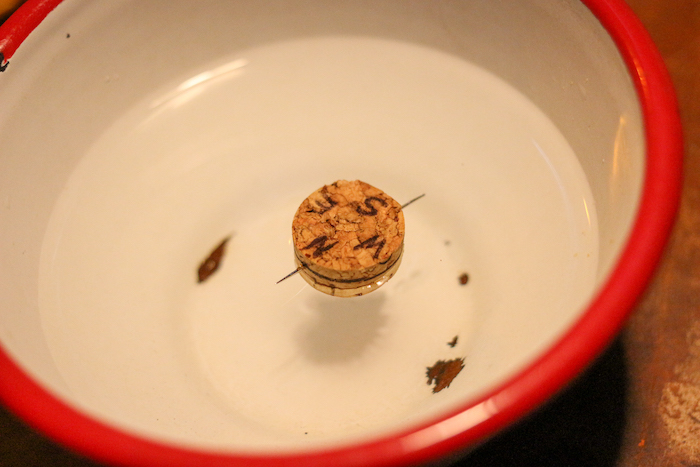
Step 4: Place in Water and Verify
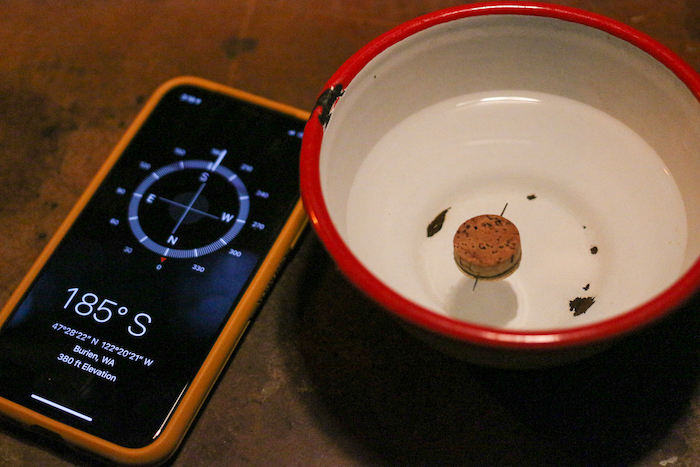
Fill a small bowl with water and set your compass in it. The cork will allow the needle to float and the water will ensure a low-friction environment for the needle to spin and align with the earth’s magnetic field. The magnetized end will point either north or south, depending on which of the earth’s poles you live closest to. Use another compass to verify which end of your needle is pointing north.
If you’re making a compass because you don’t have a compass, you can orient it by noting where the sun sets (or rises). Once you know east or west, you’ll know which end of the needle is pointing north. If possible, mark this end with a Sharpie, for future reference. To avoid these steps, it’s better to use a needle with distinct ends (one end is an eye; the other a point).
Step 5: Finish by Labeling
Finally, label your compass. Keep in mind that your homemade magnet is only temporary. Whenever you want to use it, you’ll need to rub it against a magnet again.