Several years ago, I worked with my electrical engineer brother-in-law, Ryan Davis, on an article about how to turn an old-timey radio into an MP3 player.
It’s an easy weekend project, but one of the skills you’ll need to have to complete it is knowing how to solder.
Soldering (pronounced SAW-DER-ING) is used to connect two metal objects together by melting a filler metal called soder between them. Solder has a low-melting temperature and it also turns back to a solid within seconds, making it the perfect “glue” for piecing together small metal bits.
Soldering is like welding, but with this difference: in welding, you melt the metal objects you wish to connect together; in soldering, you’re using a filler metal to join the metal objects.
If you decide to take up any sort of hobby involving electronics, you’ll need to know how to solder. With soldering, you can make robots, radios, amplifiers, and a whole host of Arduino projects.
While soldering might look difficult and intimidating, it’s surprisingly easy and forgiving.
Below Ryan helps walk us through the basics of this DIY skill.
The Tools You Need to Solder
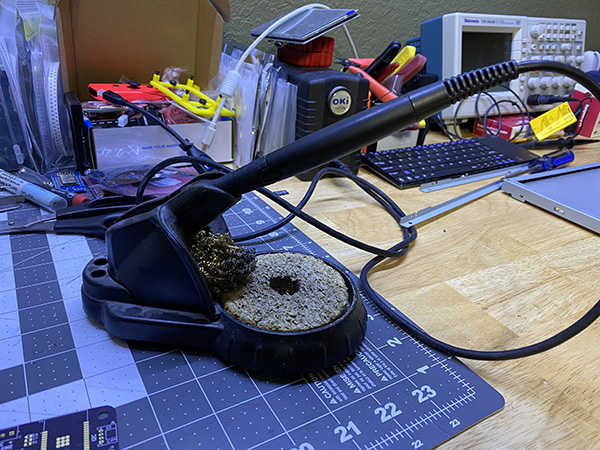
Soldering Iron. A soldering iron is what melts the solder. You don’t need anything fancy here. A decent soldering iron will set you back $20 to $30.
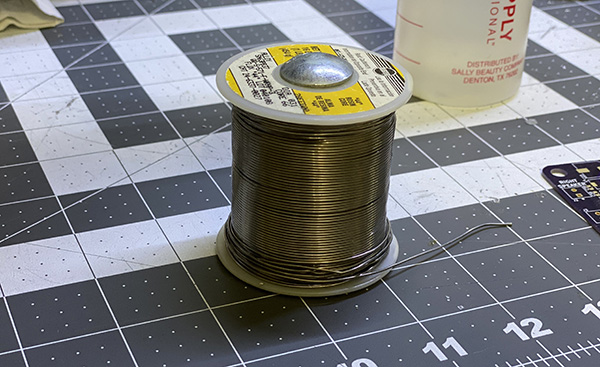
Solder. Solder is a metal alloy made of tin and lead (~60% tin/40% lead). Solder used to fuse electrical components has a rosin flux core. When you heat up solder with your soldering iron, the rosin melts first, and flows around what you want to solder, removing surface oxidation, and priming the surface for stronger intermetallic bonds.
For most electrical projects, you don’t need very thick solder. Wire with a .032 inch diameter works best.
Wet Sponge. The tip of your soldering iron will oxidize as you work with it. That rust on the tip will block the flow of heat from the soldering iron which will in turn prevent you from making a clean solder. That’s why before each soldering connection you make, you want to use a wet sponge to clean off the tip. A lot of soldering irons come with a little holder for your wet sponge. You’ll know your tip is clean when it’s nice and shiny.

Micro Wire Flush Cutters. You’ll use this tool to clip excess component leads (see below). You can also use it to strip wire.
Basic Soldering Techniques
The very basics of soldering are the same no matter what kind of project you’re working on: Heat the metal surfaces of two objects, apply the solder, and let cool. But the approach you take to employ these steps will depend on the kind of objects you’re soldering together. Below are three main techniques you’ll employ.
Through-Hole Soldering
You use through-hole soldering when connecting a resistor or socket to a printed circuit board (PCB).
Most DIY electronic projects will involve a PCB. It’s a fiberglass board with conductive tracks and pads etched on it. The tracks and pads are made of copper. You solder lead components (things like resistors, LEDs, sockets, and capacitors) to the pads. Basically, anytime you put something through a hole, you’re through-hole soldering.
In this example, Ryan is soldering a socket to a PCB board that he uses to make amps to convert old radios into MP3 players.
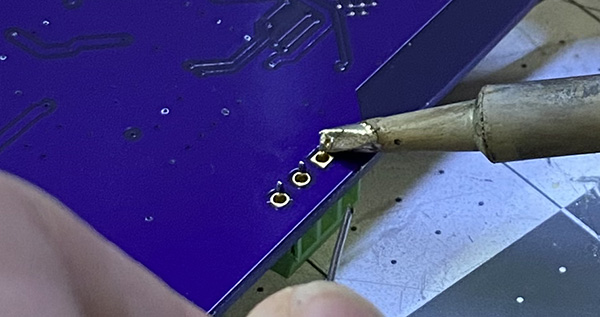
Place your lead component through the hole. Touch the clean tip of your hot soldering iron to both the pad and the tip of the lead you want to solder to the PCB. Hold it there for one second so both components heat up.

Place about 1 to 3 mm of solder between the lead and the pad, where it will melt against the heated components.
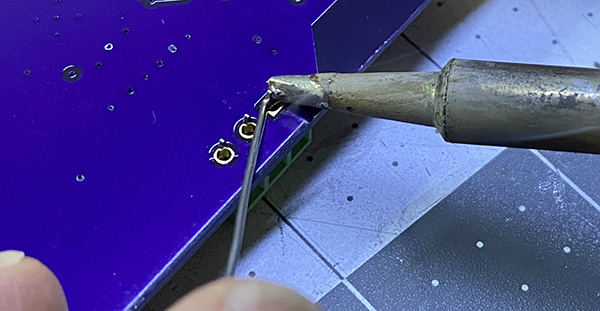
Remove the solder wire from the pad, but continue to hold the tip of your soldering iron on the pad and the lead for another second. This will allow the solder to flow all the way around the pad and the lead to create a solid joint.
Remove the tip of your soldering iron and clean it on a wet sponge. Repeat on remaining pads and lead pins.
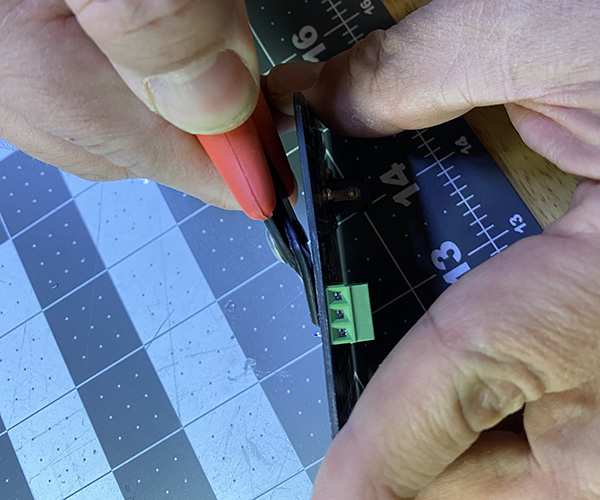
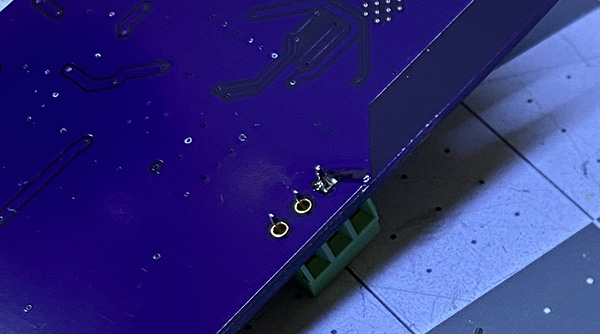
Clip pins with micro flush cutters to create a flush surface.
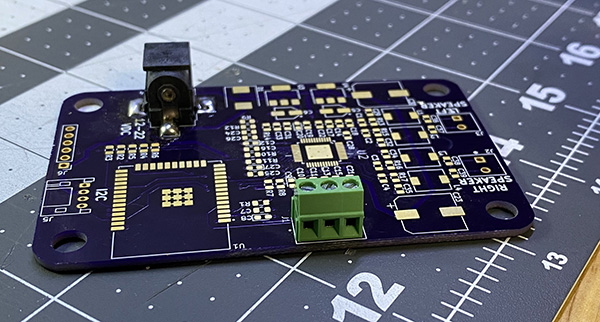
Socket securely soldered in place.
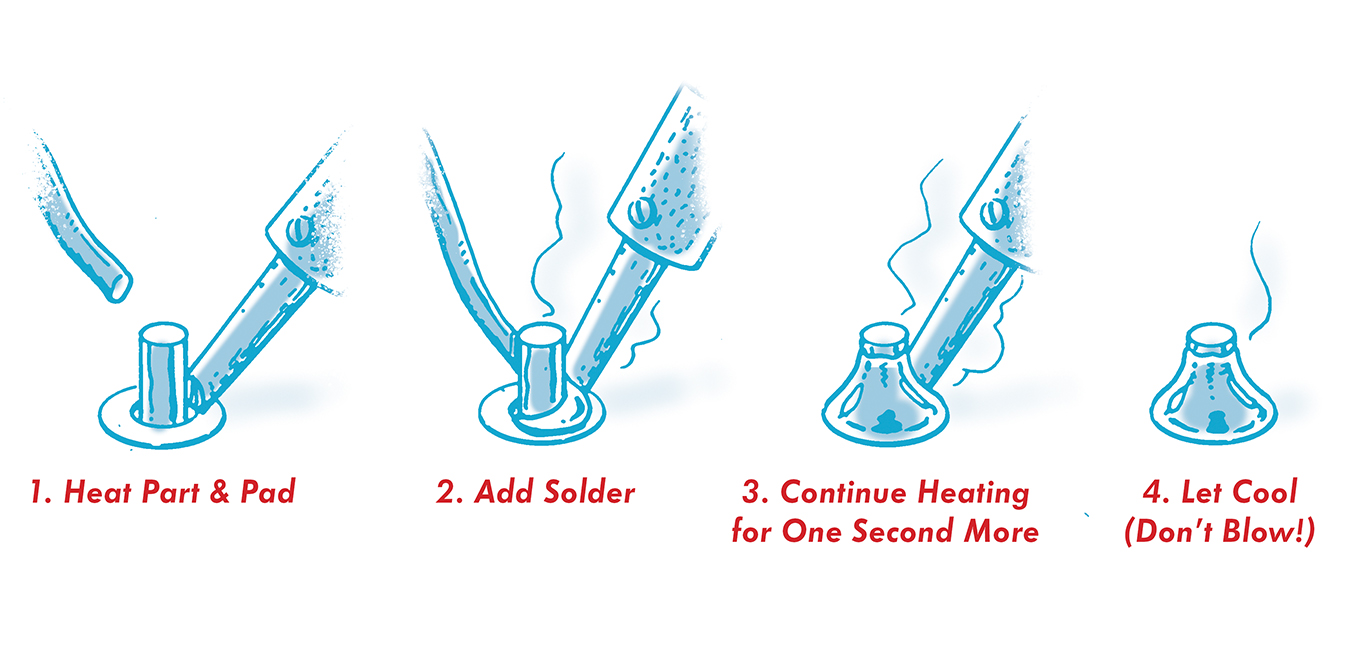
Here’s an illustration to help you more clearly understand what was going on in the above steps.
What a Good and Bad Solder Joint Looks Like
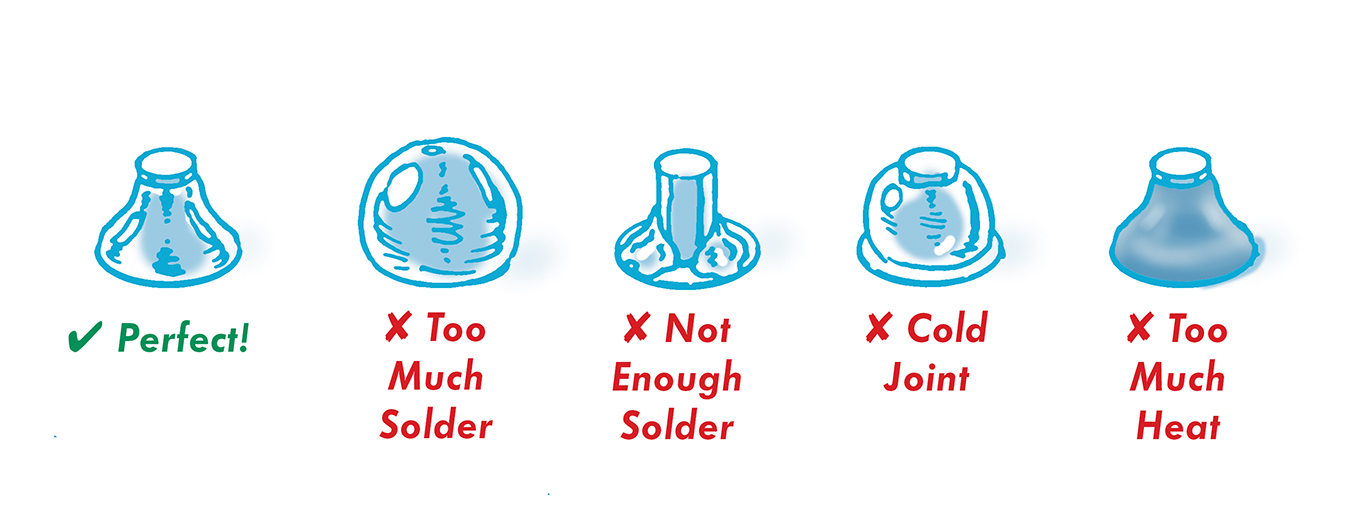
A good solder joint totally covers the pad and surrounds the joint. If you looked at it under a microscope, it would look like a little volcano or mountain.
If the solder 1) looks like a big metal blob, 2) doesn’t cover the pad, or 3) looks dull and cracky, you’ve got a bad joint.
No worries if that’s the case! Just heat up the solder with your soldering iron and flick it off. Try again. Easy peasy.
As mentioned above, soldering is pretty forgiving. As long as your solder joint looks roughly concave around the lead tip, you’ve got a good joint.
Surface Mount Soldering
Some components you solder to a board are just soldered to the surface. They don’t go through a hole.
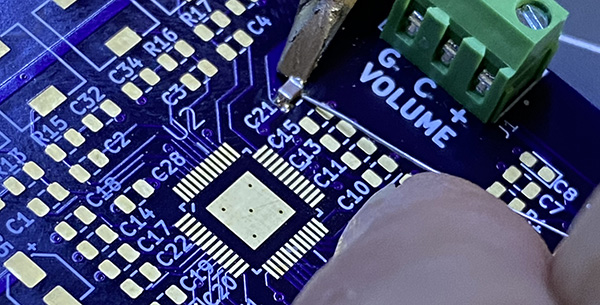
Ryan shows us how to surface mount solder by surface mount soldering a capacitor to a PCB.
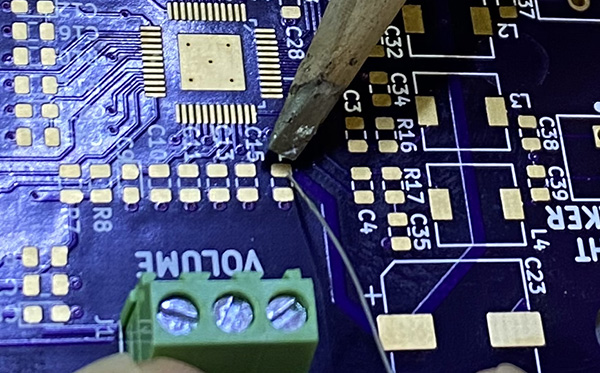
Place the tip of the soldering iron on a copper pad and heat it up. Then place a bit of solder on the pad and let it melt.
You’ll be left with a surface of solder covering the copper pad.
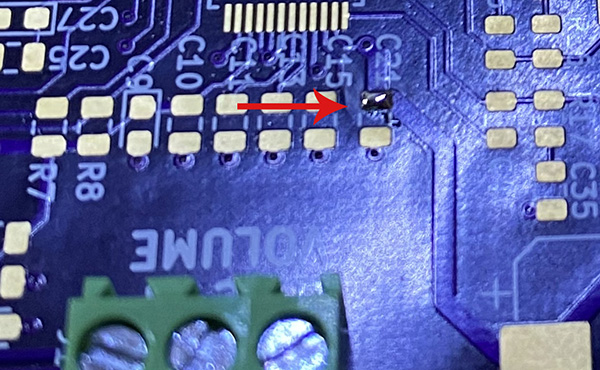
Place the capacitor you’re wanting to solder onto the solder-covered pad. Place the tip of the soldering iron to one side of the capacitor and hold for one second.

You’ve soldered one side. For a secure joint, you’ll want to solder the other side.
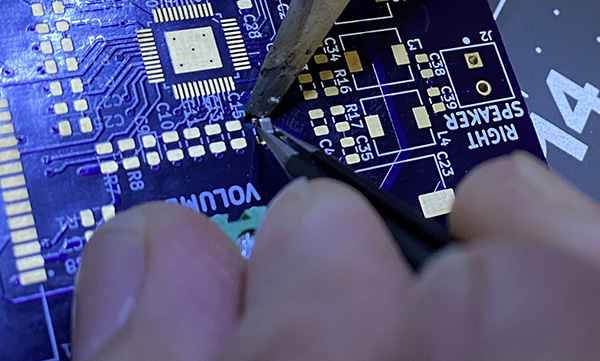
Place the tip of the iron next to the capacitor and place a bit of solder in between the two.
Wire Soldering
You can also use soldering to fuse two wires together.
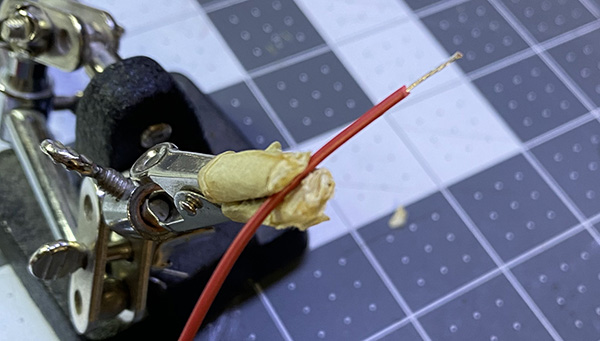
Using a wire stripper (or your micro flush cutters), strip about half an inch of plastic insulation away from the ends of both wires.
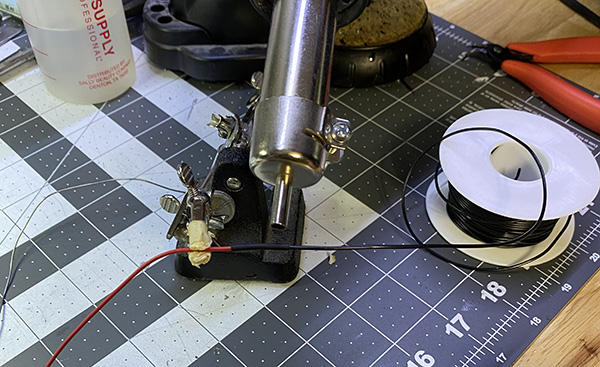
Ryan likes to use these little roach clip things to hold one of the wires. It makes the job easier.
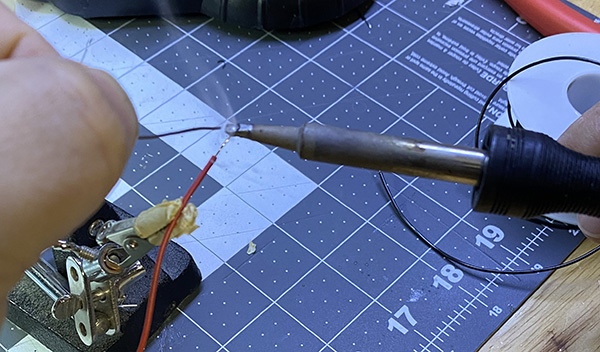
Heat the end of one wire and coat it with solder. This is called “tinning” the wire. Also do that to the end of the other wire.
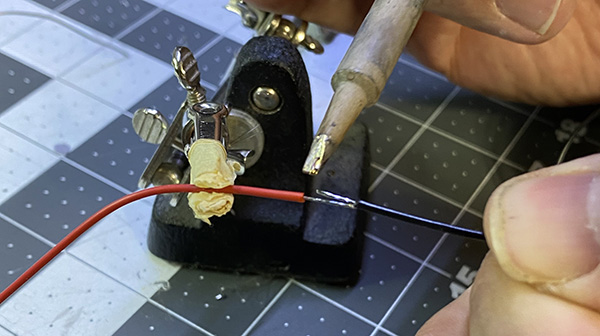
Place wire tips together. Then press the tip of the soldering iron on both ends. The solder on both ends will melt. Remove the iron and hold wires in place so they can cool and fuse together.
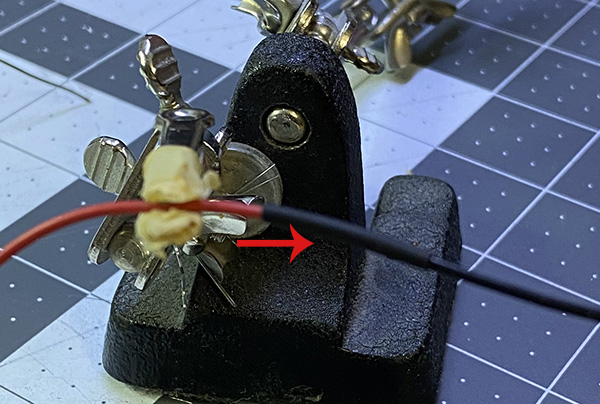
You can put electric tape around the exposed wire. Or you can put some heat shrink tube on one end of the wires before you solder them together. After you’ve soldered the wires together, slide the heat shrink tube over the exposed wires. You can use a lighter to heat up the tube and it will shrink around the newly-fused wire.
Ryan used his hot air solder gun to do the job. A hot air soldering gun is used primarily for reworking surface-mounted components. It’s a nice tool to have as you get more advanced with your electrical projects.