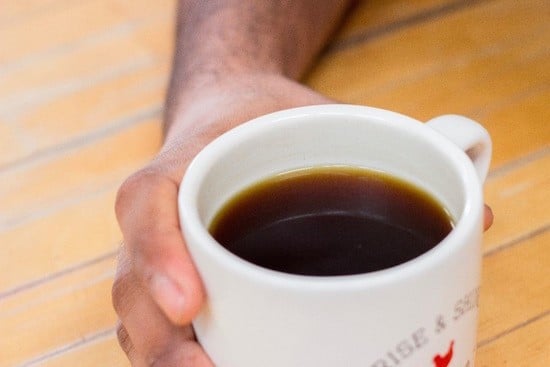
No matter the season, I like to start my day with a hot cup of coffee. Even in the summer, mornings in Colorado can be nippy and sipping a cozy mug of joe perennially remains a welcome a.m. ritual.
But in the warm weather months, the temperature can get toasty as the day wears on, and I often get my afternoon caffeine fix with a cup of cold brew coffee. Chilled and less acidic than its hot counterpart, it’s a great alternative to water or soda, and quite refreshing.
You may have noticed that in recent years, cold coffee has become an ubiquitous menu item at American cafes. But it’s actually been around a long time, and while you’d be forgiven for thinking there’s some sort of alchemy involved in creating a drink that’s definitely coffee, and yet decidedly different from your average joe, it’s very easy to make at home. Even easier than most hot coffee-making methods, in fact.
When cold brew coffee is prepared ahead in a pitcher or mason jar in your fridge, having a glass is as convenient as pouring it out over ice and adding some water (also milk and/or sugar if that’s your thing). Refreshing, easy, fast, caffeinated — it might be the best thing to happen to your morning (or afternoon) coffee routine. Here’s how to make a glass, or several, yourself. (Here’s a review of an instant iced coffee that tastes pretty darn good!)
1. Gather Your Ingredients/Supplies
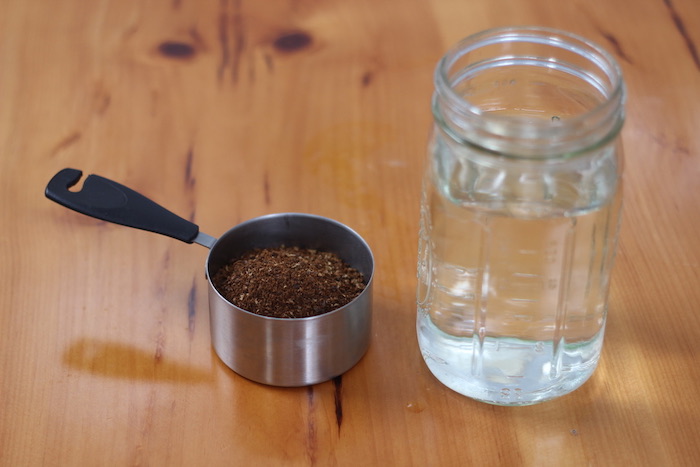
All you need to make cold brew coffee is water, coffee grounds, a storage vessel, and some sort of straining system. A few notes on these things:
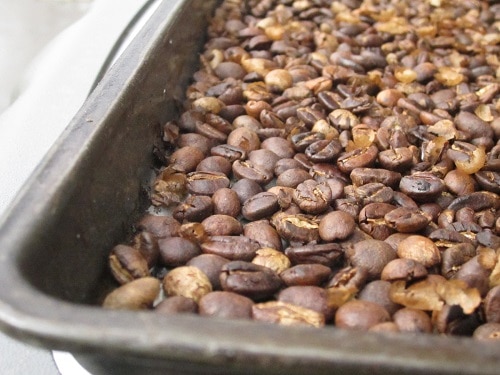
Coffee. For the coffee itself, it’s best to use a darker roast. Whole bean, freshly and coarsely ground, is always preferred, but any will do. While you’d think my home-roasted coffee would be great here, I’ve found it’s actually too light and there isn’t quite enough flavor. Something store-bought and dark is actually better. (The same holds true for using coffee in cocktails.)
Storage. A large mason jar or small pitcher is perfect; it just depends on how much you want to make. I’ve found a 3-cup mason jar to be the perfect vessel.
Straining. You’ll want some sort of option for straining that will provide a clean final product with no sediment. I use a cheesecloth placed inside a mesh strainer. You can also use paper coffee filters. In a pinch, paper towels can even work.
2. Combine Coffee and Water
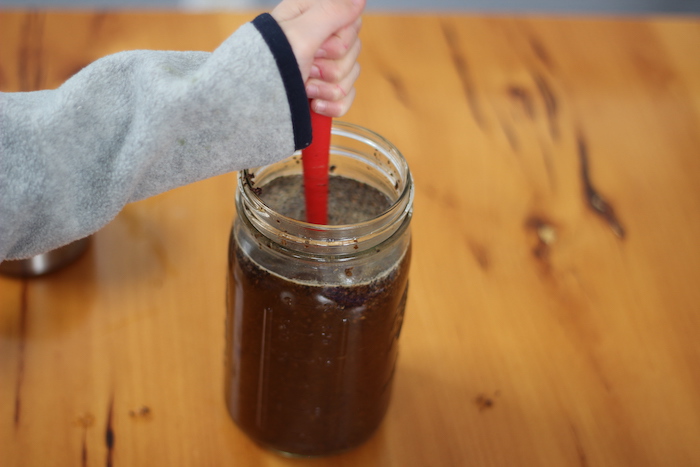
So easy even your 4-year-old can do it.
In your container, use a ratio or 1/3-1/2 cup coffee grounds with 1 1/2 cups water. I double this for my 3-cup mason jar. Stir well.
When making cold brew at home, you’re actually making a concentrate that should be mixed with water (and possibly some creamer/milk) when served. So how much coffee you add to the water here at this initial phase determines the strength of the concentrate and how much additional liquid you’ll want/need to add come serving time.
3. Steep 12-18 Hours
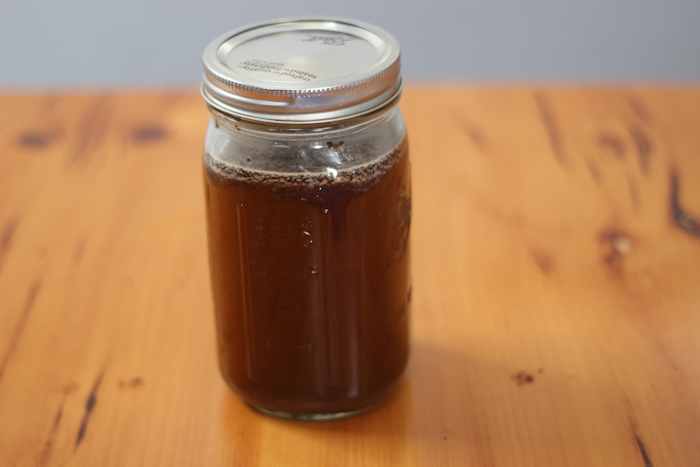
Let the container sit at room temperature for 12-18 hours. Less than that, and the concentrate isn’t quite flavorful enough. Beyond that time frame, it’s a little too acidic. There is definitely a sweet spot here that should be mostly adhered to.
4. Strain
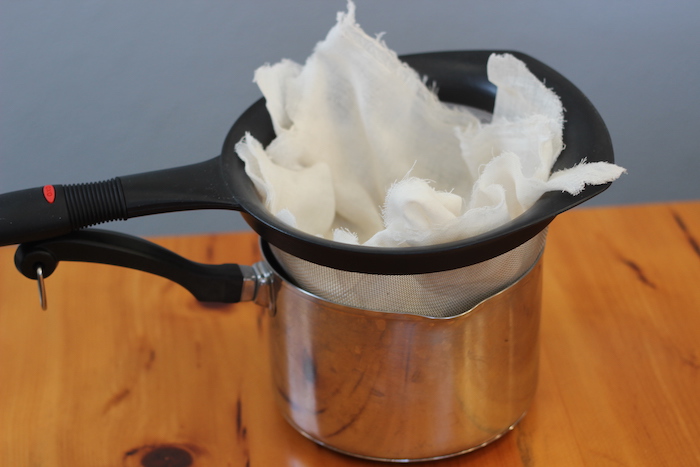
The straining setup I use. It’s a couple layers of cheesecloth inside a mesh strainer. Once strained, I rinse out the mason jar and put the final product back in.
After the steeping period, strain the mixture through the cheesecloth or paper filter. Doing it twice will get even more impurities out, though it’s not strictly necessary.
Now you have your final product! Store in the same container and it should keep for however long it takes you to finish it.
5. Serve
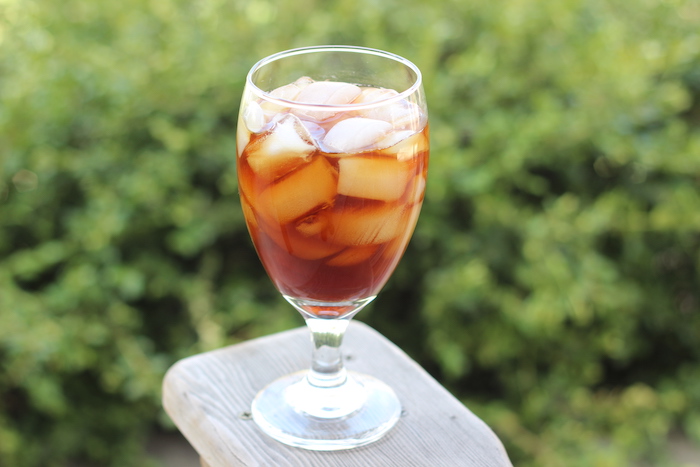
As noted, this is a concentrate that you’re making — sort of the espresso version of cold brew. Most folks will want to add additional liquid in the form of water (and/or some milk, and/or a dash of simple syrup). For the sake of keeping it cool, it’s also good to serve it over ice. It gets a hair watered down by the end, but if you start with a full glass of ice it won’t become too diluted.
Finding your own preference will take some experimenting, but the standard ratio is 1:1 concentrate to water. Start with a couple ounces each to see if you like that ratio, then fill your glass. Add a splash of creamer/milk and even some syrup if you’re feeling crazy.
Since I like my coffee strong, I do more of a 2:1 mix of concentrate to water. I also enjoy it “raw” on some occasions; it provides a nice blast of flavor and energy in the size of an espresso shot. Give it a try.
Don’t spend the hot afternoons of spring and summer beholden to a sugary soda or energy drink to keep you refreshed and caffeinated. Make cold brew coffee at home with minimal active prep time, and you’ll be set until the fall.