Once upon a time in Central Asia, some prehistoric inventor watched his friends trudge through deep snow in hot pursuit of a tasty mammoth. A snowshoe hare went bounding by and the prehistoric equivalent of a light bulb went off.
Homo ingenius slapped a few pieces of wood on the snow and tied them on his feet. Rudimentary, but he got to the mammoth first and got to keep the tusks.
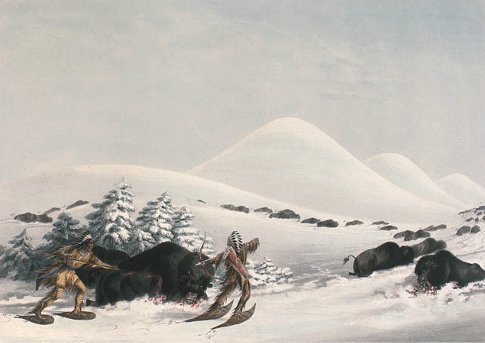
For thousands of years, native people from the North Country have been using snowshoes as four-wheel drive for their feet. Without them they would have been immobile for the winter, which means freezing or starving. For these people, snowshoes were critical to survival. Contrary to popular belief Eskimos didn’t use snowshoes, as they mostly walked on ice. It was further south where deep snow made travel impossible without flotation.
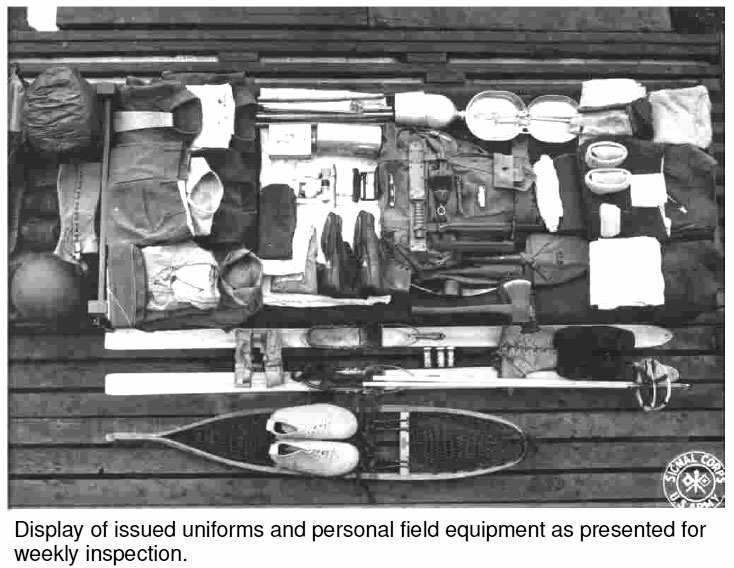
The effectiveness of snowshoes wasn’t lost on the military. When a battle was fought in snow, the better snowshoe won. A few decisive victories were won by the British during the French and Indian Wars due to their superior snowshoes. The famous Tenth Mountain Division was issued both skis and snowshoes as they trained on the slopes of Mount Rainier. Their valor in World War II was well documented and their effectiveness as a fighting force was enhanced by their ability to go where others couldn’t. As I build and repair traditional shoes, I’ve become a bit of a magnet for people who find an old pair of snowshoes in their father’s or grandfather’s garage. More often than not, they’re Army issue from the 10th Mountain Division.
Voyageurs and trappers learned quickly from the indigenous people the benefits of traveling by snowshoe. Even today many trappers still travel this way, using smaller, more maneuverable shoes for working their trap lines. In Scandinavia some postmen even still deliver the mail by snowshoe. Their utility has not diminished with time.
Snowshoe Construction 101
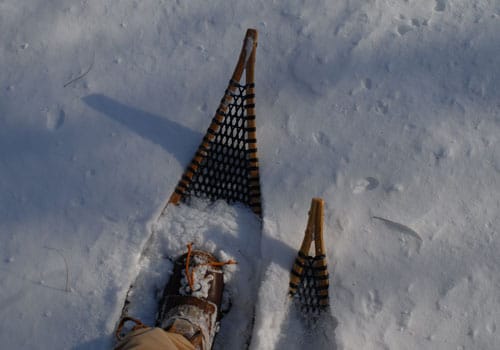
Snowshoes are a simple concept. Weight distributed over a larger area doesn’t sink as much into the snow. I weigh about 200 pounds. My feet are size 10.5. According to my back-of-envelope calculations, one of my hiking boots has about 50 square inches of floatation, or about four pounds per square inch. My traditional laced snowshoe is 12×60, and after a little calculus to calculate the area under the curve, my snowshoes have about 450 square inches of floatation, less than half a pound per square inch. All things being equal, where I might sink to my knees in my boots, I would sink only to my ankles as the snowshoes compress the snow. Below I am walking in 18 inches of snow.
Traditional Snowshoes
Traditional shoes have been made the same way for centuries. The traditional wood for snowshoe frames has always been ash, due to its durability to weight ratio and its relative ease of shaping. Ash staves are split out of a log and worked down to size with a drawknife or crooked knife. These staves are never sawed as it’s important to follow the grain so that when the frame is bent it doesn’t crack. After the staves are shaped, the wood is steamed to soften the lignin, which acts as a glue holding together the wood fibers. Steam it too much and you can cook out the lignin; steam it too little and it won’t bend. It takes a practiced hand and a few ruined frames to learn how to do it.
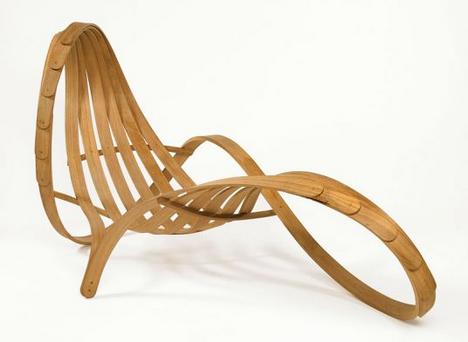
Here’s a chair created by some design students in the UK. Yes, it is wood. Amazing.
Once the wood is soft and flexible, it’s time to clamp it onto a form. The form is just a frame shaped to create your snowshoe in the style you want, with lots of places to clamp the wood in place. This must be done quickly (you have about a minute) or the lignin starts to harden and you may have to re-steam or toss your stave. Let the wood rest on the form for an hour or so and you have a snowshoe frame.
Lacing Your Frames
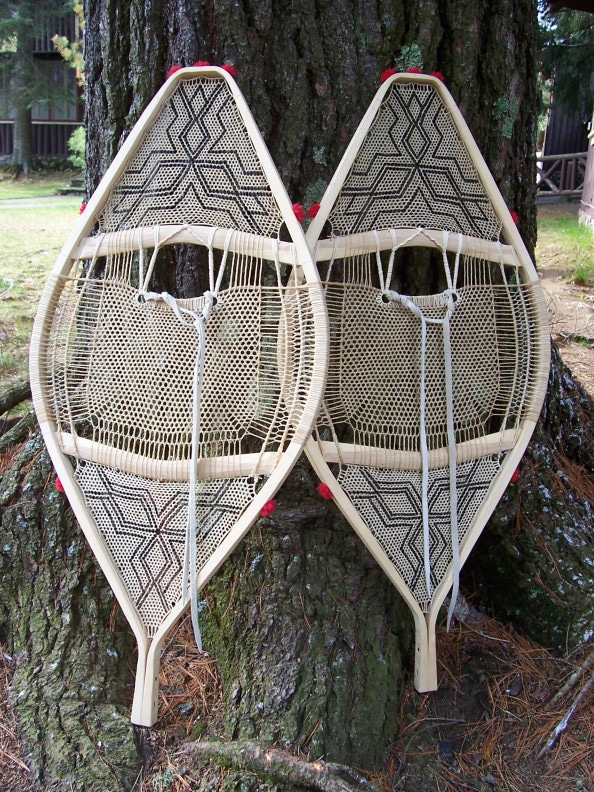
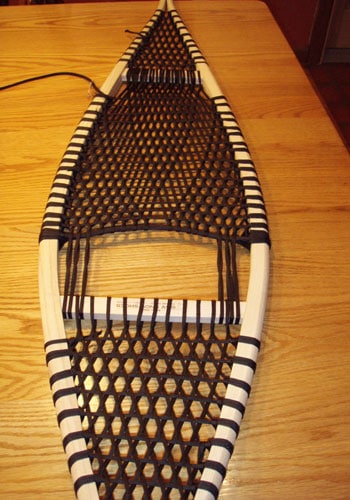
The traditional material for lacing is leather cut into thin strips called babiche. It’s a species of rawhide that softens when soaked in water and hardens as it dries. It can be thick or thin, but whatever it is, lacing with it is like weaving linguini. It takes a practiced hand to weave with babiche.
The patterns can be quite open with thick lacing, or very fine with thin, almost string-like lacing. The tighter the weave, the better the flotation, so for powdery snow a tighter weave is best. Some of the patterns woven by my two favorite shoe builders, the Attimatek and Eastern Cree, are works of art. Function and beauty go together perfectly.
A nice combination of modern and ancient is to use wood frames but a modern material for the lacing. I have used sliced neoprene and flat nylon webbing for lacing shoes, and they both work very well, are more durable, and can be more forgiving. Babiche needs to be kept varnished or it will soften on contact with moisture, and to keep it from wearing out.
Generally the footbed is laced last. This is the area right underneath your foot and is made with thicker and more durable lacing material, whatever it might be. The tips and tails are usually a finer size and have a tighter weave. The pattern is fairly simple and anyone can do it with a little practice.
Whether it be nylon or babiche, the shoes need to be varnished to waterproof both the frames and the lacing. A good spar varnish (from a marina store, not Generic Home Center) is critical as it is more flexible and lasts longer. Just slather it on and keep going until it doesn’t absorb any more.
Bindings
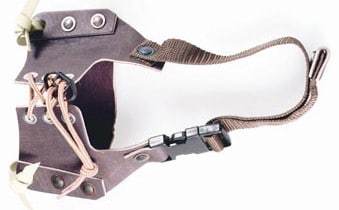
Bindings attach your feet to your shoes, allowing the heel to lift while keeping the ball of your foot right over the pivot point. Bindings range from a simple piece of lamp wick to a formed leather or neoprene harness that hugs your foot. The tails drag, providing a ruddering effect, keeping the shoes facing forward. This binding is a full-grain leather work binding which fastens to the footbed. I like leather because it’s durable and snow doesn’t stick to it, plus it doesn’t get stiff in the cold.
The purpose of this article is not to teach you how to build a pair of shoes but to make you aware of the basics, so you can understand your equipment better and maybe be inspired to make your own. Resources for learning how to build are listed below.
Modern Changes
Modern shoes are a far cry from the wood and leather hand-built snowshoes of the last half dozen millennia. Frames of aluminum and even titanium became the order of the day, with decks made of neoprene or other similar materials. Modern snowshoes come with injection-molded toe pieces and built-in crampons, which are claw-like teeth that grab the snow with a serious bite.
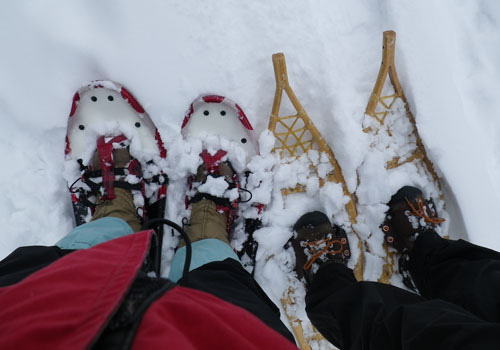
Bindings are more sophisticated too. The shoes on the left in the photo above are moderns from Crescent Moon, and you can see a red plastic binding with two black straps across the top of the boot. The modern bindings really snug down around the foot right over the crampon. They are more complex, and that has advantages and disadvantages. The advantage is adjustability; the disadvantage is that more complex means more things that can break.
But in general the upside of the modern shoe is that they require less maintenance than traditional ones. Metal frames and plastic decks and bindings don’t wear out if used properly. There are other advantages as well. The crampons are excellent for snow conditions where there is a lot of cycling between freezing and thawing, making a surface crust that is slippery for traditional shoes. Because they are smaller and narrower, some people find that their stride is more natural. Models made specifically for running in the snow are available too; they’re as small and light as possible, which means less floatation than a wide shoe, but more mobility.
The downsides? Aesthetics, for one. No one hangs a pair of modern shoes over the fireplace. They can be squeaky in certain conditions, and without the crampons, the deck material is very slippery. And as mentioned, modern shoes tend to be smaller, so you sink a little more in light snow.
I won’t reveal my bias here, as I own both kinds and use them both in different conditions. I can say that in my area of the world where hills are gentle and snow is generally fluffy and untracked, I use traditional shoes. When I travel to hilly places out west, out come the moderns.
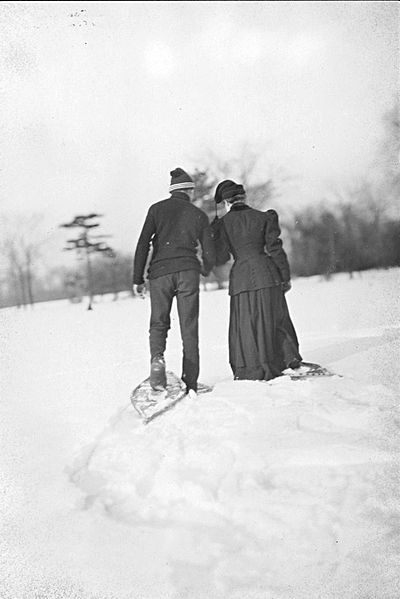
Snowshoeing makes a great date. You should probably tell your gal to come wearing pants though.
What About Using Poles?
I love poles. Even with the most stable snowshoes, poles provide a measure of balance that makes snowshoeing a lot easier for novices, and gives you a little boost up hills. It also adds a little upper body workout and some serious cardio. I also use them sometimes as a sort of impromptu monopod for taking pictures in lower light.
Speaking of which, snowshoeing continues to gain popularity with photographers who love shooting in the winter. Cross-country skiing is great, but if you want to stop and take a picture, slipping and sliding can make it tough to frame a shot.
The Zen of the ‘Shoe
In the fast paced world, we need something to slow us down. Cross-country skiing used to be a fairly leisurely activity, but the Lycra crowd came in with skate skiing and turned it into a very fast-paced sport. Not that there’s anything wrong with that: a nice long skate feels good, like a nice long run feels good. But everything moves faster now.
I’m not sure if the need for slowing down is the reason, but snowshoeing has passed Nordic skiing in its growth and shows no signs of slowing down. I find myself carrying a small pack and walking rather than skiing, checking out the birds, and seeing more than I would if I were focusing on balance and staying on track.
For winter camping, I prefer snowshoeing while pulling a toboggan with all my gear on it. Weight and bulk become non-issues with a toboggan, and camping in a canvas tent with a small woodstove in it is as comfortable as anyone can expect in the wilderness. When it’s 80 degrees warmer inside the tent than outside, it’s almost cheating. Almost.
Try it out. You can build, buy, or borrow a pair and get out there. If you live in warmer environs, drive to some snow. It’s worth the trip, I promise.
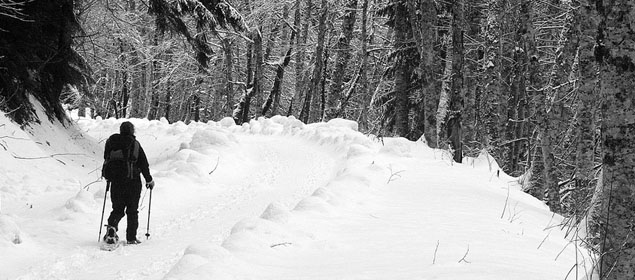
Strap on your snowshoes, leave the world behind, and enter the quiet stillness of the woods in winter.
Resources
- North House Folk School (www.northhouse.org): Teaches snowshoe building classes as well as a number of other traditional crafts and skills.
- Country Ways (www.snowshoe.com). Sells snowshoe kits with pre-bent frames and complete instructions on lacing and finishing.
- Ferdy Goode, an artist, canoe builder and snowshoe maker (http://beaverbarkcanoes.wordpress.com/) bumps his head and forgets more about snowshoeing than I’ll ever know. His shoes are in demand worldwide and he also builds and restores birchbark canoes.
- Crescent Moon Snowshoes (http://www.crescentmoonsnowshoes.com). Owner and Founder Jake is the real deal. His shop is powered by wind and they have a great environmental story. One of the top modern shoes.
- Atlas Snowshoes (http://atlassnowshoe.com). Another great company, one of the first modern shoe companies.


