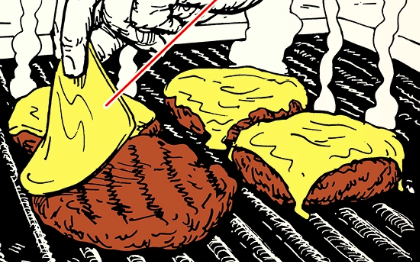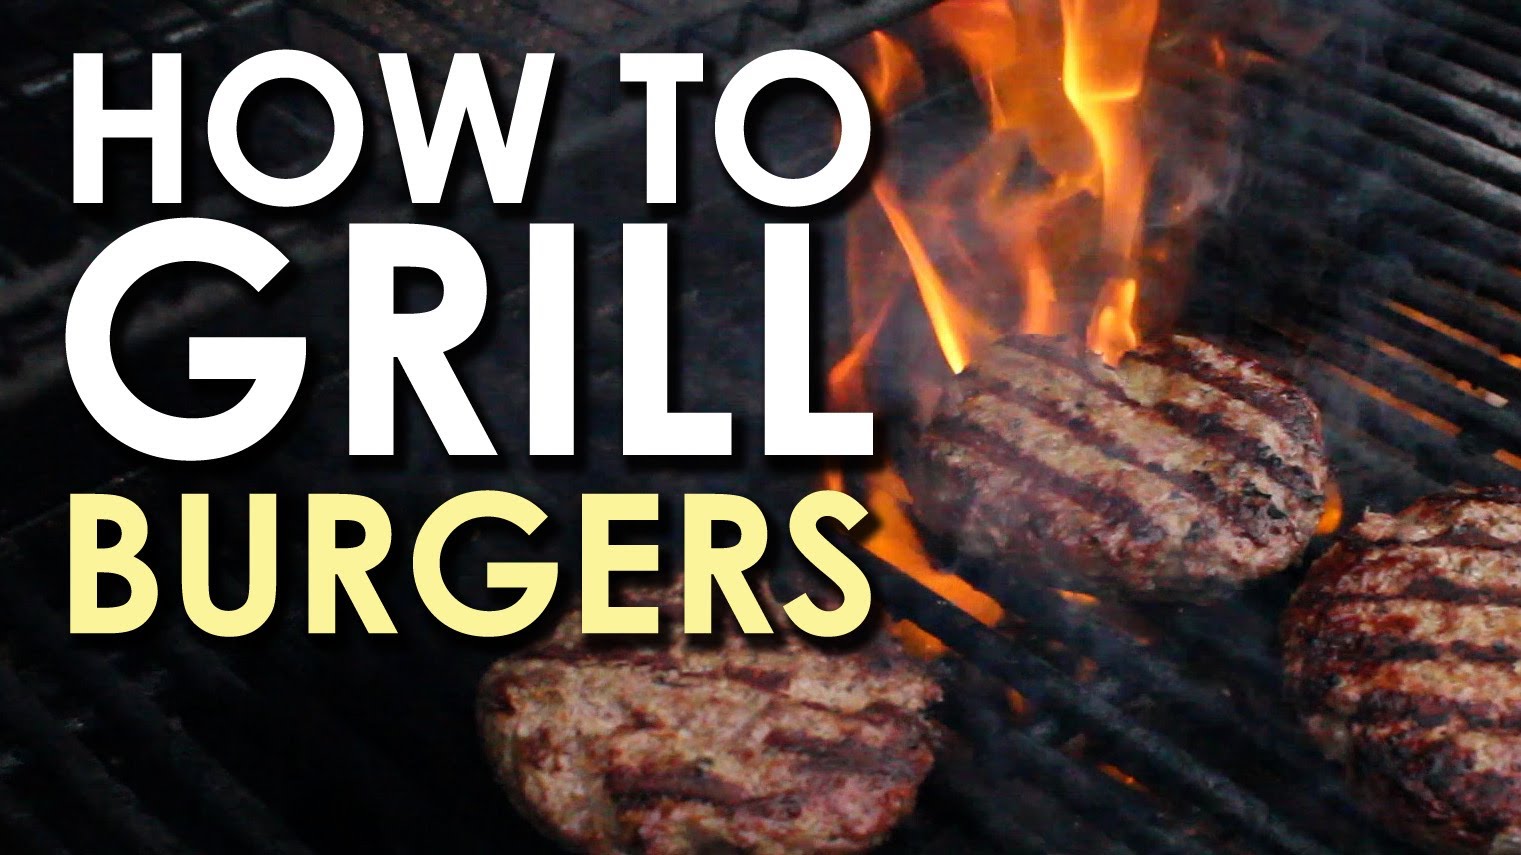
It’s a perennial matter of debate: which makes for a better burger — griddling or grilling?
For almost my entire life, I felt sure the grilling burgers was the correct answer. There’s just something about a thick, juicy, flame-kissed burger fresh off the backyard grill. In contrast, the pan-fried burgers I grew up with at home were gray and mealy (a result, I realized later, of the meat having been frozen before cooking).
But then as an adult, I became a big fan of the burgers served up at Freddy’s Frozen Custard and Steakburgers — a restaurant chain. Thin, with craggy edges and a crispy textured crust, these griddle-fried burgers are just crazy delicious. It’s the same kind of burger you get at the Smashburger chain, and which have also been popular at Mom and Pop diners for decades.
I wanted to figure out how to make this kind of “smashed” burger at home, so I did some research and started trying out some techniques. The result was a homemade pan-fried burger so tasty, I have to say there’s no real going back to the grilled kind. Which is especially good news in these cold months — burger season is all year round now.
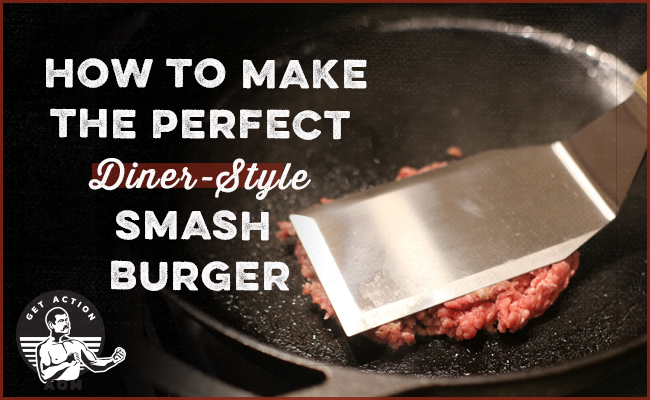
If you want to start making your own perfect diner-style smash burgers at home, we’ve put together this easy-to-follow, step-by-step visual guide to the process:
What You Need
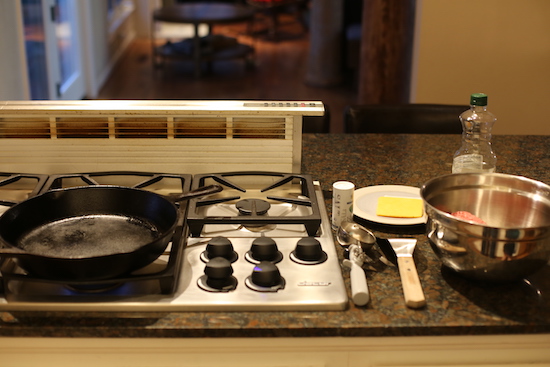
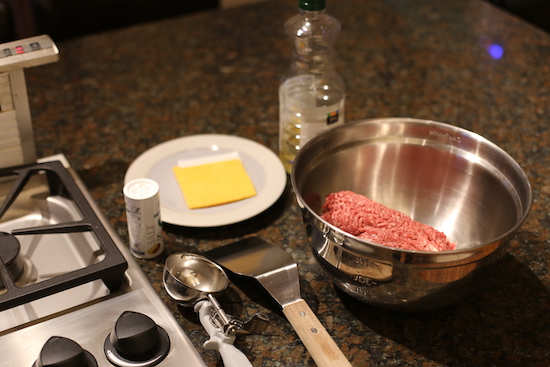
Making the perfect pan-fried/griddled burger isn’t rocket science, but an ideal result does require a few tools and ingredients:
Tools:
- Cast-iron skillet. The thick, flat, evenly-heated surface provided by cast-iron makes for perfect burger cooking and browning. A thick, non-non-stick griddle will work too.
- Heavy-duty spatula. You’re going to be smashing your burgers flat, and to do so, you need a heavy-duty spatula — something thick, wide, and made with stainless steel. A nice metal spatula will also help you flip the burgers while retaining the delicious brown crust which will form underneath.
- 4 oz. ice cream scoop/disher. When you’re making a thin smash burger, you don’t want to pack the meat together too tightly by shaping them into patties with your hands. Instead, it’s best to keep the meat loose in a semi-ball shape, and then create the patty by smashing it down with your spatula. To create perfectly sized and shaped quarter-pounder patties, you’ll want to scoop the meat up with a 4 oz ice cream scooper or “disher” — a handle with a bowl at the end that’s got a retractable blade that cleanly releases the meat.
Ingredients:
- 80/20 or 85/15 ground beef. 80/20 is often recommended as the ideal meat/fat ratio for hamburgers. But grocery stores sometimes only have 85/15, and that’s what we get. Still seems good. Freshly ground is ideal if you want to go that extra step.
- Oil
- Salt
- Sliced cheese. American cheese is classic — extra salty and melty. I used cheddar because we had some to use up.
- Bun + whatever dressing and condiments you like on your burger
How to Make a Diner-Style Smash Burger
Step 1: Make sure you have all your supplies ready and at hand before you begin cooking; things will move quickly once the process begins.
Don’t take the burger meat out of the fridge until you’re ready to cook; you want it cold when it hits the pan for reasons explained below.
Step 2: Rub a cast iron skillet with a thin layer of oil and preheat it over medium-high heat for a few minutes. 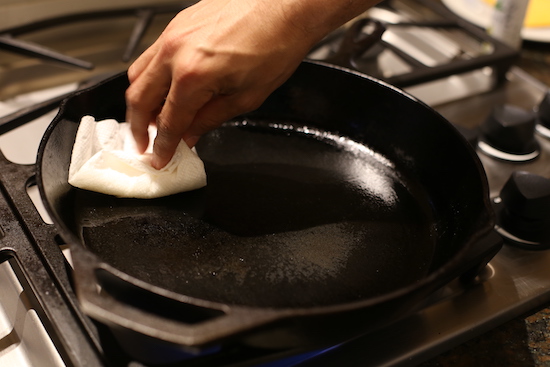
Step 3: Crank the heat of the skillet up to high and scoop up a disher full of ground beef.
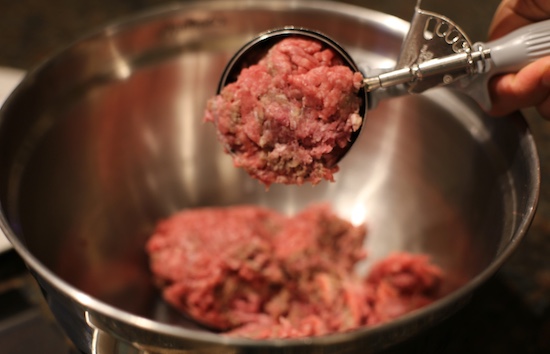
If you don’t have a disher scoop, gently shape the meat into a golfball-sized ball with your hands; don’t smoosh and press.
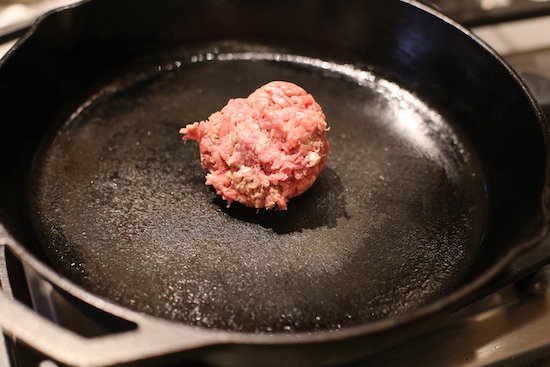
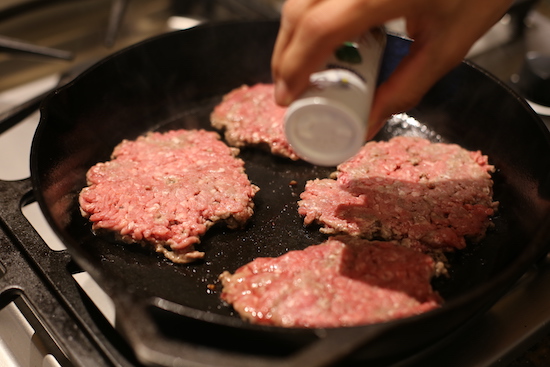
Step 4: Drop the scoop of beef onto the hot skillet.
Step 5: Smash down the meat with your spatula. Press very firmly, until the burger is about as thin as it’ll go.
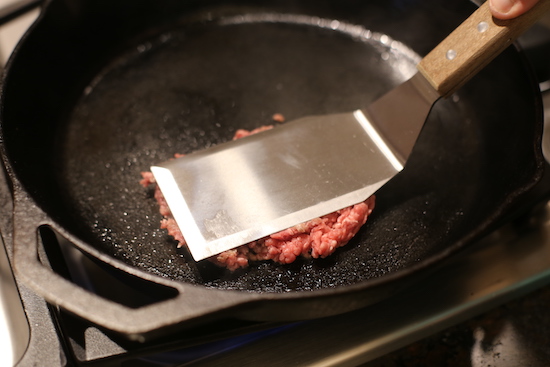
If you don’t have a very heavy duty spatula and find you can’t generate enough flattening force, apply a second spatula to the first. I probably could have smashed them even thinner still, but juggling smashing and photography was difficult.
Let’s pause here for an extended note: I realize this step may seem like sacrilege to burger aficionados, as you’re squeezing out some of the meat’s juices. But when you smash a burger right after it hits the skillet (this is the only time you’ll smash the burger during the cooking process), when the fat is still cold and solid, it won’t lose any more of its juices than a non-smashed burger. And unlike a grilled burger, which loses some juice to the flames below it, even when it isn’t squished, the pan-fried burger will continue to cook in its own grease, imparting moisture, adding a wonderful, extra meaty flavor, and creating a craggy, evenly-browned texture so tasty, that even if a griddled burger was slightly less juicy than the grilled variety, which I’m not convinced it is, this crust would make up for it.
Step 6: Salt the burgers.
Step 7: After 90 seconds to 2 minutes, flip the burgers, scraping under them to maintain the crust as you do so.
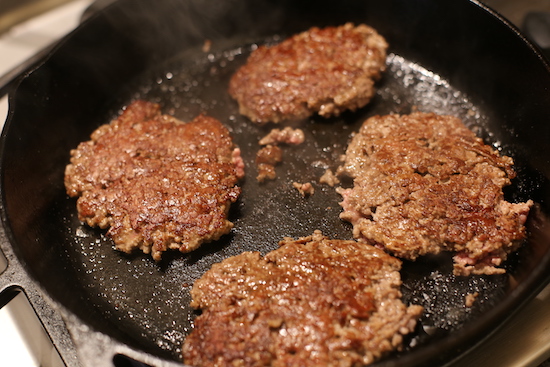
By the time you’ve dropped and smashed 4 burgers, the first will be about ready to be flipped.
Step 8: Place a slice of cheese on the burgers immediately after they’re flipped.
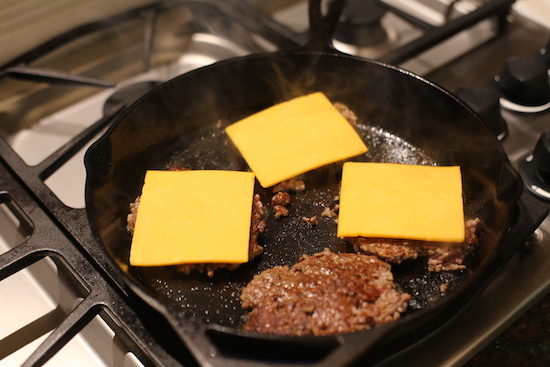
You want the cheese to be completely melted on your burgers, and that won’t happen unless you place the slices on right after your flip them.
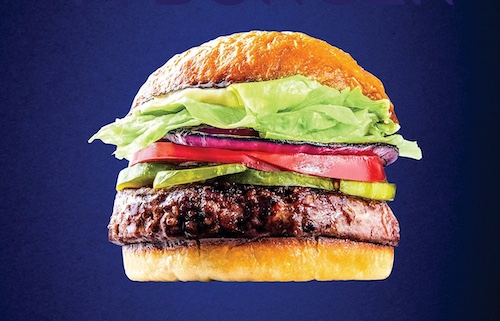
Step 9: Fry for another minute or so and then remove from the pan. Place on a white roll and garnish as desired.
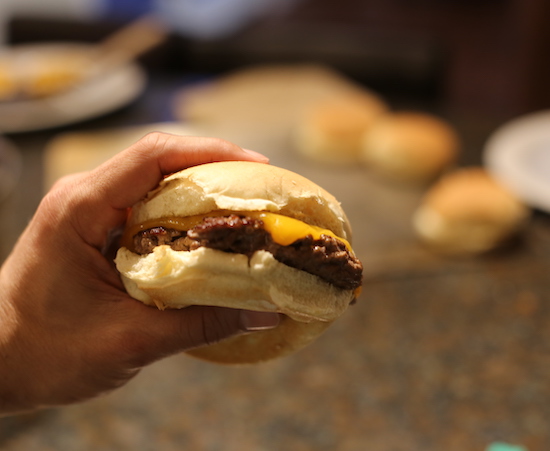
Since these burgers are thin, you can certainly create a double for yourself with two. Potato rolls are often recommended, but not personally my thing. Buttering and toasting the roll takes things up a notch, though we usually just warm them in the oven for a bit. Keep it simple with the garnishes/condiments. I personally just like special sauce and pickles. Make it your own.