It’s easy to take today’s trail snacks and dehydrated foods for granted. But Native Americans and early explorers like Lewis and Clark didn’t have the luxury of picking up a bag of dehydrated lasagna before they left camp. Instead, they relied on things like dried berries, nuts, smoked meats, and other prepared foods like pemmican to stay fueled up in the wilderness.
Pemmican is a mixture of lean, dried meat, and rendered fat that can last for months or even years without going rancid. The name is derived from the Cree word pimi, which means fat or grease, and many recipes also call for the addition of sweeteners like honey and dried berries. For jerky loves, pemmican is an easy sell. It combines all the flavor and shelf-life of jerky, but with the added benefit of complex fats and sugars that will keep you satisfied on long hikes and explorations.
Made right, pemmican can last for months or even years. The key to a long-lasting pemmican is to start with very dry ingredients. Water is the enemy of food preservation because it allows nasty things to grow in your food. So, make sure your jerky and berries are completely dried out before you begin.
Making pemmican takes a bit of time, but most of it is spent simply waiting for things to dry out and cook. Once you have the ingredients ready, it only takes a few minutes to bring everything together. Keep in mind, the recipe below is just a base. Try making your own blend by substituting different types of meat, like venison or elk, or adding honey in addition to dried berries. For our recipe, we’ve kept it simple with wild blueberries. Here’s how to make it.
Supplies
Ingredients
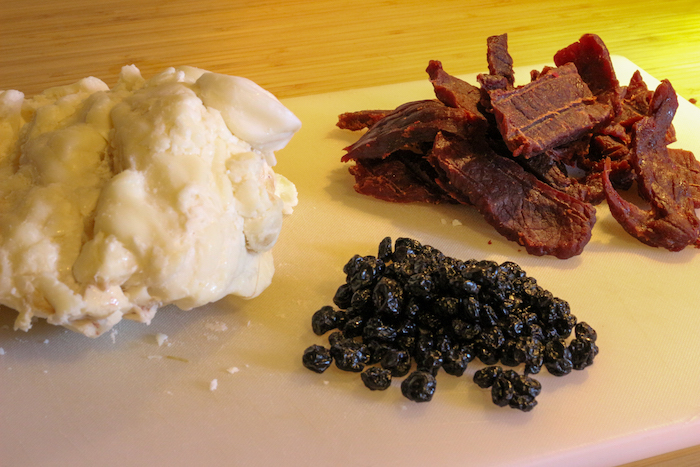
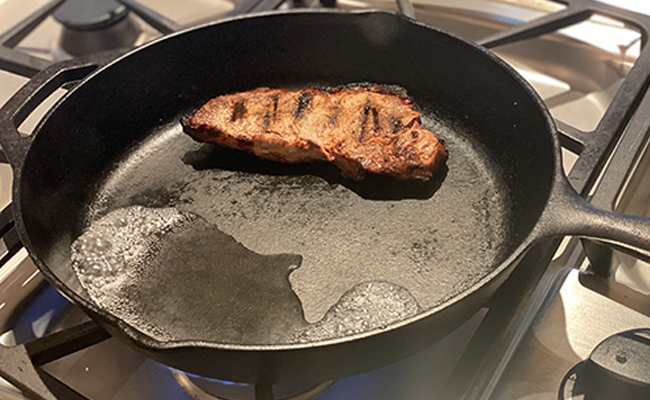
- Jerky — you can make your own or get jerky from the store (I started with about a pound)
- Berries — optional
- Suet — suet is the hard fat that comes from around the loins of the cow. It’s perfect for making pemmican. But, if you have hard fat from venison or bison, you can use that as a more authentic alternative. You’ll likely need to source your suet from a local butcher. I got mine for just $4 for two pounds of the stuff. You can also buy jars of tallow (which is just suet that’s already been rendered), which some grocery and natural food stores (like Whole Foods) sometimes carry. It’s a bit more expensive, but if you go that route you can skip steps 1 and 3 below and save yourself a couple of hours.
One final note: Exact measurements aren’t given here because of the variability that can exist between different dry ingredients and how dry they ultimately are. In general, pemmican calls for a ratio of roughly 1:1 tallow to dry ingredients. However, that’s by weight. Your sawdust-like mixture of meat and berries may seem like a lot (see below), but it weighs relatively little. Rather than trying to measure, rely on adding a small amount of tallow at a time until the mixture holds its shape after you squeeze it in your hand. In other words, as soon as you can form pemmican meatballs, it’s good to go.
Tools
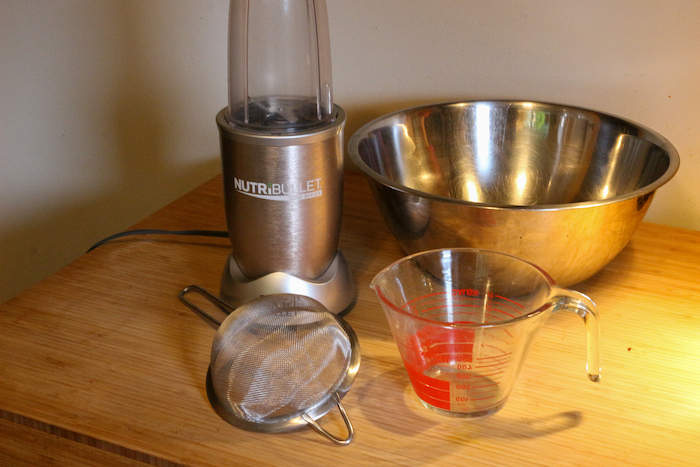
- Blender (or food processor)
- Mesh strainer (or cheese cloth)
- Mixing bowl
- Measuring cup (or something that’s easy to pour out of)
How to Make Pemmican
Step 1: Render the Suet
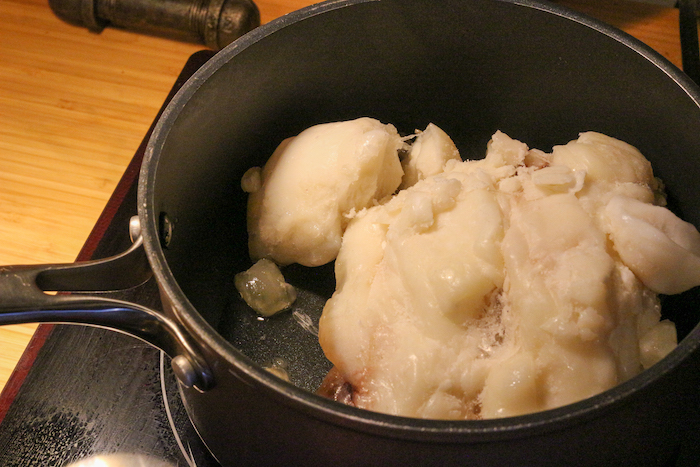
Put your suet into a pot over low heat to begin rendering the fat. The goal is to melt the fat down so that we can strain out the impurities, which transforms the suet into tallow. We’re using a low heat here to render the fat slowly and ensure that it doesn’t burn, which can ruin your pemmican. Plan on the rendering process to take a couple hours.
Step 2: Blend Other Ingredients
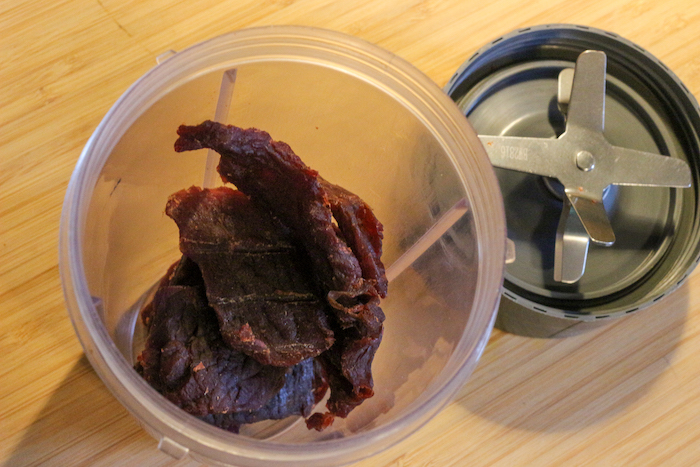
While your fat is rendering, blend your jerky, berries, and any other ingredients you want to add in. Work in batches to avoid overloading your blender.
Blended jerky and blended berries
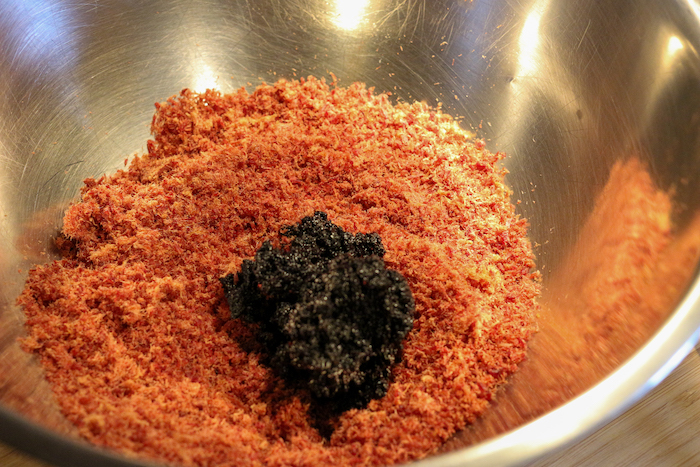
Blend each ingredient until it reaches a sawdust-like consistency and add to a large mixing bowl. If you’re adding in things like berries or nuts, make sure the majority of your overall mixture is still jerky.
Step 3: Strain the Tallow
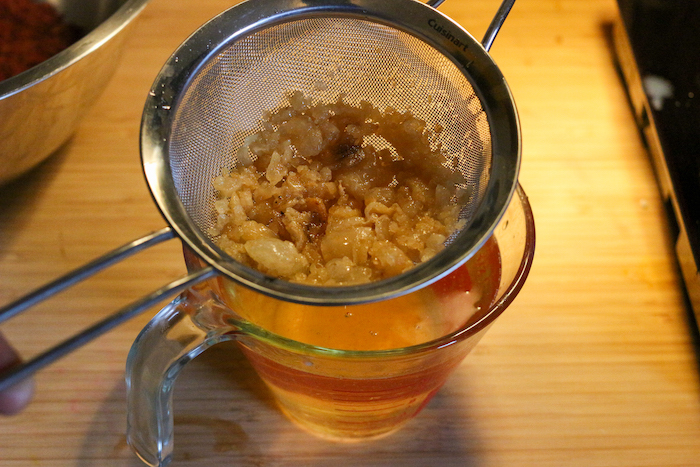
Once your fat has rendered, use a fine mesh strainer or cheesecloth to separate the tallow from the fat’s impurities.
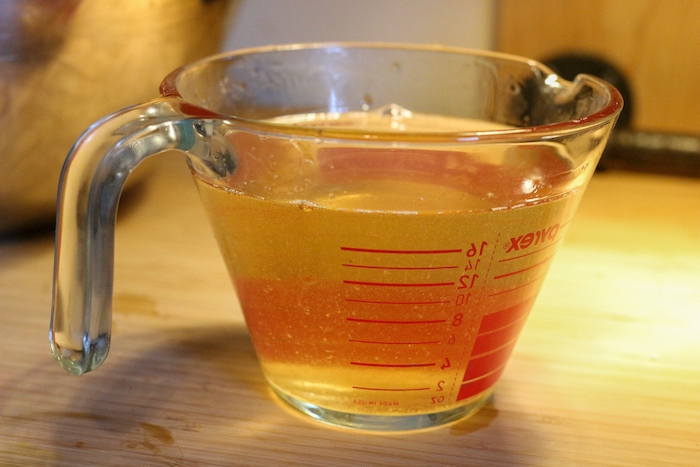
You’ll know that your suet is fully rendered when the vast majority of it has turned into liquid. Straining before all the suet has rendered is also okay, just so long as you have enough tallow to add to your mixture.
Step 4: Add Tallow to Dry Mixture
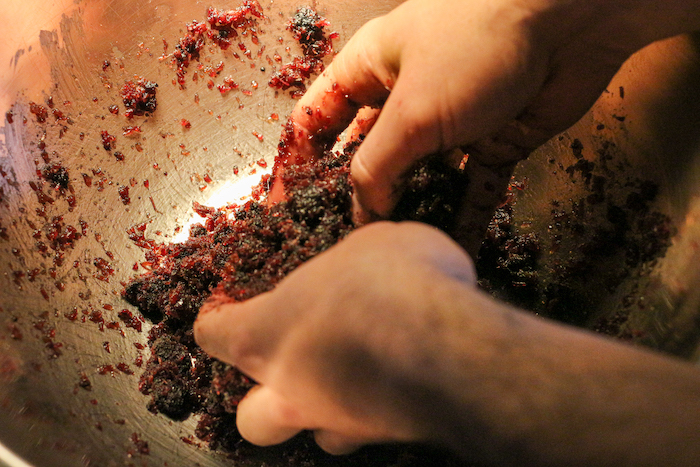
Let the tallow cool a bit so you don’t burn yourself during the mixing process. Once slightly cooled, add a bit of tallow to your mixture and then mix with your hands. Keep adding tallow until the mixture will hold its shape when compressed in your hand.
Step 5: Pack and Cool the Pemmican
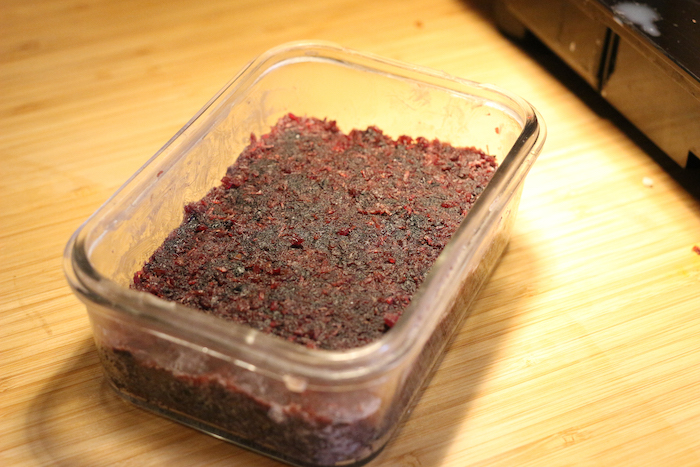
Pack the mixture into a shallow tupperware or baking dish and then place it into the fridge to cool for a few hours, until firm. Alternatively, you could make pemmican meatballs; whatever your preference, though the squares do use storage space a little more efficiently.
Step 6: Eat and/or Store
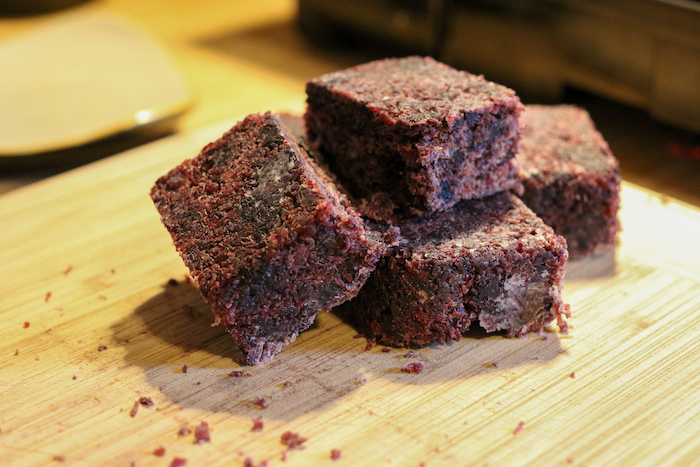
Once cooled, cut the pemmican into smaller pieces. Enjoy them immediately or store them in an airtight container in a cool, dark place. For an even longer shelf life, keep them in the freezer until you’re ready to take them out on your next adventure.