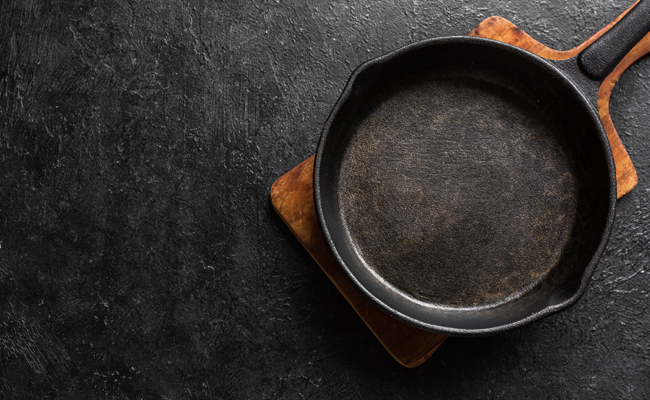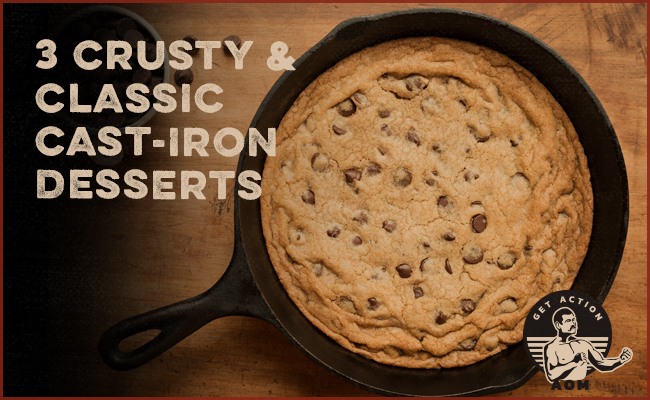
I wouldn’t call myself an all-in enthusiast for cast-iron cooking; I think the upkeep is tedious and not necessarily worth it. But, when it comes to baking desserts in a cast-iron skillet, I am 100% sold. Desserts done in this oven-safe vessel result in a crispy, delectable crust that can’t be otherwise duplicated. Plus, it can’t be denied that cast iron just looks impressive when serving to a crowd.
Below I feature three cast-iron desserts which have become real mainstays in our house (especially the cookie and the brownie). In truth, any oven-safe skillet or baking dish will work fine in making these recipes, though you may not get exactly the same crispy exterior, and will need to adjust bake times according to whichever vessel you decide to use. An 8” square dish (with a surface area of 64”) will need more time in the oven than a 12” round skillet (with nearly double the surface area).
These recipes work best with either 10” or 12” skillets and I include baking times for both sizes; I do the vast majority of my dessert baking in a 10” Lodge skillet.
Chocolate Chip Cookie
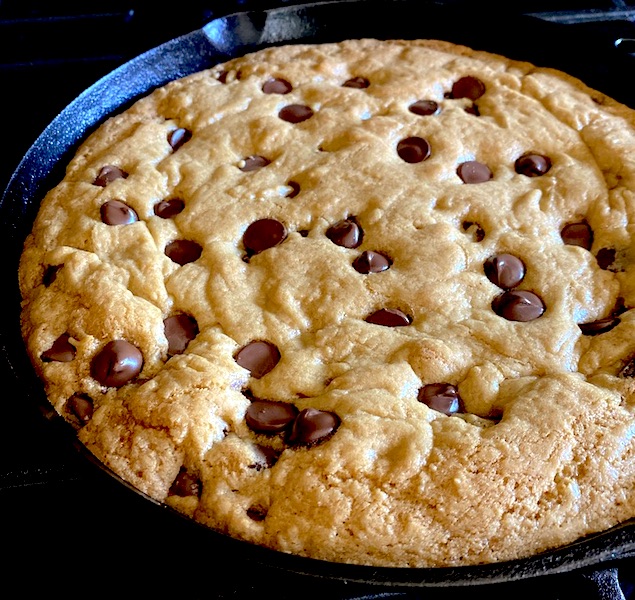
In the world of homemade desserts, chocolate chip cookies are about as easy as it gets. Mix sugar and butter, add dry ingredients, add chocolate chips, form into balls, and bake. This skillet cookie is even easier than that because you get to skip the worst step, which is forming the cookie balls — it’s a task that’s greasy and sticky, and nobody likes doing it. Below is a simple recipe for chocolate chip cookies that you put right into a skillet instead of into cookie form.
Ingredients
- 12 tablespoons butter (1 1/2 sticks), melted and cooled
- 1 cup light brown sugar
- 1/2 cup granulated sugar
- 1 large egg
- 1 egg yolk
- 2 teaspoons vanilla extract
- 2 cups all-purpose flour
- 1/2 teaspoon baking soda
- 1/2 teaspoon salt
- 1 cup chocolate chips + another 1/4 cup for topping
Directions
8. Bake for 25-28 minutes if using a 10″ skillet; 22-25 minutes if using a 12″ skillet. Cook just until the edges are getting browned. You don’t want to overcook it, and remember, it’ll continue cooking in the hot skillet even after you pull it out of the oven. Let it cool for 20 minutes before serving.
Brownie
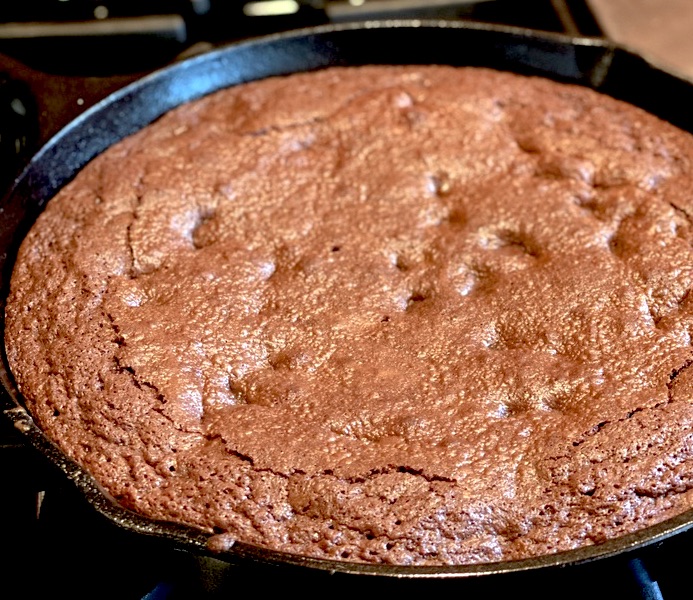
Brownies from a boxed mix are super easy and pretty darn tasty. Homemade brownies, on the other hand, are notoriously a little bit of a pain; they require more ingredients and more steps and more mixing. So why bother making them from scratch? Because the thin crackly crust on top and delectably gooey chocolate middle just aren’t quite the same when it’s from a box. You’ll only have to make this recipe once to be convinced these homemade brownies are worth it.
Ingredients
- 8 ounces baking chocolate, chopped
- 12 tablespoons butter (1 1/2 sticks)
- 3/4 cup granulated sugar
- 3/4 cup brown sugar
- 4 eggs
- 2 tablespoons pure maple syrup
- 1 teaspoon pure vanilla extract
- 1/2 teaspoon salt
- 1/2 teaspoon baking powder
- 1/4 cup cocoa powder
- 3/4 cup all-purpose flour
- 1 cup chocolate chips
Directions

1. Preheat oven to 350 degrees F.
2. Melt together the butter and chopped chocolate chunks. You could do it with a double boiler on the stovetop, but I use a 4-cup measuring cup and the microwave. Add the butter to the measuring cup and heat it until it’s mostly melted. Add the chocolate chunks and stir together with a spatula. The chocolate will slowly melt. Heat the whole thing up in the microwave with 2 or 3 more 20-second blasts, with stirring in between, to get it all fully melted and incorporated.
3. Add the mixture to a mixing bowl; again you can use either a stand mixer or do it all with a spatula.
4. Mix in the two sugars.
5. Mix in the eggs, one at a time, until combined and smooth.
6. Mix in the maple syrup, vanilla, salt, baking powder, and cocoa powder until fully incorporated.
7. Mix in the flour and stir until smooth. It will be a little thick. Add the chocolate chips and stir until evenly incorporated.
8. Pour the mixture into the skillet and bake for 35-38 minutes if using a 10″ skillet; 30-33 minutes if using a 12″ skillet. Test by inserting a toothpick into the middle; it should come out mostly clean. Don’t worry about slightly undercooking it — I’d argue it’s especially delicious that way — and again remember that it will cook some more when removed from the oven. Let cool for 20 minutes before serving.
Strawberry Cobbler
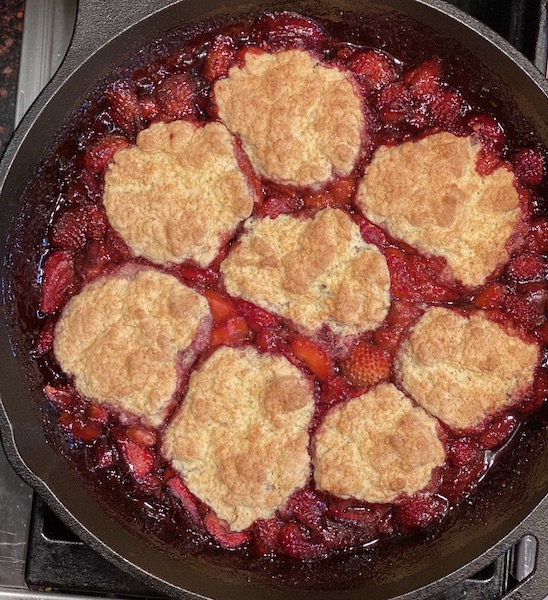
Classic cobblers are part of a family of fruit-based baked desserts. The main layer is generally a berry of some sort (though apple is common too), baked on its own with sugar and spices in order to make a jam-like consistency. Then you add some biscuit batter, cook a bit more, and end up with a scrumptious biscuity-fruity concoction. Doing it in a cast iron skillet ensures a can’t-beat texture and an equally impressive presentation.
Ingredients
Strawberry Filling
- 4 cups fresh or frozen strawberries, halved (if using frozen, they should be thawed enough to be halved)
- 3/4 cup sugar
- 1 tablespoon cornstarch
- Pinch of cinnamon
- Zest of 1 lemon
- 2 teaspoons fresh lemon juice
Biscuits
- 1 cup flour
- 1/4 cup sugar
- 2 tablespoons cornmeal (not strictly necessary if you don’t have it; just adds nice texture to the final product)
- 2 teaspoons baking powder
- 1/4 teaspoons baking soda
- 1/4 teaspoons salt
- 4 tablespoons butter, melted and cooled
- 1/3 cup buttermilk (can substitute whole milk)
- 1/2 teaspoon vanilla
- 1/4 teaspoon cinnamon + 2 tsp sugar (for your homemade cinnamon-sugar; see below)
Directions
1. Preheat oven to 375 degrees F.
- Combine the sugar, cornstarch, and cinnamon in a small mixing bowl.
- Add the strawberries, lemon zest, and lemon juice; gently stir to evenly coat the berries.
- Pour the mixture into your cast iron skillet; bake for 20-25 minutes (same amount of time whether it’s a 10″ or 12″ skillet). You’re looking for a bubbling mixture with the consistency of jam.
3. While the berries are cooking, prepare the biscuit dough:
- Whisk together the flour, sugar, cornmeal, baking powder, baking soda, and salt in a mixing bowl.
- In a large measuring cup, whisk together the buttermilk, melted butter, and vanilla until well combined.
- Don’t combine until the berries come out of the oven. When they do, add the wet ingredients to the dry ingredients and stir until just combined.
- In a separate, small dish, make the cinnamon sugar by mixing the two ingredients with a fork.
4. Increase the oven temperature to 425 degrees F. In 8 roughly equally-sized and evenly-spaced pieces, spoon the biscuit batter on top of the fruit mixture.
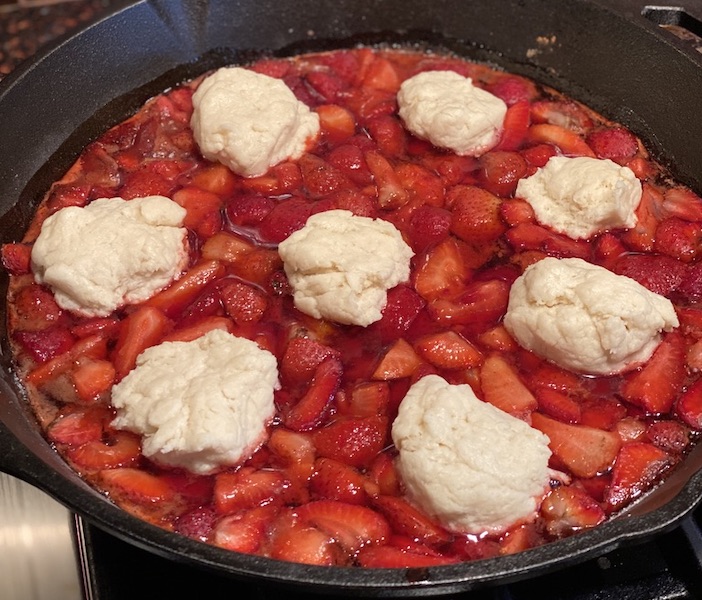
Sprinkle each biscuit with cinnamon sugar. Bake 15-18 minutes, until the biscuits look golden brown. Remove and cool (just enough to handle) before serving with ice cream.