Do not dial the nearest takeout. Close out your apps. Let the freezer be.
Enjoying a pizza at home does not mean you need to rely on delivery, or worse, a frozen saucer of processed mass. Believe it or not, a delicious pizza can be made at home without too much effort, and on nearly every budget. You just need to understand the basic mechanics and techniques that will allow you to serve up a better slice.
I’ll forewarn you though: this is not an article riddled with recipes; rather it is an introduction to the methods that will allow you to dish up versions of a good, better, and best pie for that next dinner party, or, perhaps, an indulgent at-home date night meal.
I should also preface this by noting that I am not a pizza snob. I’ll always enjoy a slice however it is served. The pizza delivery man is not a stranger to my home, nor is the sound of the fire alarm going off from having accidentally cooked a frozen pie to oblivion. But I certainly prefer a delectable homemade pizza above such fare, and with the convenience of readily available, quality ingredients, this option is very accessible, and one I take advantage of regularly. You should too.
Before I discuss how, let’s start out with a primary reason people don’t make homemade pizza more often: producing a restaurant-quality result requires high heat. Sure, ingredients matter, but the reason most at-home pizzas fall flat is due to the fact that the majority of us do not have the necessary means or equipment to cook pies at the right high-heat temperatures. Not enough heat? No crispy crust and no bubbling cheese, which is no buono.
While the most common piece of accessible equipment for home cooks is the oven, the problem lies in the fact that most home ovens top out at 500 degrees F — several hundred degrees short of the desired pizza cooking temperature. But there are workaround solutions to this issue that don’t necessitate building a custom pizza oven on your patio. Let’s explore them.
Ingredients
I espouse the philosophy that your meal will only be as good as your ingredients. While I can tout the merits of making homemade pizza dough, sauces, cheeses, and other toppings, I know that for most of us, the idea of kneading and resting a dough for 24 hours is also unrealistic. So, I’ll change my course here, relying on a few store-bought ingredients to allow us to get the job done. Choose them with discretion, and they can still create pizzas that are healthier and higher quality than the ones you’d order from a pizza delivery chain.
- Dough. Nowadays, one can find refrigerated or frozen pizza dough in nearly every grocery store across the country. Use whatever you’d like.
- Sauce. Canned sauces are your friend, but use good judgment: a $2 jar is likely to taste like a $2 jar. I like to find sauces that convey a bit more quality, especially when I’m making a cheese or Margherita-style pizza where the simplicity and balance of so few ingredients remains key. Also, a little bit of sauce goes a long way; one jar is likely to churn out 5 or 6 pizzas over the course of an evening, or a week when kept in the fridge. You can afford to splurge a bit here.
- Cheese. While shredded mozzarella is the most common for pizzas, fresh block/sliced mozzarella, parmesan, asiago, Romano, feta, and basically any other cheese you want to add is all fair game in my book. I prefer to buy cheese on the block and grate it myself. Pre-grated cheeses are not only more expensive, but they also typically contain cellulose powders and other non-caking ingredients that result in a less than optimal melt factor.
- Toppings. Making a pizza is a choose-your-own-adventure story. A “pizza party” in my opinion is one of the most fun and entertaining dinner parties you can throw, as you can have pre-prepped toppings in individual bowls laid out for everyone to create their own pie. It’s a special, custom touch that stands out in everyone’s memory. Notice I said “pre-prepped”: raw sausage, chicken, and/or seafood typically need to be cooked prior to being added as a topping.
The Good Pie

You have an oven. This is good.
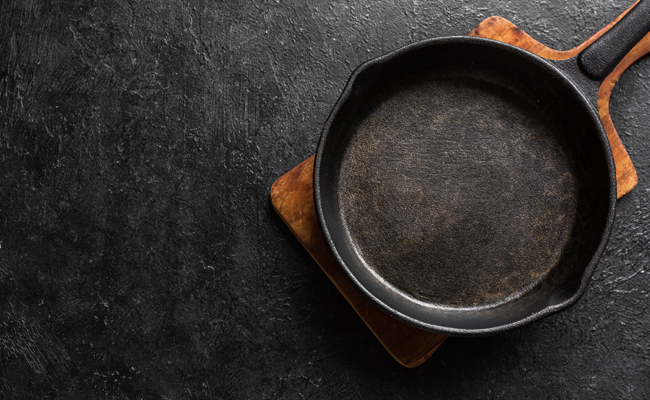
There is a way to improve upon an oven-baked pizza, without upgrading to a new appliance or spending tons of money on pizza stones and other gimmicks. Here at AoM, I’ve long touted the benefits of using one of my favorite pieces of cookware: the cast iron skillet. It improves your homemade pizza by conducting an even and high heat to ensure your crusts are restaurant quality.
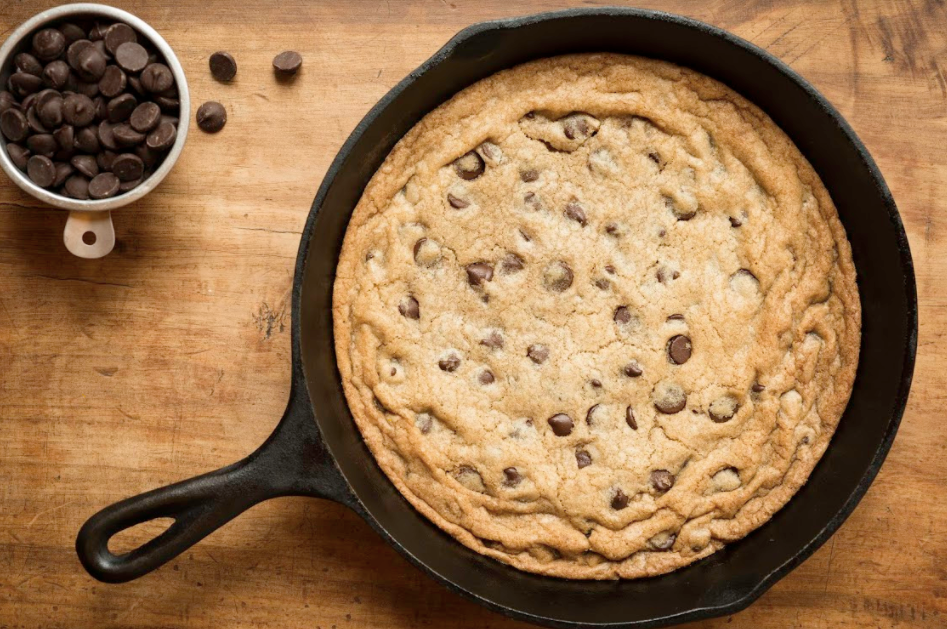
Down south, we’ve long relied on this technique of using pre-heated cast iron to make perfect cornbread, as the liquid dough becomes perfectly crisp when poured and baked in a skillet. We’ll take advantage of the same effect here.
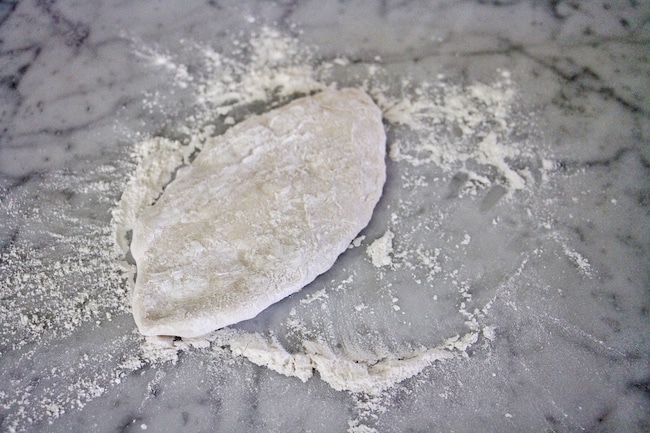
For this technique, you will typically want to portion your dough into an 8oz serving (most refrigerated products come in 16oz, so cut it in half). Lightly flour a surface and the dough, and use a rolling pin to work it into a circular shape, about 1/8″ thick throughout. Keep cold.
Meanwhile, preheat an oven to the highest setting — usually 500-550 degrees F. Put a well-seasoned 10-inch cast iron pan (you can also add a touch of oil or spray) into the middle rack of the oven while it preheats. Once the oven reaches the set temperature, carefully remove the skillet from the oven.
Personally, I like to add a bit of cornmeal, along with some finely grated parmesan cheese to the hot skillet. After that, I carefully lay my rounded dough into it. Using two spoons, I’ll “stretch” the dough as much as possible to reach all the corners, and up to the sides of the skillet.
Put the skillet back in the oven for 8 minutes. Remove, add a layer of sauce, cheese, and other desired toppings. Return to oven and bake until cheese is bubbly and golden, about 8 minutes. Remove from oven, rest a minute or so, and serve.
The Better Pie
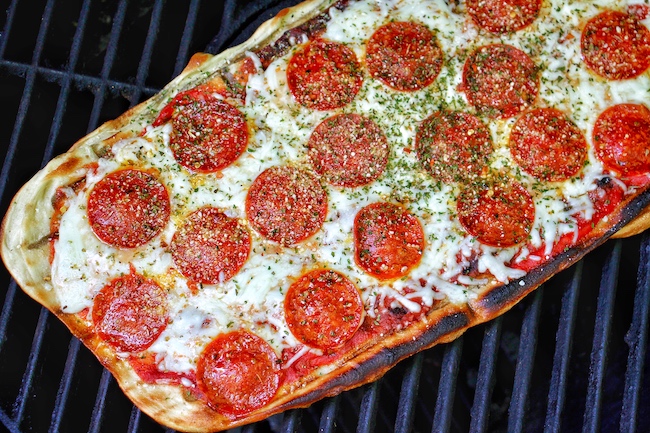
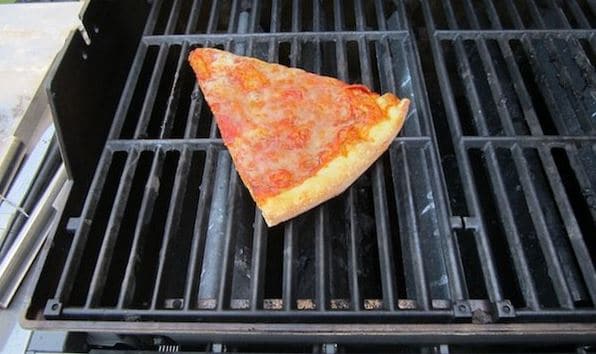
A step up from your oven is another mostly ubiquitous cooking appliance: the grill. Again, this is not the first time I’ve expounded on the idea of grilling pizzas, as the higher heat options most grills afford are often superior to that of our standard home ovens. Grilled pizzas are not only nuanced by smoke and char, but they’re also a great alternative for summer cookouts that go beyond the spectrum of hamburgers and hotdogs.
While most gas/propane grills can exceed standard oven temperatures, the ever popular Kamado-style grills (like the Big Green Egg) can easily reach scorching temperatures of 700+ degrees F. This is great for pizza potential.
You will want to always start by utilizing a two-zone setup on your grill. For gas, this would mean dialing in half of the grilling surface to high, direct heat and the other half to low, indirect heat. For charcoal setups, you’ll want to create a direct zone, directly over the coals, and an indirect zone (either offset or horizontal from the heat, or vertically offset and above the coals) to create a cooler area.
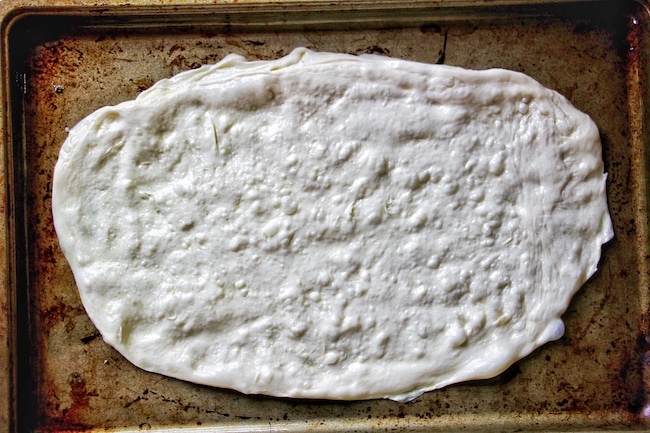
Using the same 8oz portion recommendation, I like to hand-press my dough on a baking sheet, with a few tablespoons of olive oil, until I get it to about 1/8″ thickness. The oil is key here, as it prevents the dough from sticking to the grates, without also burning.
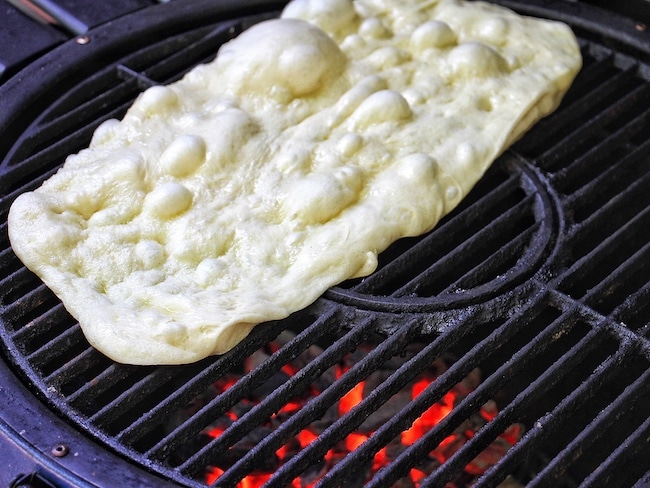
Once you’ve got your grill up to the highest heat possible, add the dough to the grate over direct heat. Grill the dough, with the lid open, until large bubbles on the surface form, and the edges just begin to brown.
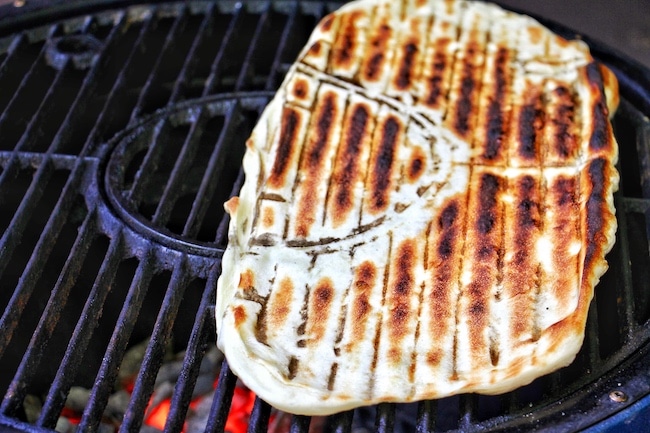
Next, flip the pizza, and move to indirect heat — you should have nice grill marks here and a sturdy surface for your toppings.
Working quickly, add sauce, cheese, and desired toppings. Remember, the pizza should no longer be over direct heat, which means there is less risk of burning the crust. Once you’ve added your toppings, close the grill to create a conductive environment, and cook until the cheese is bubbly and the pizza is cooked through. Remove from grill and serve.
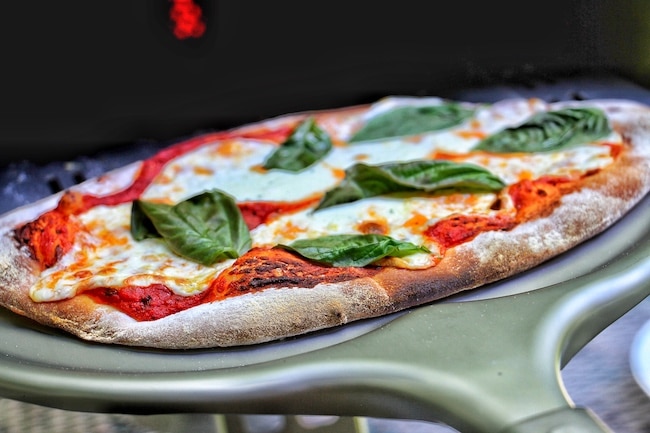
The Best Pie
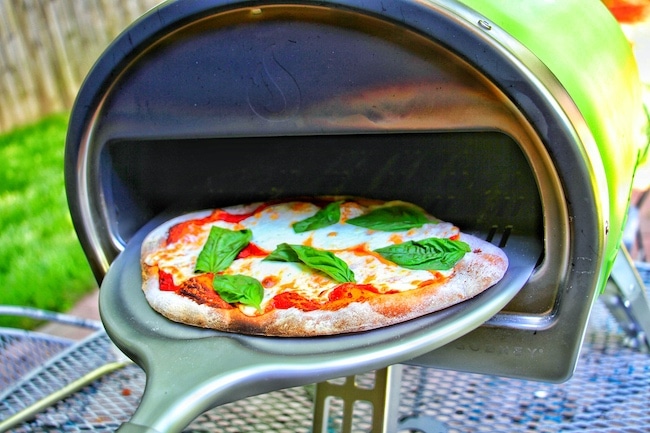
Aside from a custom-made pizza oven, your odds of getting pizzeria-quality pie have long been stifled for the home cook, unless one was willing to invest thousands of dollars in a bespoke build. But times are a changing.
In recent years, the market has added a few portable, at-home pizza ovens to satisfy your gluttonous cravings. But trust me, not all of these are created equal.
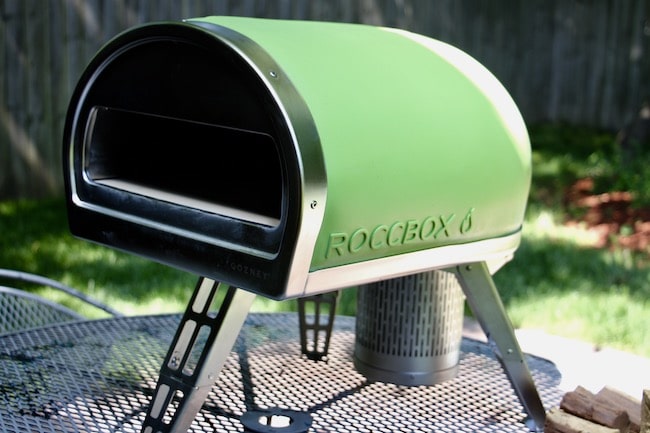
My personal choice is the Roccbox, manufactured by Gozney. (I’m not affiliated with the company; just a user and a fan.) Sure, there’s an investment involved, but it comes in at roughly 1/3 the cost of any custom-built design. And if I’m going to spend some dough I want to make the most of it.
One of things I love about this device is that it’s portable: throw it in the back of a pickup, or in your trunk for your next tailgate party. Easy-breezy. Even better, it runs on either a gas (propane) or wood option. That means I can be super lazy, and fire this up just like I would a gas grill, or I can go for a more authentic approach and fuel it with chunks of oak and mesquite.
The best part is that this bad boy gets up to 900+ degrees F in less than 20 minutes, rivaling the very best oven at your local pizzeria. And since I’m not always in the mood for pizza (surprising, I know), the super high heat from this oven allows me to get steakhouse-quality seared steaks (in cast-iron of course), or roasted seafood, vegetables, or any other item I’m looking to cook hot and fast.
Let’s get to the pizza: for the dough, use the same method for prepping it as described above for cast iron.
Using either gas or wood, heat the Roccbox until it reaches 900 degrees F. Add the dough to the provided peel, top with sauce, cheese, and other desired toppings and add to the oven.
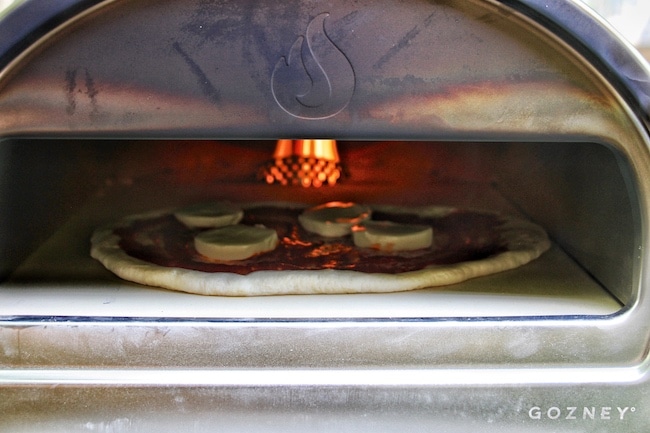
Cook pizza for 30-45 seconds, and using the peel or the turning device, rotate the pizza 90 degrees or so and place back into the oven. Continue in this manner for 30 seconds per rotation.
Once the cheese is bubbling and the crust is browned, remove the pizza from the oven, about 2 minutes total cooking time. Serve hot.
The next time you’re thinking about frozen or delivery, re-think that philosophy altogether. Using what you may already have at home, you can produce a healthier, tastier, cheaper pizza than you’ve ever imagined, with just a touch more effort than pressing “order” on your app.
____________________________________
Matt Moore is a regular contributor to the Art of Manliness and the author of The South’s Best Butts.