In the last decade, the emerging science of gut health has made fermented foods wildly popular. Kombucha, kimchi, sourdough breads, some cheeses and pickles, and, of course, yogurt.
After years of buying big tubs of Greek yogurt, I discovered that it was actually pretty easy to make your own yogurt at home. It admittedly felt a little out there at first. Was I really going to be someone who made their own yogurt? Our household was not a 19th century homestead, after all. But after just a couple of batches, the taste and affordability, combined with how easy it is in terms of active time, convinced me (and my wife and kids) that we didn’t need to buy yogurt at the store at all anymore.
Why Make Homemade Yogurt?
1) Yogurt is loaded with protein, beneficial bacteria, and key nutrients like calcium and B vitamins. Yogurt is a surprisingly high-protein food — about 15–20 grams per cup — that actually keeps you full. Just as important is its impact on gut health: yogurt contains live cultures (probiotics) that help support digestion and a healthy microbiome. While the nutrition is similar to store-bought yogurt, the homemade stuff skips the artificial additives and stabilizers found in most grocery store options and often retains more active cultures.
2) Homemade yogurt has better flavor and texture. Homemade goods almost always taste better. This one is no exception. The flavor is richer and tangier, just how Greek yogurt should be. Additionally, store-bought yogurt is pretty watery (it’s actually whey) and can have an uneven texture. Homemade stuff is very smooth and creamy, and much less liquidy if you drain it.
3) Homemade yogurt is cheaper. You can make about 100 oz of homemade yogurt for the cost of a gallon of milk ($3-$5). Buying the same amount of yogurt would be between $15 (at a discount warehouse like Costco) and $30 (at a local grocery store).
The Cookware You Need to Make Yogurt
I like to make yogurt in an instant pot. It will need to be fermented at a constant temperature for hours and the instant pot makes the process a breeze.
But it’s not that much harder if you don’t have one — simply get yourself a kitchen heating pad and you’ll be set. You’ll follow the same steps outlined below for heating and cooling the milk, adding the starter, and keeping it at ~110° for 8-24 hours. Instead of using the instant pot, you’ll just use the heating pad instead.
The most important thing is that you get a heating pad that can be set to relatively low temps for long periods of time. Most of the top Amazon results are for high-temp warming pads for parties and whatnot, which automatically shut off after a few hours. That’s not what you want.
How to Make Homemade Yogurt With an Instant Pot
Ingredients
- 1 gallon whole milk
- You can make yogurt with milk of any fat percentage, but the lower you go, the thinner the final product will be. For this reason, I’ve always used whole milk. You can also make yogurt with lactose-free milk or non-dairy milks, but those often require extra steps and ingredients (like thickeners).
- 1/3 to 1/2 cup yogurt “starter”
- You can buy yogurt starters online, but you can also just use plain Greek yogurt from the grocery store (that’s what I’ve done). Once you get a regular process going, you’ll just use yogurt from your previous batch to “feed” the next one.
Directions
1. Heat milk to 180°.
While the instant pot can heat the milk to 180° with the “Yogurt” or even “Saute” setting, I prefer to heat it in a large pot on the stove. Heating it in the instant pot takes longer, and I like having a separate vessel for cooling, rather than doing it all in one pot. It really comes down to individual preference though. I simply pour the gallon of milk into a large soup pot, heat it on “High” on the stovetop, and wait ~18 minutes for it to reach 180°. Your stove time may vary (our gas range is pretty hot), and it’s best to check every couple minutes after 15 minutes or so; if you ignore it too long and let it boil over, it makes a huge mess (yes, I know from experience).
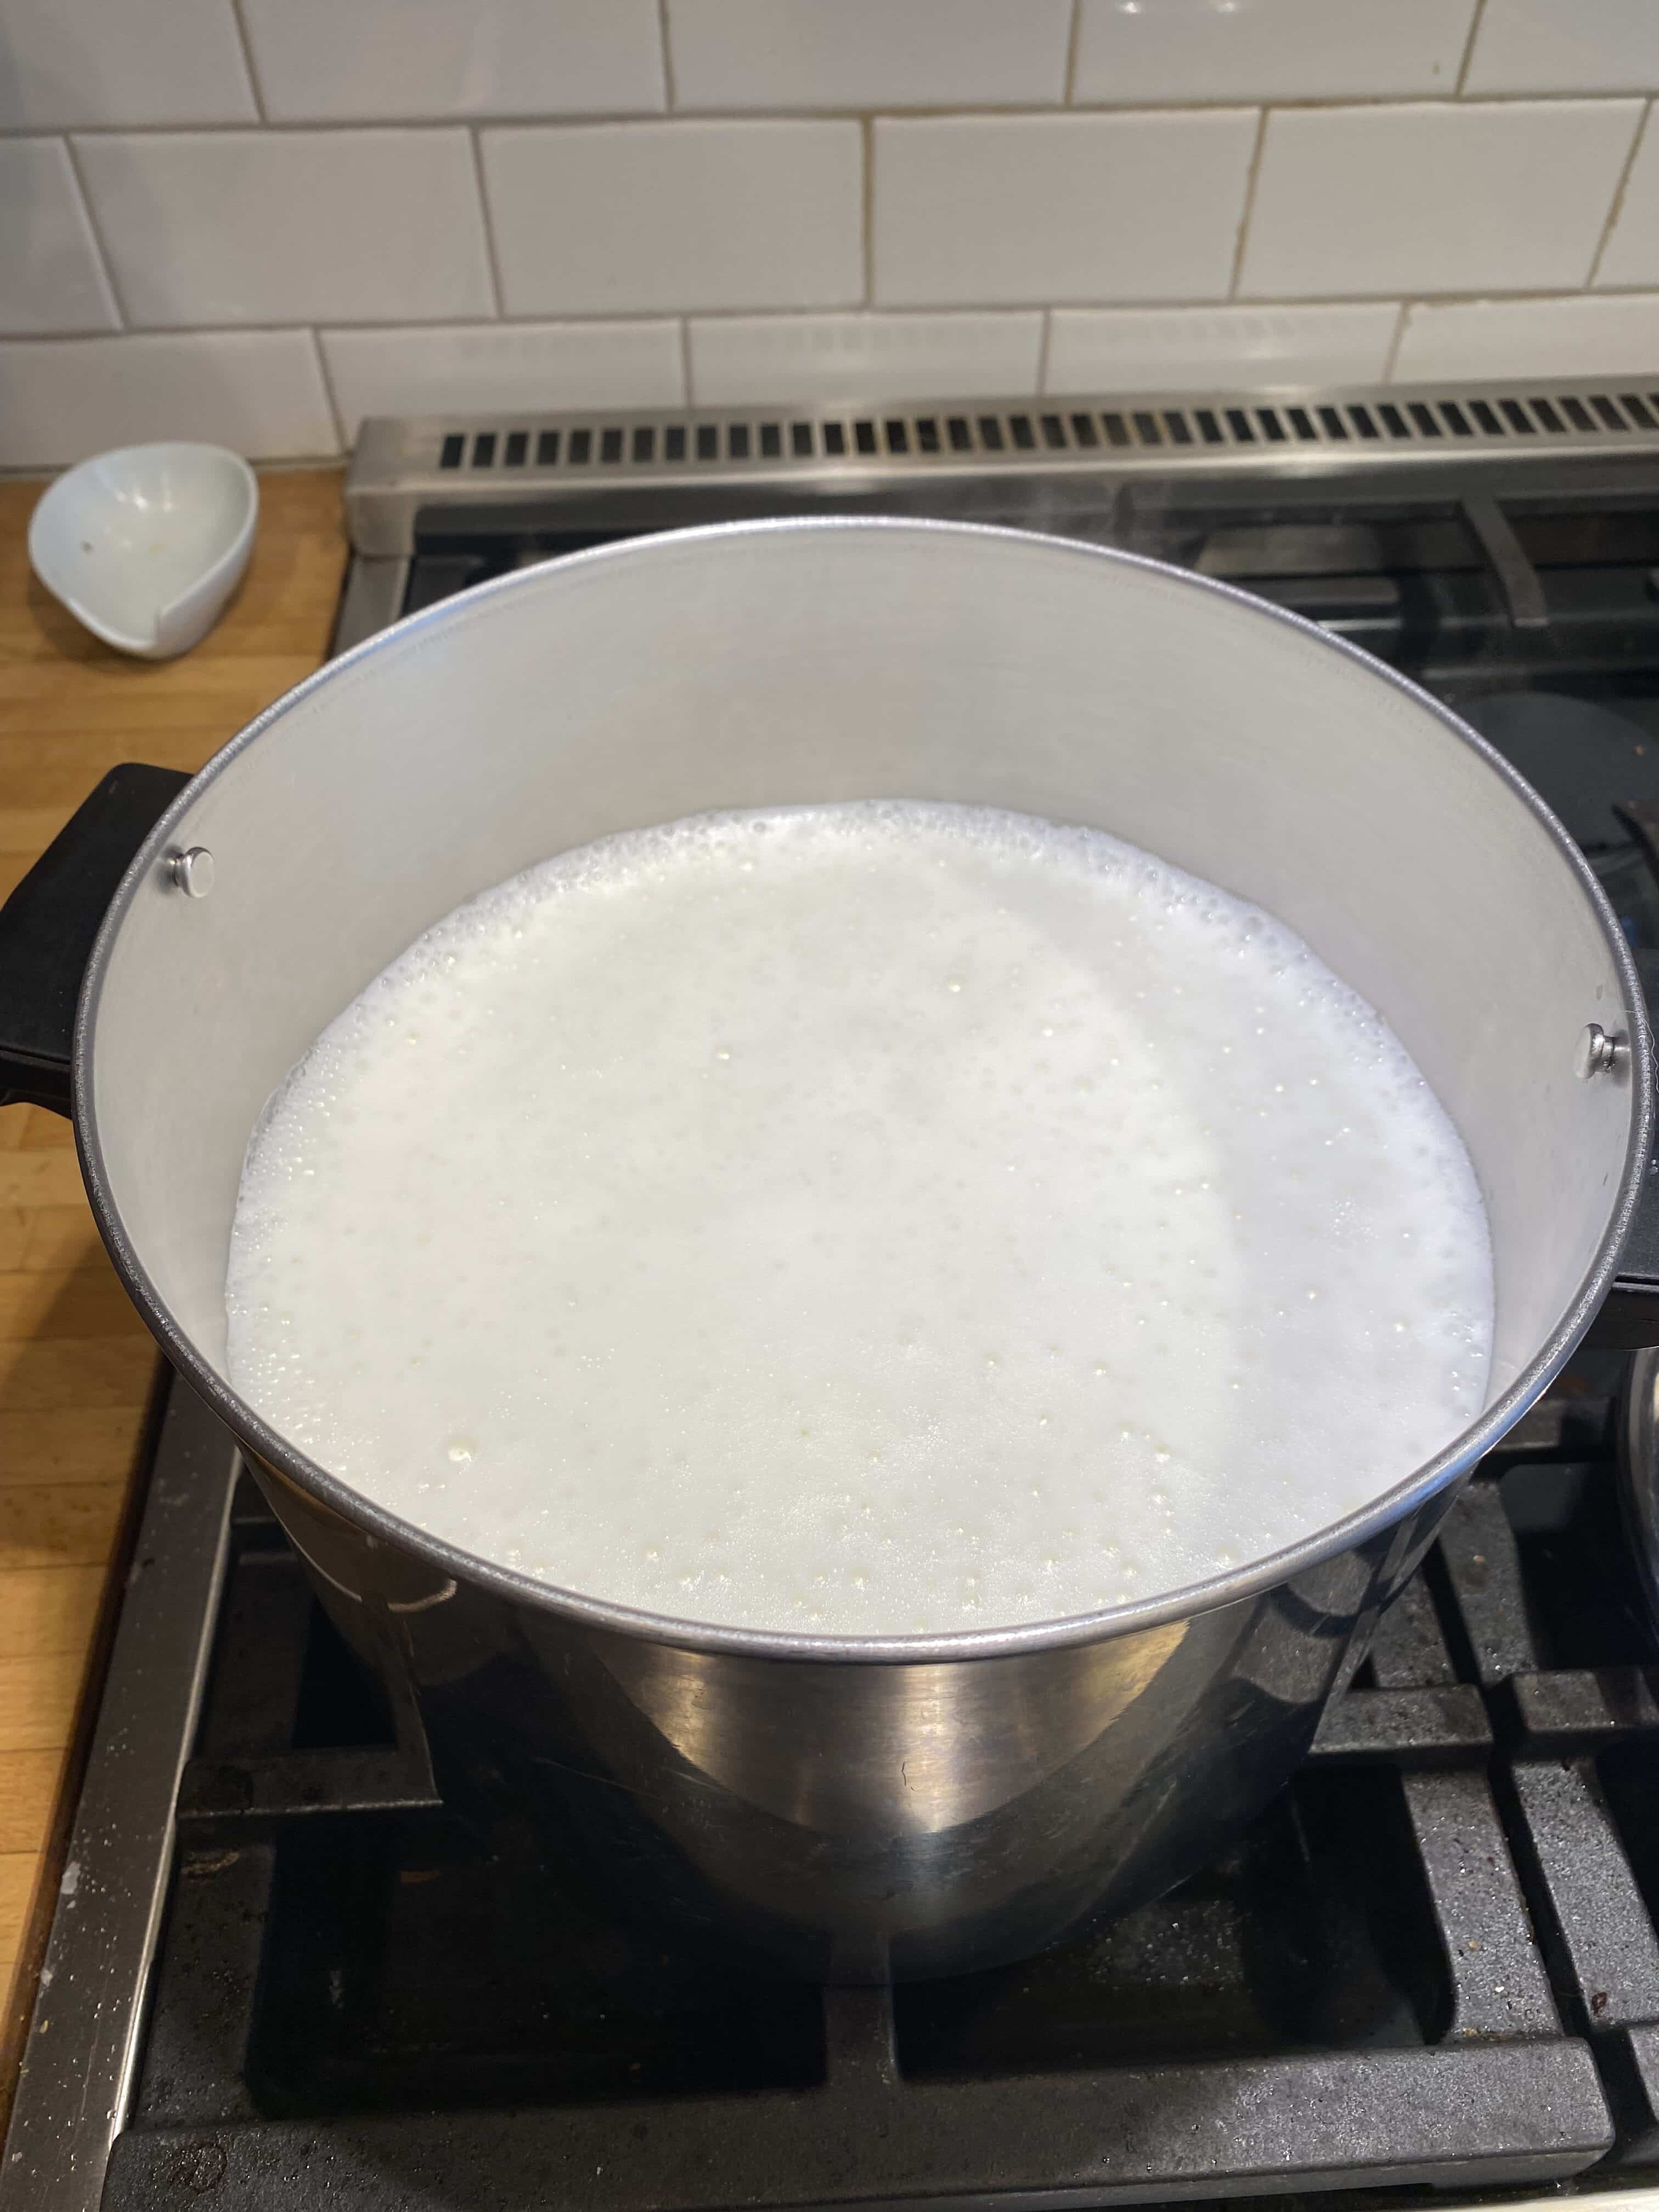
You want it frothy, but not boiling.
This desired temp of 180° may seem arbitrary, but the science behind it makes sense. At this temperature, the proteins get denatured, and it puts the milk into the proper state for the creamy, rich texture of yogurt. The number is somewhat flexible, but if it gets to a boil, the proteins get too damaged and you start cooking the milk, leading to funky textures and an off-putting taste.
2. Cool milk to 110°.
Once your milk is heated, it’ll take 1-2 hours to cool down on its own, or you can speed it up with an ice bath in the sink. 110° is the temperature at which yogurt culture bacteria thrives; if it gets lower, it’ll still work just fine, it just takes a little longer to ferment (more on that in Step 4).
3. Transfer to instant pot and add yogurt starter.
When the milk gets down to 110°, transfer it to your instant pot and add a couple hearty dollops of yogurt starter. A small package of plain Greek yogurt from the store will do, or a couple big spoonfuls of your previous batch of yogurt. I’ve never measured too closely, but it’s somewhere between 1/4 and 1/3 cup.
4. Ferment for 8-24 hours.

Fermenting yogurt simply entails keeping the milk and yogurt starter mixture at a constant low temp (~110) for anywhere from 8-24 hours. It’s extremely flexible.
After you’ve added the starter, hit the “Yogurt” button on the instant pot and adjust the ferment period to your desired time.
At 8 hours, it’ll be barely tangy and more like a store-bought yogurt in its texture and flavor. At 16 hours, it’ll be noticeably tangy and a bit more firm. At 24 hours, it’s quite tangy and almost sharp (much like sharp cheddar vs. regular), as well as rather dense even without filtering. I do 12 hours — most often overnight — because that’s the default on the instant pot, and it turns out great.
Once it starts, I simply cover the top with plastic wrap rather than the instant pot lid for the simple reason that our lid has a distinct savory smell embedded in it that I don’t want transferred to the yogurt.
5. Cool and drain.
Once the yogurt is fermented, put the pot in the fridge to cool it down for a few hours. After this, you can either serve it as is, or drain it to filter out the whey and make the texture less watery.
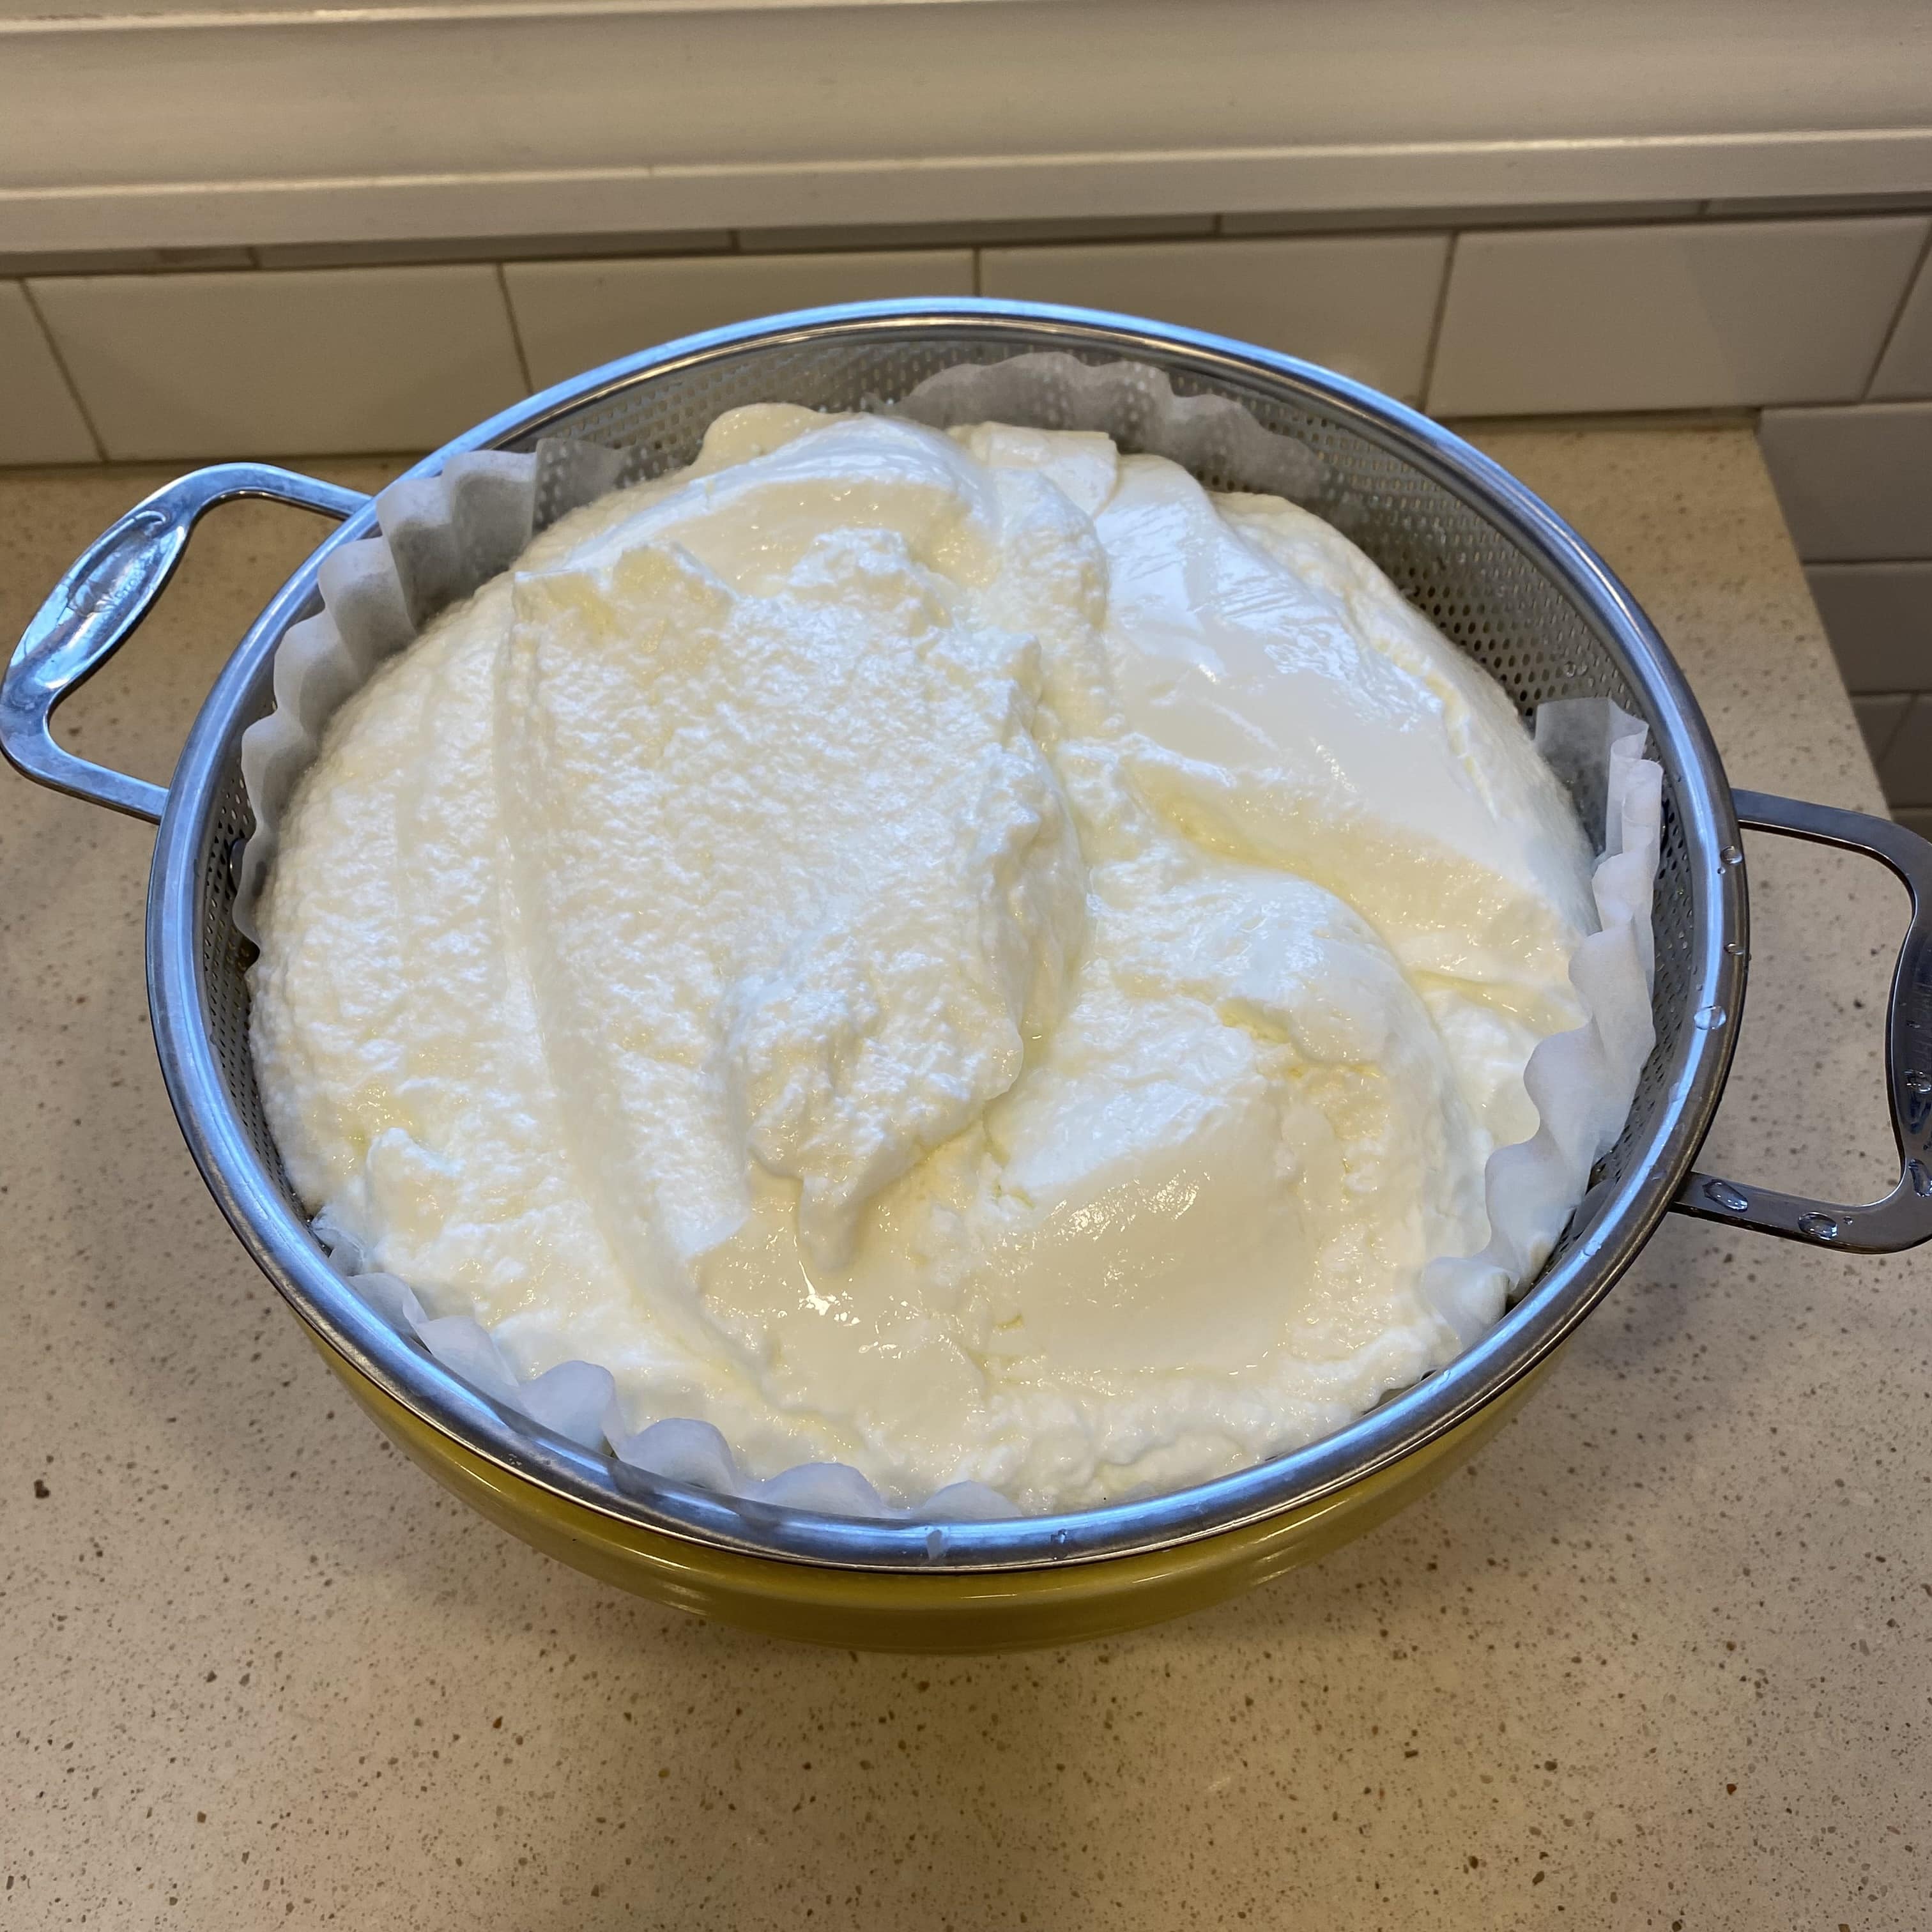
To drain it, line a large strainer with a few coffee filters or cheesecloth and place it over a large bowl. After a few more refrigerated hours, you’ll have a thicker yogurt and a lot of whey byproduct. You can use the whey for a bunch of things from pancakes to smoothies, but I’ve always just dumped it.
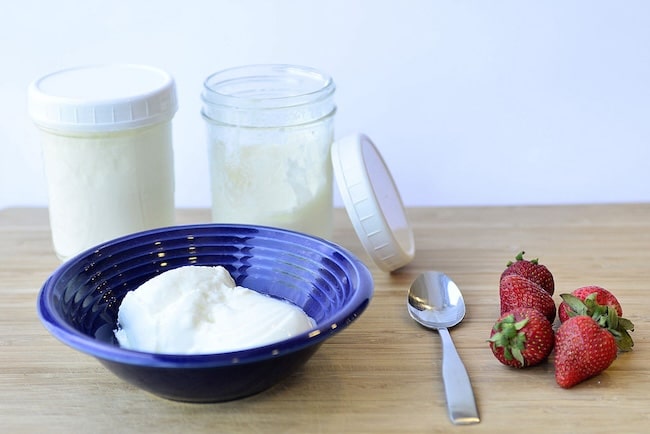
6. Enjoy!
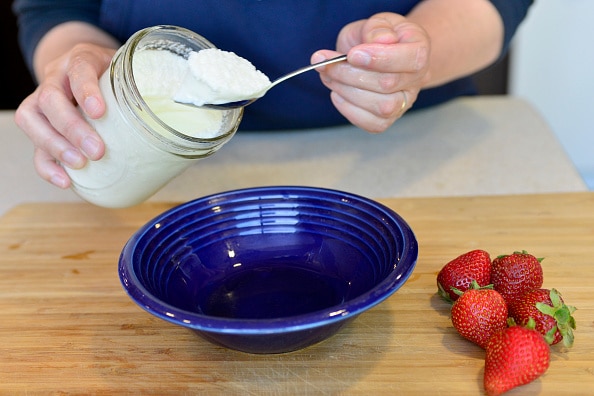
Add any combo of fruit, granola, and sweetener (honey, syrup, etc.) to enjoy a protein-packed meal or snack.
While the active time for making yogurt is pretty minimal, the inactive time is indeed considerable: it takes 20-24 hours from heating the milk to packaging up the final product. Since I work from home with a flexible schedule, it’s definitely worth it. That ~100 oz of yogurt lasts 5-7 days in our household (all five of us love it!), so it’s just become a regular part of the routine to make more yogurt when there’s 2-3 servings left in the fridge.
If you’re wary, as I initially was, give it a shot once or twice and see what ya think. If you or your household goes through yogurt like ours does, it may indeed be worth it; if not, maybe you do it on weekends when you don’t have much else happening. Either way, I can promise you that homemade yogurt is far superior to the liquidy store-bought stuff.