Nowadays, if you get a message from someone, it’s likely to show up on your phone, in your email inbox, or within your social media apps. It’s all too rare to get an actual letter in your actual mailbox. That space seems reserved for bills and catalogs/coupons you’ll probably directly transfer to the recycling bin.
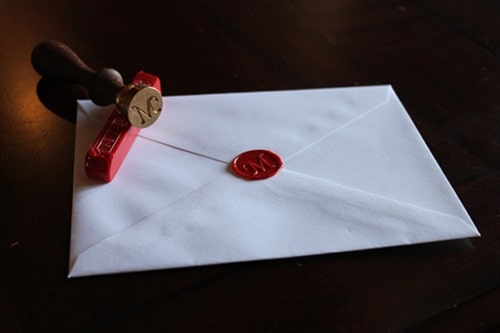
Getting a real letter feels like a unique moment and there is a special excitement that goes along with seeing who sent it and opening it up. In other words, handwritten letters have a magic to them that cannot be replicated digitally. So, it only makes sense that if you’re going to send a letter, you take the time to make it extra special. You might use special paper, add a wax seal to the back, or, in the case of this how-to, learn how to incorporate a bit of origami.
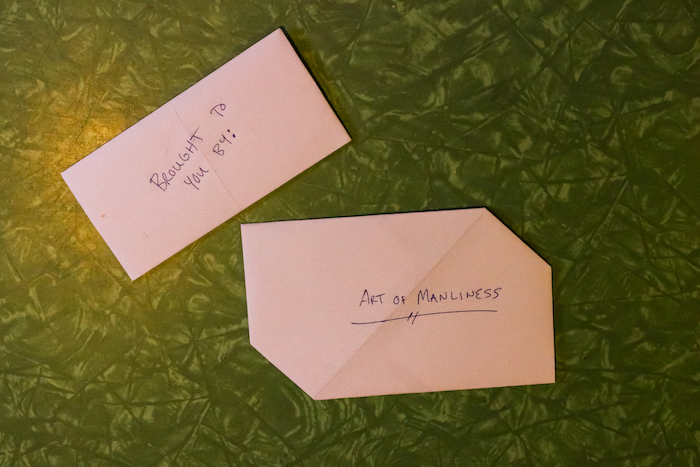
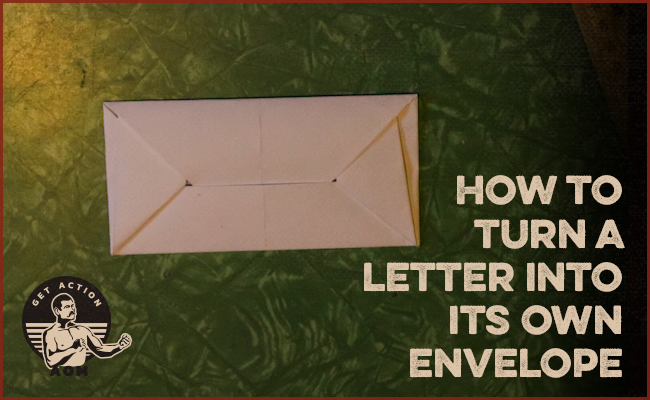
For this project, we’re using origami to turn your letter into its own envelope. It’s a special twist and a welcome bit of know-how if you ever find yourself without an envelope. We’re showing two designs here (the second is a bit easier to execute than the first), both of which should comply with US Postal Service requirements for standard letter sizes, so you won’t have to pay extra postage to send them out. While these folds do make remarkably sturdy little envelopes, it would probably be wise to reinforce them with a bit of tape before sending out.
Let’s get into how to do it.
Standard Envelope
Note: This folding method is typically done with A4 paper. A4 paper is standard printer paper throughout much of the world, including Europe and Asia. This paper is slightly longer and more narrow, so we’ll first need to trim down a sheet of standard 8.5″ x 11″ to make this one work.
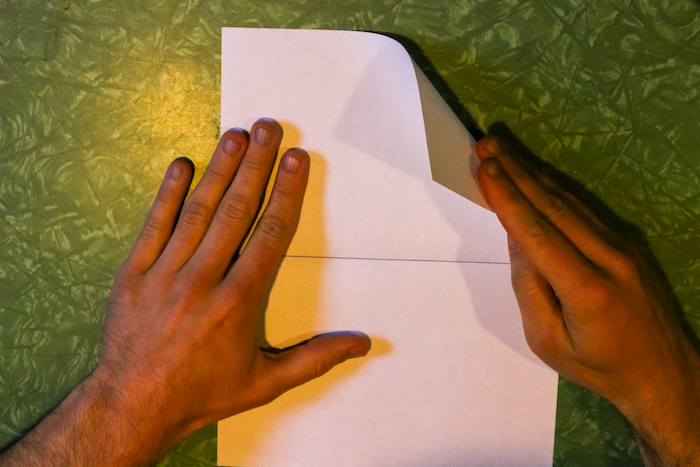
Step 1: Cut to Size
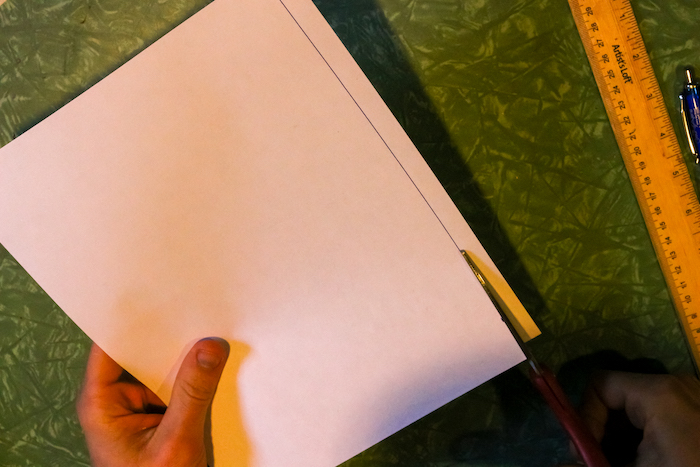
Remove a half-inch of paper from the long side of your letter.
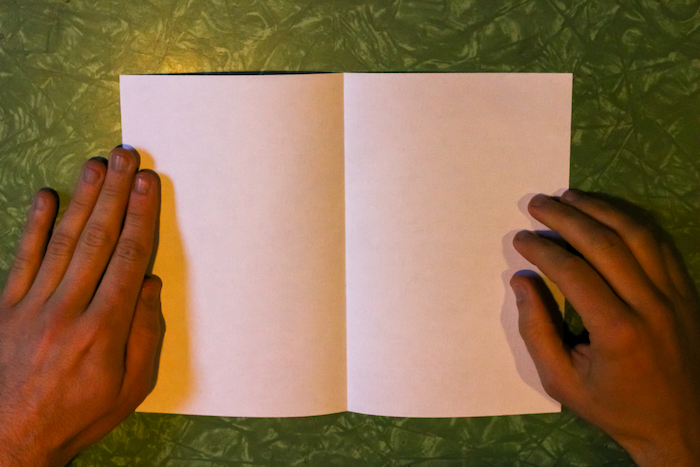
Step 2: Fold in Half
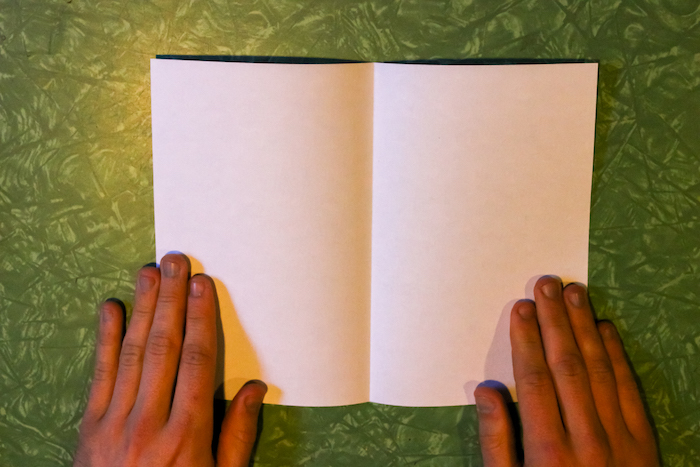
With the long side on top, fold in half left to right and then unfold. The idea is to create a center crease.
Step 3: Fold Down Corners
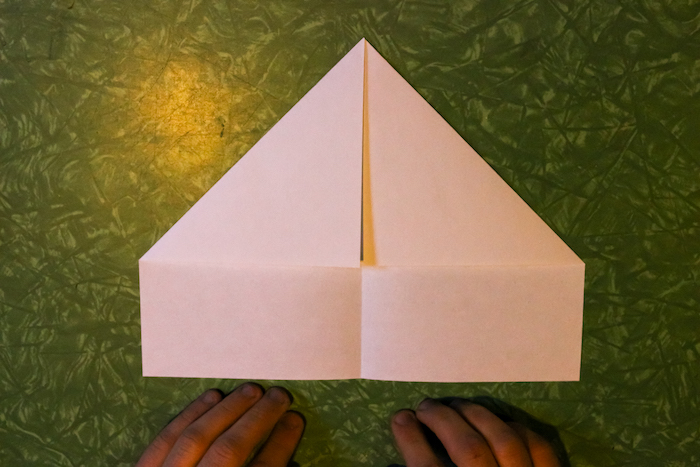
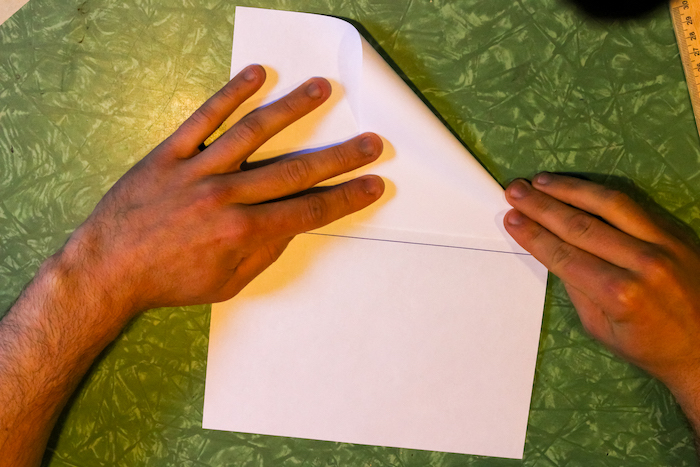
Fold the top right corner down to the center crease and then repeat with the top left corner.
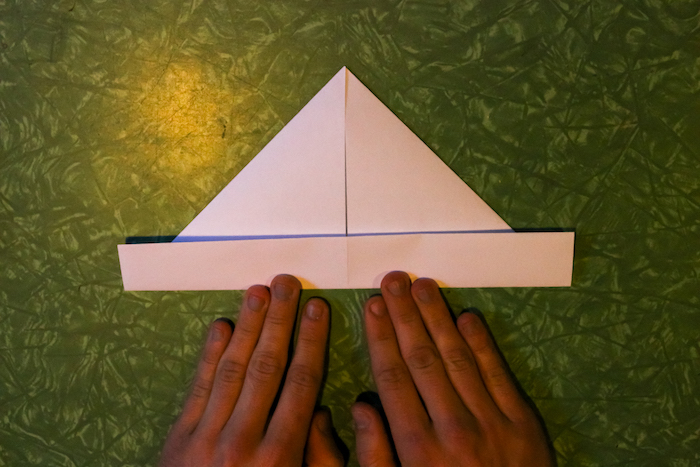
Step 4: Fold Bottom Up

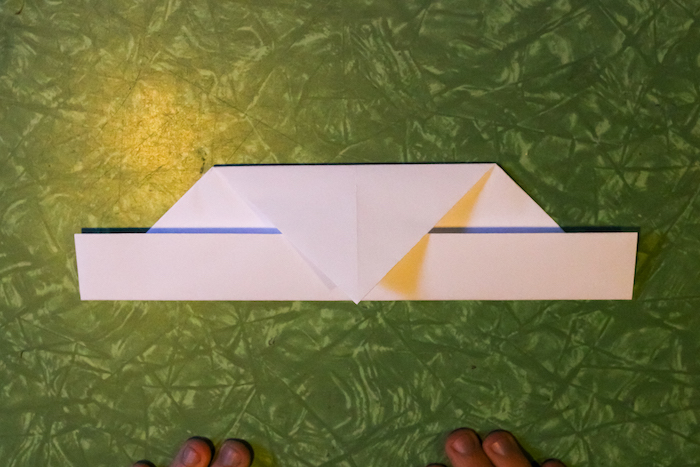
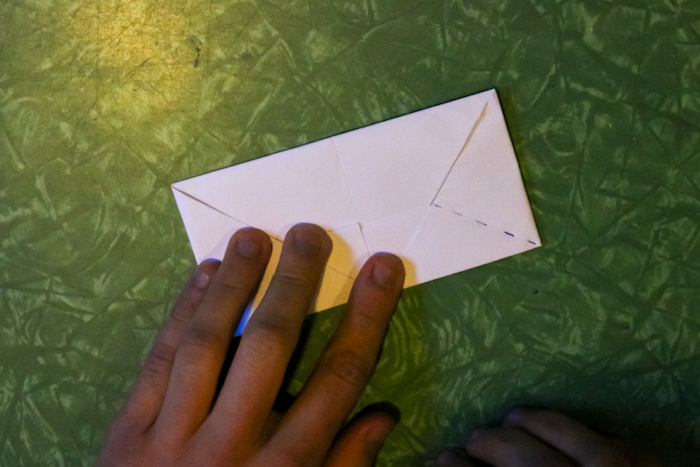
Fold the bottom of your letter up to meet the base of the triangle you just made.
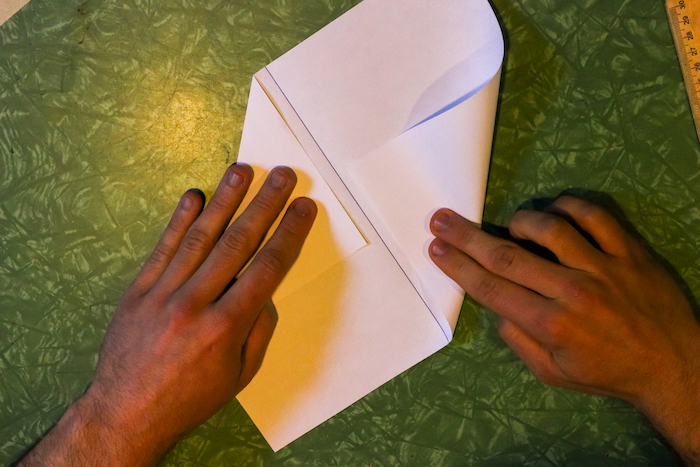
Step 5: Fold Bottom Up Again
Fold the bottom up again, along the line that separates your bottom rectangle from the top triangle.
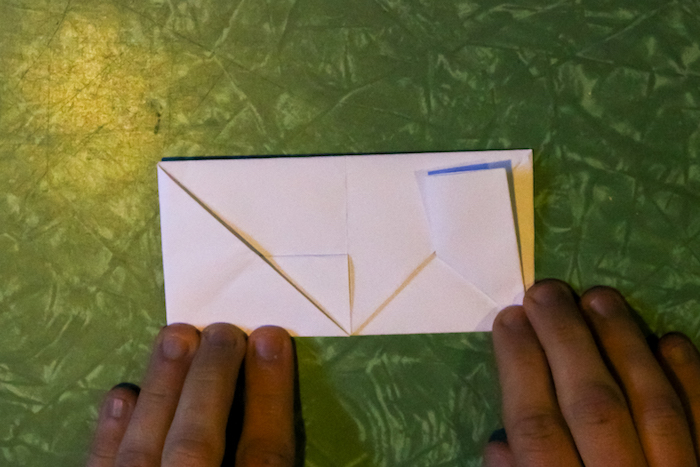
Step 6: Fold the Top Down
Fold the tip of your triangle down to meet the bottom edge.
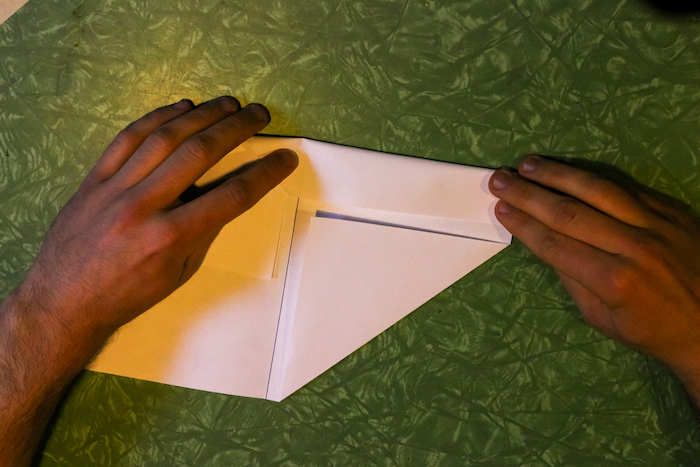
Step 7: Fold the Sides
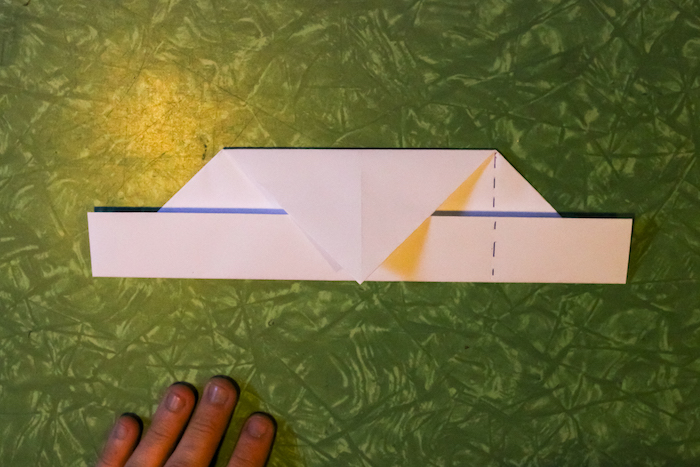
Fold the sides in to create a square edge to your envelope. I’ve added a dotted line on the right to show where to make the fold.
Repeat on the other side.
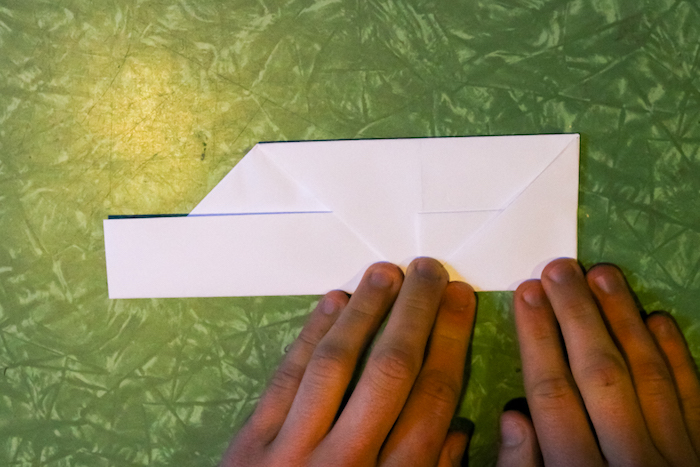
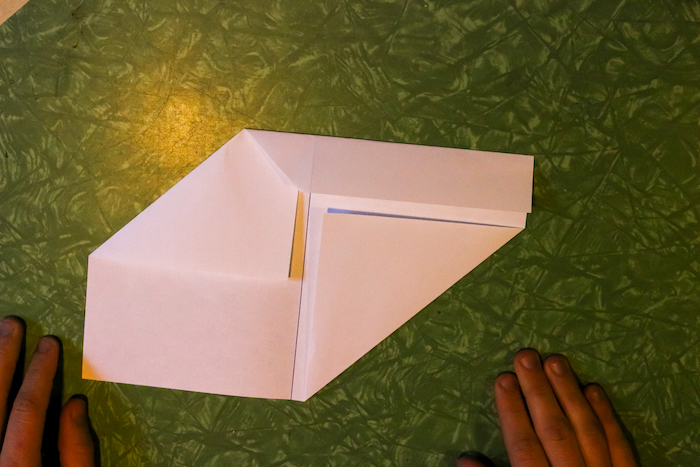
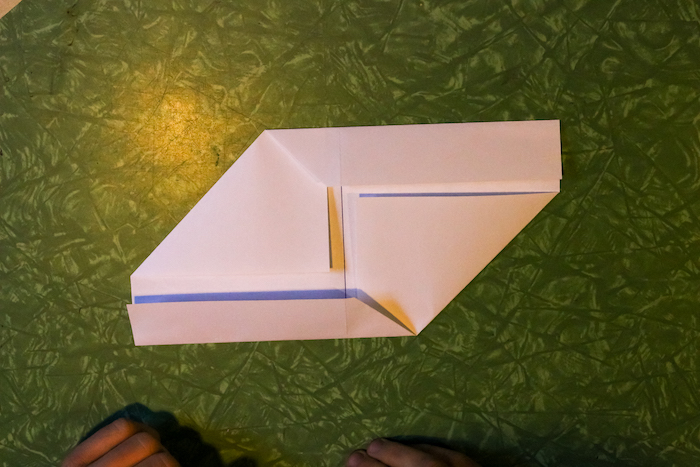
Step 8: Fold Tabs Up
Take the tab you folded over in Step 6 and fold it up so that the crease line is roughly perpendicular to the line of your triangle piece.
It should be slightly less than square to the short side of your envelope.
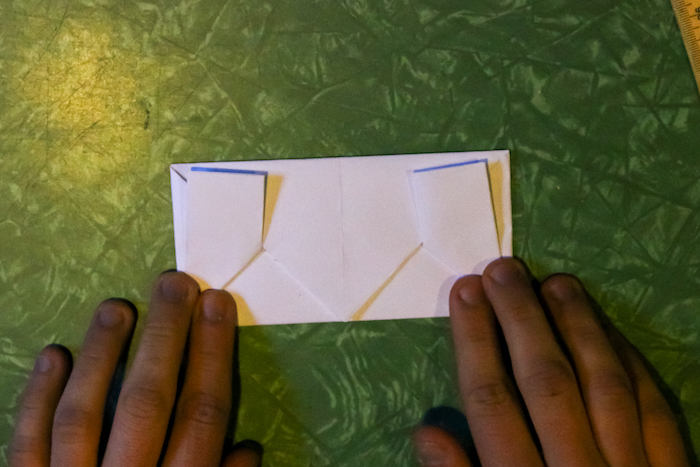
Repeat with the other side.
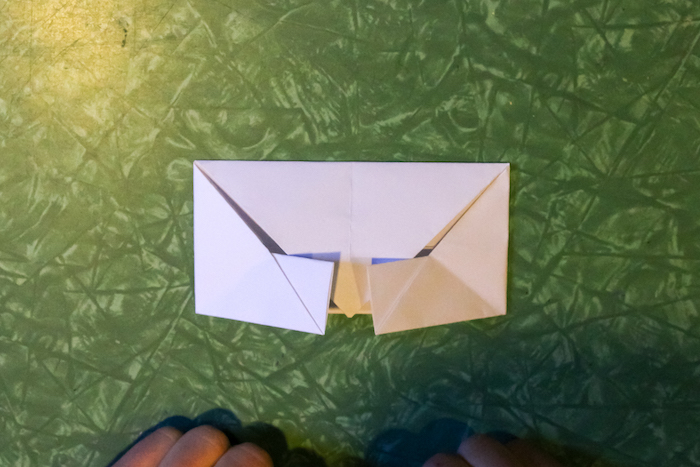
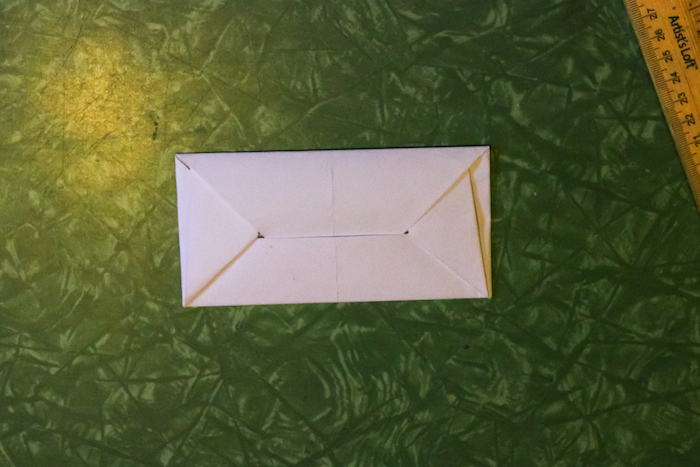
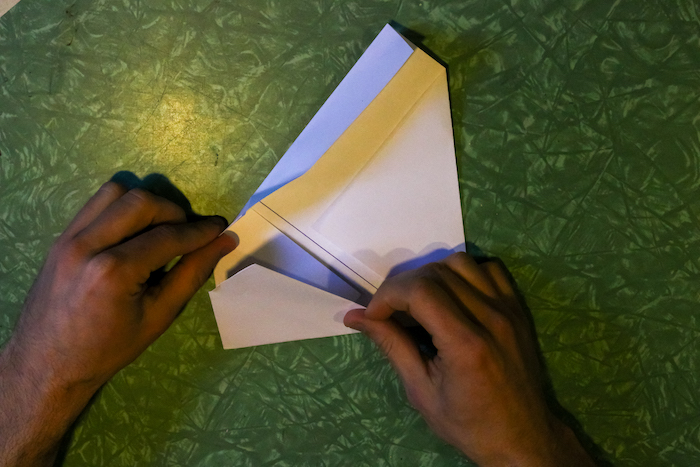
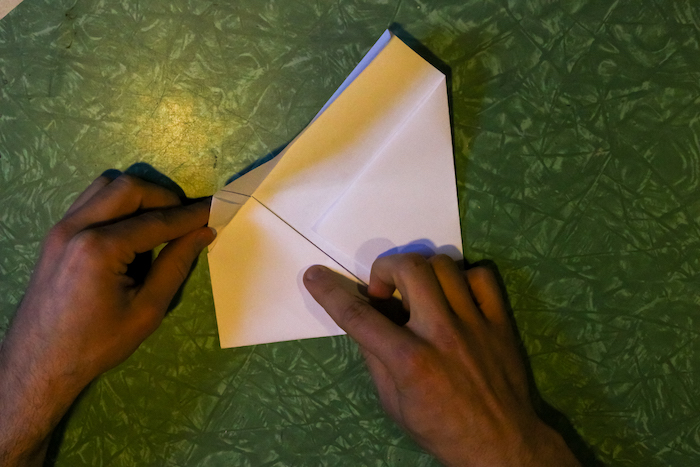
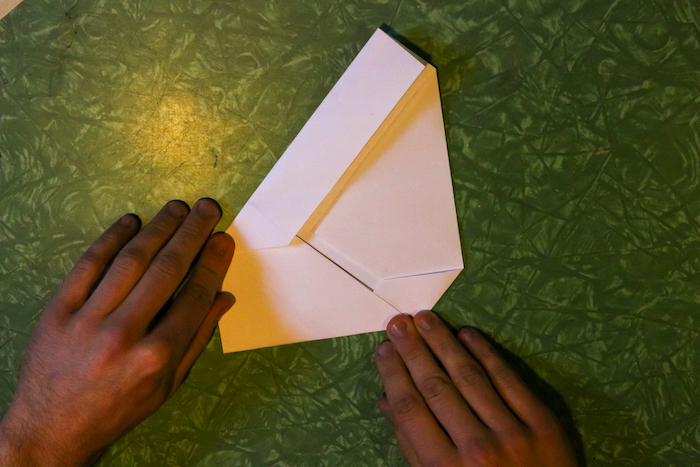
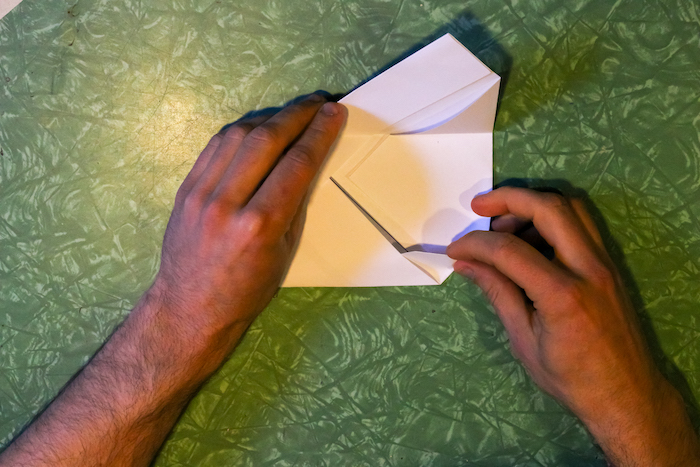
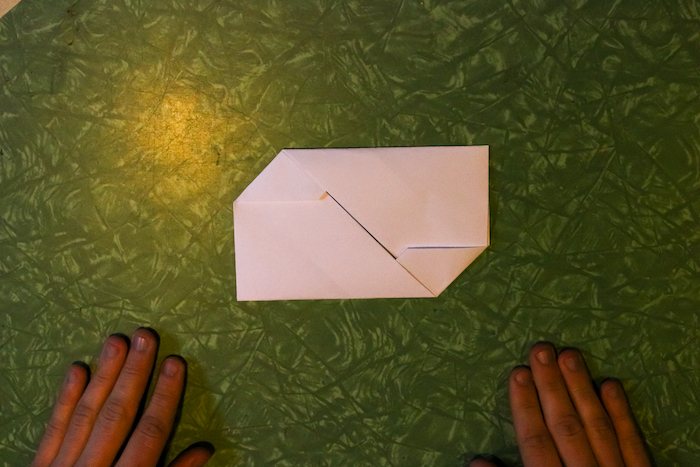
Step 9: Finish It Up
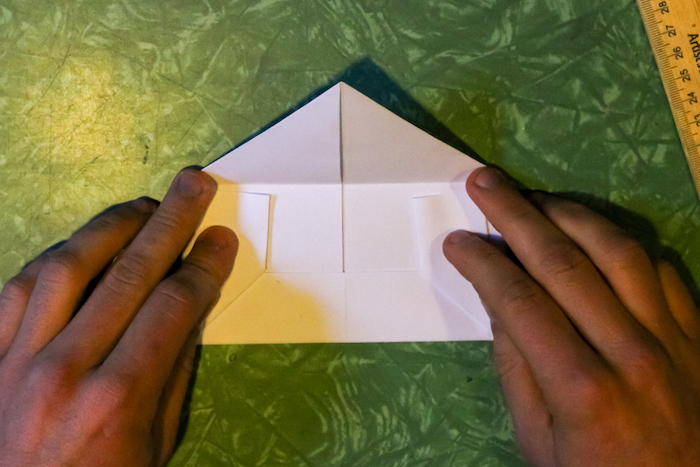
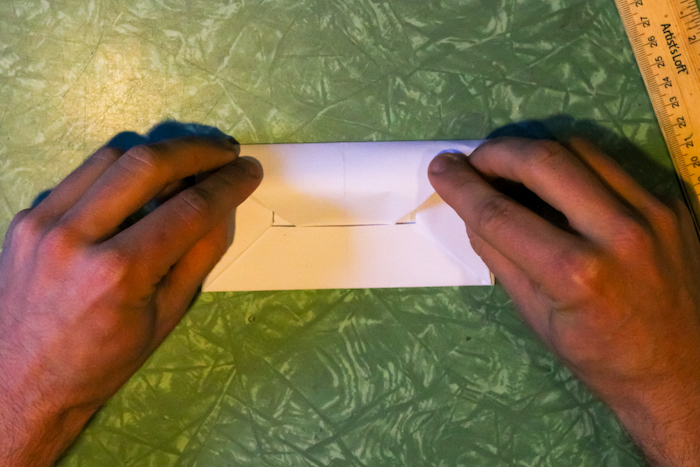
Lift up your triangle flap and then fold it back down over your tabs and under the flap at the base of your envelope.
Envelope with Beveled Corners
Note: This style works fine with normal 8.5″ x 11″ printer paper. No trimming is necessary.
Step 1: Fold in half.
With the long side on top, fold your letter in half left to right, then unfold.
Step 2: Rotate and Fold Corners
I’ve drawn a line on the middle crease just to help you see it better.
Rotate the letter 90 degrees, so the short side is toward you. Fold the top right corner almost to the middle of the page, where your seam is. The goal is to have this fold stop about a half-inch away from the middle crease.
Repeat with the opposite corner.
Step 3: Fold Sides
Rotate so that the long side is once again at the top. Fold the top down toward the middle, leaving a half-inch gap between the edge of your folded corner and the folded side.
Repeat with the bottom edge.
Step 4: Fold Corners In
You should now have two square corners that are opposite to each other. Take one square corner and fold it to the opposite side of the letter so that the edge matches up with the middle crease of your paper.
As you fold, lift the long flap and tuck the corner under.
Repeat with the other square corner.
You should have two tucked-in corners, and you’re done!