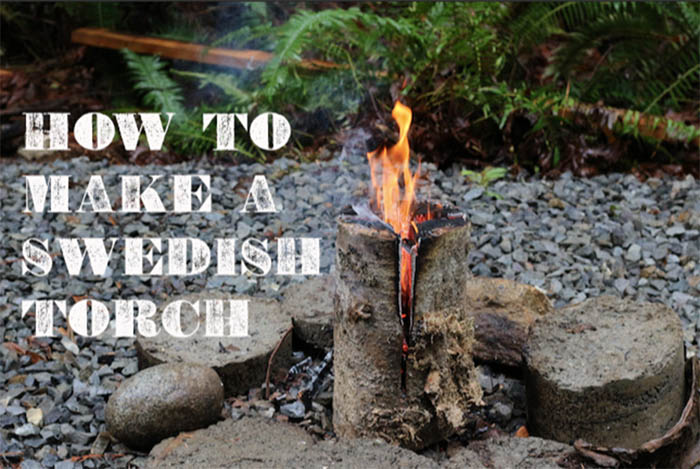
Also known as a Canadian candle, the Swedish torch (or flame/fire log) traces its history back to the Thirty Years’ War in the 17th century. Swedish soldiers needed a way to use their firewood efficiently, while still maintaining a dependable source of light, warmth, and heat for cooking. The Swedish torch was their answer.
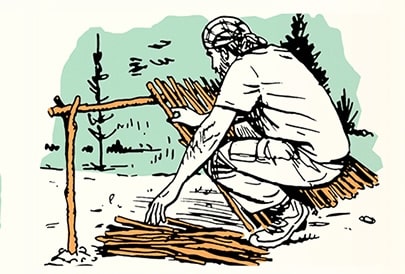
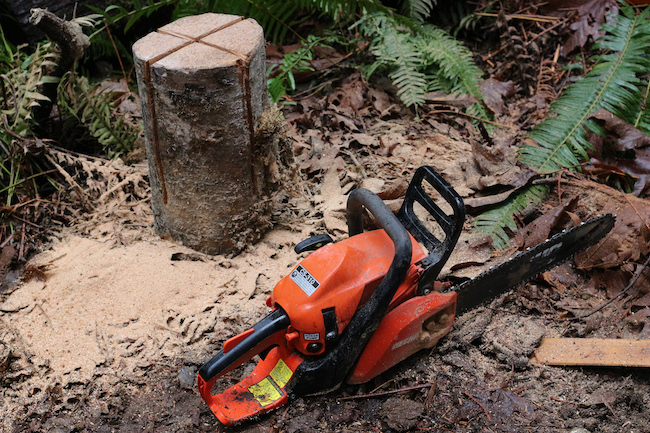
Made from a single log, a Swedish torch can burn for 2-5 hours, depending on the size of the log (go for a minimum of about 16″ long and 6-8″ across) and environmental conditions. Making one is easy; besides kindling and an ignition source, all you need is a chainsaw. As with any good fire, you should always start with well-seasoned wood. Wood typically seasons in about 6 months if kept in a dry, well-circulated area. Once you’ve got your log squared away, it’s time to get cutting.
Making the Cuts

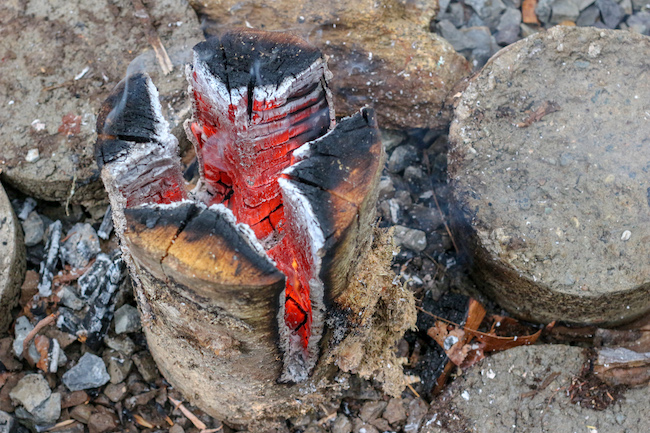
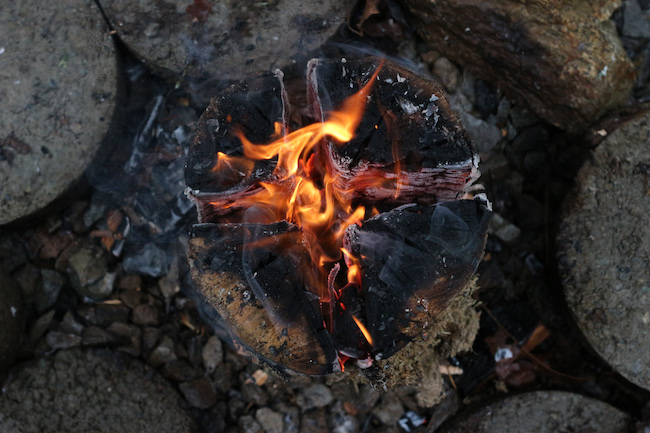
A Swedish torch has multiple deep cuts that run almost the entire length of the log. When stood on its end, the cuts give the log the appearance of a sliced pizza or pie. As the fire burns, embers and coals fall into these cut areas and keep the fire going. The cuts also aid in air circulation.
Start the cutting process by standing your log on its end. If your log has angled ends, use your chainsaw to make both sides flat. A flat bottom ensures your log stands up straight, and a flat top gives you a nice surface to set pans and pots on if you choose to cook on your Swedish torch.
With the log standing straight up, make your first cut directly across the face of the log. Cut ¾ of the way down — not all the way through the end. Pull your chainsaw out, rotate the log 90 degrees, and make a second cut perpendicular to the first.
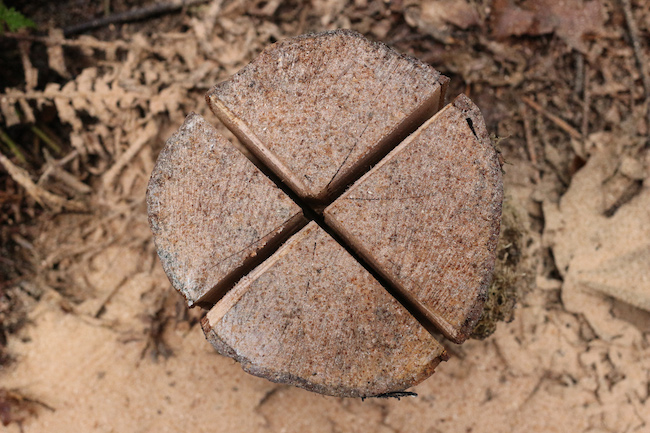
From overhead, you should now see 4 equal, pie-shaped sections. If your log is big enough, make 2 additional cuts to segment the pieces again, so that you have 8 sections instead of 4.
Starting the Fire
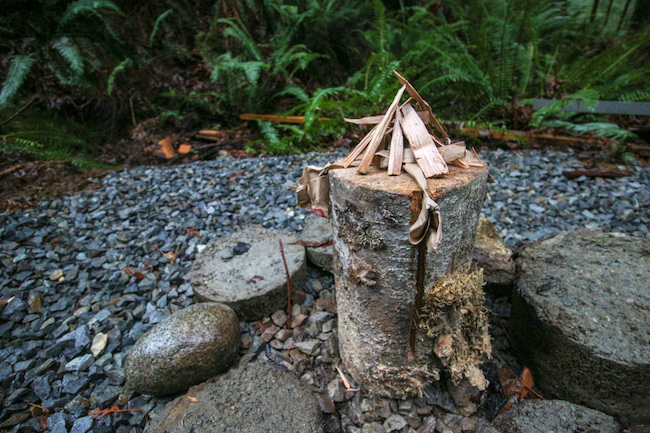
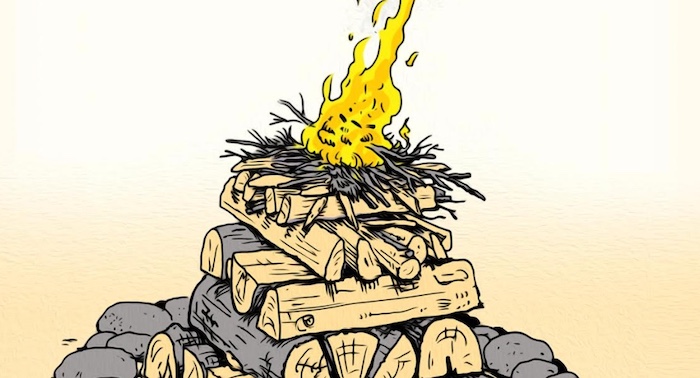
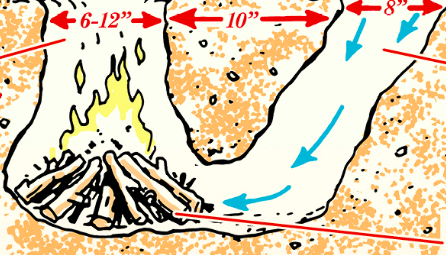
Starting a Swedish torch follows the same basic steps as starting a traditional campfire. Begin with tinder that you can stuff into the cuts near the top of the log. Dryer lint, wood shavings, and paper are good candidates. From there, add small kindling and twigs to the top of the log, and keep extra kindling handy to add later.
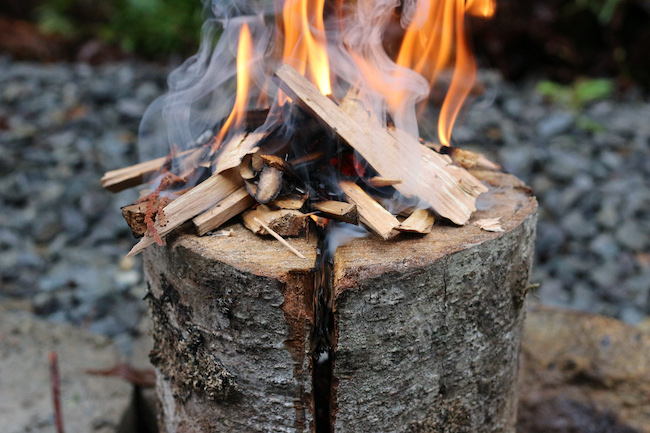
Light the tinder you stuffed into the cracks first. The flames should ignite the kindling on top of the log and start your fire. As the kindling burns, it drops embers into the center of the log. From there, the log should begin to burn from the inside. Keep in mind that you may have to feed your fire kindling from the top for a while before the inside of the Swedish torch really gets going. Be patient, and you’ll have a stable torch burning in no time.
Bonus Use: Cooking
Beyond basic efficiency, the Swedish torch is also an excellent camp stove. The log’s flat top and centered heat source make it the perfect place to rest a cast iron skillet. And, because it burns so long, you’ll have plenty of time to use it for after-dinner marshmallow roasting.