With our archives now 3,500+ articles deep, we’ve decided to republish a classic piece each Sunday to help our newer readers discover some of the best, evergreen gems from the past. This article was originally published in February 2018.
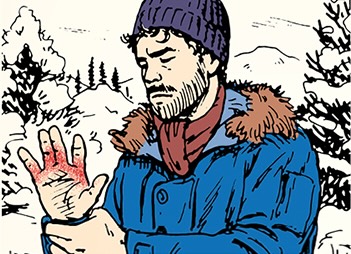
You’re staying in a cabin with some friends and family in the remote wilderness far from civilization. It’s quiet. Pristine. Life is good.
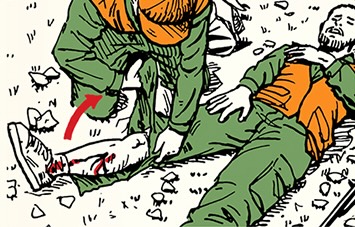
One morning while your buddy is splitting wood, his maul glances off the log and cuts into his leg, leaving a large gash. While the wound is large and deep, the maul didn’t hit an artery or large vein, so there isn’t a risk of him bleeding out. You get him back to the cabin to take a closer look and clean it out.
While the bleeding has stopped, there’s still a giant, gaping wound in your friend’s leg. It needs to be closed up to reduce the chance of infection and so the wound can start healing properly. You try a butterfly bandage, but it’s not keeping the wound together. It’s clear your buddy needs stitches, but the nearest doctor is a day’s trip away. Luckily, you have a suturing kit in your first aid supplies, and you know how to sew him up yourself.
What Is Suturing?
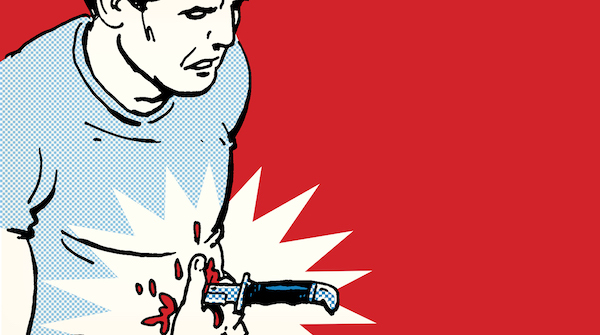
Suturing is a fancy way of saying stitches. It’s when you use a sterilized needle and thread to sew together a severe wound so that tissue can start healing properly as well as to reduce the chances of infection.
Sutures are used when a wound is deep and gaping. For example, if you can see fat in your wound, you should get stitches. If you just tried to close the wound with a bandage, it would only bring the top part of the tissue together, leaving the tissue beneath still separated. That little gap can become a breeding ground for infection. Suturing ensures that you bring all the layers of tissue together so the damaged wound can start healing.
Another example of when you might need to suture: A buddy of mine has a cousin who was involved in an accident that left a finger detached from his hand. They were in a remote area and couldn’t get to an emergency room right away. So the dad (who was a vet) used a suturing kit to sew it back on. It wasn’t perfect, but it kept the detached finger tissue from dying and they were able to get him to the emergency room to have it properly sutured. My friend’s cousin still has that finger.
DIY Suturing Should Only Be Done in Real Emergencies
Suturing is a skill that takes a considerable amount of practice. If you do it incorrectly, at worst you can cause a life-threatening infection or the wound to heal improperly; at best, you’ll leave a terrible looking scar on the person. When doctors perform suturing, they typically inject a numbing agent into the area they’ll be sewing up so the patient can’t feel a needle going in and out of his flesh. You probably won’t have that on you, so suturing will likely be very painful. Another reason it should be a last resort.
For those reasons, suturing should only be used in emergency situations when you won’t be able to get to a doctor within 12-24 hours. In most cases, if you’ve got a gaping wound, do what you can to stop the bleeding and use butterfly bandages and gauze to close it up as much as possible. Then call 911 or get yourself to an emergency room ASAP.
If for some reason you find yourself in a situation that prevents you from getting to a doctor, here’s how to do it yourself.
Suturing Supplies
In an extreme pinch, you could probably use a regular old needle and thread (ideally sterilized with boiling water or otherwise) to suture a wound. But that would 1) be hard, and 2) increase the chance of infection.
To properly and effectively suture a wound, you’ll want to get a hold of a suturing kit. Here’s what you’ll need at a minimum:
- Needle driver. This is what you’ll use to hold the needle when you’re putting it through the tissue.
- Tissue forceps. You’ll use these to manipulate the tissue around the wound while you apply the suture.
- Scissors. To cut excess thread.
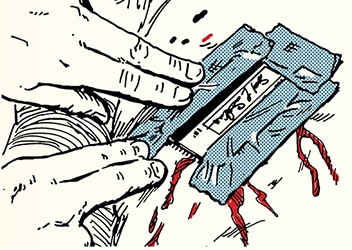
- Sterilized needle and thread. When you apply sutures to someone, you’re putting in and leaving foreign objects in their body. You want to make sure they’re sterilized. You can purchase sterilized suture threads at most online first aid and survival stores. The needle on a medical suture is typically curved to make sewing a bit easier.
Be sure everything is sterilized before using on human flesh. Kits sometimes come with sterilizing alcohol wipes; if yours doesn’t, be sure to add some.
How to Practice Suturing
You don’t want your first time suturing to be when you’re confronted with an actual gaping, bleeding wound. You’ll want to practice. But how do you practice suturing a wound without a wound?
There are a few ways:
Pig belly. I learned how to suture on a flap of pig belly. While the pig belly had all the tissue that you’d see on a human, including skin, fat, and a bit of muscle, pigskin is much thicker than human skin. If you’re not careful, you’ll end up bending your suture needle trying to get it through the pig’s armor-like dermis.
To create your practice wounds on the pig belly, just cut it with a knife or scalpel.
Chicken with skin. I’ve heard that a chicken breast with the skin on makes for good suturing practice since the skin is a bit more like human skin.
Banana. Bananas have a nice fleshy texture that makes for good suturing practice.
Suture pad. If you don’t want to practice suturing on your food, you can buy a suturing practice pad. They’re made from latex and have precut wounds on them. One of the benefits of suture pads is that you can use them multiple times, unlike the pig belly or chicken that would need to be thrown out after you’ve practiced on (and then perhaps eaten) them. Suture pads are affordable; you can buy one on Amazon for $10. I’m using a suture pad in the example below.
How to Suture a Wound
There are different suturing techniques with varying degrees of difficulty. More complex suture techniques are used to reduce scarring.
For this article, we’ll demonstrate how to perform the most straightforward suturing technique: interrupted (or intermittent) sutures.
An interrupted suture is called that because each stitch isn’t connected. You make one, tie it off, and then make another.
Interrupted sutures are simple to place and secure. They also allow you to make changes much more easily than a continuous suture. Just cut one of the stitches, adjust the wound, and then suture again.
Here’s how to do interrupted sutures:
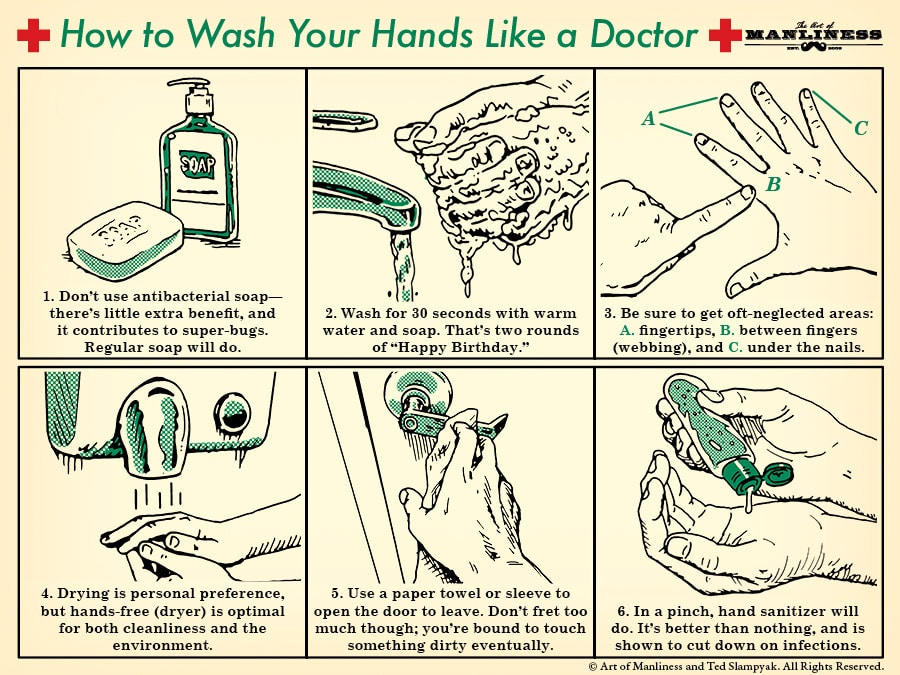
1. Wash hands and prepare the wound. Wash your grubby hands like a doctor to reduce the chances of infecting the wound. Prepare the wound for suturing by cleaning out any debris with water. Clean out as much blood as possible. Put on latex gloves.
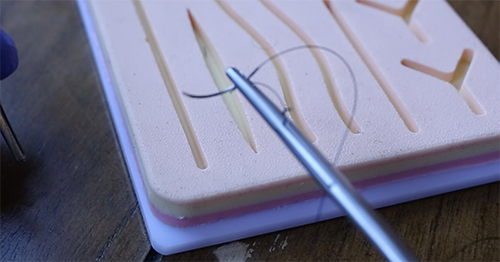
2. Use your needle driver to grab the needle. Make sure the needle clamp locks in place. Pull all the thread out of the suture kit.
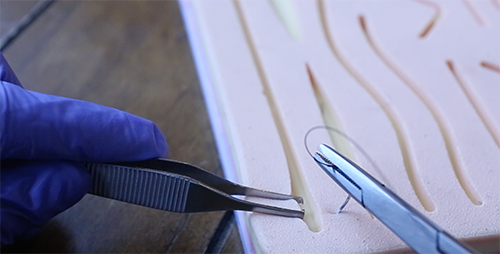
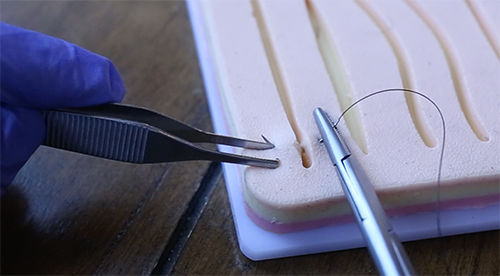
3. Use the tissue forceps to expose the side of the wound you’ll begin the suture on. This lets you see what you’re working with and how deep the wound goes. Line up the edges of the wound as much as you can.
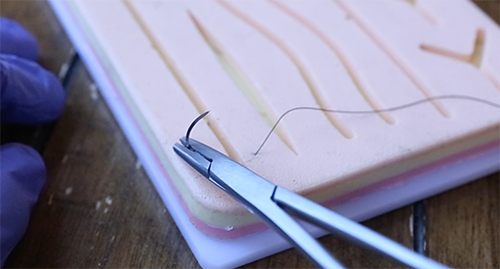
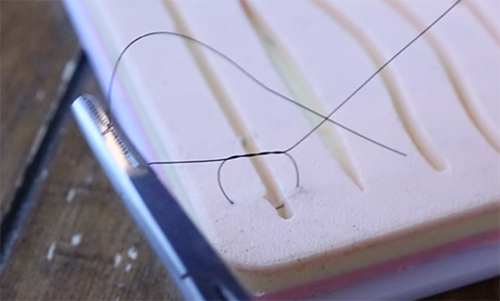
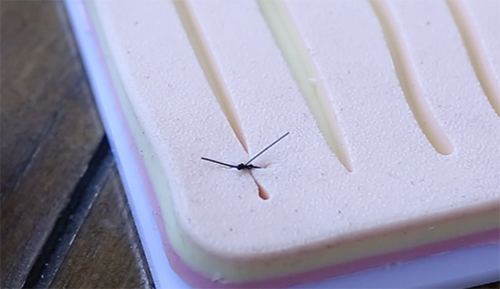
4. Push the needle through the skin at a 90-degree angle about a centimeter to the right of the wound. Don’t go below the fat. Just right above it.
5. When you’ve gone deep enough, twist your hand clockwise so that the needle starts coming up on the other side of the wound. You want the needle to come out straight across from the first needle hole.
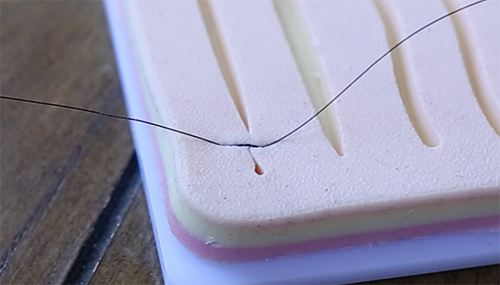
 6. When the needle has come out on the other side of the wound, unlock the needle driver, reattach it near the tip of the needle (you don’t need to lock it), and pull until you have about 1-2 inches of thread left on the right side of the wound. Release the needle.
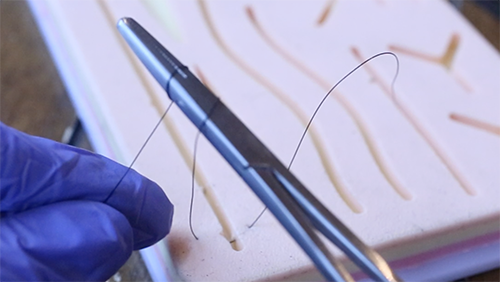
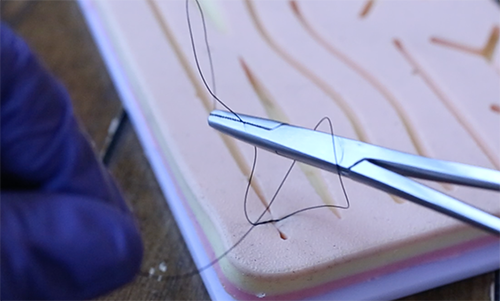
7. Using your left hand, hold the thread on the left side of the needle and wrap twice around the tip of the needle holder.
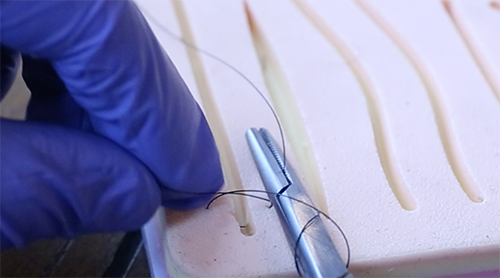
8. Slightly open the needle holder and grab that 1-2″ of thread on the right side of the wound.
9. Using your left hand, pull the long part of the thread. The part of the thread wrapped around the needle holder will slide off. You’ll have created a simple overhand knot with two loops. This is called the “first throw.”
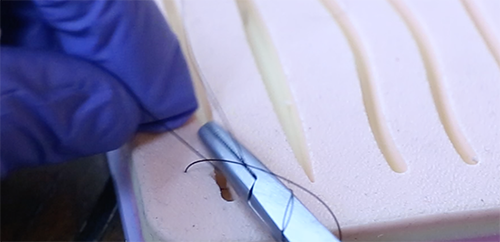
10. Tighten things so that the tissue is just touching and make sure the knot is lying flat.

11. Time for the “second throw.” Using your left hand, hold the long end of the thread and wrap it once around the needle driver clockwise. Slightly open the needle driver and grab the short end of the thread. Using your left hand, pull the long part of the thread. You’ll finish off your surgeon’s knot with another overhand knot.
12. Repeat step 11 one more time for a “third throw” to really create a secure knot. Instead of wrapping the thread clockwise around the needle driver, wrap it counter-clockwise. This will prevent the knot from slipping.
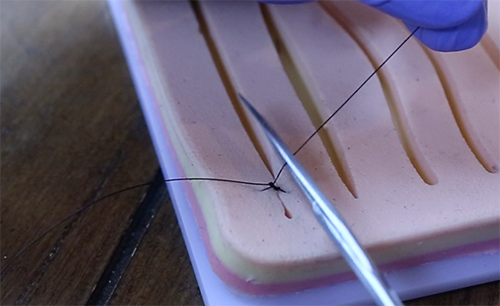
13. Cut the excess thread.
14. Move a quarter-inch down the wound and repeat the process.
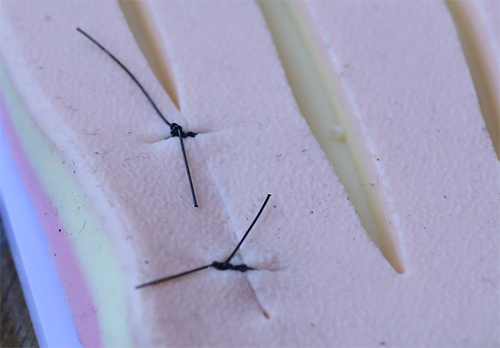
15. Make sure all the knots are lined up on the same side. Mine are on the left side of the wound.
16. Wrap your sutured wound with a sterilized bandage. Get professional medical attention as soon as possible.