I’ve often admired the artwork on beer bottles, liquor bottles, even craft soda bottles. And I’ve often wondered how to capture some of this artwork in a way that doesn’t involve simply collecting the bottles. When I stumbled across a shop in Vegas that sold beer and wine bottle drinking glasses, I knew I found my answer. With a little bit of research, I found out how easy it can be to make the same glasses without the hefty retail price tag. What’s great about this project is how versatile it is. It could take the shape of wine bottles turned into vases for Mother’s Day, manly wedding gifts for a groom using his favorite beverage, or you can use smaller bottles and create a set of tasting glasses.
It’s also cheap, fast, and uses items that can be found in most households. And did I mention you get to play with fire?
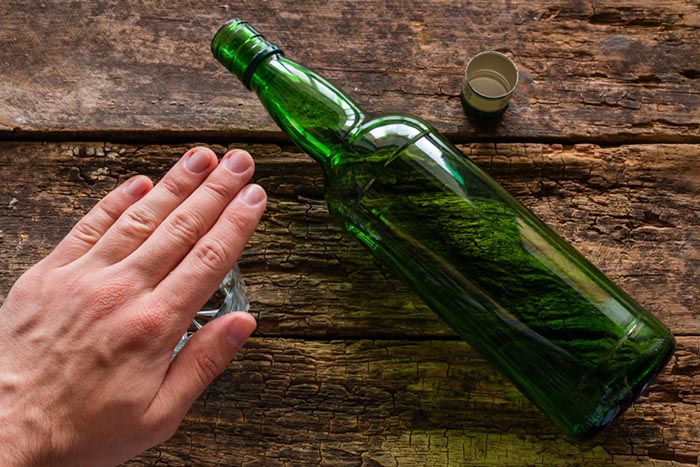
With this project, you are using fire and chemicals, so take extra precautions. Having said that, I’ve done this a few times, and never had any issues or even felt nervous about the safety of it. You’re just as likely to injure yourself using a drill or a hammer and nail.
Supplies
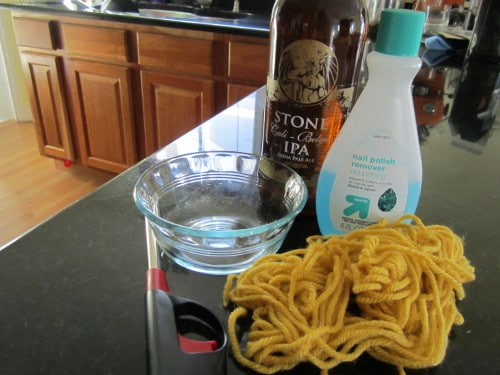
- Any kind of bottle — beer, soda, wine, liquor
- Acetone (found in nail polish remover, raided from my wife’s cabinet)
- Small dish for acetone
- Rag/towel
- Scrap yarn or string — yarn has the best absorption in my experience
- Lighter
- Sandpaper
Step 1: Choose Your Bottle
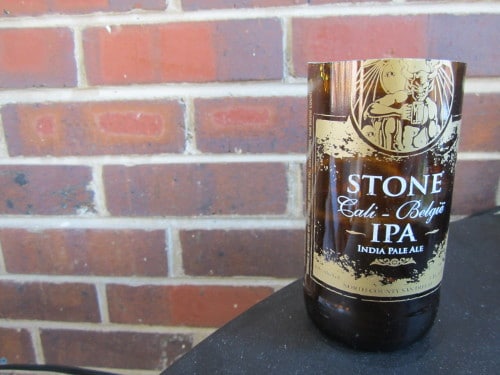
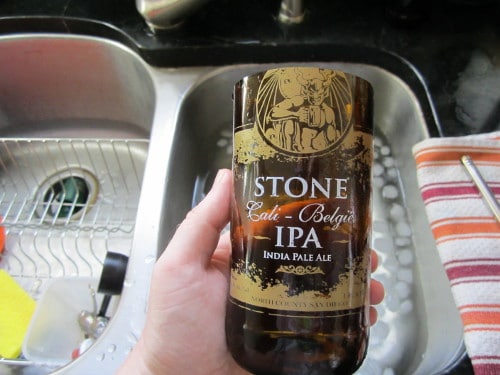
The coolest bottles to use are those that have a logo or printing etched right onto the glass. They’re a little harder to find, but definitely worth it if you can. Otherwise a plain ol’ bottle will work just as well. This 220z bottle is a great size for a drinking glass, while 12oz bottles may work better as tasting glasses.
Step 2: Consume Beverage
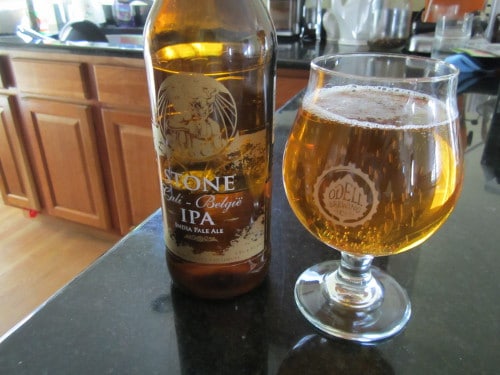
This Stone Brewing Cali-Belgique IPA was quite enjoyable. You of course need an empty bottle, so take this opportunity to pour yourself a drink.
Step 3: Create Ice Bath
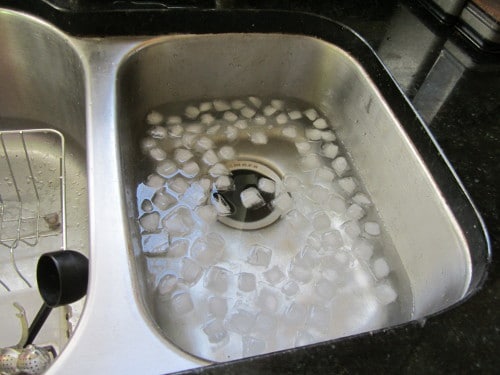
Fill your sink up with ice water. You don’t need a ton of ice, it just has to be cold. I went with the coldest tap water and a few handfuls of ice and it worked great.
Step 4: Pour Acetone into Dish
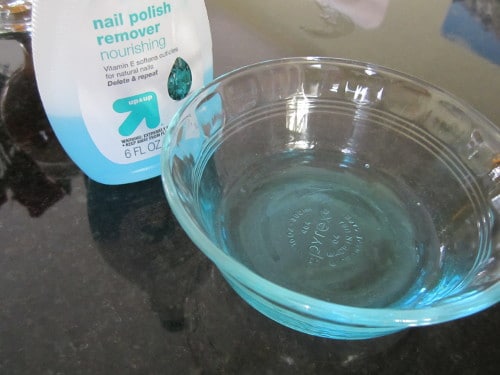
You don’t need much — just enough to soak the yarn/string. Obviously, this a chemical, so be extra careful working with it. It’s fine if it touches your skin, but keep away from your face.
Step 5: Cut Yarn and Wrap Bottle
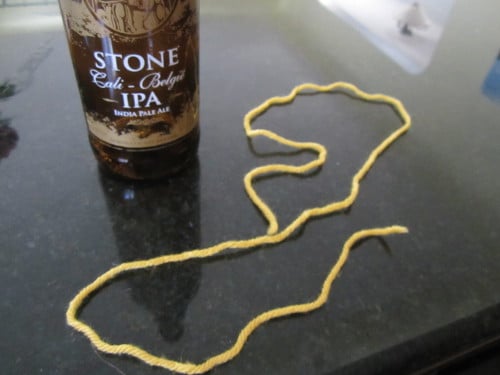
You need enough yarn to wrap around the bottle 4-6 times.

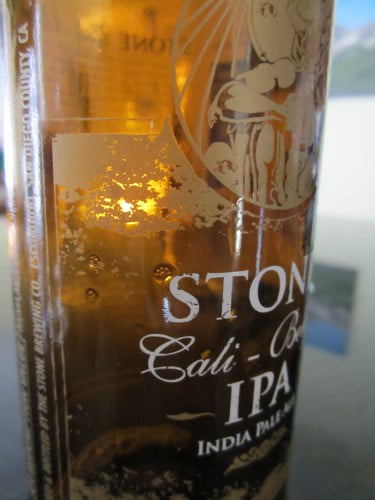
Start wrapping yarn around the bottle where you want the top to separate. For this bottle, it’s right above the logo. Wrap it tightly. I also found this step to be easier holding the bottle horizontally than just sitting on the counter.

Tie off the yarn, remove from the bottle, and snip the ends. Ultimately, the yarn will be lit on fire and rotated, so you don’t want loose ends flyin’ around.
Step 6: Soak Yarn in Acetone
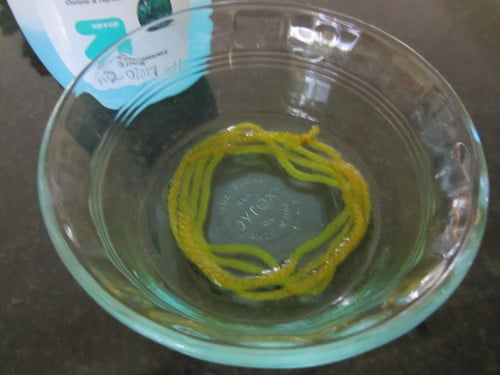
With the yarn still tied, soak the entire thing in acetone. Make sure it’s really soaked all the way through — don’t skimp on this step.
Step 7: Put Yarn Back Onto Bottle
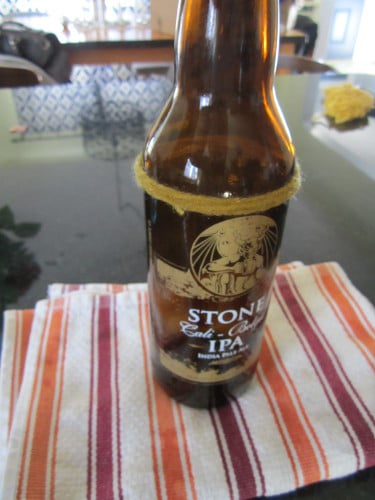
Put the yarn back over the bottle where you want the cut to be. Do it over a towel or rag; remember, you’re working with a chemical and you don’t want to mess up any tables or countertops.
Step 8 – Light Yarn on Fire
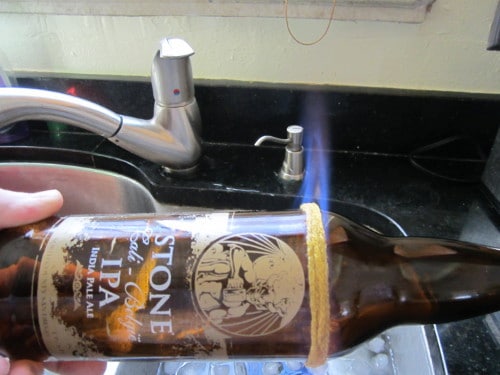
Hold the bottle at the far end of where the yarn is and using a lighter, torch that yarn. Rotate the bottle so the entirety of the yarn gets lit, and continue to rotate the bottle until the flame burns out (about 30 seconds). I can see how safety is a concern for some, but the yarn burns quickly, and you’ve already created an ice bath should an accident occur.
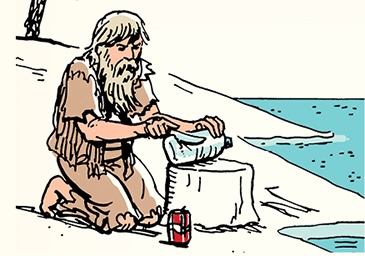
Step 9 – Submerge in Ice Bath
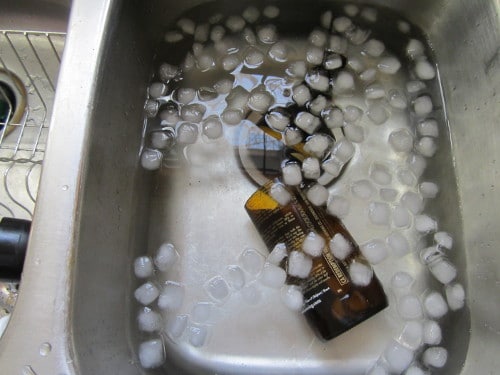
Once the flame burns out, immediately submerge in the ice bath, and the top should pop right off where the yarn was. It may take a couple tries — this one did because it’s a thicker glass. Don’t worry, just repeat the process above once or twice and you’ll get it.
 Step 10 – Sand Edges
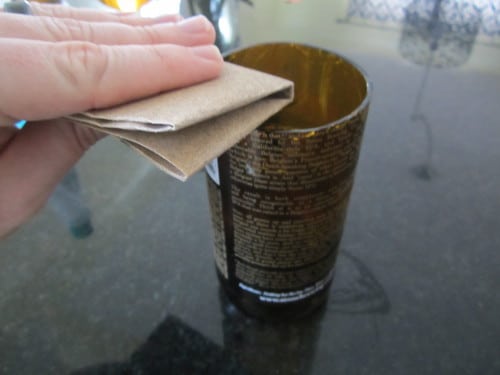
Use sandpaper to smooth the edges and imperfections. I’d wait 30-60 minutes after breaking the glass to do this, as it remains fairly fragile immediately afterwards. Again, you may think of safety here and worry about sharp edges on a drinking glass, but when I’ve done this, it doesn’t take much sanding to make it perfectly smooth and safe for use.
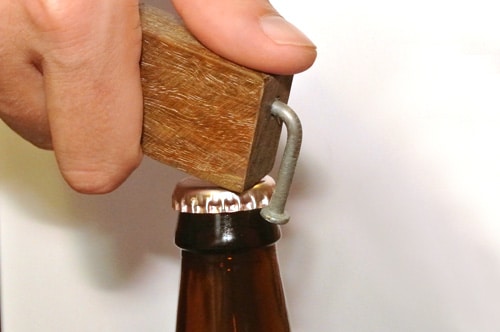
Step 11 – Test Your New Glass
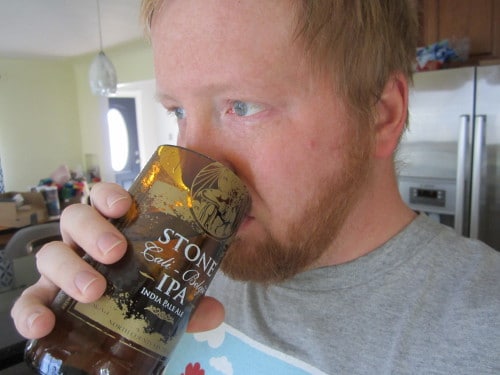
After the beer, a nice glass of water was refreshing and hydrating. Ahhhhh. Works like a charm, and looks great too!