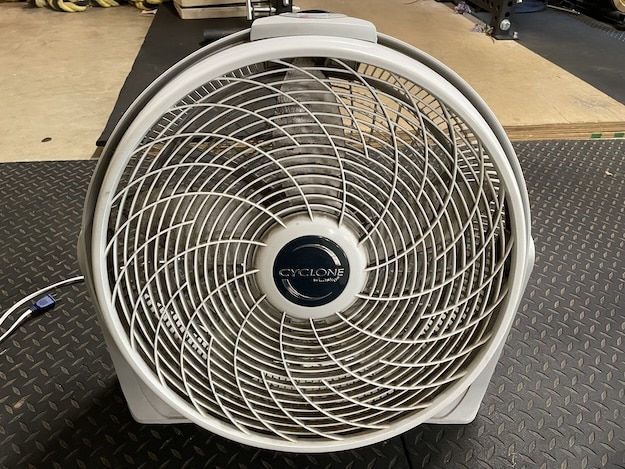
In the midst of the summer heat, I’ve always got a floor fan (or two) going in my garage gym. Lately, as I’ve gone to switch it on, I’ve thought, “Dang, that’s really dirty . . . how the heck do you clean this thing?”
I decided to find out and get this job done. Below I’ll share the process, should you need to tackle this chore yourself. It’s an easy one to put off, but dust buildup doesn’t just look bad — it hampers performance, spreads allergens, and can shorten the life of the fan.
Here’s how to restore a box or floor fan to prime condition (the process is the same for both types).
Tools & Supplies
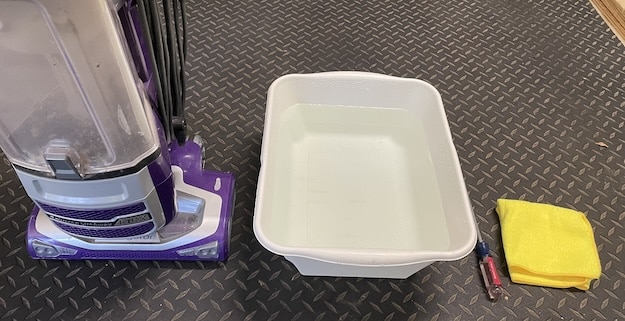
- Phillips-head screwdriver
- Vacuum with brush attachment or handheld vac
- Mild dish soap
- Bucket or large basin
- Microfiber cloths or old towels
- Optional: Compressed air or a can of air duster
Step 1: Unplug It
This should go without saying, but don’t be the guy who gets zapped trying to clean an electric fan while it’s still plugged in. Unplug the fan and move it to a well-lit area — preferably outside or onto an old towel indoors.
Step 2: Remove the Front Grill
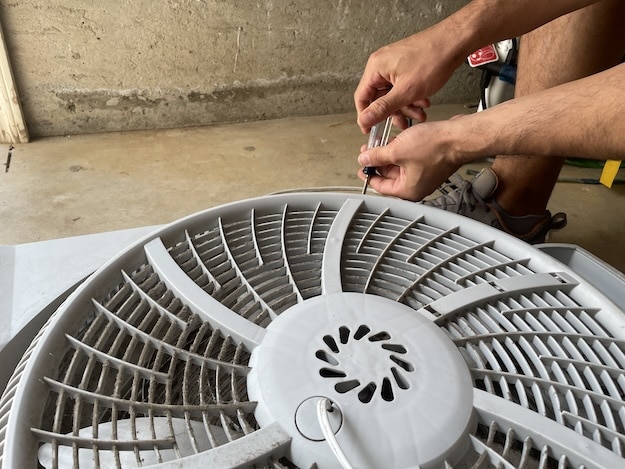
Most floor or box fans are held together with a few screws and/or tabs on the back or sides. Use your screwdriver to unscrew the screws, placing them in a small cup so you don’t lose them. If there are also tabs that latch the front grill on, gently pry them apart. Don’t brute-force it — broken tabs mean a loose grill that rattles forever.
Step 3: Hose Down the Front Grill
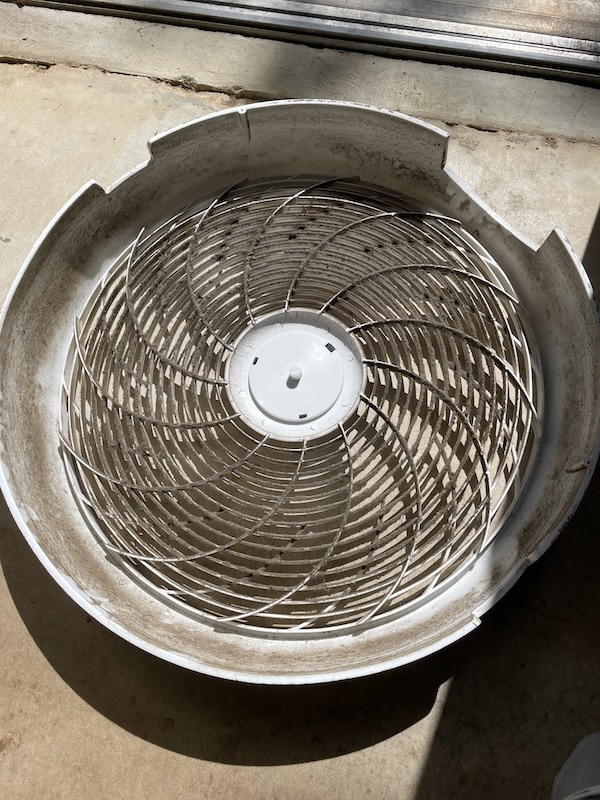
Look at that gunk.
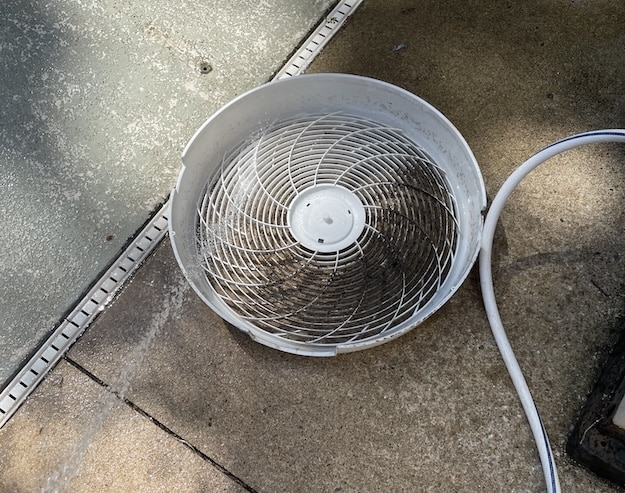
Hose it on down.
Step 4: Vacuum the Back Grill
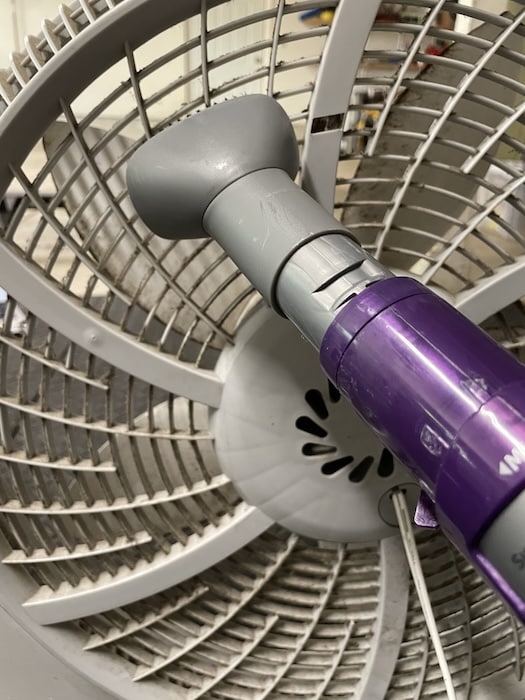
With the back grill and blades exposed, start with a dry clean, using a vacuum with a brush attachment to suck up the loose dust and cobwebs from the front and back of the back grill.
You can also hit it with a can of compressed air if you’re feeling fancy.
This dry stage helps avoid making a muddy mess once water gets involved.
Step 5: Wipe the Back Grill and Base
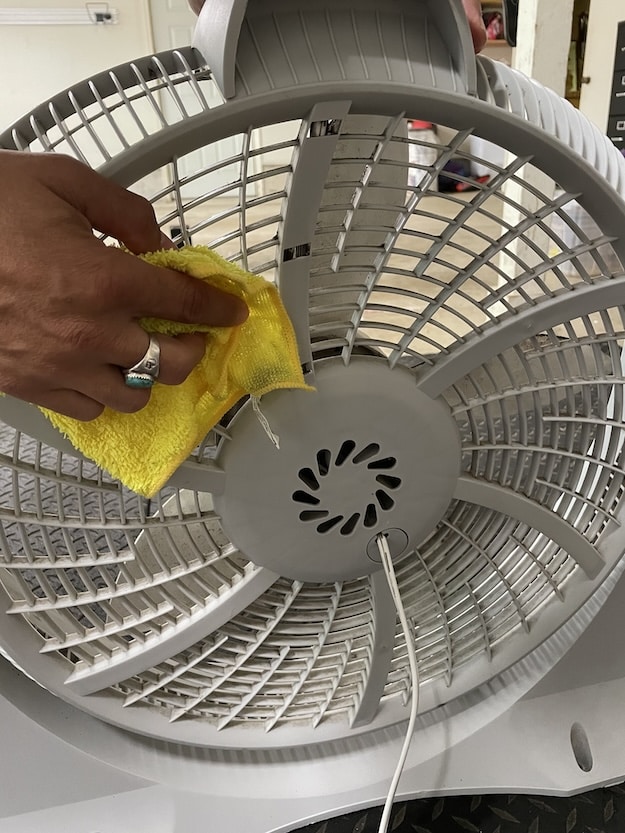
Vacuuming won’t get all the grime off the back grill; now it’s time to wipe it down.
Wipe the front and back of the back grill with a rag dipped in soapy water. It’s easy to clean the surface of the grill — the slots in it, not so much. How much time you want to spend on wiping out those tedious gaps is up to you. I just hit the vents that were most grimy.
Wipe all around the fan’s base as well.
Step 6: Clean the Blades
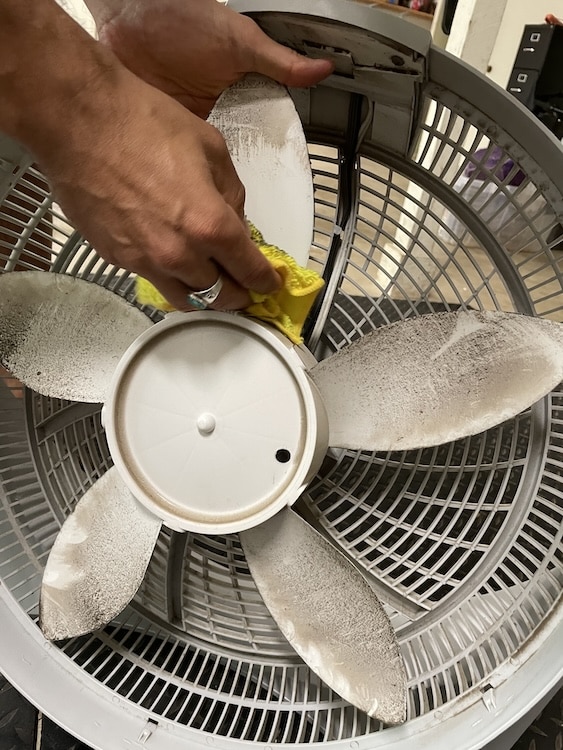
If your fan blades are detachable, unscrew or unclip them from the motor shaft, let them soak in a bucket of soapy water for a few minutes, and then use a cloth to wipe off any leftover grime. Rinse with clean water and dry thoroughly with a towel or let air dry.
If your blades are non-detachable like mine, you can still wipe them down in place — just be careful with water near the motor housing.
Do not submerge the motor housing. If needed, vacuum around it and wipe it down with a barely damp cloth.
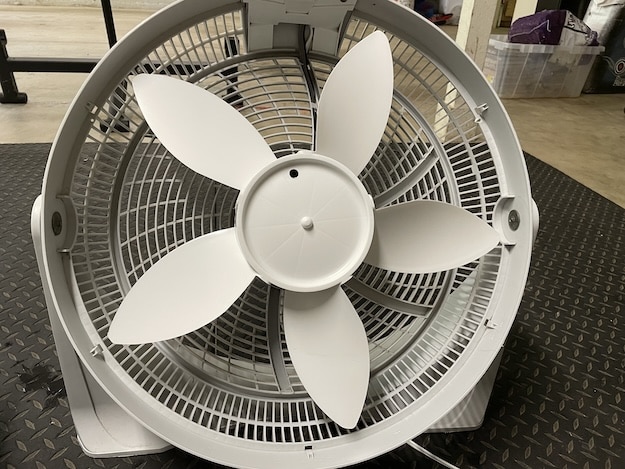
Much better.
Step 7: Reassemble
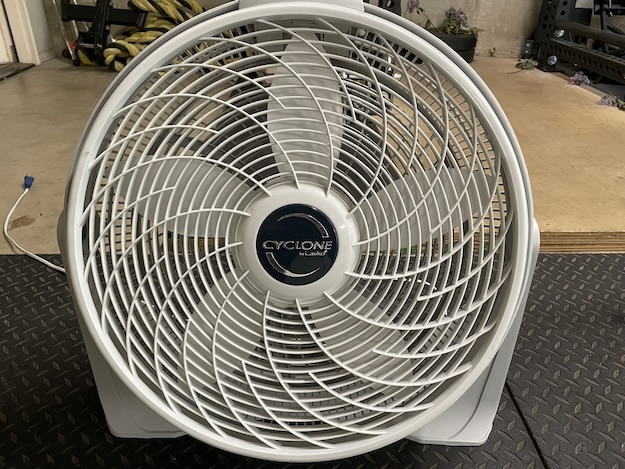
Once everything is dry, reassemble the fan. Make sure the blades are secured and spin freely. Reattach the grill and tighten all screws.
Plug it in, fire it up, and admire your handiwork (seeing the before and after is surprisingly satisfying). You may hear a noticeable difference in performance with a quieter, smoother airflow (I did). And you just might breathe easier during your next workout, too.