Sometimes you want an item close at hand: not in a pocket, but right there where you need it. A pocket watch, compass, knife, cell phone, or any other item you don’t want to dig for are all great candidates for a leather sheath. You might want to make something to hold a multi-tool or any specialized tool you may want to keep handy at all times. If you’re a widget lover and can’t find a case for your widget, just substitute widget wherever it says knife.
This article is useful for the knife you (might have) made, but also teaches the method of wet-shaping leather. When saturated, leather can be stretched and molded to fit different objects.
Materials and Tools
- Leather, medium weight (5 to 6 ounces)
- Rotary cutter or X-Acto knife
- Pencil
- Cardboard from file folder
- Rowel wheel
- Fid
- Groover tool
- Waxed artificial sinew or thread
- Leather-stitching needles
- Pie pan of water
- Spring clips
- Saran wrap
- Tape
- Dishtowel
How to Make a Leather Sheath
Step 1: Draw Your Pattern
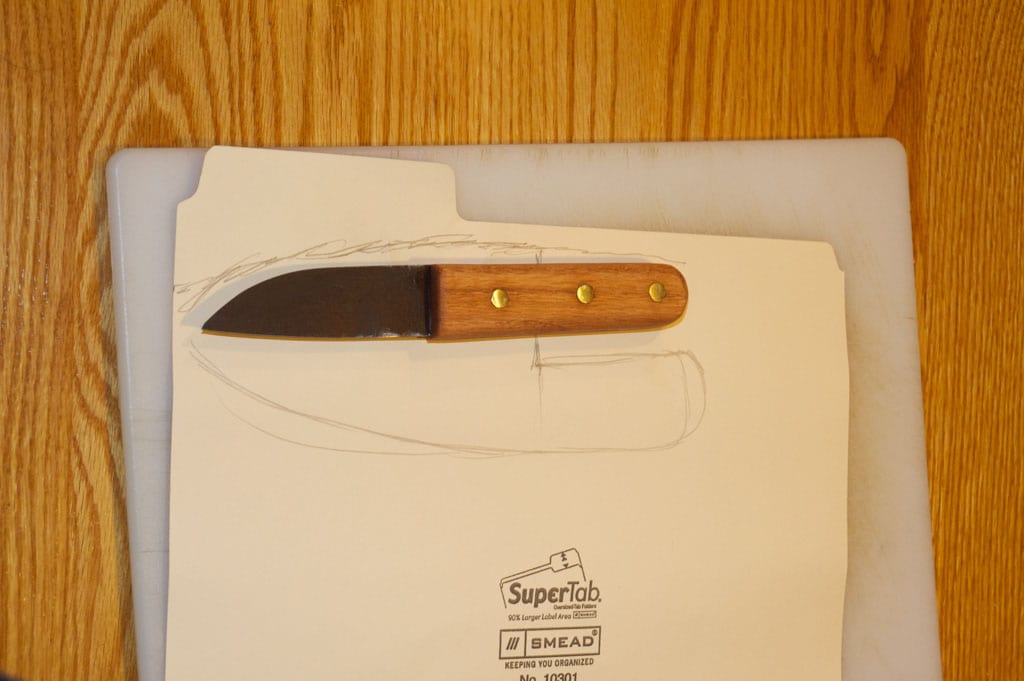
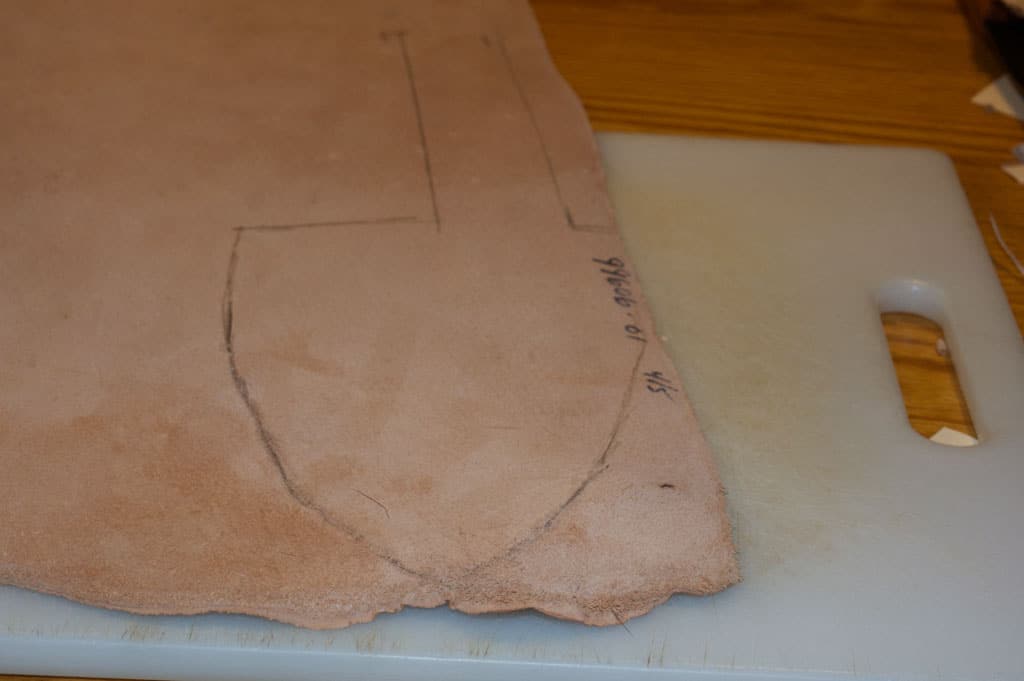
Lay the knife out on your piece of cardboard and roughly trace around the blade and as much of the handle as you want to cover with your sheath. The pattern is not symmetrical, as the back of the sheath has an extension that ultimately will be folded down and stitched in place to make a loop through which your belt will be threaded. Again, this doesn’t have to be perfect, and better too large than too small.
Step 2: Cut Out and Assemble Your Pattern
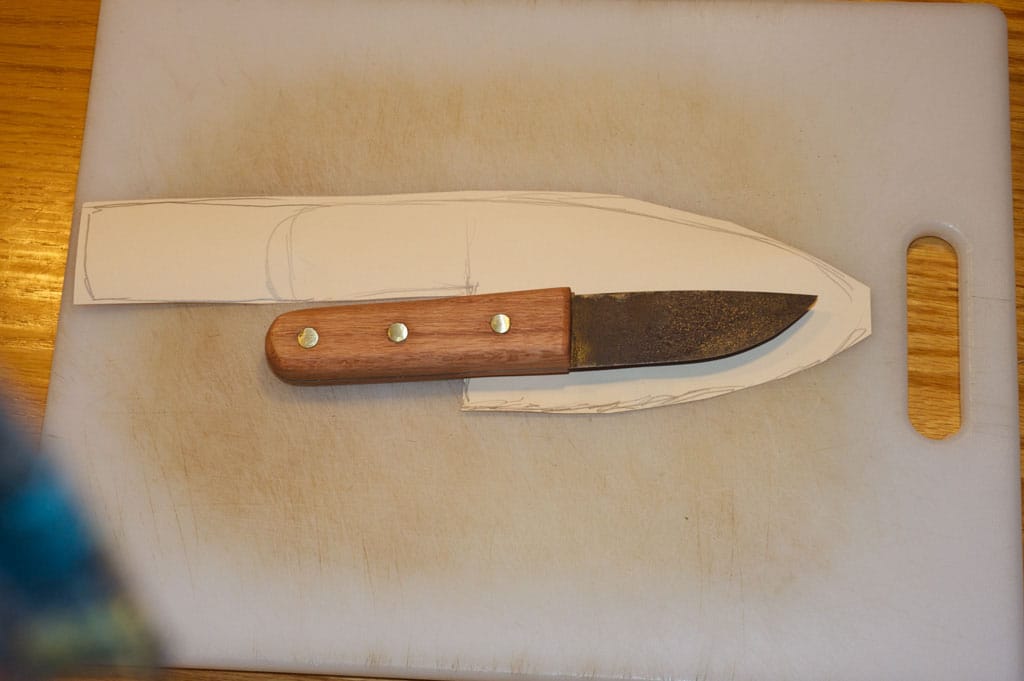
Using a pair of scissors, do a rough cut to see how your pattern looks when the knife is laid out.
If you’re happy with it, fold the pattern in half along the line that will make the back of the blade part of the sheath and trim the overlap so the pattern is symmetrical. Push the paper against the blade to see where it lies within the pattern. You can see in the photo a slight crease in the cardboard, which shows plenty of clearance between the edge of the cardboard and the blade.
Next, use a little bit of adhesive tape to actually make the pattern the same three-dimensional shape as your leather will be. This allows you to make adjustments now while it’s easier.
You can see that I have trimmed back the pattern to even it out and give the handle a little more exposure. A little more trimming and we’ll be ready to cut out the actual sheath leather. Cut the tape holding your pattern together, and flatten it out.
Step 3: Trace and Cut Your Piece of Leather
Trace your pattern onto the wrong side of the leather (the fuzzy suede part). This is because a) it’s easier and b) it sets up the belt loop so the right side is facing forward. I tend to ignore the belt loop section of the pattern and use it just as a guide to trace a long piece using a ruler to make sure it’s long enough and straight.
Cut out your leather using a rotary cutter, but do not cut into the inside corners where the blade part of the sheath meets the belt loop, as you will over-cut and make unsightly nicks. Stop short of those spots and use an X-Acto or sharp knife to finish the cuts.
Step 4: Start Forming the Leather
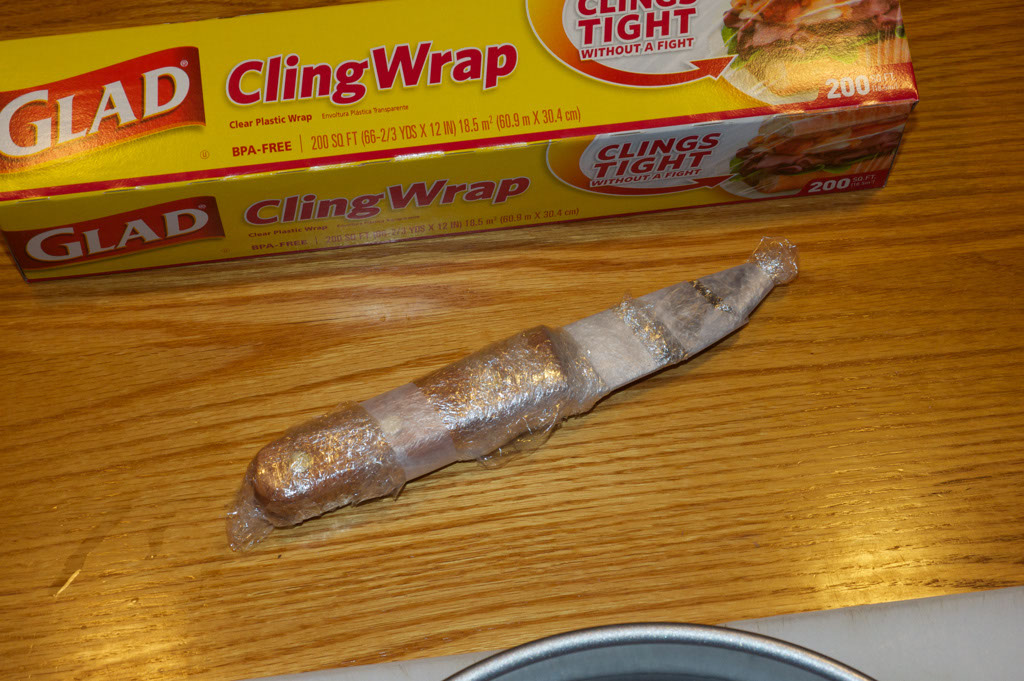
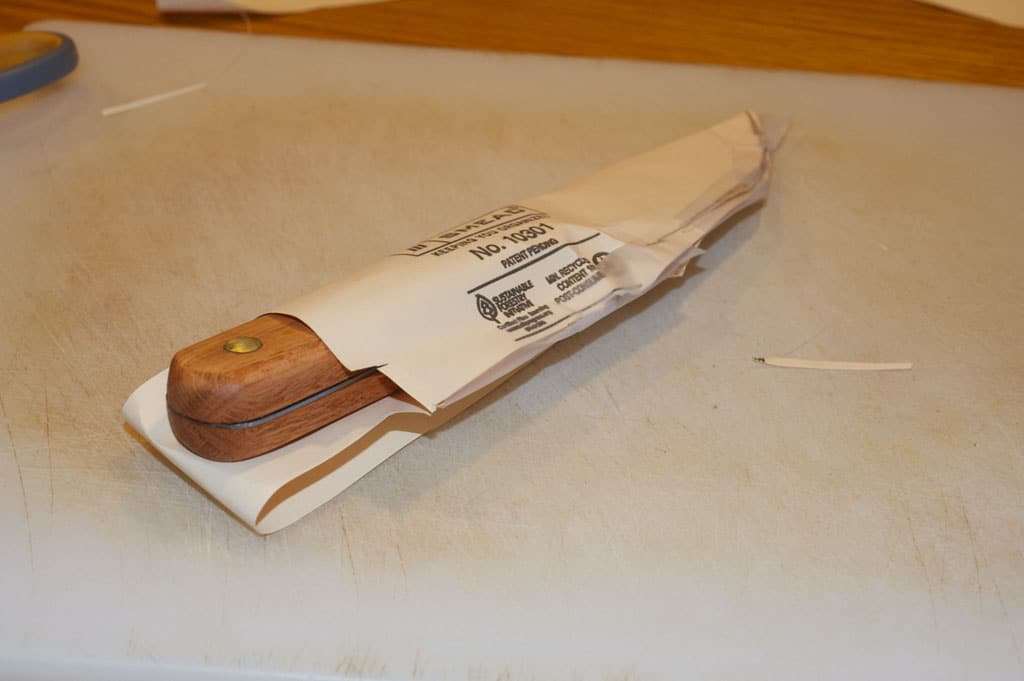
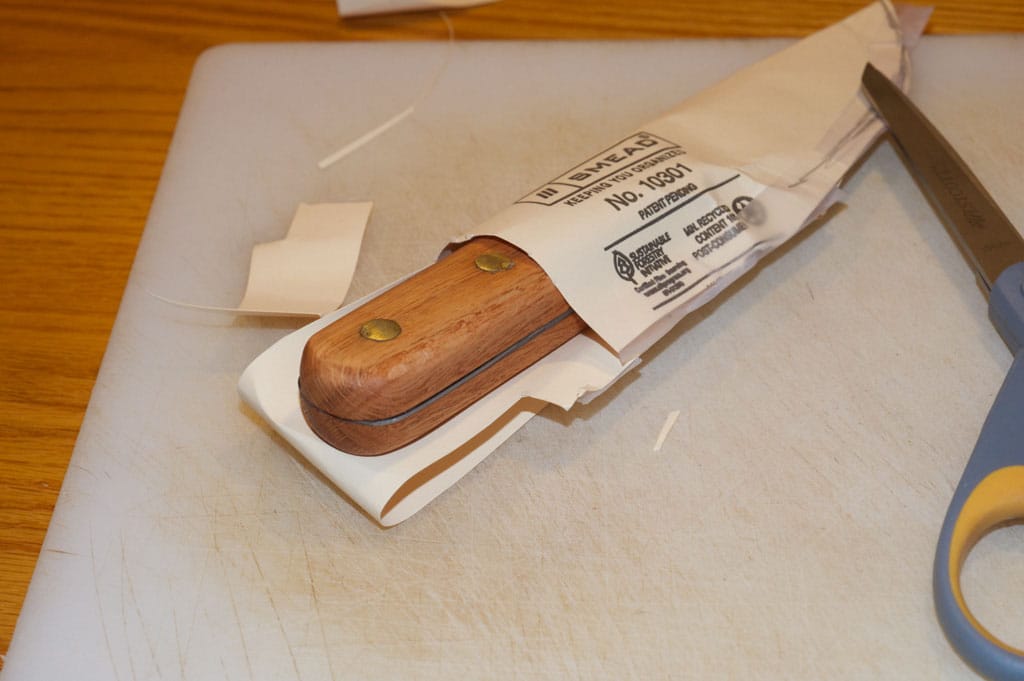
Wrap whatever your item is in plastic wrap, using plenty of it, and tape to tuck everything in nicely.
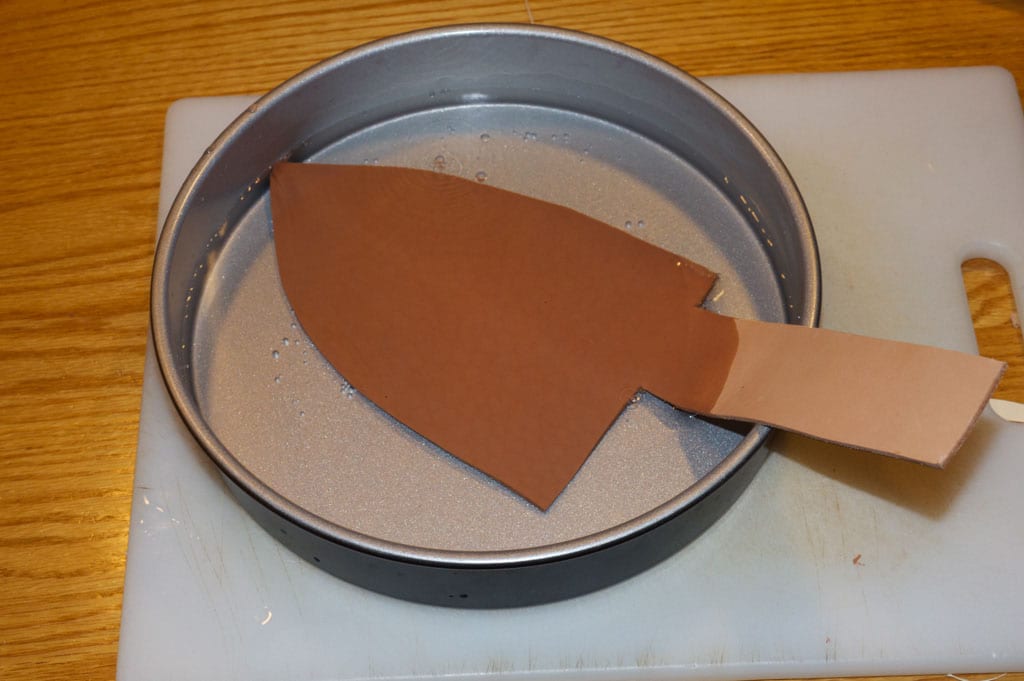
Assemble your dishtowel, item to be sheathed, a pan of hot tap water, and your spring clips. Place the sheath part of your leather in the hot water. It will change color and bubble a little as the water seeps into the leather. Just a few minutes is plenty.
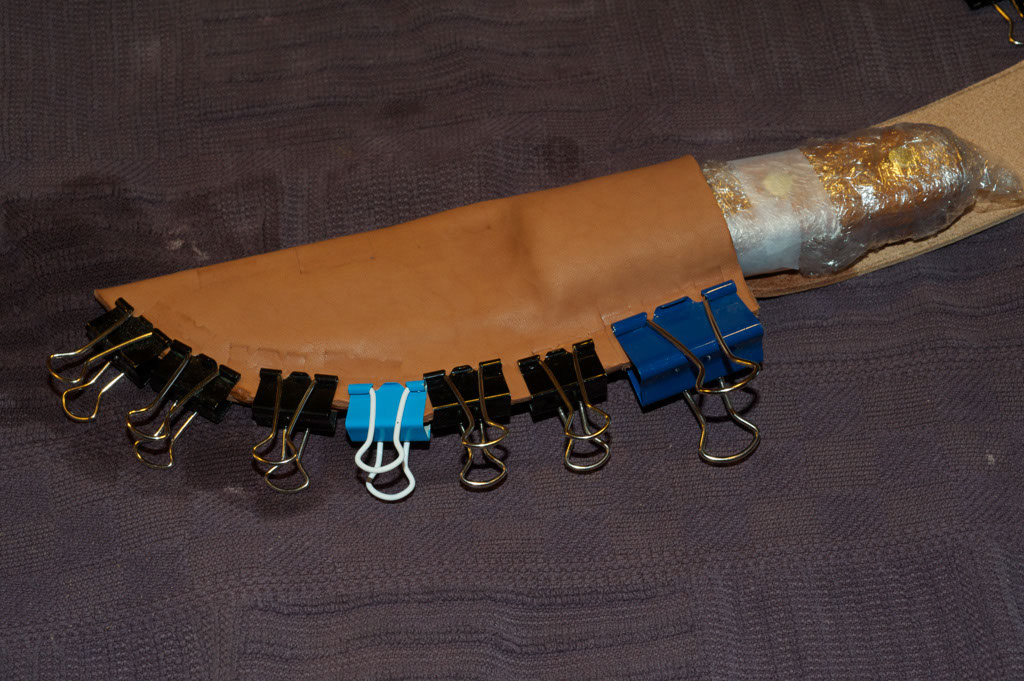
Place your leather on the dishtowel and fold the towel over on the leather and push down to pat it dry and squeeze out the excess water. Place the knife on your leather and fold it over, forming it over the handle as you go. Using spring clips, clamp the leather in place and work the leather so it forms naturally around the blade and handle. You can form the leather with your fingers so it hugs the handle. Set it aside to dry, but I usually check it every five minutes for the first half hour to make sure the leather is moulding the way I want it to.
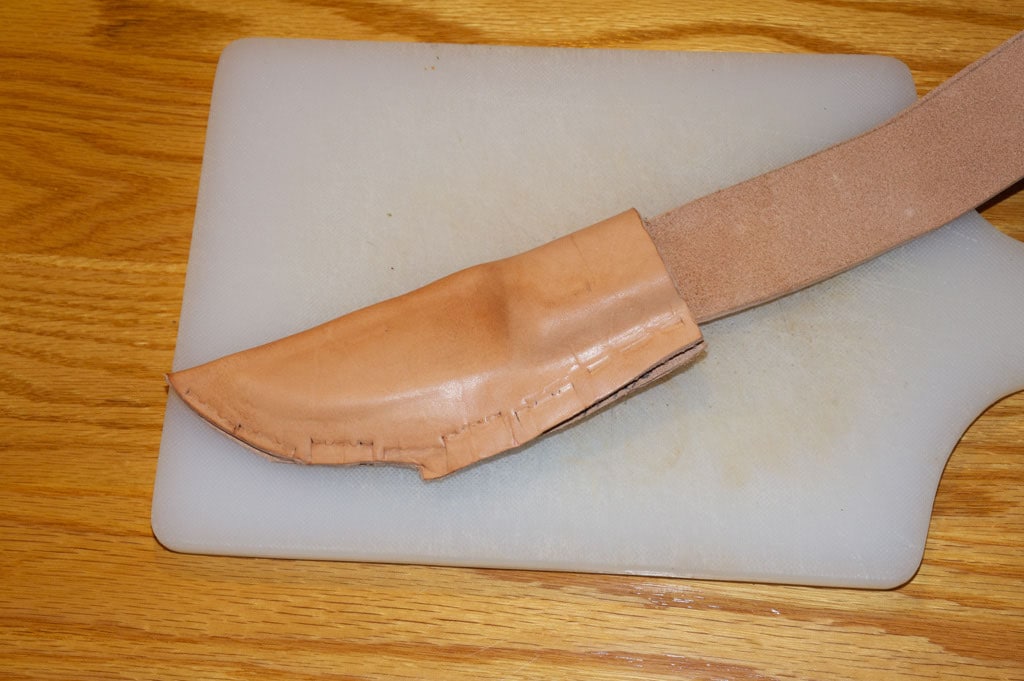
You can work with your leather again after several hours (depending on the heat and humidity) or leave it overnight. When the leather is dry, remove the spring clips and you’ll be left with a sheath “husk.”
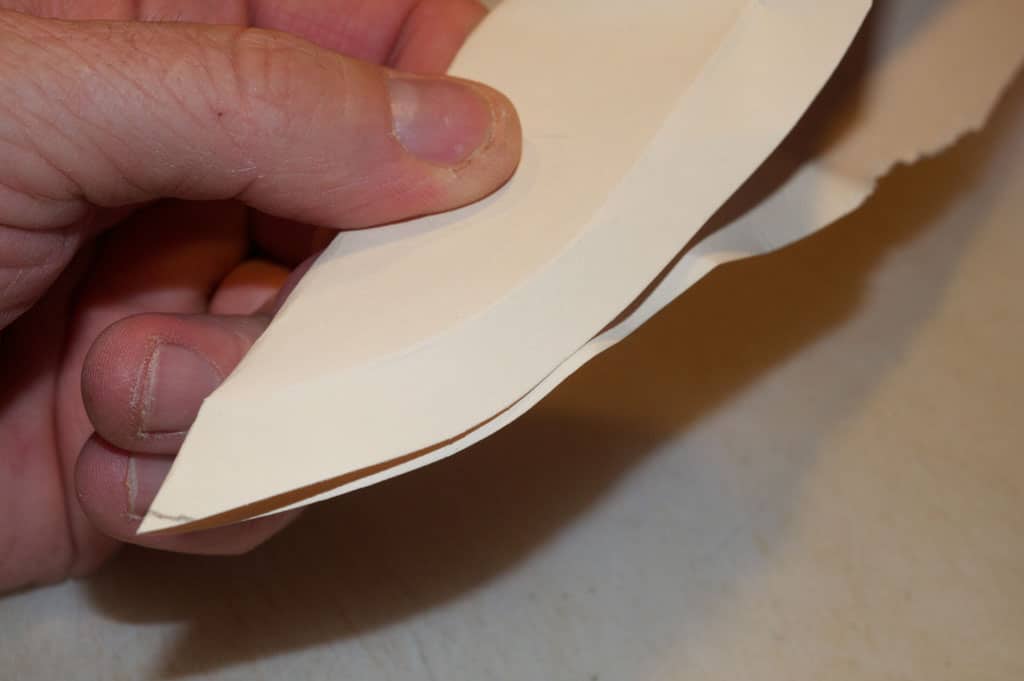
Step 5: Trim the Sheath and Prepare to Stitch the Seam
Using the rotary cutter, trim the sheath to size by taking off the rough edges and following the contour of the blade and handle. You’re cutting through two layers of leather that has been water-hardened so it’ll take a little more pressure. Go slow and don’t cut yourself.
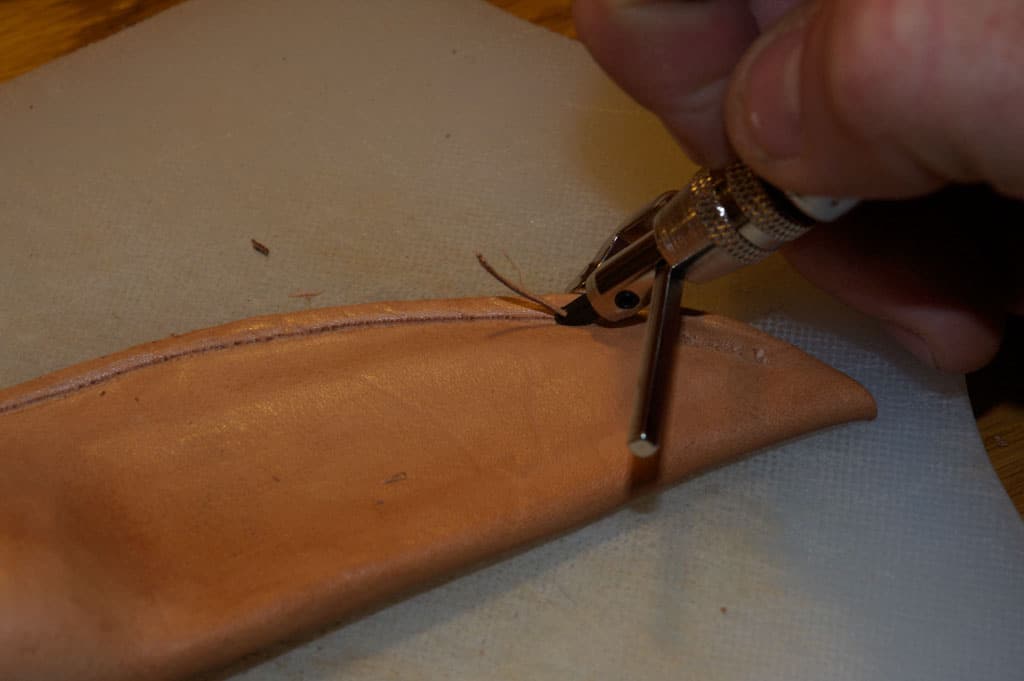
Using a leather gouge, cut a shallow groove into the leather following the edge of the sheath seam. You can do this freehand or use a gouge with a built-in guide.
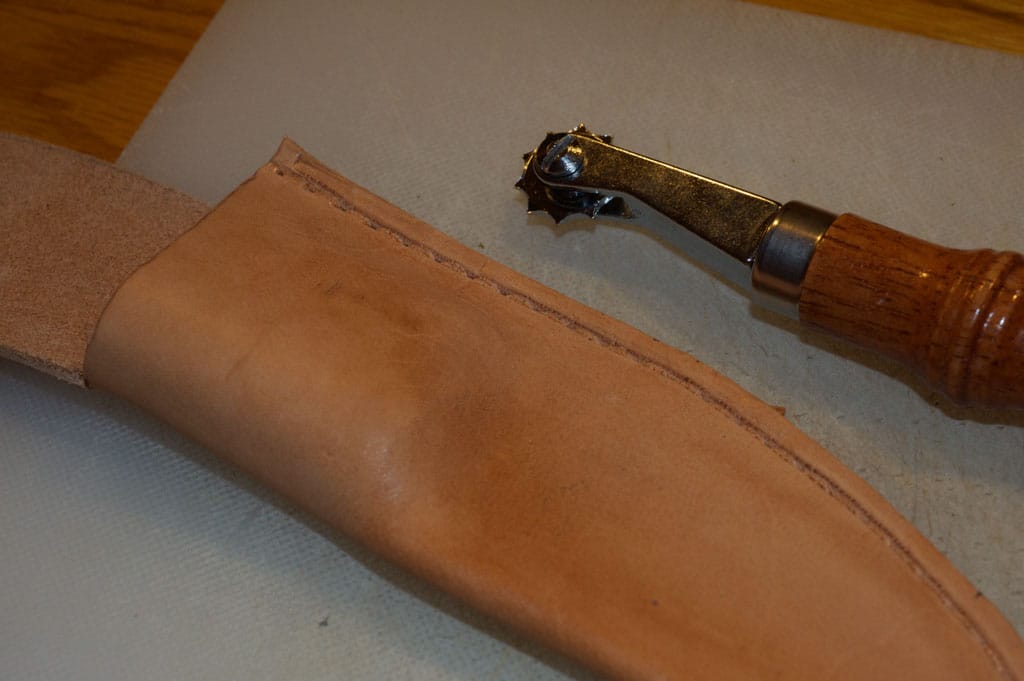
Mark your stitches in the groove using a rowel tool. Six holes per inch is fine. If you don’t have a rowel tool, you can do it freehand and go slow and careful-like.
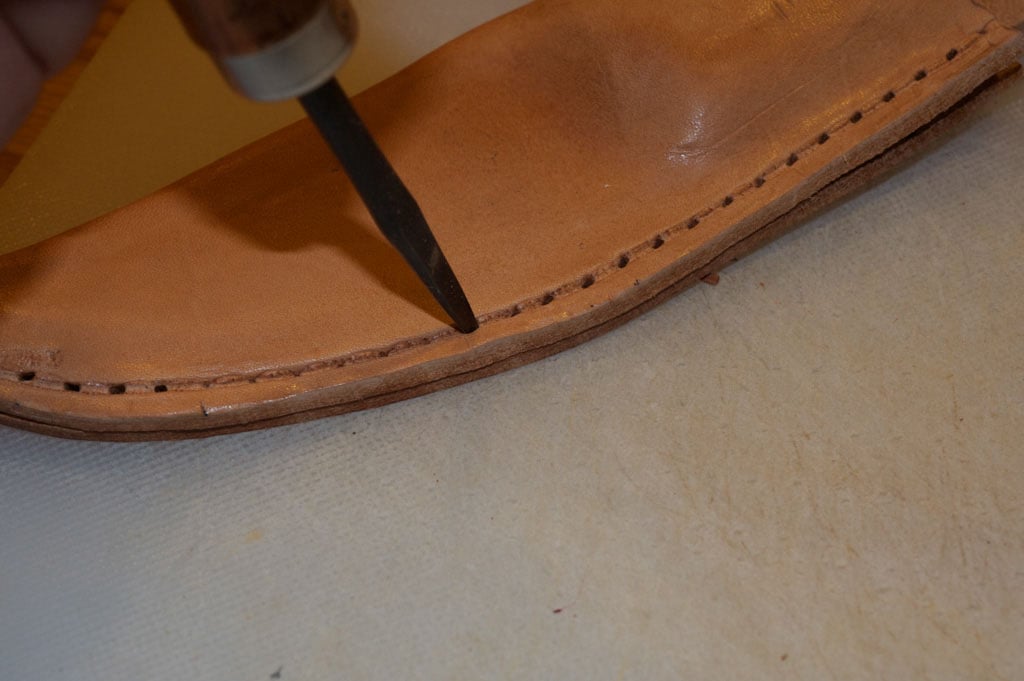
Place your sheath on a plastic cutting board and using your fid, create holes in the indentations you made with your rowel tool. Use a small mallet and tap your fid lightly. Once you have poked all your holes, lift the top layer of the sheath and do the same thing on the bottom, as your fid will have started holes on the bottom layer too. Make sure they line up or your stitching will not be fun. If you do not have a fid, you can use an ice pick or other pointy thing. Fids work a little better because they make a small slit, not a hole.
Step 6: Sew the Belt Loop in Place
It’s much easier to sew the belt loop now before stitching up the sheath. Fold your belt flap over to the front and adjust it so it’s the size you want, and trim it to size. It should fasten just below the top of the sheath. Any deeper and you may run into problems with the handle not seating well in the sheath.
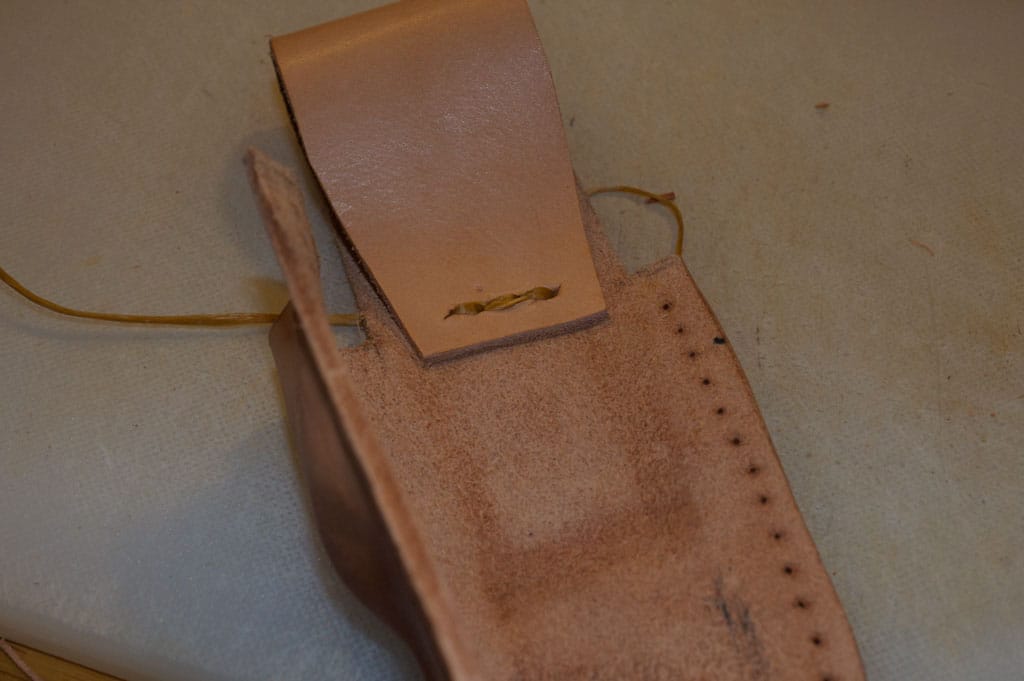
Using your four-prong punch, make a row of holes in both the end of the belt loop and the top of the sheath as shown. If you don’t have a leather punch, you can use a fid or ice pick or anything sharp and pointy. Trim excess leather, if any, off the end of the strap. Using your needle and artificial sinew, stitch the loop, going in and out until you have three stitches showing. Tie off your thread and cut your sinew close to the knot.
Step 7: Sew the Seam
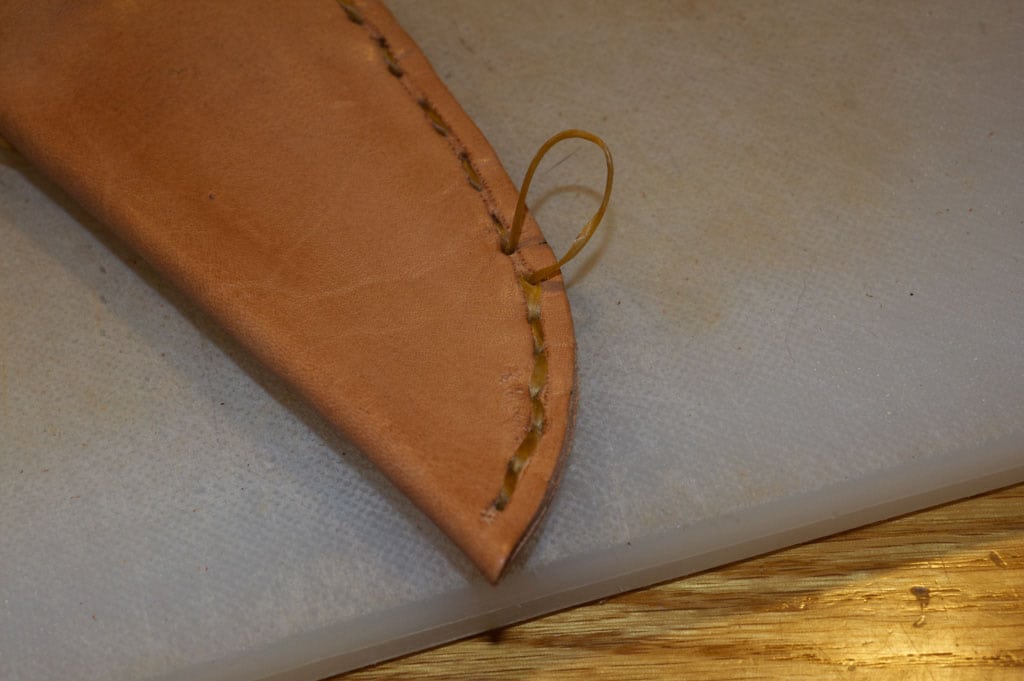
Using a single needle and sinew, start sewing from the bottom of the piece near the top of the sheath. Stitch the side going up through the leather and down through the next hole. You could use a double needle technique here, but for such a short seam, a single needle technique is fine.
Once you reach the tip of your sheath, turn around and go up from the bottom, doing the opposite of what you just did. The effect is to create a stitch that will not unravel, and with the groove in the leather, the thread is protected and sits flush or below the surface of the leather. Tie off your knots, then thread your needle in and out the end holes a few times, finishing by threading the needle through one layer of leather and then pull tight. Cut the lacing flush with the seam and it will be hidden.
Using the wooden end of your fid, burnish the seam of your sheath to even out the stitching and push the stitches down into the sheath.
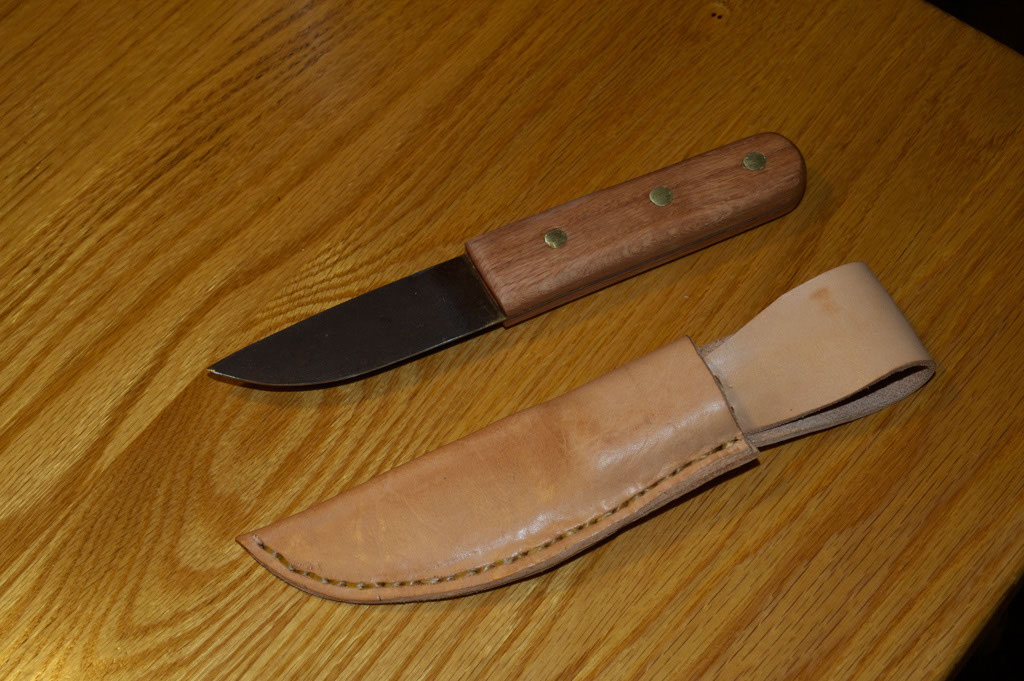
Step 8: Insert Knife or Other Object
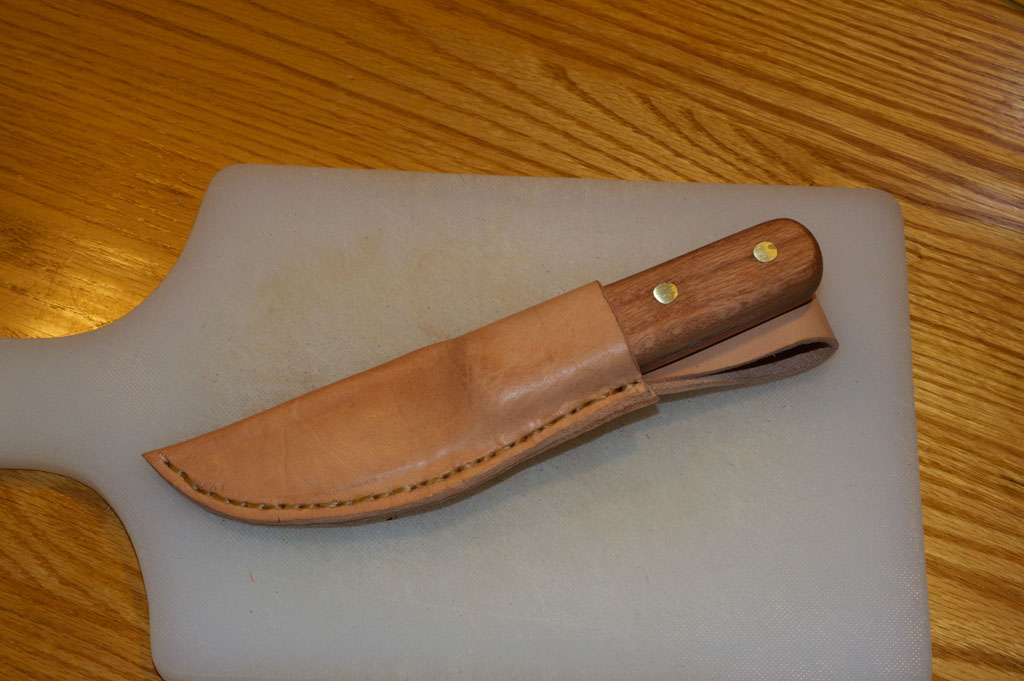
Insert your knife. It should be just a bit snug — it will loosen just a little bit over time. Put it on your belt. Revel in the knowledge you made something cool.