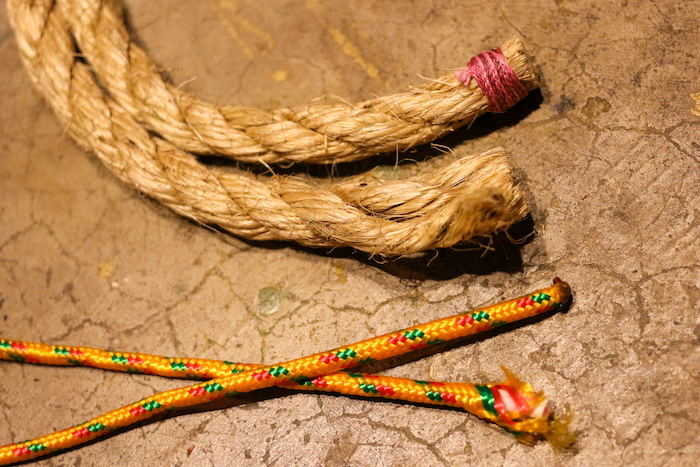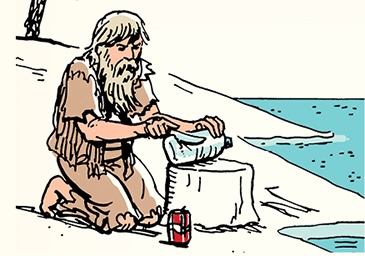
These days, if we need some rope, we buy it at our local home improvement store.
But making your own rope requires no special tools, no special skills, and only takes as much time as you feel like putting into it. In a lot of ways, rope-making is similar to knitting. Once you’re comfortable with the process, you can likely do it without looking.
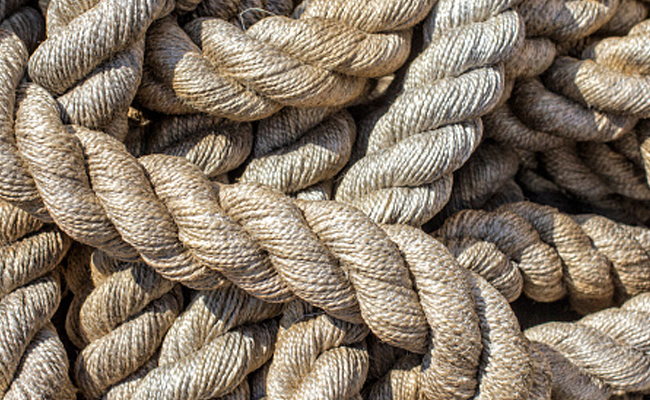
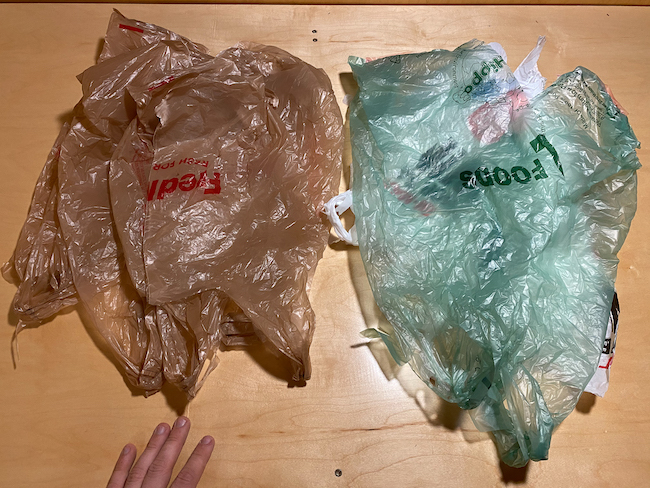
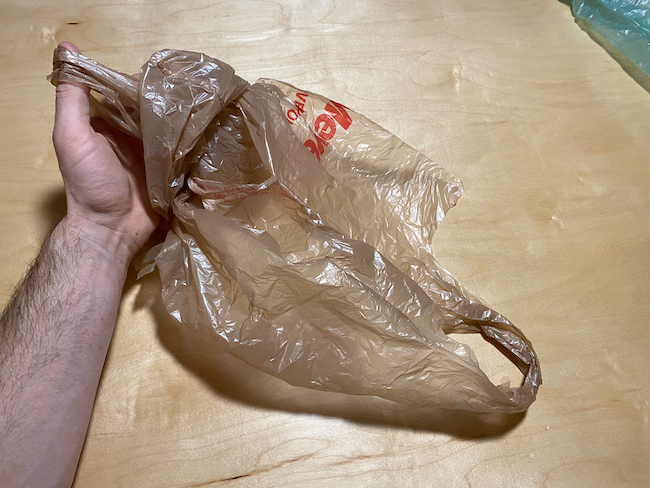
You can make rope out of a wide variety of materials. Many natural ropes are crafted out of cotton, wool, jute, hemp, and other fibers, and there are just as many or more types of rope woven from synthetic fibers. But to learn basic rope-making skills, you don’t need any special materials. All you need is a collection of plastic shopping bags.
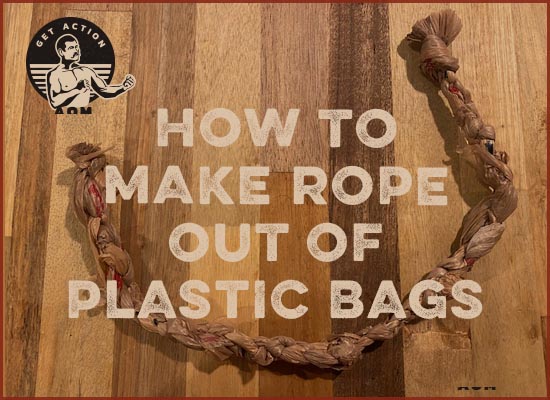
Making rope out of shopping bags is a great way to get rid of all that plastic without tossing it in the trash. Turning waste into a tool is about the most effective form of recycling you can take part in. This rope can be plenty functional too: it has all the utility of normal rope, and may come in handy in an urban survival situation if all you’ve got is trash to work with. When it comes to its strength, it really depends on the tightness of your braid and the thickness of your plastic bag, but some DIYers have created ropes that can in fact hold their body weight (though you obviously wouldn’t want to rely on that in a life-threatening situation unless it was a true emergency). To make a stronger rope, consider braiding finished ropes together to make a thicker, stouter version.
If you don’t have a bunch of plastic bags lying around, check at your local grocery store. Most have bag recycling stations where you can likely find plenty to reuse. Here’s how to get started.
Step 1: Cut Bags Down the Middle
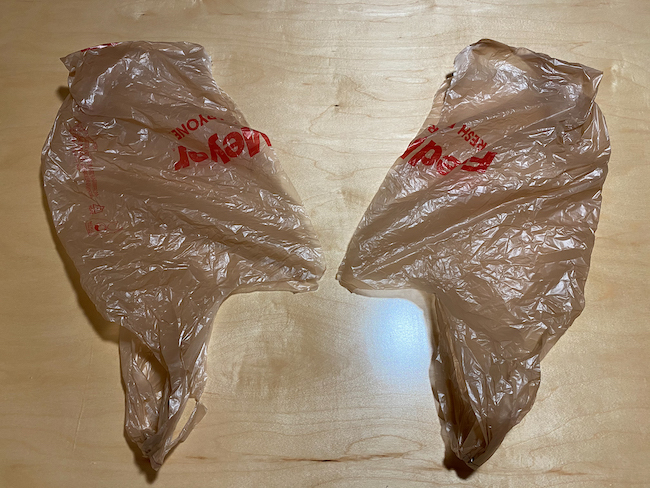
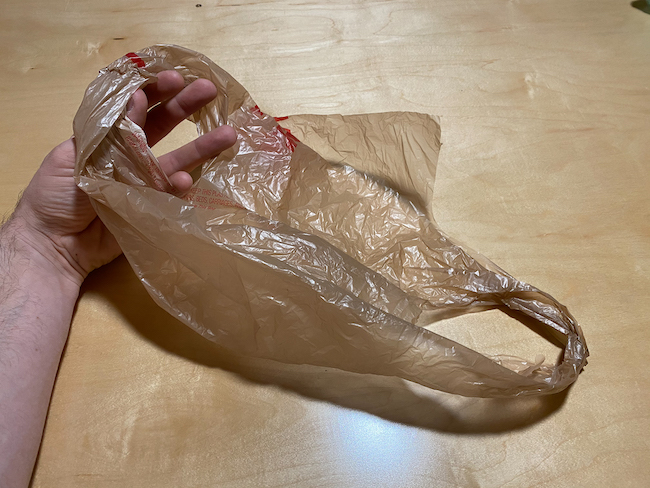
Cut or tear all your plastic bags down the middle, lengthwise. You can do this with your hands, but a pair of scissors will speed up the process a bit, enabling you to cut multiple bags at the same time.
Step 2: Separate By Color
If you have different colored bags (which makes the braiding process a bit easier to follow) separate them by color.
Step 3: Tear a Hole in the Bags
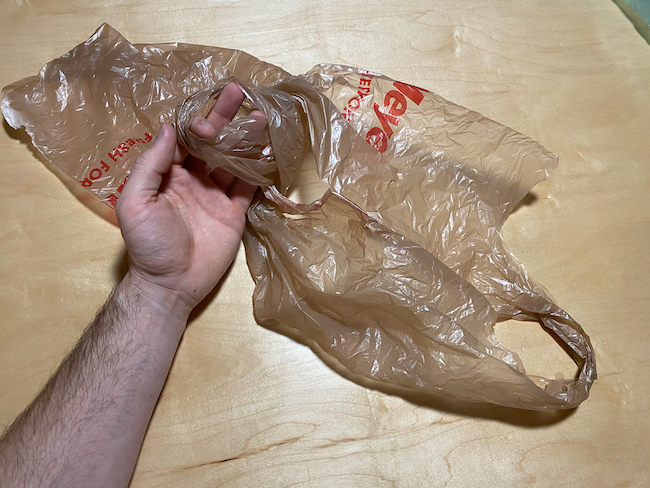
Tear a small hole in the bottom of each bag, opposite the single loop.
Step 3: Add “Strands” of Bags
Add your first strand by feeding one bag halfway through the hole you created in Step 2.
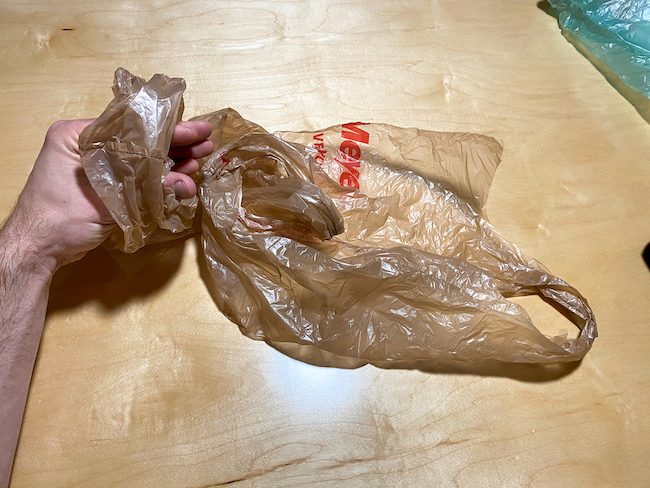
Wrap the bottom of the bag around the other, and pass it through its own loop.

Pull the strand tight. Here’s a video to help clarify the process of adding strands:
Step 5: Add More Bags
Repeat Steps 2-4 until you have created two long strands, about 4-5 bags long each. You can add additional bags later on, but keeping the strands at this length makes the braiding process easier.
Step 6: Wrap Bags Around an Anchor
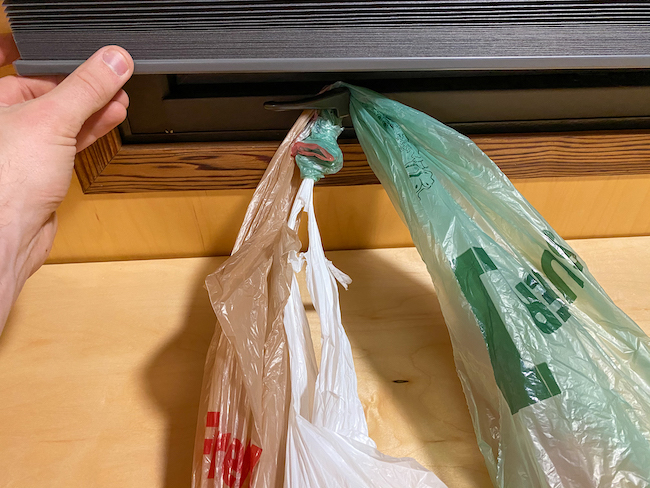
Wrap your two bag strands around a fixed anchor, offsetting the knots so they don’t line up with each other. You should end up with two strands in each hand. I’m using the latch of a window above my workspace here, but any fixed point will do. You can even wrap the bags around your foot.
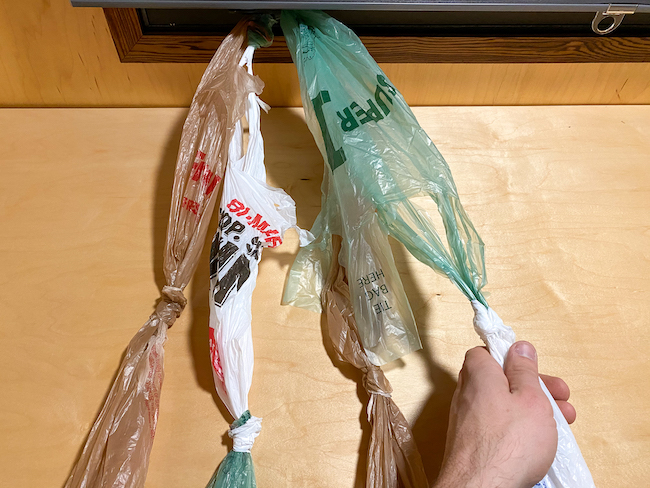
Step 7: Braid the Strands
Braiding weaves your four strands together by following a very specific sequence. You have four strands to work with. Begin braiding by following this sequence, in this exact order:
- Right two strands: Pass the right strand over the left.
- Left two strands: Pass right strand over the left.
- Middle two strands: Pass the left strand over the right.
Here’s a video to make the process a bit clearer:
Step 8: Pull Tight, Repeat, Finish
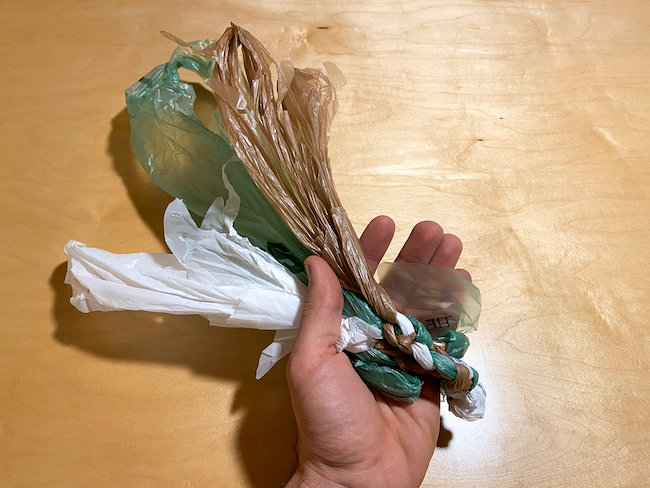
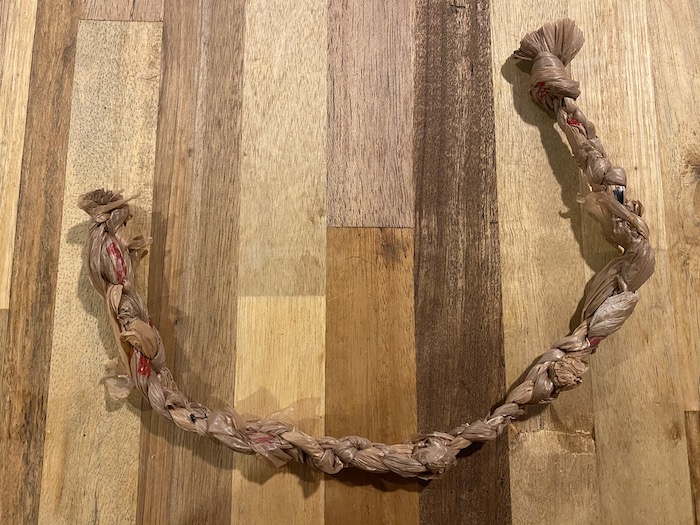
A version of the rope with a single color of bag.
After each braiding sequence, pull the braid tight and then repeat. When you run out of bags, add them as you did in Steps 2-4, until your rope is the desired length. To finish, tie a square knot in the end of the rope and trim the loose ends.