Editor’s note: This is a guest post from Creek Stewart, Senior Instructor at the Willow Haven Outdoor School for Survival, Preparedness & Bushcraft.
This past winter (one of the coldest winters in US history, I might add) I filmed 8 episodes of a new survival show called Fat Guys in the Woods. In the show, I take 3 different guys each week deep into the wilderness to prove that if they can survive a week in the woods with me, then they can do anything they put their minds to when they get back home. Even though the title says “fat guys,” it’s not a weight loss show. It’s a wake-up call and ultimately a kick in the pants to bring about positive change. It’s all about men becoming better men by connecting with the wilderness and ultimately themselves. I literally take three guys off the couch and into the weather for a week with practically nothing but a knife and a canteen. It gets crazy real quick after that.
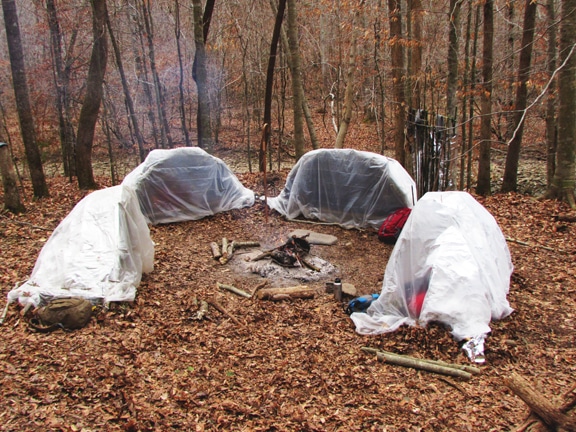
Seeing that it was one of the coldest winters on record, shelter became our #1 survival priority week after week. We built all different types of shelters to take refuge from the snow, sleet, rain, wind, and bitter cold temperatures. Below are two different shelters we built in two of the episodes:
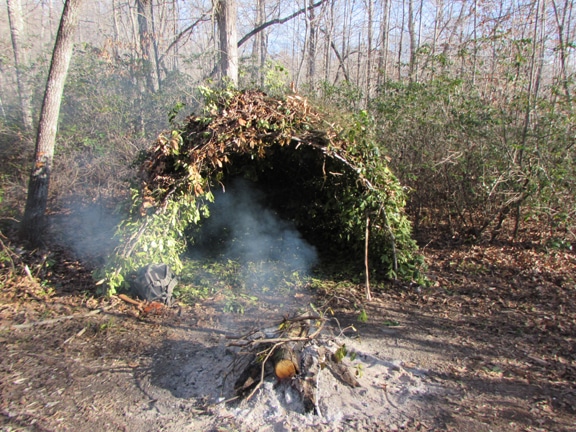
The first is a wigwam-style shelter that we constructed in the middle of a mountain laurel thicket for protection from the wind. This one needed a raging fire out front to keep us warm.
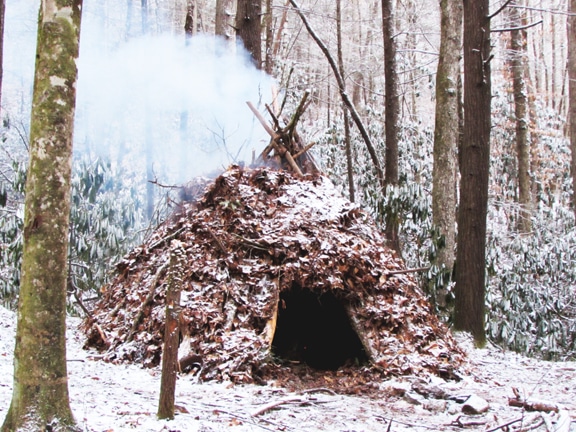
The second is a wiki-up-style shelter with an internal fire ring. Remember the polar vortex this past winter? Well, myself and three other guys were in that wiki-up during that bitter, bitter, bitter cold week. Notice I didn’t say sleeping. It was more like spooning, shivering, and waiting until day-break and was absolutely brutal.
In all but one episode, we built a group survival shelter similar to one of the styles above. One particular week, however, I decided to mix it up a bit and build individual shelters. We were in a wet, cold river valley. I was already tired on day one and really didn’t feel like crawling into a group shelter with three guys for another snoreapalooza. I decided to pull out the big guns and build the warmest, most comfortable shelter I knew.
My inspiration was a design popularized by Canadian survival instructor Mors Kochanski — he calls it the Super Shelter. It is an ingenious mix of physics, manmade materials, and natural materials. Trust me, you want to add this survival gem to your arsenal. This shelter is absolutely a life saver. Below is how I build mine. Learn exactly how Mors builds his in his e-book titled A Survival Kit Shelter, The Super Shelter and Some Of Its Variants.
Step 1: Build the Frame
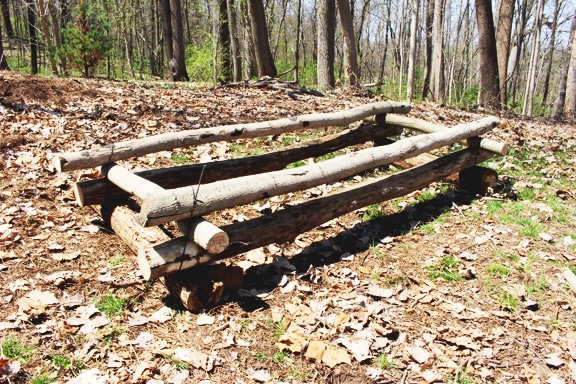
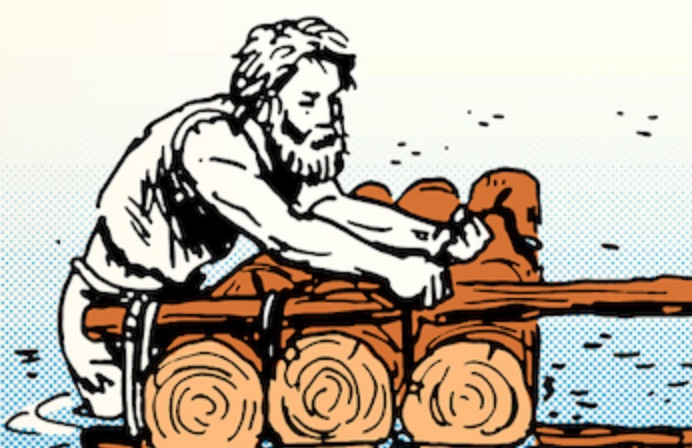
It is critical in cold weather to get off the ground. This can be done with a bed of leaves, boughs, limbs, or simply space between you and the ground. This shelter design starts with a framework that lifts the bed 12-18” off the ground to prevent the cold earth from sucking every ounce of heat from your body. It’s simply a log cabin-style box of sturdy logs. The inside cavity should be a few inches wider and longer than your body. Once they are cut and stacked, a jam knot lashing is used to secure the corners (I consider it one of the top 5 wilderness knots to know).
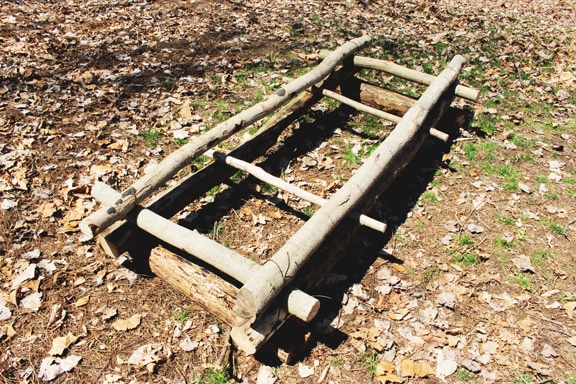
Once the “walls” are up, it’s time for a few cross-support beams. These are simply two or three 1-2” sturdy limbs placed between the walls. These can be moved forwards and backwards for comfort later. I like to place one behind my knees and one in my lower back, but you might prefer them elsewhere. These are not lashed into place.
Step 2: Build the Bed
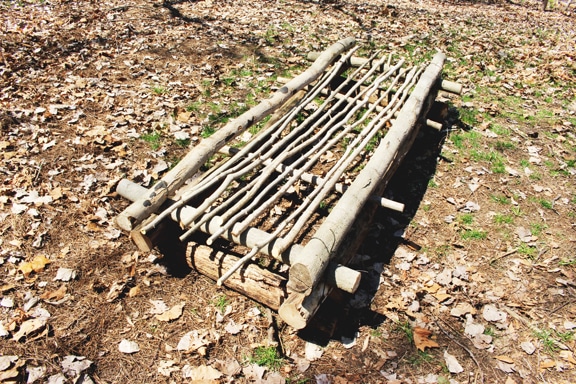
The bed consists of several small saplings laid length-wise on the cross beams. I typically cut saplings that are about ½” in diameter. You want them to be flexible and have plenty of spring.

Once the saplings are in place, it’s time to create the springy mattress. There are a couple ways to do this. The first is simply to pile on fresh green pine boughs. This is incredibly comfortable. Notice that these boughs are arranged in a herringbone pattern.
Many years ago I read an article written by a woman who grew up in the Appalachian Mountains and became an expert at making what were known as shuck beds. These were mattresses made from dried corn shucks. When sewing these shucks together, she would arrange them in a herringbone pattern and I have always taught my students to arrange their wilderness bedding in the same way. Mors Kochanski also teaches arranging your bedding in this style.

The herringbone pattern, for your reference.
If evergreen boughs are not available, then live branch tips can be used just as effectively. Just break off the last 18” of branch tips from live saplings and arrange handfuls of them.
This completes your bed. You will be surprised at how comfortable it is!
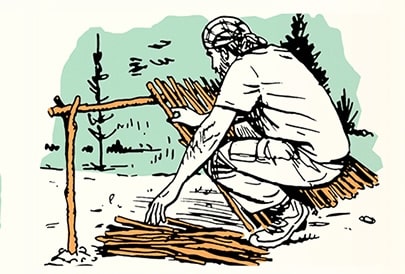
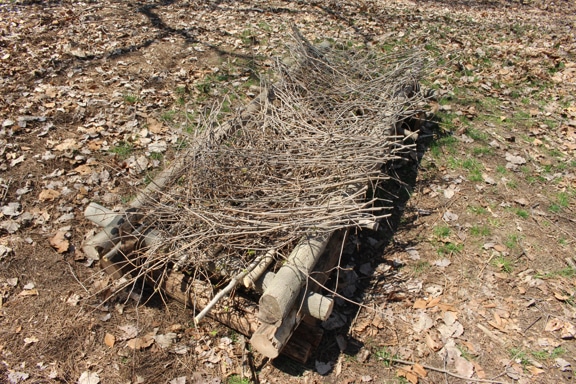
Step 3: The Dome Framework
Now it’s time to create a roof over your head. This is done in the form of a half-wigwam structure and should only take about 15-20 minutes to complete. I typically cut 10 saplings that are 8 feet long x 1 inch in diameter at the base. They need to be long, thin, and flexible. We used river cane when we built these shelters in the show and it worked like a dream. These saplings can either be wedged in the framework or stuck in the ground at the edge of the frame.
They need to be equally spaced all the way around. You start by bending the saplings at the head and foot of the bed toward the middle and then just twist them together. No rope or cordage is used in the construction of the wigwam roof. Finally, the backside saplings are woven over and under the arches. This creates a half dome framework as shown.
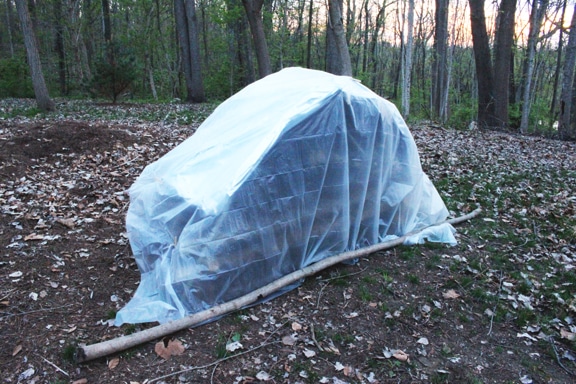
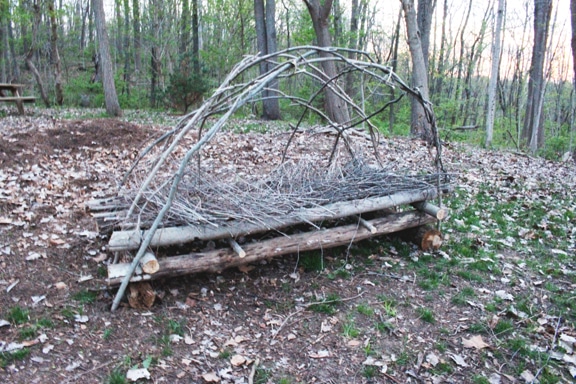
Step 4: The Magic
This is where all the magic happens. Now that the structure is complete, we use two reflective emergency blankets to line the back and top of the dome frame. Packing emergency blankets as well as plastic sheeting in one’s survival kit is recommended — they’re lightweight and incredibly versatile.
Once the back and top are lined with reflective blankets, the entire structure is covered in clear plastic:
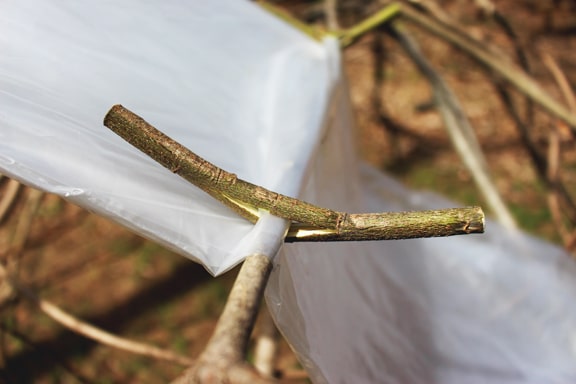
Your job of securing the plastic is made easier by using “wilderness clips.”

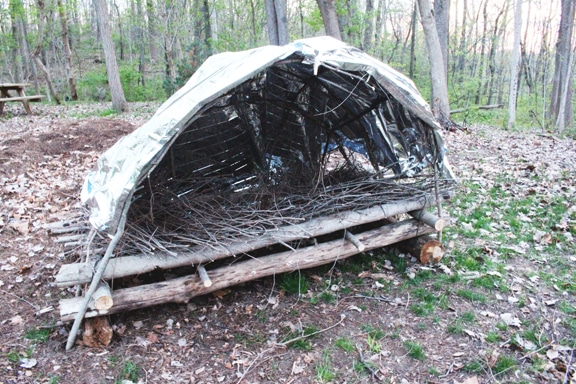
The finished shelter. Place a limb over the plastic in front to trap the heat inside.
How It Works
A photo from the show in which we used this shelter to survive a week of brutally cold temperatures in a damp, windy river valley.
The beauty of this shelter is the physics behind why and how it works, which is very similar to a greenhouse. The heat from a small fire placed a few feet in front of the shelter passes through the clear plastic and reflects off the top and back of the shelter and then absorbs into your body and bedding. A shelter with this design can easily be 50-60 degrees inside when the temperature outside is in the teens. It doesn’t require a huge fire either. A small, hot fire is very effective and it holds heat impressively well.
Summary
The weather is and has always been man’s #1 survival adversary. In extreme conditions, humans can survive only 3 hours without shelter. Understanding basic survival sheltering principles is of the utmost importance if you ever find yourself in a sudden and unexpected survival scenario. As I’ve shown in this post, very simple, inexpensive and lightweight survival supplies can be used to gain incredible advantage when battling Mother Nature. Having the right supplies and know-how can absolutely mean the difference between life and death.
Listen to my podcast with Creek about survival and prepping skills.
_____________________________________
To see this shelter in action and learn many other cold weather survival skills, be sure to check out Fat Guys in the Woods, premiering Sunday August 10th at 10pm eastern on The Weather Channel.
Remember, it’s not IF but WHEN,
Creek