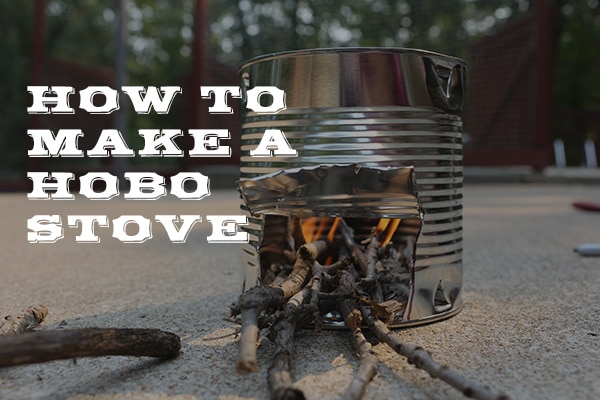
The humble hobo stove traces its origins back to the Great Depression. No. 10 tin cans had become a standard package of food stuffs like coffee and fruit before the Depression and so were plentiful. Short on resources, hobos improvised the cans into suitcases, water containers, and stoves. Today, the hobo stove is used by, well, hobos, but also campers on a budget. The can’s light weight makes it a perfect backpacking stove.
The design of the hobo stove is simple but ingeniously effective. The power of convection draws air into the stove through the open door and air vents positioned at the bottom of the can and up towards the open top. The metal reflects the heat back into the fire allowing the stove to generate a tremendous amount of heat in a small space. Once you’ve got the fire going, just place a pan or pot on top of the can and you’ll have dinner in no time.
If you’re looking for a cheap, lightweight alternative to standard backpacking stoves, find yourself in an urban survival situation, or just decide to take up the hobo lifestyle, here’s how to build a hobo stove for all your cooking and warming needs.
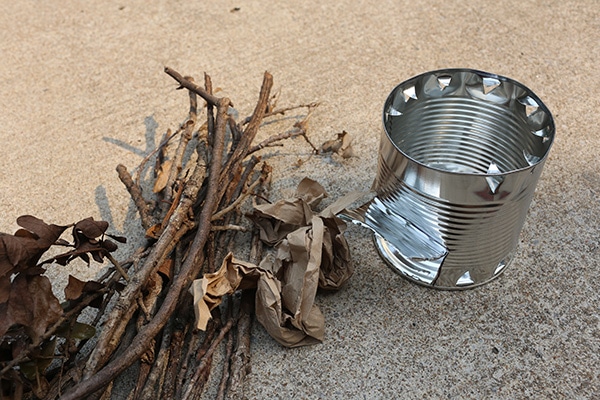
Gather Your Supplies
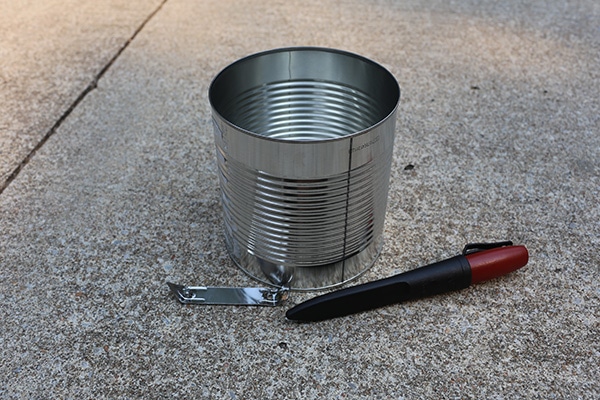
You don’t need much to make a hobo stove — just a can, a knife, and a can opener. Any can will do. I used a big ol’ coffee can here, but other kinds of cans, even a soda can with the top cut off will work. A bigger can is easier to make cuts in and makes a bigger fire/more heat, but you’ll obviously want to go for a compact can if you’re taking it backpacking.
Cut Door
We need to cut a “door” into the can for feeding wood to the stove. Make it fairly large — wider rather than taller. Shoot for about 6 inches wide and 4 inches tall if you’re using a can the same size as mine.
Cut your door so that the metal bottom of the can rests on the ground, rather than orienting it so the open mouth of the can sits on the ground. The former orientation has a couple advantages over the latter: First, it allows you to be discrete. When you leave your location, you won’t leave any burn marks on the ground because your fire burned on the metal bottom, rather than on the ground. Second, the metal bottom reflects more heat which gives you a hotter fire. You don’t get that if the open top is facing the ground.
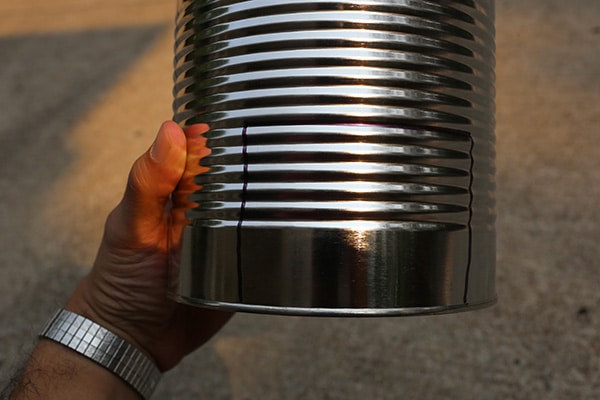
This step isn’t necessary, but if it helps, draw the outline of your door on the can with a Sharpie marker.
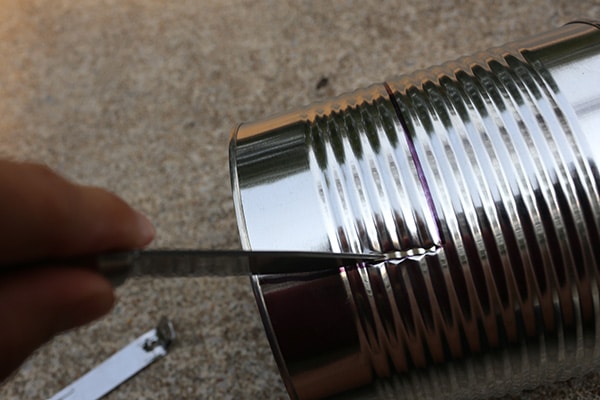
Use a knife to cut out the stove door. You can cut the entire square out if you want. However, I only cut along the sides and the bottom and didn’t cut the top. This creates a jerry-rigged damper that allows you to control the fire. Fold the door up and open when you’re putting wood in the stove and getting the fire going; fold it down and closed when you want the fire to die down and to retain the heat in the stove to keep you warm.
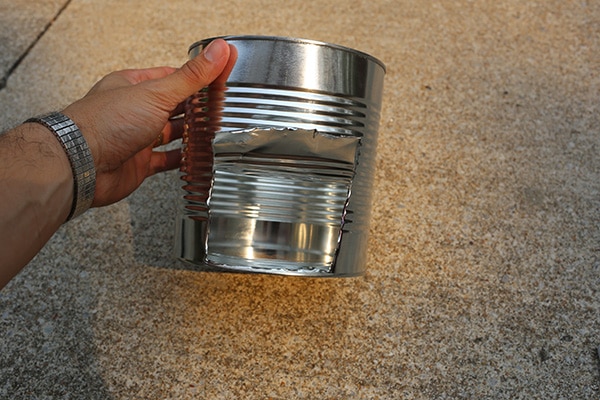
If you do decide to leave the flap attached to the can, use caution when folding it up. You’re working with some jagged metal edges here. I used my knife to help pry it up. You might consider wearing some work gloves while you do this.
Make Air Vents With Can Opener

Fire needs air to burn. While we’ve got a big door in our can, we could use even more pathways to allow air inside the stove. Using a can opener, create air vents all along the bottom rim of the stove.
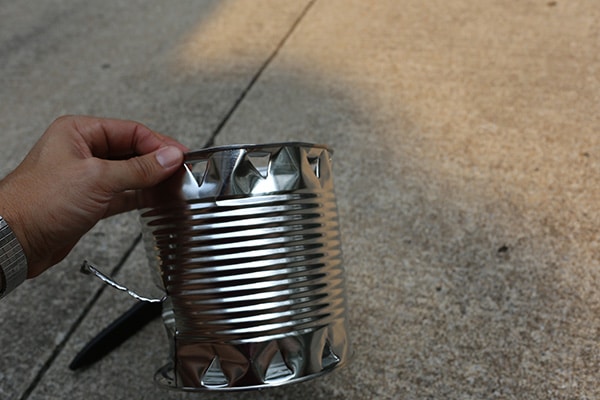
Do the same for the top.
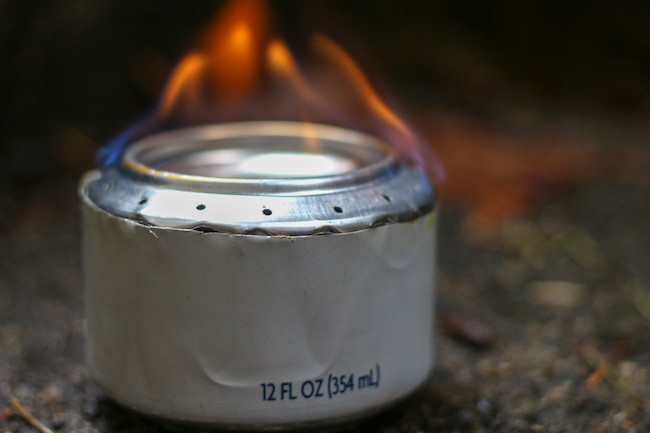
Finished Can
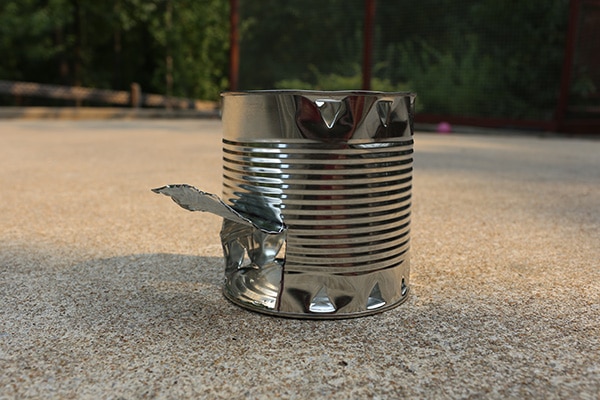
She ain’t pretty, but she’ll get the job done.
Start Fire
Gather plenty of tinder and kindling-size twigs for your fire. This stove will cause your fire to burn hot and fast. It’s going to need all the fuel it can get.
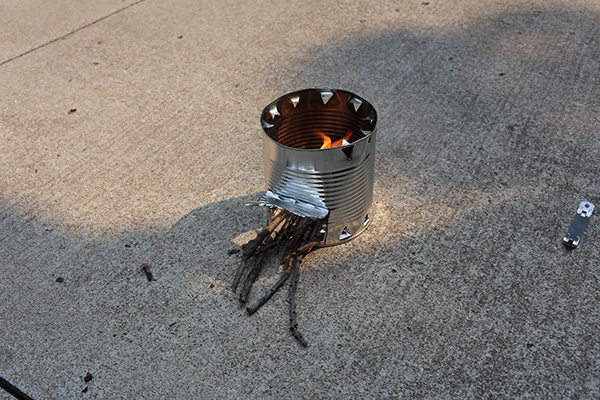
Start your fire. You can push the twigs further into the can as the other ends burn down. If your cooking pan isn’t large enough to sit across the top of the can, you can create a grate to put on top of your hobo stove with metal screens or even a bunch of metal coat hangers criss-crossed on top of each other. Improvise.
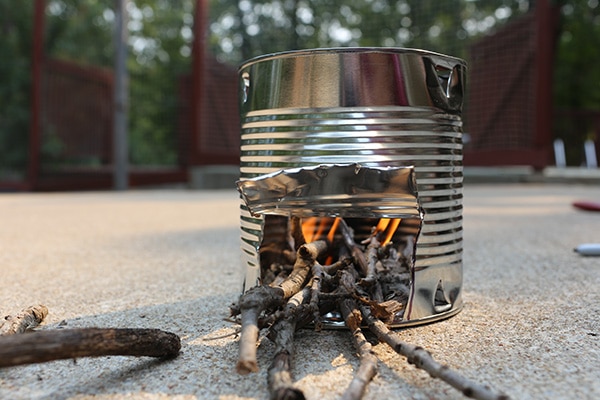
Look at that hobo stove! Perfect for making turtle soup while you play the harmonica.