I’ve been slowly turning my home into a “smart home.” I want to be able to control my heating/cooling/lighting/electrical systems from anywhere in the world with my tablet or smartphone, just like some space-aged-homeowner-as-imagined-by-1950s-futurists would.
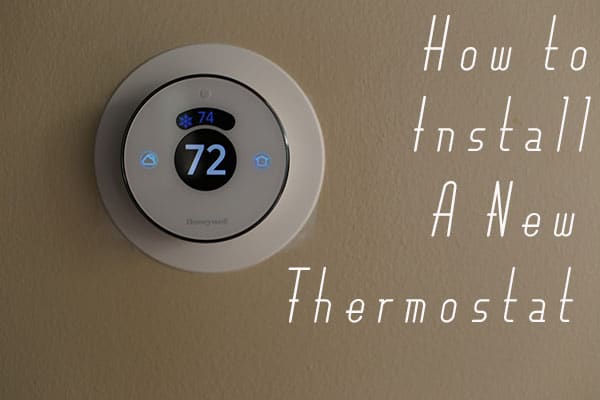
Today I’m replacing my old thermostat with a Honeywell Lyric thermostat that connects to the web. With the new device, I can change the temp in my house from my phone and I’ll get updates when I need to replace the filter. My dream of becoming George Jetson will be one step closer!
I’ll admit, replacing a thermostat — with all the wires and the breakers and the electric doo-hickeys — kind of intimidated a DIY-noob like myself. I didn’t want to make some wrong connection on the new thermostat and blow up my furnace. But after a bit of research, I discovered that replacing a thermostat is pretty stinking easy.
In case any of you ever find yourself needing to replace an old thermostat, I’ve documented the steps below, with photos, on how I replaced my old one with a Honeywell Lyric. Granted, each heating and air conditioning system will have unique requirements for connecting a new thermostat, but the general process is pretty much the same. Consider this your big picture guide through the process.
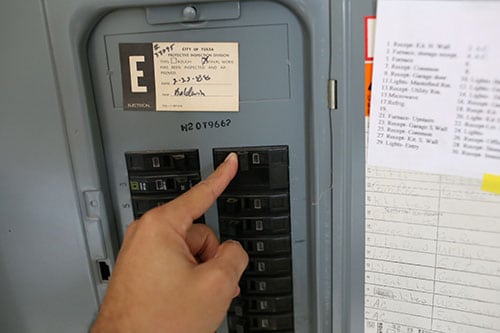
1. Turn Off Power to A/C and Furnace

Better to be safe than sorry. Turn off the power on the air conditioning and furnace units associated with your thermostat. You can do this by going to your breaker box and flipping off the respective switches. Another way you can turn off the power on your A/C and furnace is to simply flip off the power switch on the units themselves.
To confirm that the power to your unit is off, adjust the temperature on your current thermostat to either really hot or really cold and see if the A/C or furnace turns on. If they don’t, you’re golden.
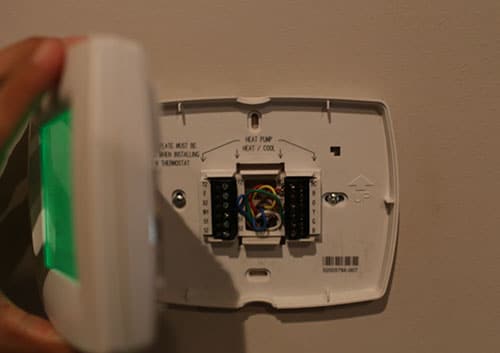
2. Remove Face of Old Thermostat
3. Take a Picture of the Wires
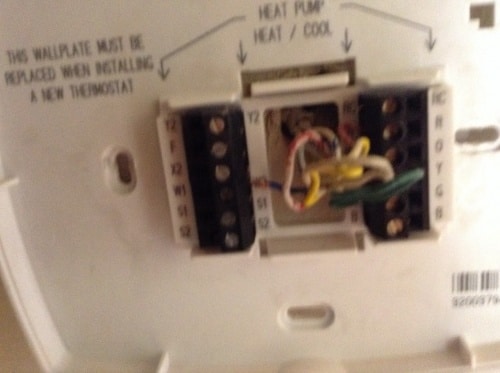
This step isn’t strictly necessary (you’ll see why below) but it’s nice to have a reference for which color wire should go into which receptacle on your new thermostat.
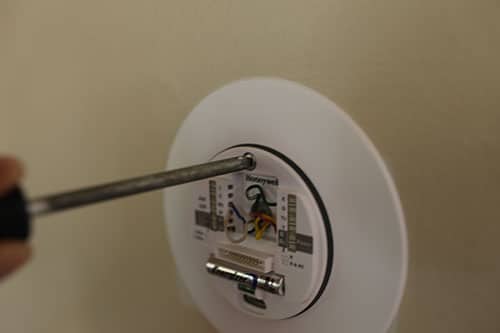
4. Disconnect Wires from Old Thermostat
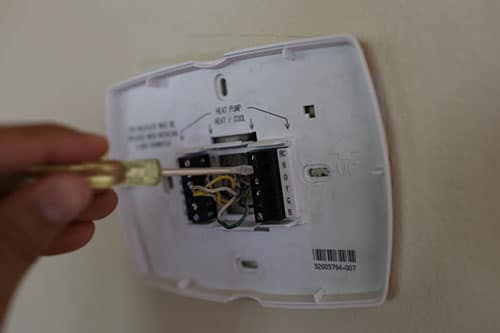
Depending on your current thermostat, you may need a small screwdriver so you can untighten the screws that are holding the wires in place. I had to use a screwdriver that you use for eyeglasses.
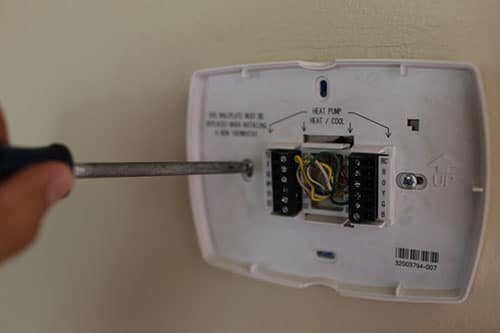
5. Remove Old Mount
6. Put on the New Thermostat Mount and Connect Wires

Connecting the wires on your new thermostat isn’t that difficult. On the mount, you’ll notice that there are letters. Each letter stands for a different colored wire: “G” – green, “R” – red, and so on. Simply insert each colored wire in its corresponding initialed receptor. The receptors on the Honeywell Lyric don’t require screws to keep the wires in; I just pushed them in until they locked in place.
7. Screw Faceplate Mount to Wall
You may need to install some drywall anchors so that you can securely screw on your faceplate mount. Lucky for me there were already two drywall anchors in place behind the old thermostat in exactly the right spot for my new one.
8. Attach New Thermostat Face
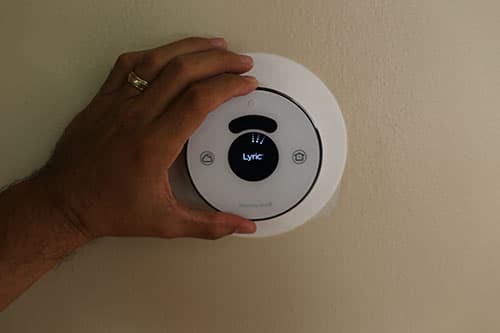
If you’re having problems with this step, adjust the cognitive thermostat in your brain.
9. Turn Power Back On to A/C and Furnace
Turn your power back on to the A/C and furnace. As you can see, I’m using the same image that I used for turning the power off, because it’s basically the same step, and I’m lazy.
10. Configure New Thermostat

Every thermostat is going to be different when it comes to configuration, so just follow the steps in the user manual that comes with it. The Honeywell Lyric thermostat connects to your wireless network so that you can configure and control it from your smartphone or tablet from anywhere in the world.
The free Lyric app took me through the set-up and configuration process. Besides the usual “Away” and “Home” schedules that you can create on most thermostats, the Lyric lets you create a “Geofence” within the system so that when you leave the house with your smartphone, the thermostat will automatically set itself to a more energy efficient temperature. It also has a “Fine Tune” feature that considers both indoor and outdoor humidity and temperature to adjust your settings so that your desired temperature always feels the same. I did a few tests on both of those features to make sure they work and all systems were go.
Well, there you go. You now know how to install a new thermostat. Don’t be intimidated by the wires. It’s such an easy job that even a guy who never took shop in high school and blogs for a living can do it.