From berry whiskies to cucumber vodkas, flavored liquors have been around a long time. In the past, they’ve been known more for their cheap price (and cheap quality too), but lately even higher-quality brands have been doing flavored spirits. This is especially true of vodka. My local liquor warehouse in fact has a whole aisle for flavored vodkas.
The cheapo brands use syrups to impart flavor, but the higher-end products get their distinct taste via infusions: whole fruits, vegetables, and other foodstuffs are soaked in the liquor, allowing the spirit to absorb some of their essence.
While those products are indeed plenty good, and not even all that expensive, necessarily, you’re limited in the flavor selection. When you do DIY infusions at home, on the other hand, the flavors are limited only by your imagination — and willingness to try quirky new things. Plus, it’s just fun to do it yourself — makes you feel like a mad scientist mixing up new concoctions!
Vodka is the ideal spirit for making infusions, as other liquors are more fickle. Whiskey and tequila have such strong flavors on their own that trying to mix anything else in is risky. With whiskey, something like vanilla or cinnamon can work well, but it’s a far more limited “canvas” in regards to what actually tastes good. Vodka, with not much real flavor of its own, can take on a broad palette of different flavors.
Below I list out the supplies needed to get started making your own vodka infusions, a few general tips, as well as 5 great recipes to try. Not only will you enjoy sipping on these DIY infused vodkas yourself, they make for great gifts to give to others.
Supplies
- Vodka (a middle-of-the-road variety)
- Mason jars (I used 16 oz)
- Cheesecloth (I used grade 90; the higher the number, the finer the cloth)
- Strainer
- Infusions (bacon, coffee, fruit, vegetables, etc.)
- Funnel (optional, but makes life a little easier)
- 375ml bottles (optional)
- Customized labels (optional)
A Few General Infusing Rules
Start small. Using about 12oz at a time — in a 16oz jar — seemed the perfect size for experimenting. That amounts to about 375ml, which is half of the normal 750ml liquor bottles that most of your spirits are packaged in. If you go smaller than that, it’s sometimes hard to get infusion ratios right — you need to use very small amounts of things, and possibly end up with a bunch of leftover supplies. And if you try to infuse a whole bottle at a time, you risk not being happy with the end result and being stuck with a whole bottle of something you don’t care for.
Taste your infusions every 12-24 hours. Since different infusions require different steeping times (more on that below), and everyone’s tastes are unique, you should be tasting your infusions every 12-24 hours. It’s amazing how much can change in that time period. You don’t want to let something sit for 5 days, only to realize that 2-3 days would have been better (yes, I did that with my first batch of coffee vodka).
Differing ingredients need different steeping times. Peppers and coffee only need a day or two, while most fruits and non-spicy produce (like cucumber) can use a full 5-7 days. Keep this in mind especially when mixing ingredients. For the pineapple jalapeno infusion that I made, the pineapple steeped for about 5 days on its own before jalapeno was added for a single day.
Strain everything through cheesecloth.
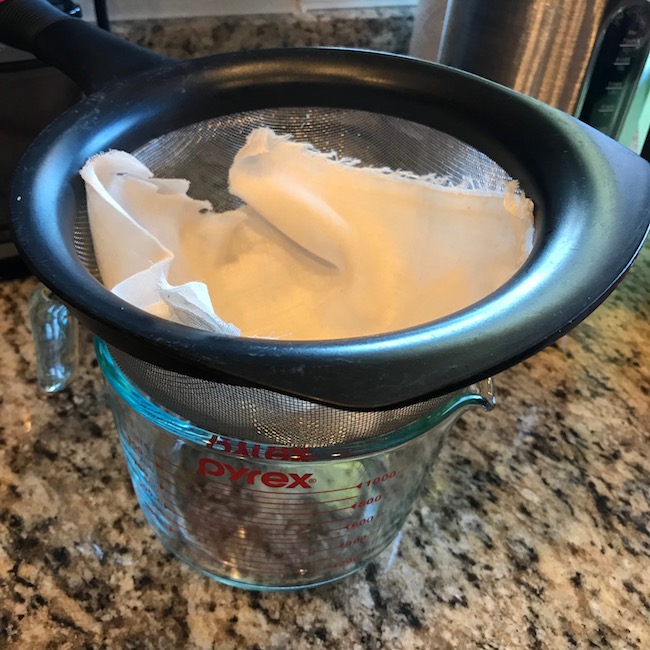
Line a strainer with cheesecloth and place it over a large measuring cup.
Pour your infused vodka through. 1-2 times does it for most infusions.
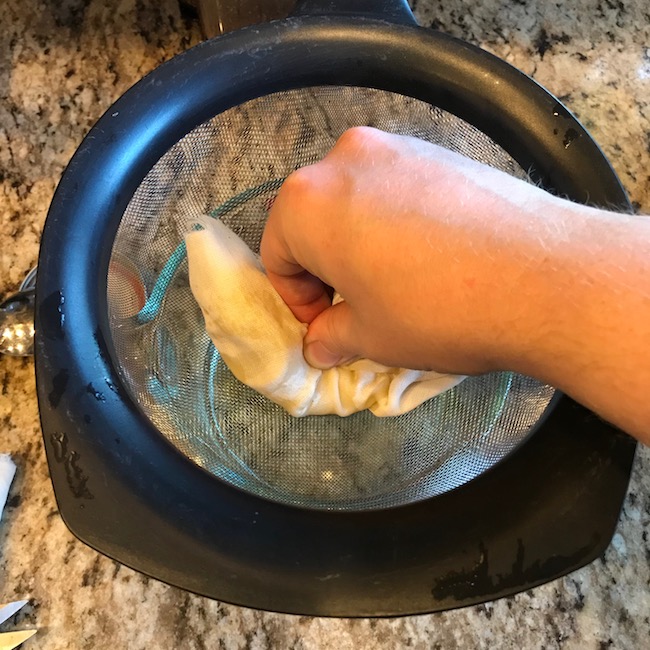
After you’ve poured all the vodka through, squeeze all the liquid out. Those last drops will be extra concentrated!
No matter what kind of infusion you make, the final step in the process is always to strain it through cheesecloth. You set up a strainer on top of a measuring cup or bowl, line it with cheesecloth, and pour the infusion through. The higher the grade of cheesecloth, the better the final product will be. I used 90 grade, which seemed perfect. For fruits, one straining seemed enough. For messier infusions like bacon and coffee, two strains should do the trick.
Package into nice 375ml bottles with custom labels for gift-giving.
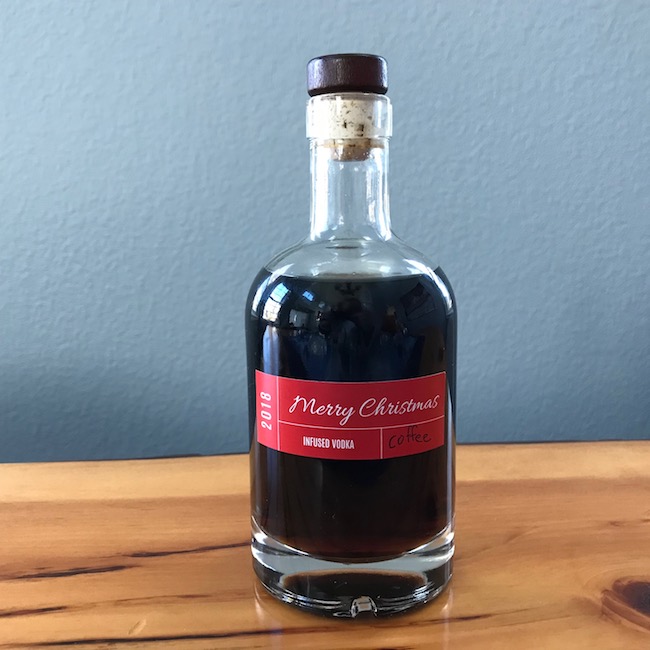
Mason jars aren’t all that easy to pour out of, nor do they look the best for gift giving. Buy a few 375ml bottles for this purpose, and print some custom tags. Crushtag.com offers a ton of options, and it’s cheap. I left a space on the bottom right of the label to handwrite the particular flavor.
These vodka infusions make for excellent, unique, inexpensive gifts come Christmas (or birthdays, to give to hosts, etc.). I’m of the opinion that 375ml is the perfect amount for gifting. A $25 1.75L bottle of vodka will get you a few smaller bottles (though probably not perfectly 4 — whatever you’re infusing is bound to soak up some of the vodka). Buy some empty bottles, make custom stickers (they’re cheap and look nice from crushtag.com), and hand ‘em out to your favorite people!
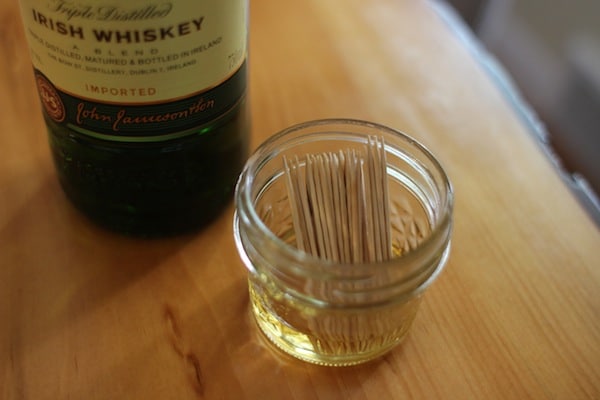
Quinine Vodka (for James Bond Vesper Martinis)
Most James Bond aficionados know of the unique martini order he gives in Casino Royale. It contains both gin and vodka, but also Kina Lillet, which at one time was a “tonic wine” that contained quinine. The current recipe for Kina Lillet doesn’t include that quinine, so it has to be found elsewhere in order to make a true James Bond Vesper martini. To do that, you’ll make a cinchona bark infusion (the cinchona tree is where quinine comes from).
It should be noted that cinchona bark is not real easy to come by. I had to get it on Amazon, and by the pound was the best price I found. Also, since it’s used in small doses and really only in this specialty cocktail (unless you come up with something else!), I only made 6oz of this one versus 12oz for the rest of them.
Directions:
- Put about ¼ cup of cinchona bark into mason jar.
- Pour 6oz vodka into jar.
- Let steep 1-2 days. Taste every 12 hours or so; if it becomes too bitter, strain it with cheesecloth and call it good.
Pineapple Jalapeno
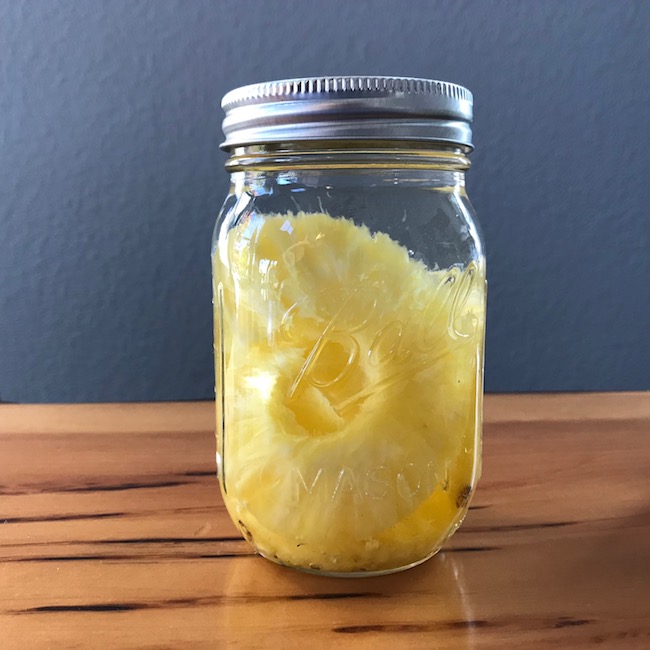
Fruity (and tangy). Spicy. Certainly unique. It’s everything you need in a vodka infusion. While the pineapple on its own is plenty good — and perfectly acceptable if spicy isn’t your thing — the added jalapeno gives a nice spicy flair.
Directions:
- Cut up a pineapple. Place 3-4 rings in the mason jar.
- Pour in 12oz of vodka. (Or whatever fits, all the way to the top of the jar.)
- Let steep for 5-7 days.
- Filter through cheesecloth, and pour back into jar.
- Place a halved jalapeno in jar and let steep for about a day.
- Give it a taste every 12 hours or so, and see if it’s to your liking. When it is, remove the jalapeno and filter once more through the cheesecloth. If not, let steep another 12 hours.
Bacon
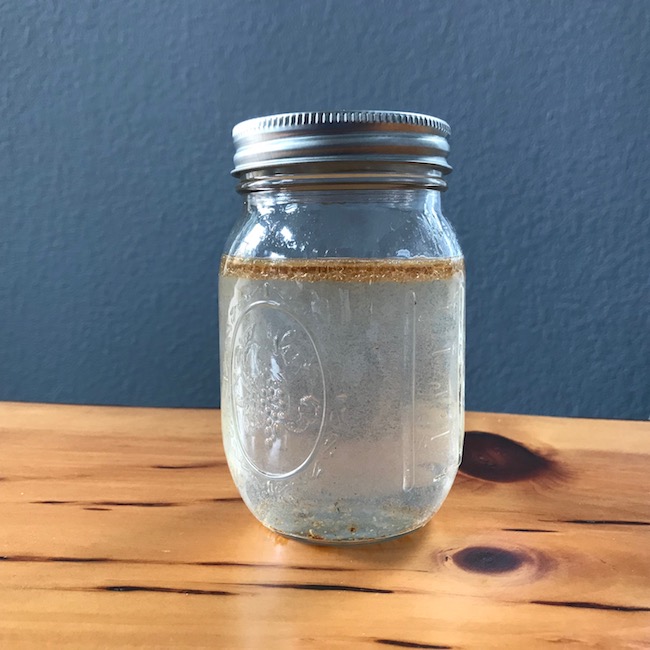
Once frozen, that grease at the top will be even more separated and hardened, making for easier removal.
Bacon vodka is admittedly a little bit of a gimmick. On its own, it tastes a bit weird. It’s really bacon-y. But, it makes a great base for a Bloody Mary, and can be a fun drink to share at an informal social gathering, like a poker night (everyone has to have a shot of bacon vodka before they can buy back in, or something).
Directions:
- Cook 5-6 strips of bacon. Eat bacon.
- Let grease cool some, but not to the point of hardening. About 5 minutes will do.
- Carefully pour grease into mason jar.
- Pour in 12oz vodka. Give it a shake.
- Let steep for 6-8 hours; can be overnight if needed. (With bacon, you won’t really over-steep it, but extra time doesn’t really do anything since the grease hardens and separates.)
- Place in freezer for about an hour; this hardens the grease a bit more, making it easier to remove and strain.
- Scoop out the hardened top part, and strain the rest through cheesecloth.
- For this infusion, I strained it 2X just to make sure there was no grease getting through. Your final product will be a little yellow, but should also be fully transparent.
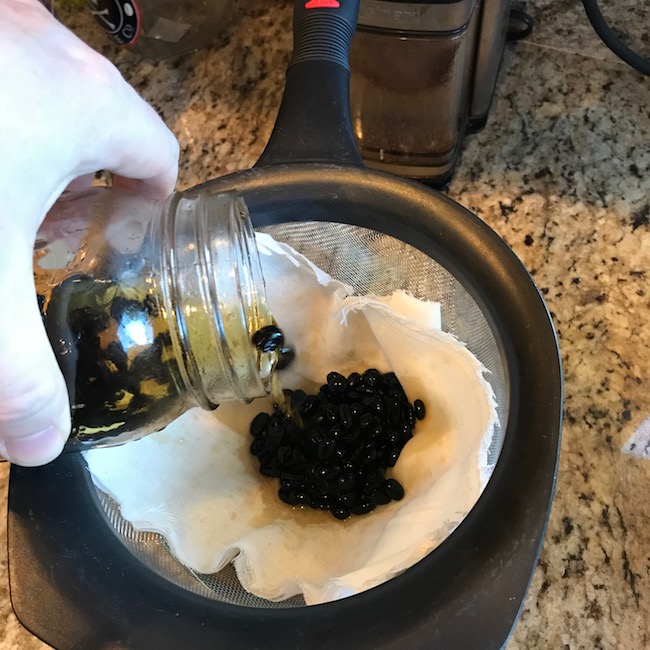
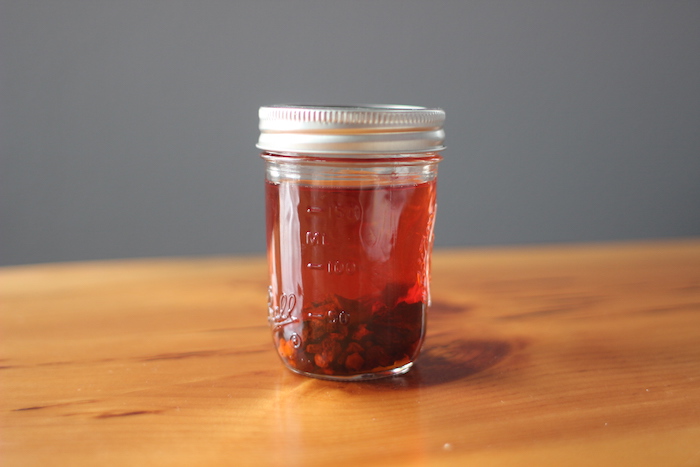
Blackberry

After about 5 days of steeping.
This is sort of a “set it and forget it” infusion. The blackberry vodka can steep for much longer than other infusions. It’s not acidic like pineapple, or spicy like jalapeno. It’s a pretty mellow flavor, and you get a pretty mellow infusion out of it. On its own, it’s not quite enough flavor, but mixed with tonic or used as the base of another cocktail, it does very well. It’s also a rich deep purple color that looks impressive when given to guests.
Directions:
- Place about 1 cup of halved blackberries into mason jar.
- Pour 12oz vodka into jar (or whatever fits, all the way to the top).
- Let steep for at least 5 days, up to a couple weeks.
- Strain with cheesecloth.
Coffee & Coffee Vanilla

This infusion was probably my favorite. It can be served in a whole bunch of fun cocktails (coffee martini, both black and white Russians, coffee old fashioned, Colorado bulldog, etc.) but it’s also delicious on its own over ice (or ice cream!). It also makes a really nice dark brown color that you don’t often see in vodka.
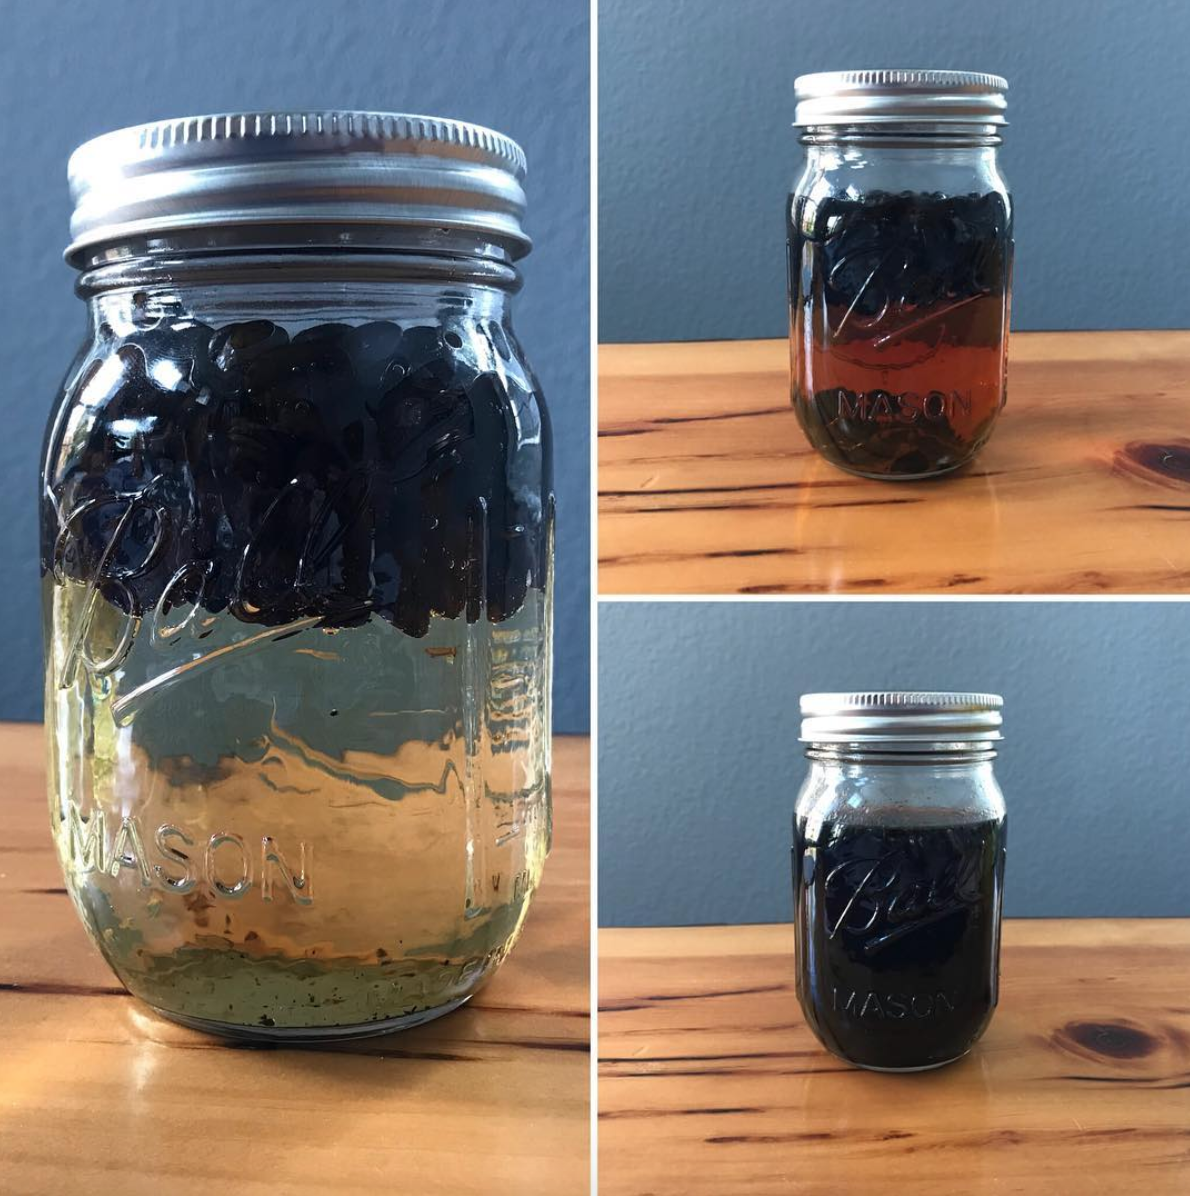
The coffee infusion after 1, 3, and 5 days. 3 days is ideal, in my opinion. On day 5, it tasted a bit too strong.
You don’t actually want to use an expensive, small-batch coffee for this. I read from multiple sources that even cheaper coffees tend to convey the same sorts of flavors. You especially don’t want anything that’s a light roast; the flavors aren’t quite bold enough to come through as a pure coffee flavor in the vodka. Get yourself either a whole bean espresso or dark roast.
Directions:
- Measure out ½ cup of whole coffee beans and place them into jar. (There are recipes that use ground coffee, but this way is just as effective and far easier to strain/filter.)
- Put 12oz vodka into jar.
- Let steep for about 3 days, giving the jar a swirl once a day or so. (You could steep for less time, depending on your tastes, but don’t go more than 3-4 days — beyond that and it begins to taste a little too much like coffee.)
- Strain through cheesecloth. One time should do it, but if you see any chunks, another won’t hurt.
- Optional: From the very beginning, throw in a vanilla bean cut into 1-inch chunks. As with all of these, give it a taste every 12-24 hours and see what you think. If at any point the vanilla becomes overwhelming, it can easily be pulled out with a spoon.
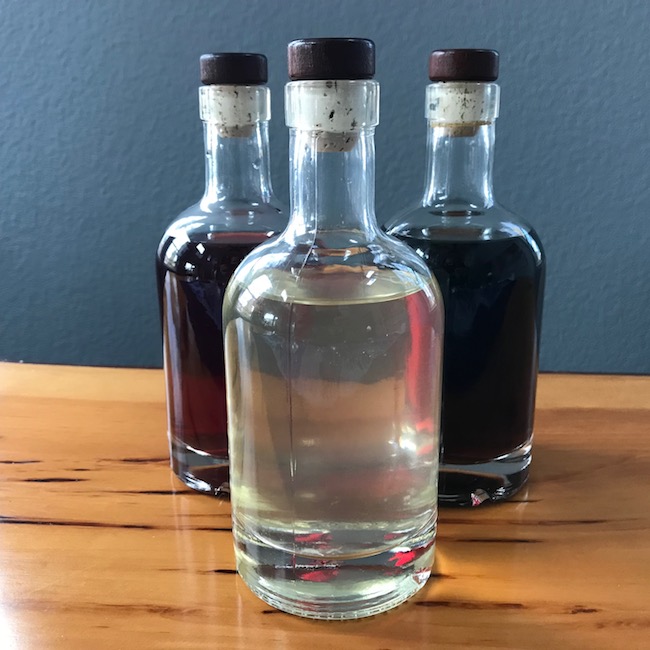
After straining, pour your finished products into these handsome 375ml bottles, and give out as fun, easy, and inexpensive DIY gifts.