When compared to your car, motorcycles are decidedly simple machines, which make them an ideal starting point for budding mechanics looking to get their hands a bit greasy without too much risk. One of the easiest maintenance tasks you can perform on a motorcycle is to change out the spark plugs. Replacing your spark plugs regularly helps ensure that your engine runs smoothly; beyond that, though, the process can also clue you in to other engine problems that might need attention. For example, oil-covered spark plugs can signal valve damage, and wet, fuel-fouled plugs can indicate that your carburetors need to be tuned. As for timing, it’s a good idea to change your spark plugs whenever you get an oil change. As long as the old plugs are in serviceable condition, you can keep them around for emergencies.
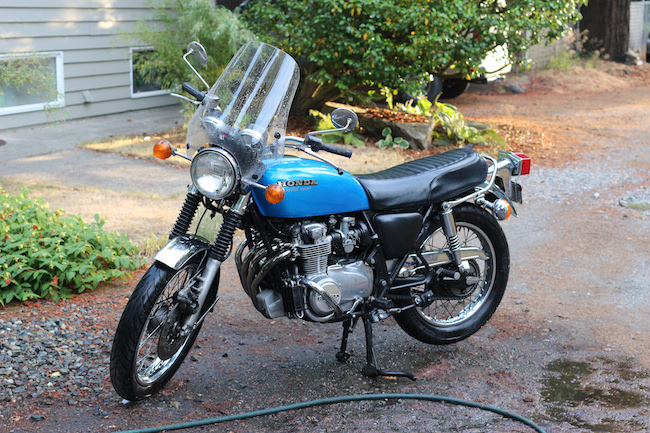
Depending on the type of bike you have, there might be as few as two or as many as six spark plugs. In most cases, the spark plugs are on top of the engine under black rubber “boots’” connected to thick black wires. Keep in mind that on some models, accessing all your spark plugs might involve removing plastic covers, fairing pieces, or even the gas tank.
What You’ll Need
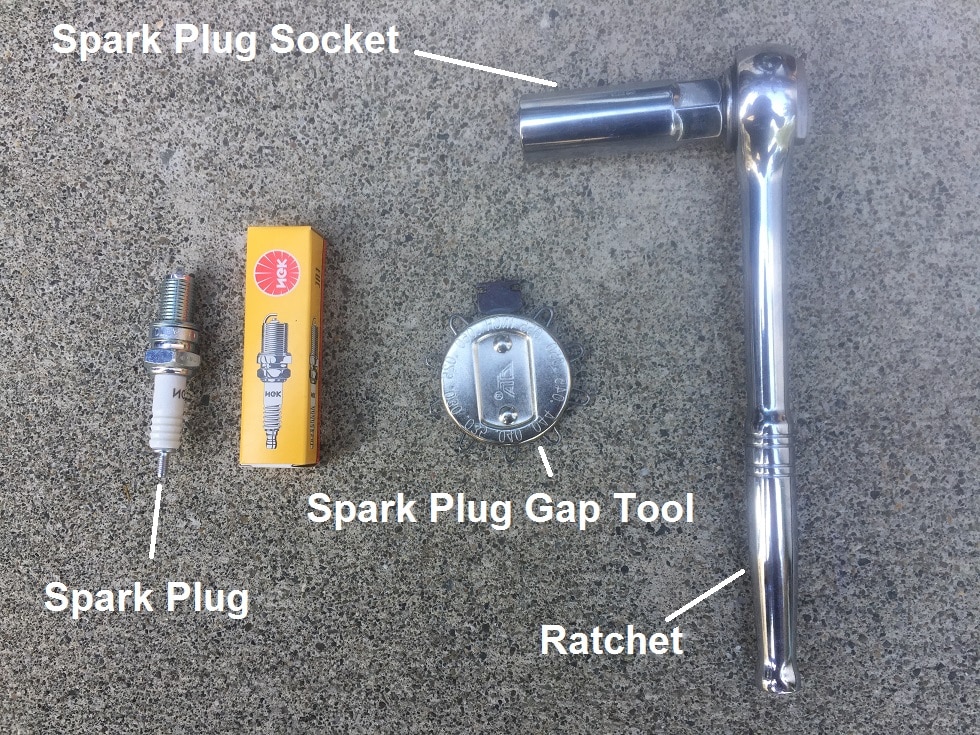
- Ratchet
- Spark plug socket
- Spark plug gap tool
- New spark plugs
Step 1
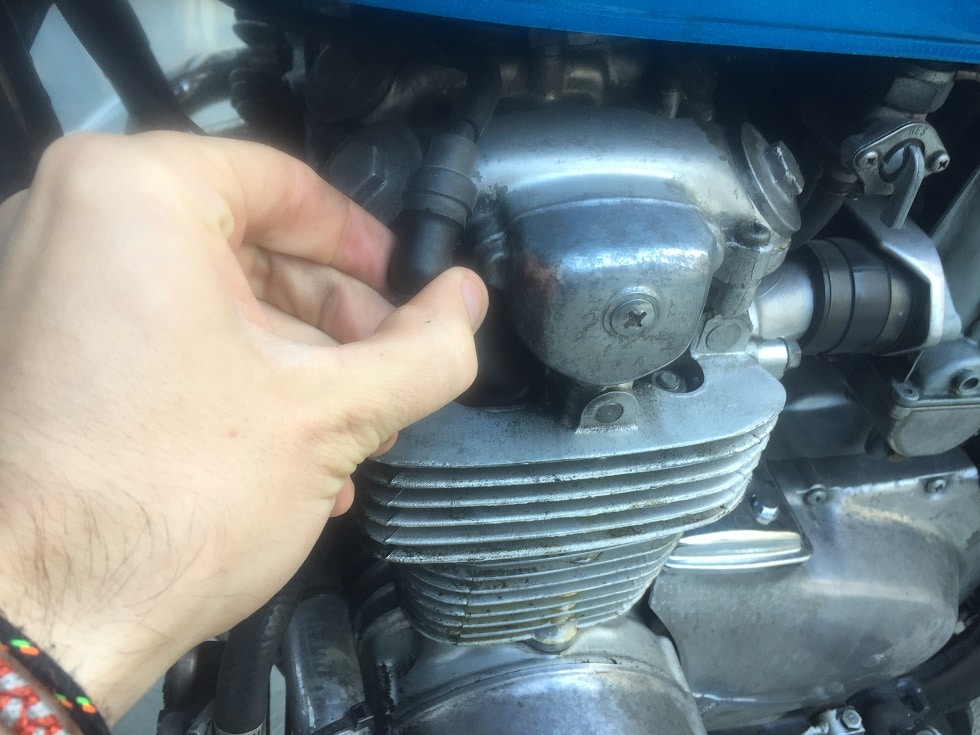
Remove the spark plug wire by pulling off the cap. Do not pull on the wire as it can damage the connection with your spark plug cap.
Step 2
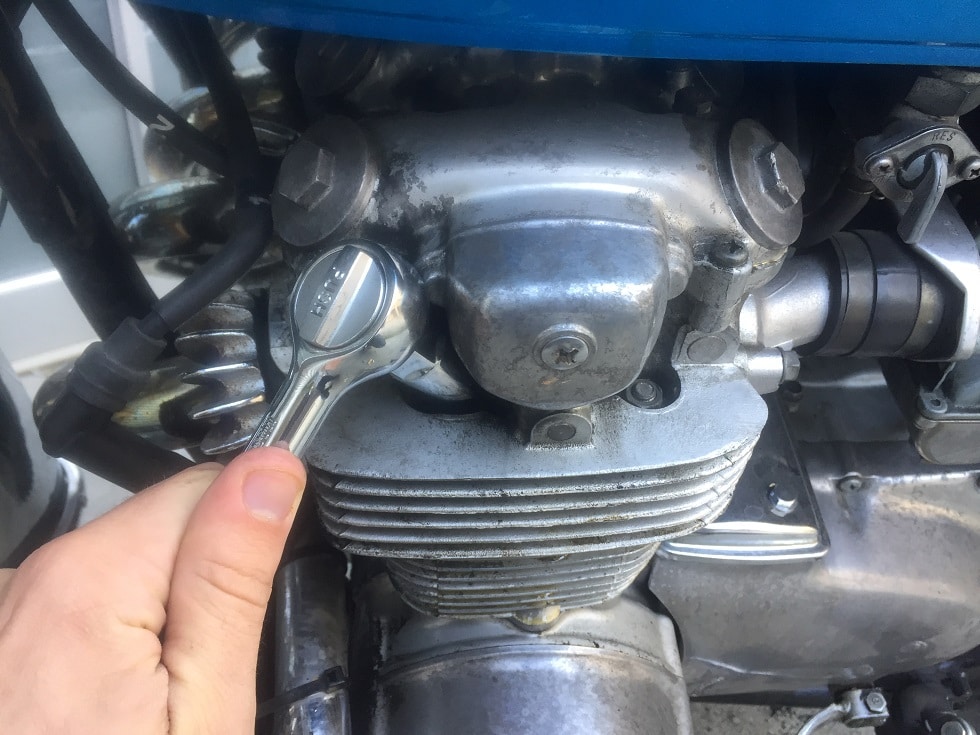
Attach the spark plug socket to the ratchet and slip the socket over the spark plug, making sure that the plug is fully seated in the socket.
Use the ratchet to turn the spark plug counter-clockwise until it’s loose and then finish removing it with your hand.
Step 3
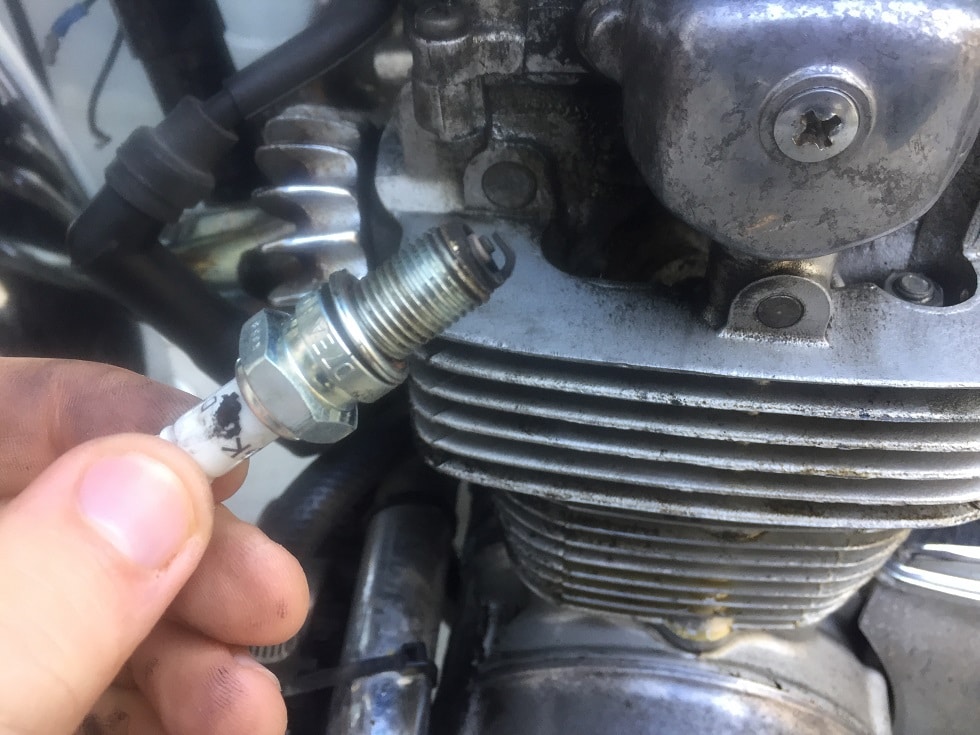
Inspect the spark plug for fouling indicated by oil, black deposits, ash, pitting, or other damage. The spark plug should appear grey or yellowish in color, clean, and dry. If it is corroded or fouled, consider getting a tune up.
Step 4
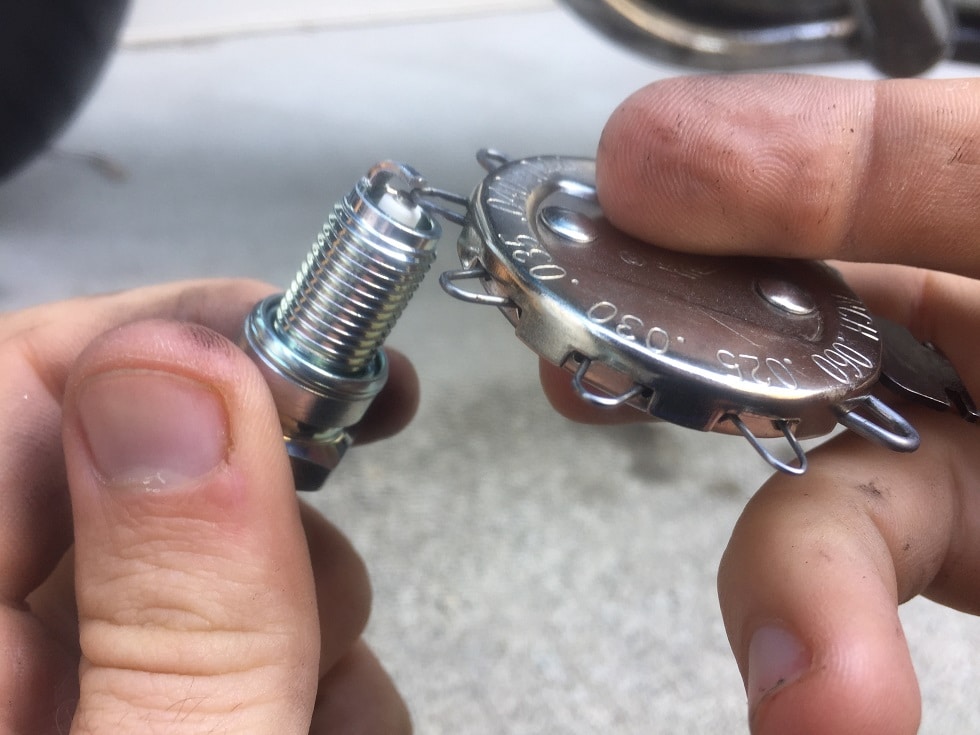
Ensure that your new spark plug is properly gapped. In order to function properly in your motorcycle, the space between the ground electrode (hook-shaped top part) and the center electrode (small metal cylinder exposed under the hook) needs to be precisely spaced out. You should be able to find the exact spacing in your motorcycle’s service manual, or by searching online. This is where the spark plug gap tool is handy. These tools either use wires of varying thicknesses to measure the space or metal tabs. Simply insert the metal wire or tab into the gap and read the corresponding measurement.
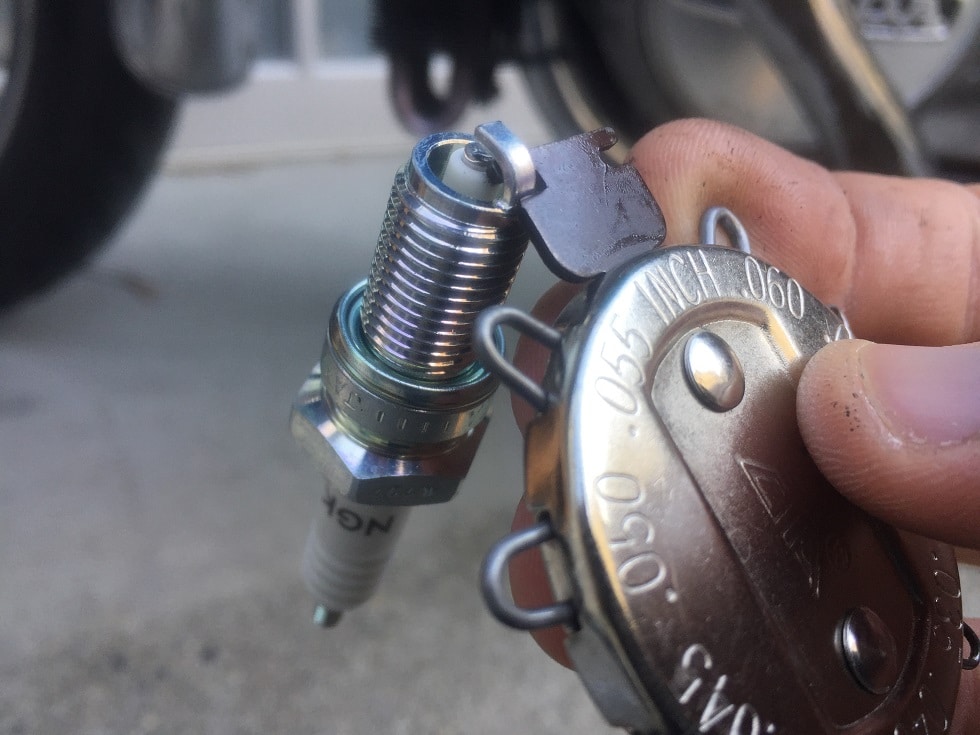
Note: If you need to adjust the gap, most tools have a special notch to help bend the ground electrode up or down to reach the desired gap.
Step 5
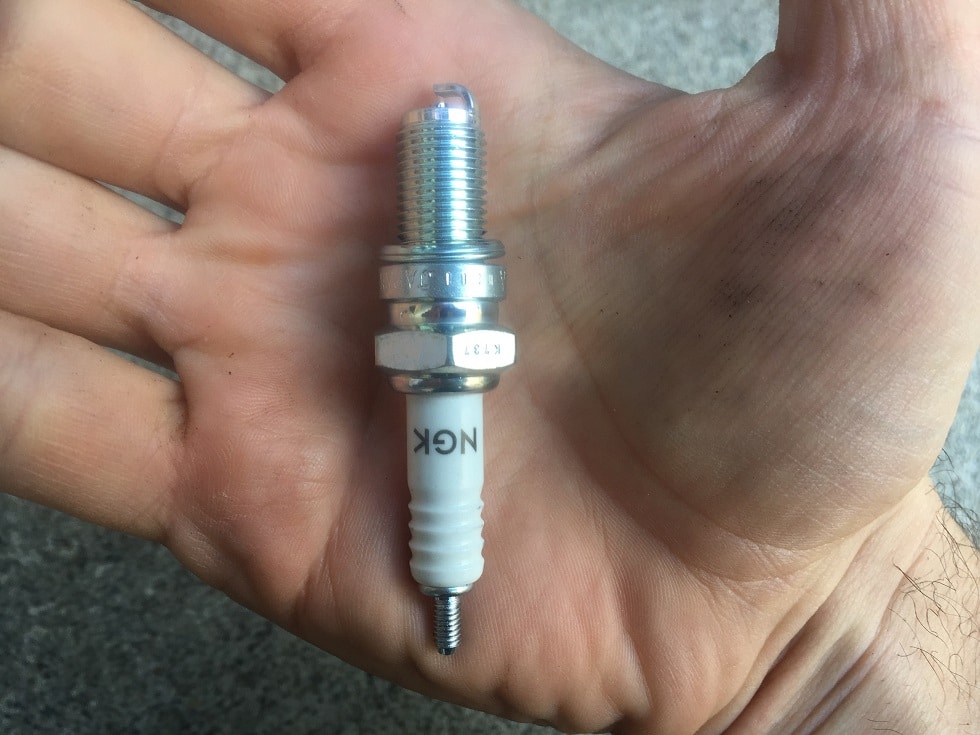
Thread the new spark plug in by hand to ensure it seats properly.
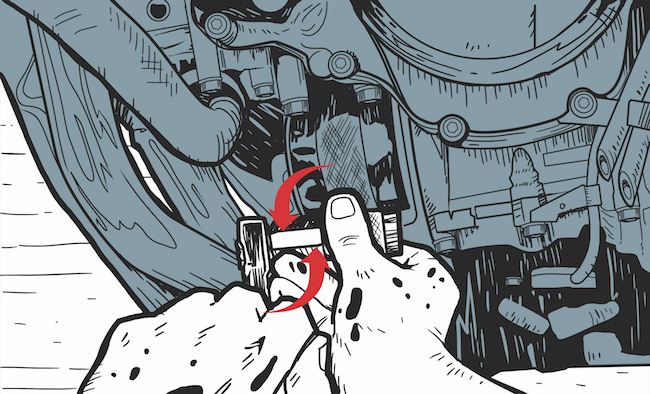
Step 6
Note: The images used for steps 6 & 7 are repeated from steps 2 & 1, since you’re basically just doing those steps in reverse.
Tighten the spark plug with the ratchet about a half-turn past hand-tight.
Step 7
Put the spark plug cap back on, and repeat with remaining spark plugs.