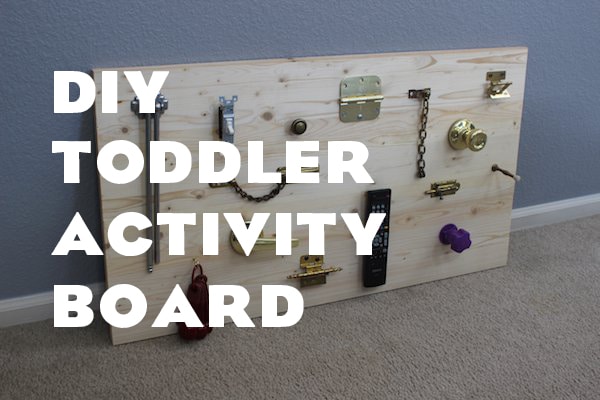
When it came time for my wife and I to get our son Graham his first birthday present, we were having a hard time coming up with ideas. What he likes most is anything with buttons, doors, utensils, dad’s tools, etc. Basically, everything except the expensive toys that many folks tend to get for their kids’ birthdays.
So we decided to go the DIY route, and put all his favorite things onto a wooden activity board for him to play with. While commercially-produced versions of this exist out there, they are very expensive (running $100 or more). You can create your own for a fraction of that, and customize it to what your toddler likes.
The materials, in total, cost me about $20, and after just a few hours of work, I had a nice-looking (and fun!) activity board that our son loves and continues to enjoy playing with every day.
Below I walk you through the materials and steps to create one for your kid, or as a gift for new parents.
Materials
- 1 piece project board/plywood. The piece I used is 1.5′ x 3′; I bought it as is at Lowe’s because it looked like the perfect size. You could also buy plywood and cut it down to whatever size you need. Anything that’s roughly 3 or 4 square feet will do the trick.
- Hardware. New hardware is spendy, especially when it’s just for a toddler to play with. So I went to Habitat for Humanity’s ReStore. Everything there is reclaimed, generally from old construction sites or donations, so it’s all very affordable. Other options are Goodwill or other thrift stores. You can, of course, also get new hardware. More tips on what to buy below.
- Other Toys/Fun Stuff. What does your toddler like? Currently, mine loves light switches, TV remotes, and random kitchen utensils. So, from around the house and garage, and I found extras of all those things, and attached them to the activity board. Be creative and let your toddler’s interests guide you here.
- Screws/Attachment Devices. If you buy new, your hardware will most likely come with screws. If you buy things used, you’ll either need screws you have around the house — the shorter the better so they don’t go through the back of the wood — or you’ll need to buy some. I also used a hook and a couple velcro strips to attach random things.
- Felt Pads. We just lean the board against the wall rather than permanently secure it somewhere, so I attached some felt pads to the back to ensure it wouldn’t scratch up our walls. (Don’t worry, it’s heavy enough that it doesn’t fall over very easily.) If you choose to secure it, you’ll also need screws/anchors for that purpose.
How to Create an Activity Board for Your Toddler
1. Assemble Your Hardware/Toys
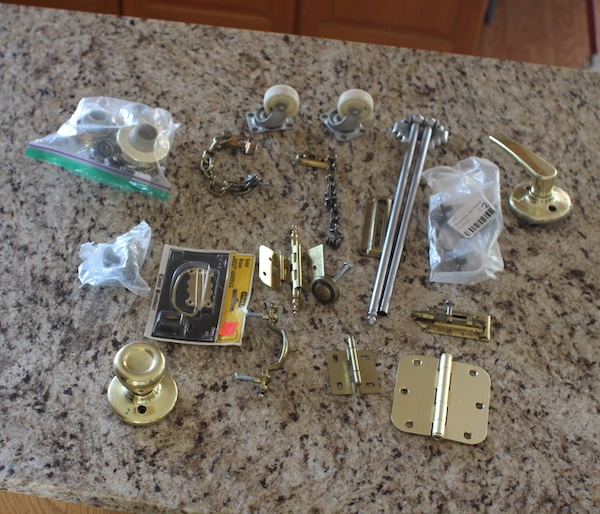
In my search for hardware that Graham could play with and enjoy, I had a few criteria. I wanted things that would sit flush to a board — this eliminated a lot of items. I obviously looked for things that didn’t have sharp edges or random screws that would pop out. I also looked for things that had some sort of movement or hinge that Graham would enjoy fiddling with. Some of the items that I bought:
- Hinges
- Doorknobs
- Locks — all kinds: hasp, chain, barrel bolts
- Door stoppers (the spring kind that wobble)
- Handles/knobs (these didn’t actually make it onto the board; more on that later)
- Wheels (these ended up being too dirty to get clean, and unfortunately didn’t get used)
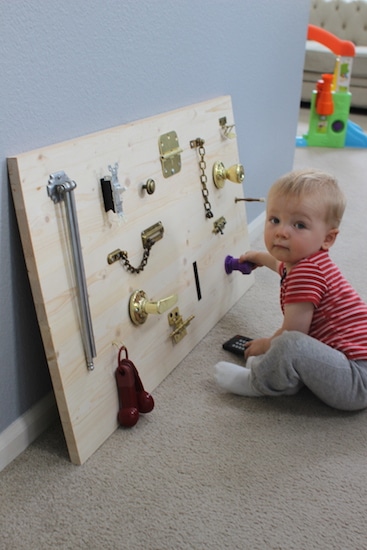
- Much more! (for instance, I have no idea what that gray thing is with the two poles, but it looked fun)
Use your imagination here. As you walk the aisles of whatever store you’re in, think about how it would sit on a board and how your toddler would interact with it. As noted above, I also scoured the house for a few extra things that I knew Graham would like.
2. Deep Clean the Hardware
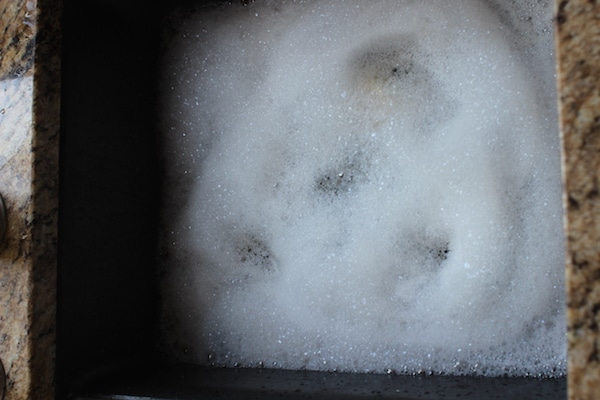
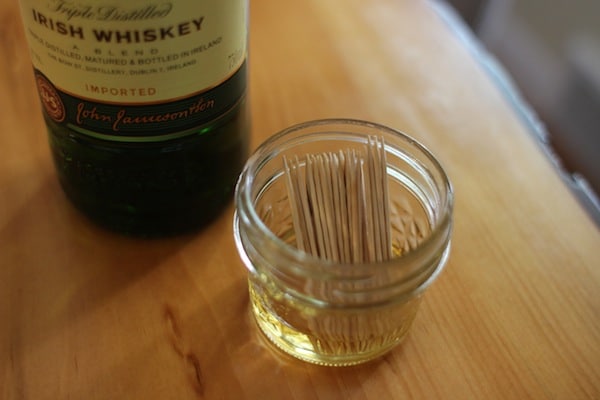
Especially if you buy your hardware used, you’ll want to give it a deep clean. Your toddler’s hands will be all over it, and very possibly his mouth as well. Fill your sink with some very hot water and a strong cleaning agent, throw the whole lot of hardware in there, and let it soak for 15-30 minutes. After soaking, give each item a good scrub and rinse, and then lay it out to dry.
3. Plan the Layout of the Board
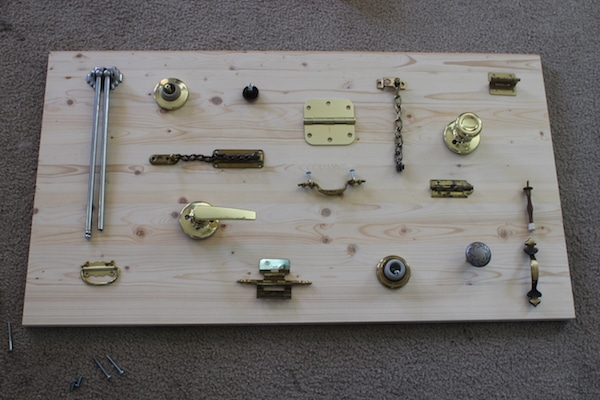
When you have your hardware cleaned and ready, lay it out on the board and see how it all looks/flows. If things look good, start screwing things down!
4. Be Prepared to Troubleshoot

When I got to this point of having screwed down quite a few items, I realized I had to make some changes. First, there were a couple screws that went through the back of the board, so I had to replace them with shorter ones. Also, after Graham wandered over and played with it a little bit, I realized he wasn’t going to do much with any of the hardware that didn’t have moving pieces. So I nixed the handles/knobs, and made some extra room for the other goodies: TV remote, light switch, etc. Be willing to adapt the project as you get into it!
5. Finish Up, and Watch Your Toddler Play!
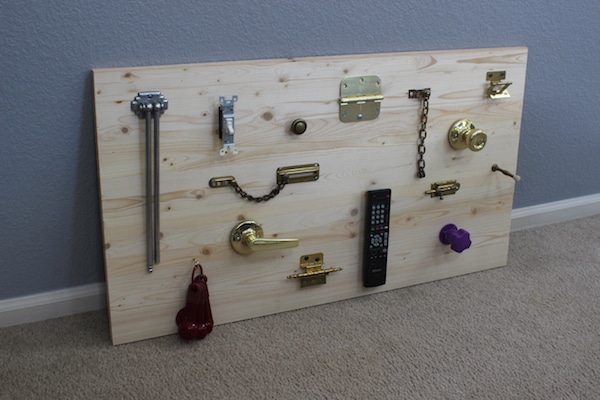
I used velcro strips to attach the TV remote and the light switch, and a hook for the kitchen measuring spoons. I also attached a little purple knob that screws in and out of its base. Attach your felt pads to the back, and that’s it! Let your kiddo play away!