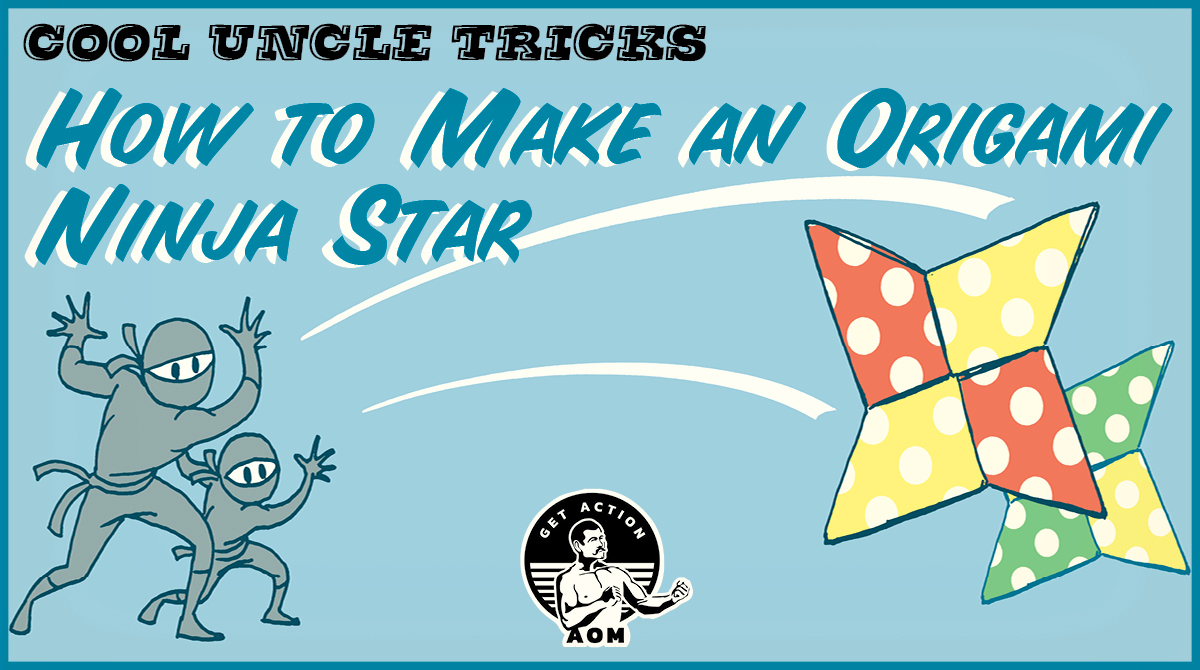
As a kid, you spend a lot of time imagining you’re someone else, like an astronaut deep in space, or a cowboy riding across the prairie. One of the most exciting imaginary professions? Full-time ninja. Ninja-dom has a lot of benefits if you’re a kid. First, you get to wear really cool outfits. Second, you get total permission to sneak around (here’s the guide you always needed on how to do so in stealthy silence). And third, you get to launch surprise attacks on your friends and family.
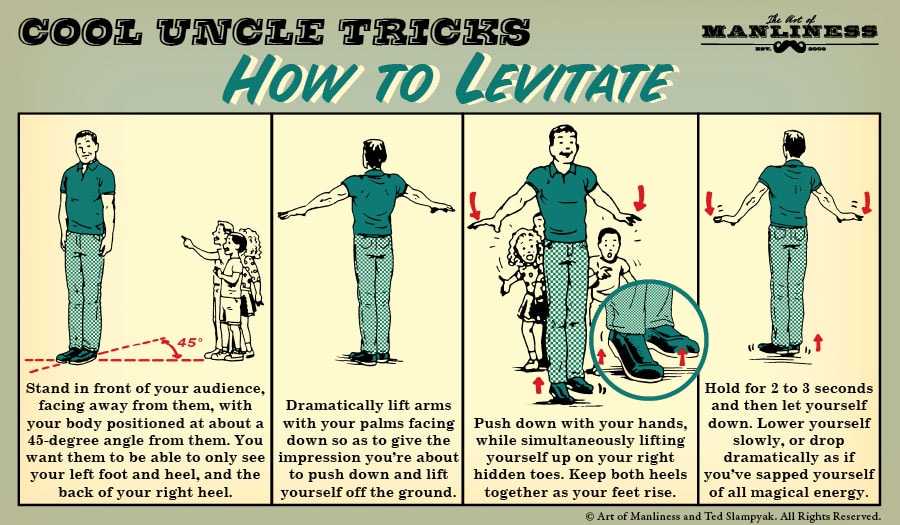
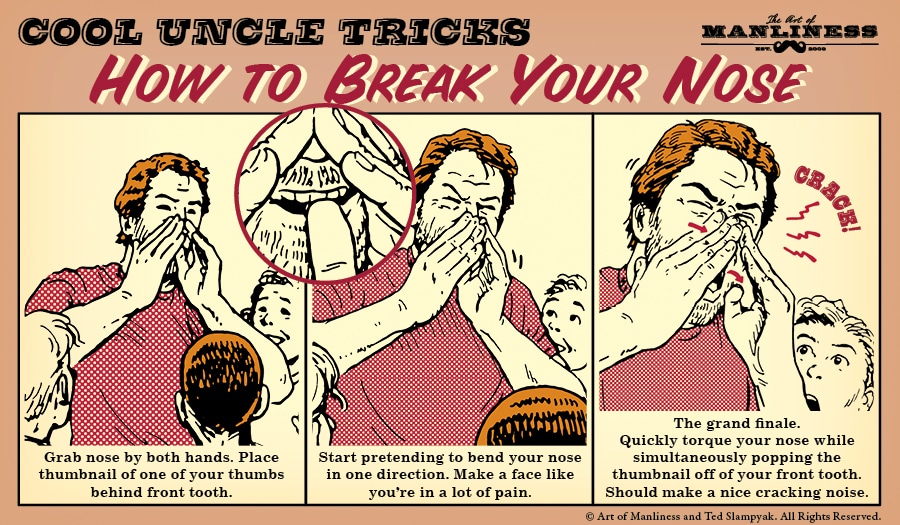
If you’re a cool uncle, you don’t spend time discouraging these surprise attacks. Instead, you throw on a bathrobe, tie a bandana around your forehead, and teach those kids how to make some much-needed ninja gear, like throwing stars.
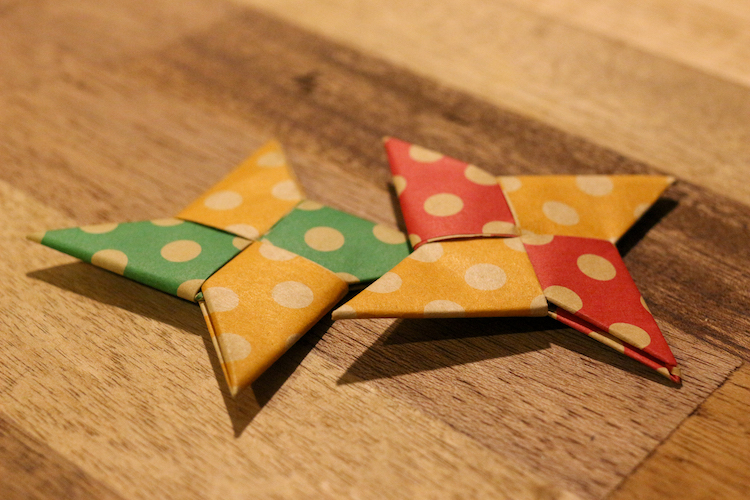
Throwing stars, or shuriken, are real weapons, traditionally used, not in fact by ninjas, but by samurai. They were made out of metal and came in all sorts of shapes. Remember the bat-shaped throwing stars Batman used? Superhero-modified shuriken.
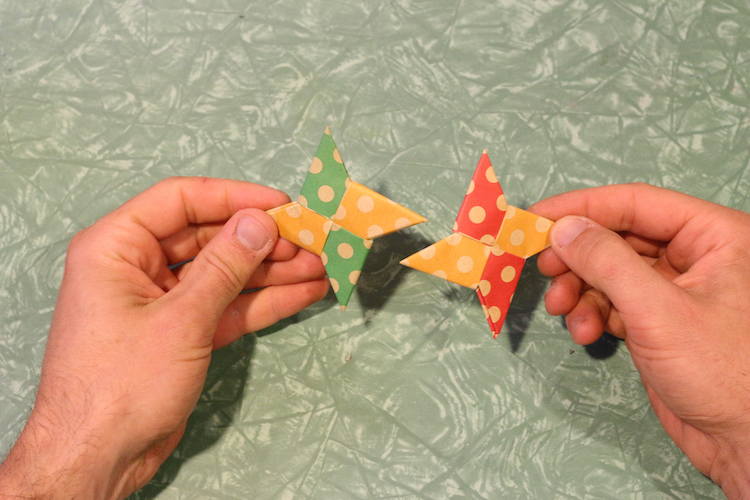
Giving your nieces and nephews real, sharp-edged throwing stars might be frowned upon by their parents. But, you can make fine substitutes out of a few simple pieces of paper. The origami instructions below use traditional sheets that are approximately 6×6 inches. You could easily scale up the size of the pages you use to make giant throwing stars, but I wouldn’t go much smaller. The only real necessity is that your papers are the same size, and that they’re both square.
Step 1: Fold Sheets in Half (Twice)
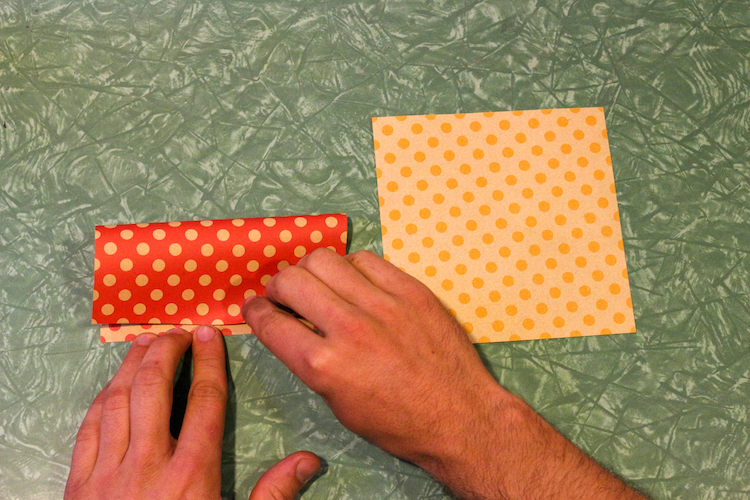

Fold both pieces of paper in half from top to bottom, and then fold them in half again in the same direction.
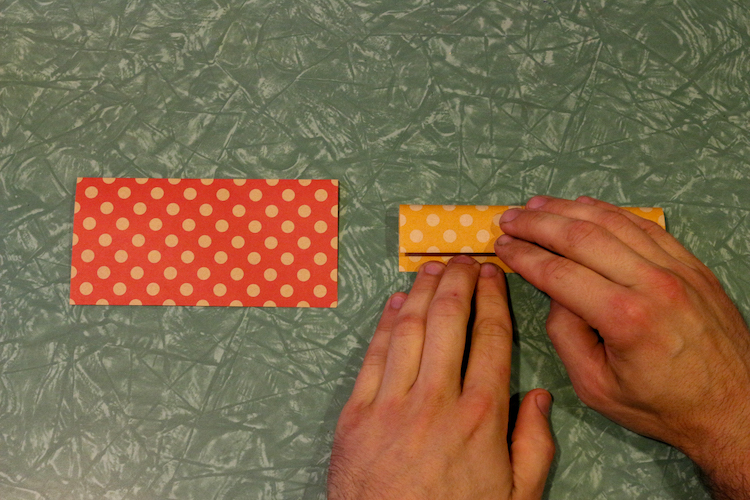
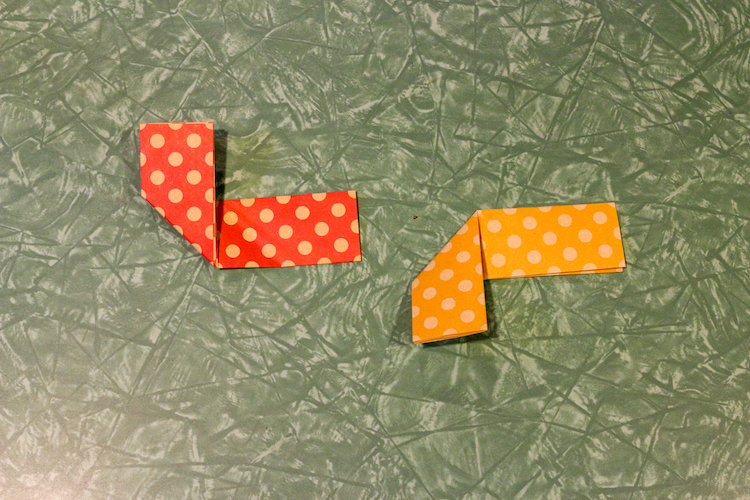
Step 2: Fold in Half the Long Way

Fold both strips in half from right to left.
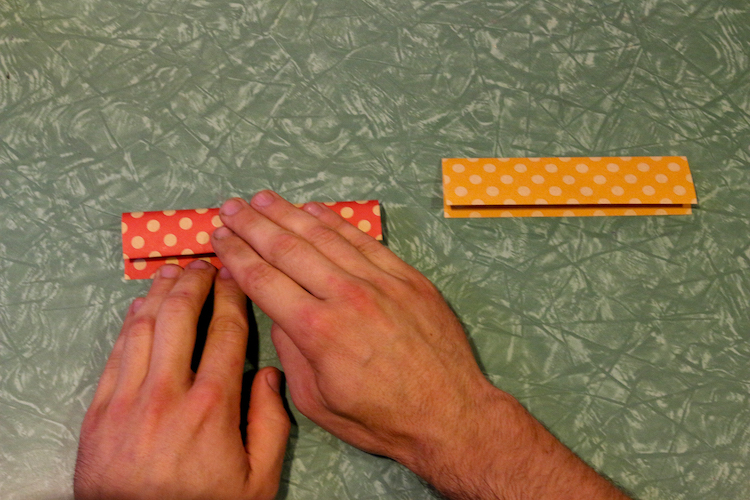
Step 3: Fold Up, Fold Down
Here’s where the pieces start to differ slightly. With the left paper, fold the left half of the strip up along the center crease. With the right paper, fold the left half of the strip down along the center crease.
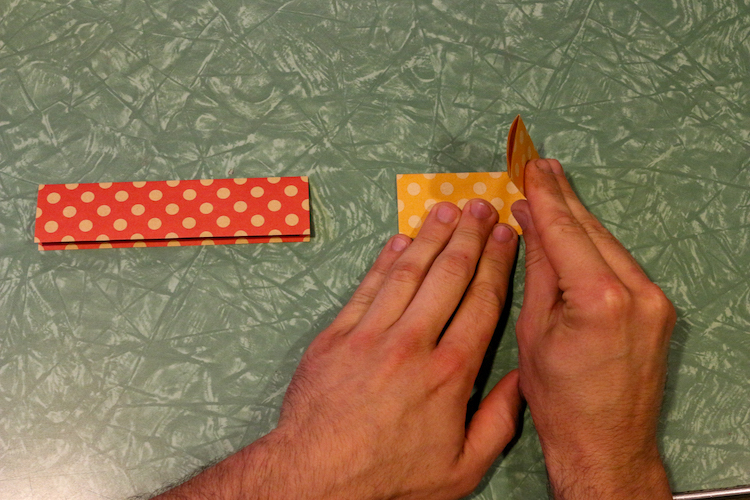
Step 4: Fold Down, Fold Up
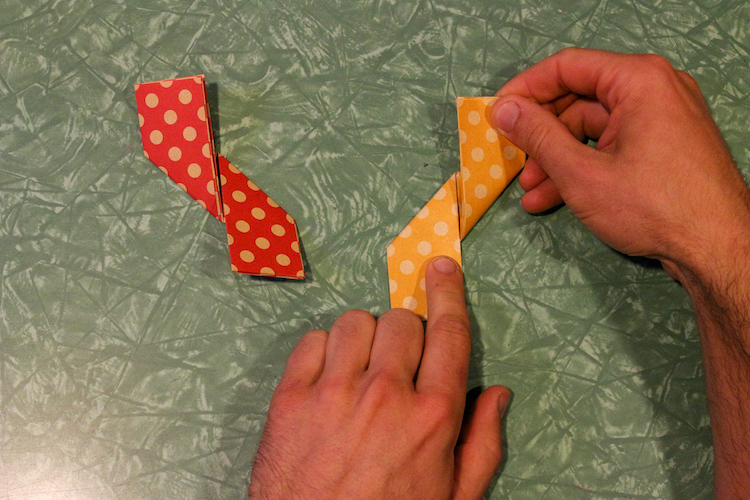
Repeat Step 3, folding the other end either down or up to create a vertical bowtie shape.
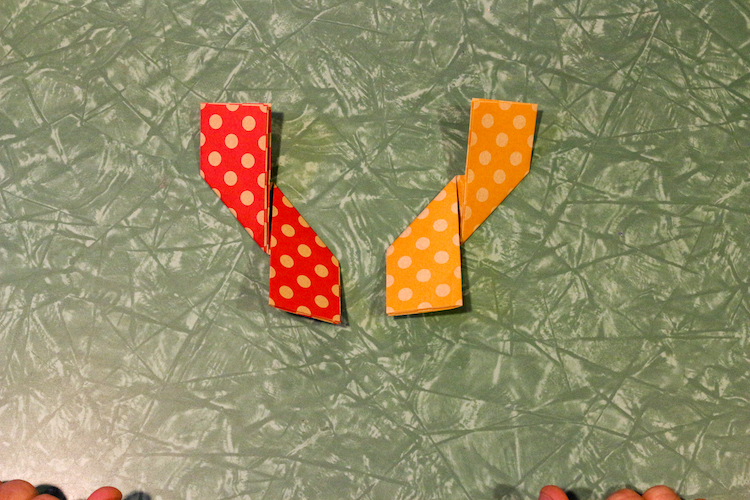
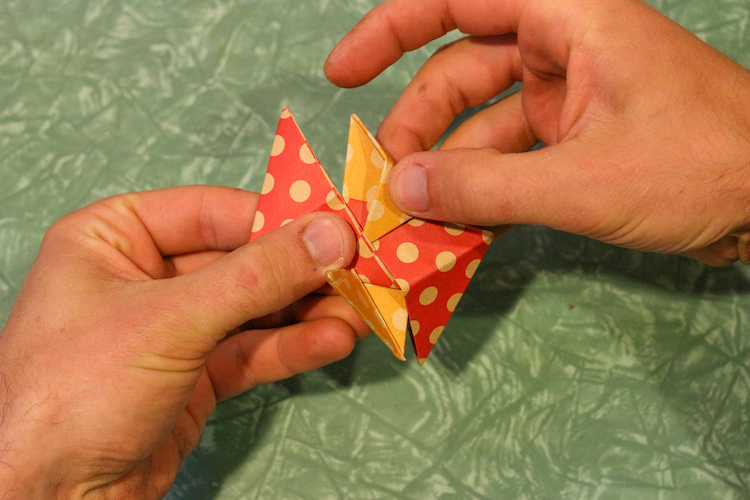
Step 5: Flip Both Pieces Over
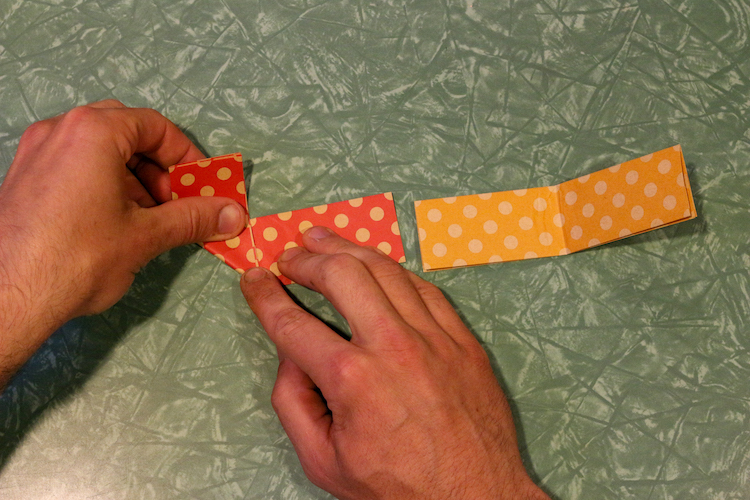
Step 6: Fold Corners
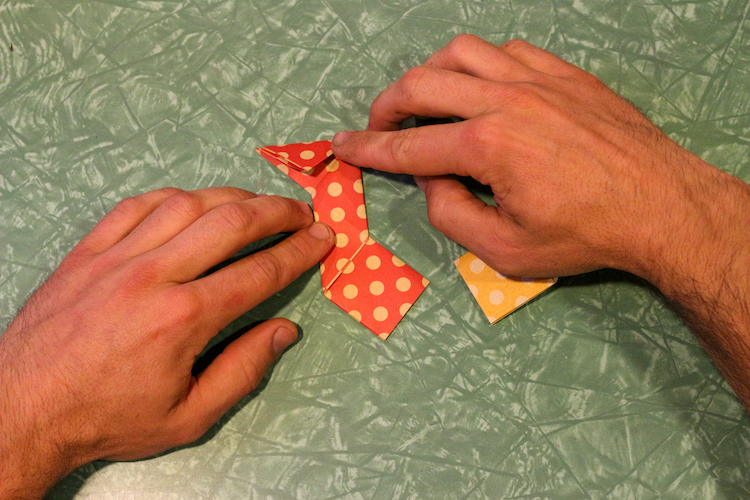
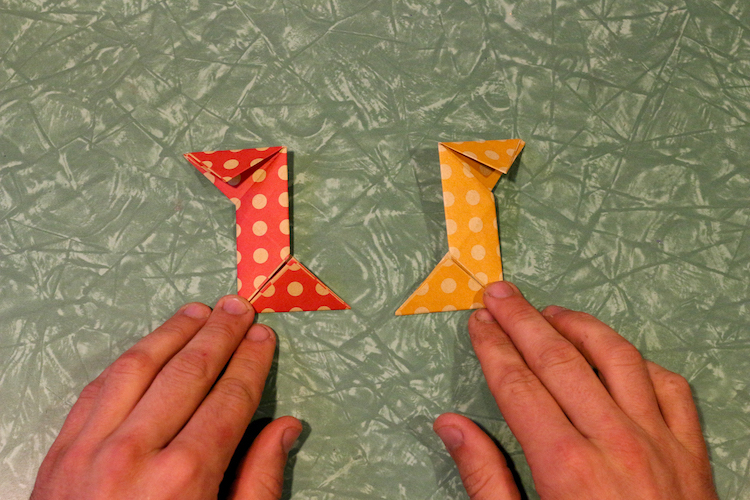
Fold the top and bottom points of each piece in toward the middle.
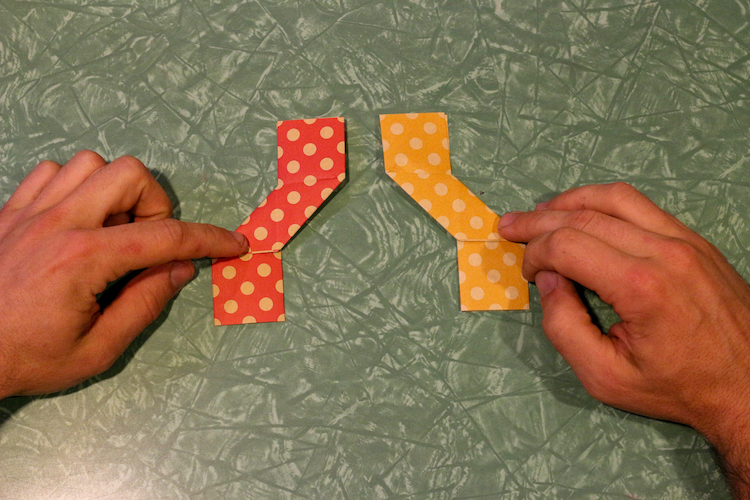
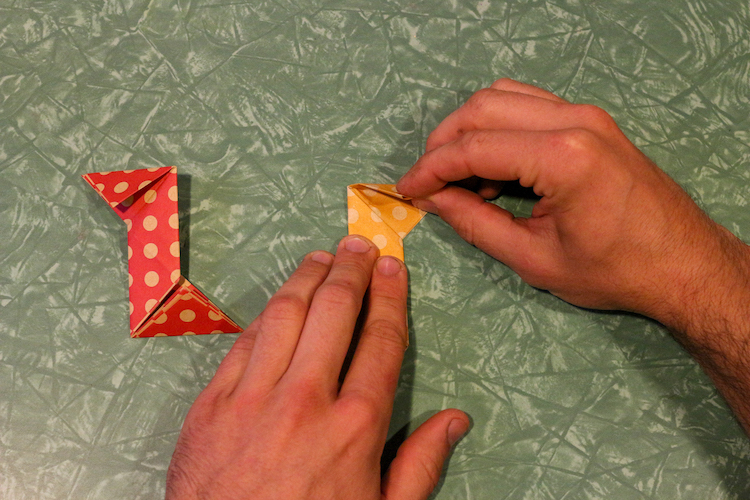
Step 7: Fold Corners in Again
Fold the outside corners in toward the middle to create a compact diamond shape. This fold is just necessary to get the crease. You don’t need to keep it folded down.
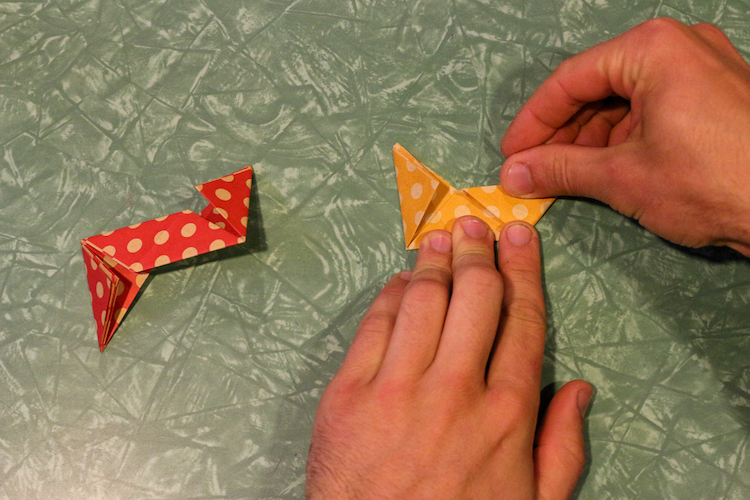
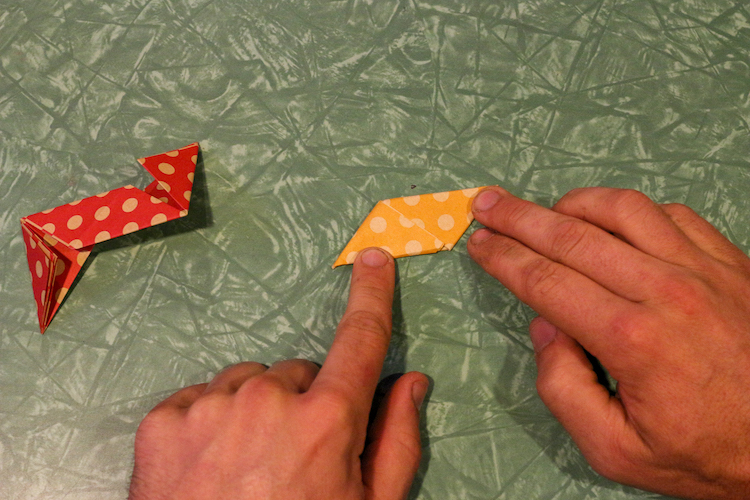
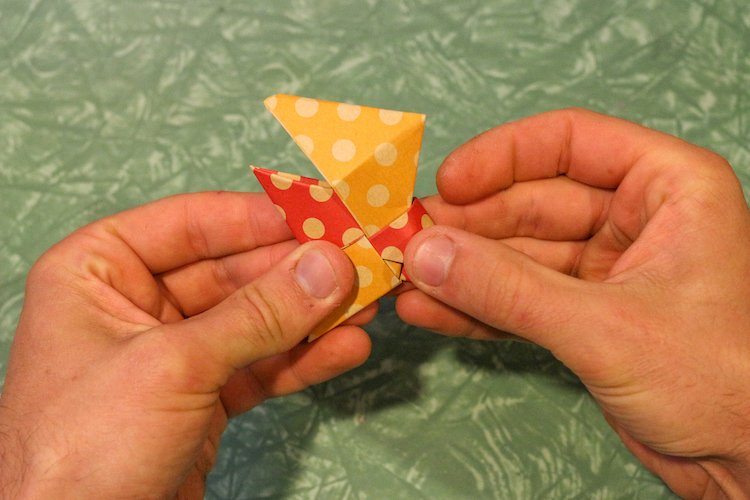
Step 8: Overlap Pieces
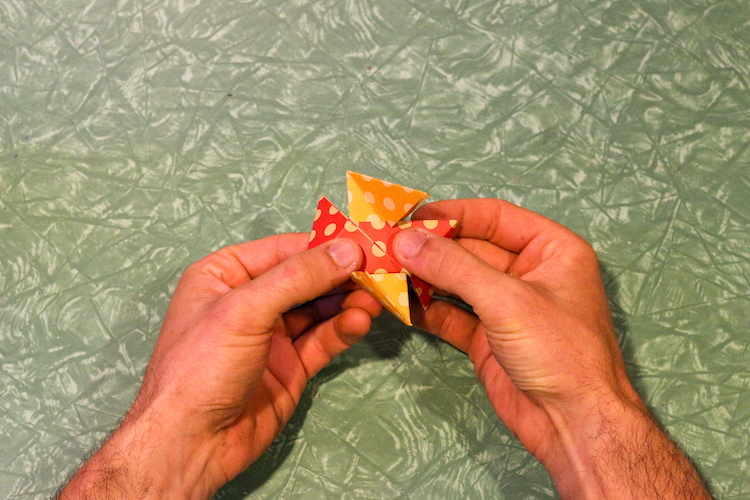

Overlap your pieces as shown above. Tuck the loose corner of the top point into the seam of your middle piece of paper, the one that’s horizontal.
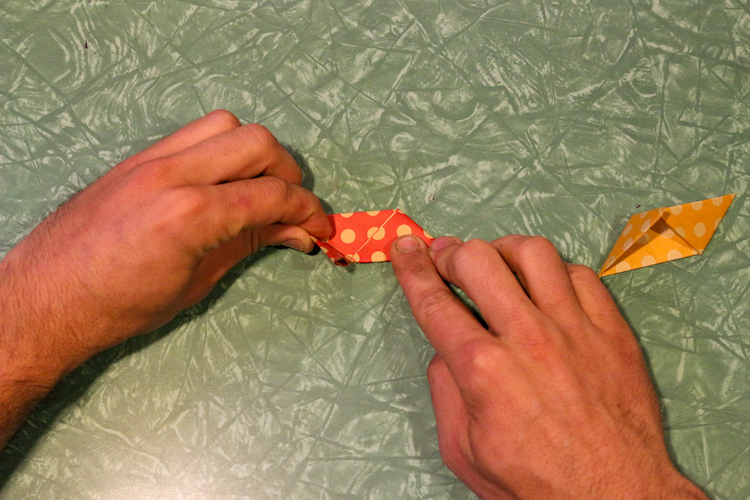
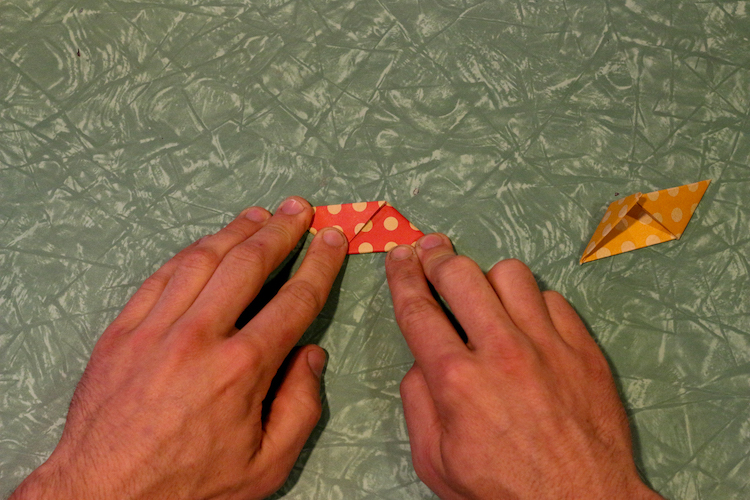
Step 9: Flip and Finish
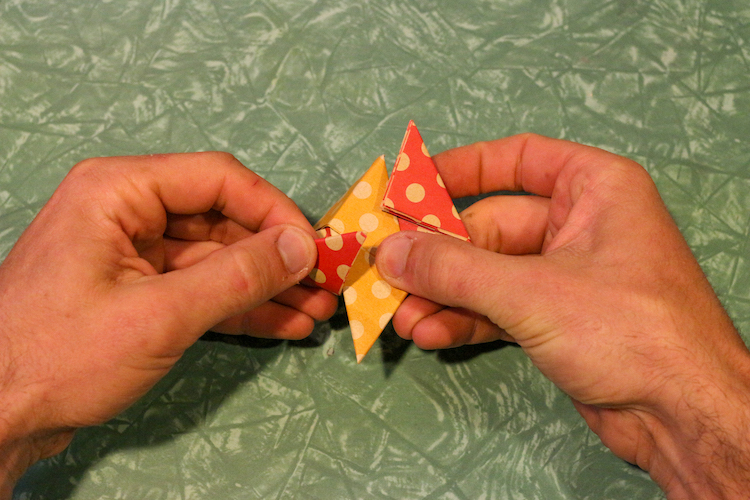
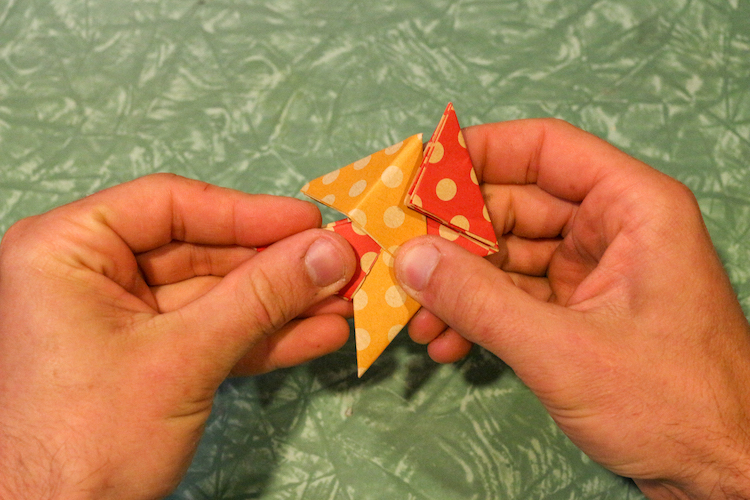
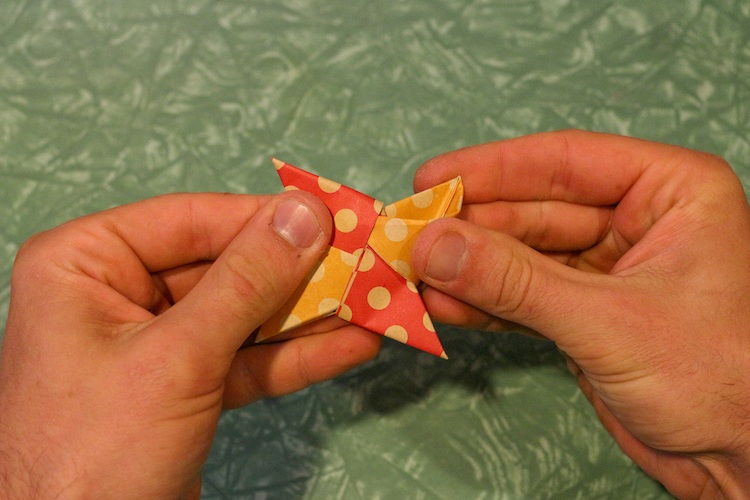
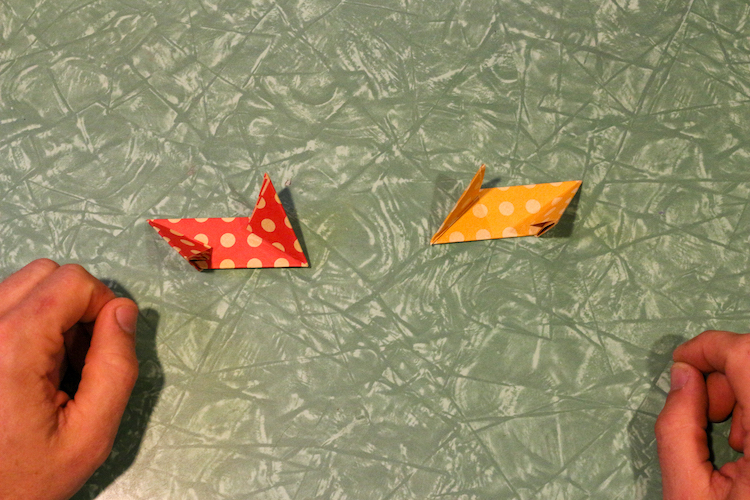
Flip the star over, repeat Step 8 with another loose corner, flip, repeat, flip, repeat. Order doesn’t matter so much here. Just keep flipping the star and tucking in each of the four loose corners until you have your completed star!