Before the development of synthetic fabrics with their built-in water-resistant properties, men had to waterproof their clothing and gear from without, using a variety of natural substances like grease, tannins, beeswax, soap, and tar. For obvious reasons, early mariners had the keenest interest in developing effective waterproofing methods. Sailors of the 16th century would apply grease and fish oils to their sailcloths, which would make them more efficient because they caught and “reflected” the wind versus just absorbing it. The mariners would then cut wind and waterproof capes for themselves from the remnants of the sails, creating garments that kept them from being soaked through as waves splashed over the deck.
As the centuries progressed, pioneers and travelers of all stripes tested other waterproofing substances in the field and tweaked their formulas. During the 19th century, a wax made primarily of paraffin (a substance derived from petroleum) was developed that was extremely waterproof and windproof and wouldn’t become stiff and yellow like previous waxes did when melded with fabric. While the first waxed cotton products started appearing in the mid-1800s or so, it wasn’t until the 1920s that manufacturers started to perfect the process. Outdoorsmen of the early 20th century swore by waxed canvas and used it to craft their tents, Dopp kits, pants, hunting jackets, tool satchels, gun cases, and sleeping bags.
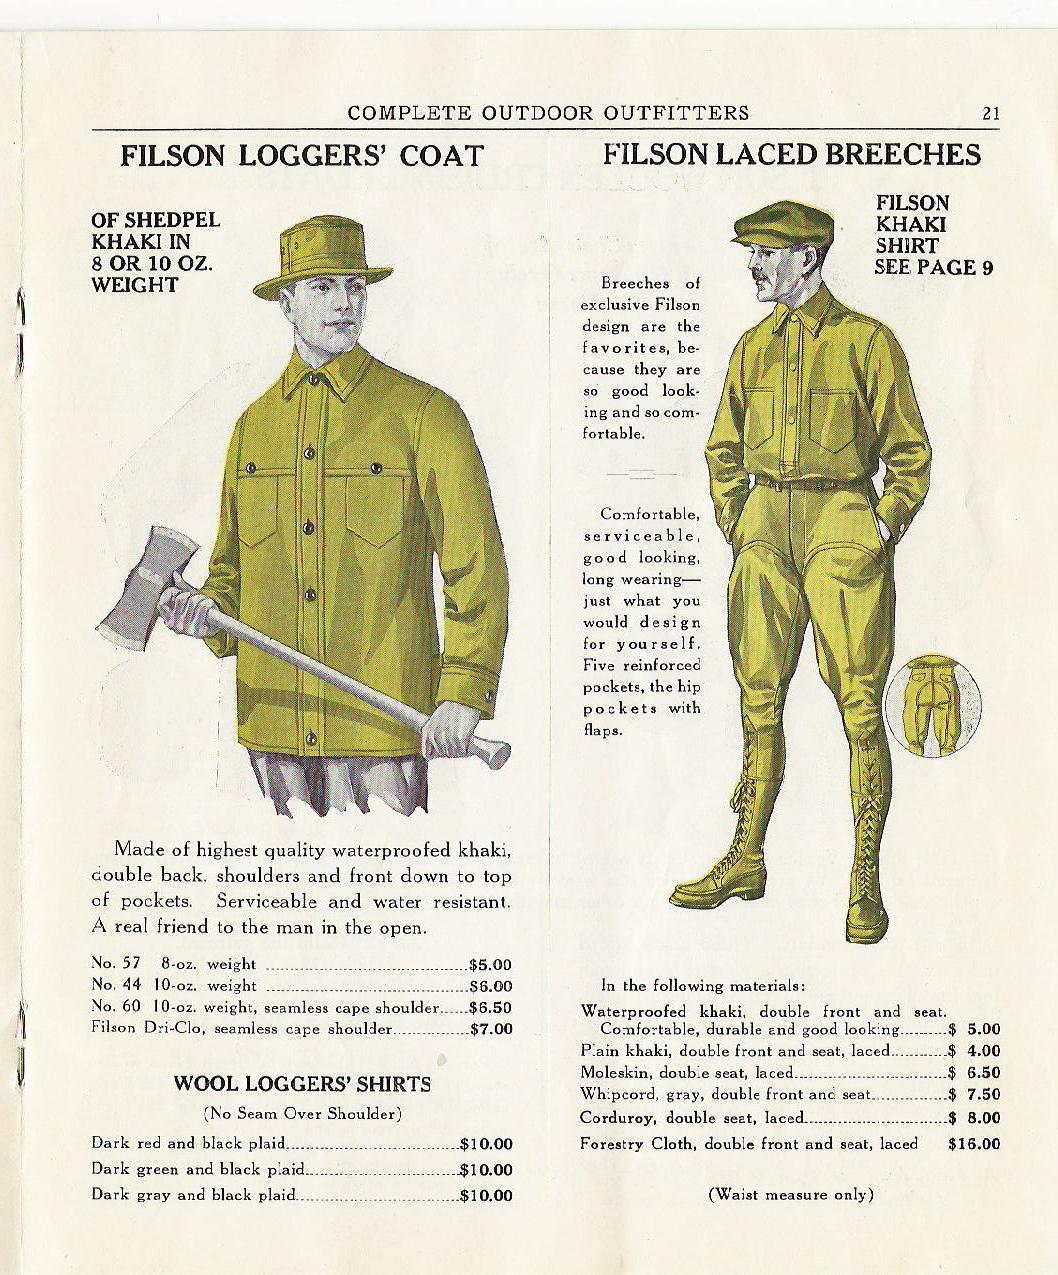
Waxed fabric is still used today in a variety of clothing and equipment, from jackets, to hats, to bags, to tents, and more. Beyond the practical benefits, waxing can also give your gear a weathered and vintage look. High-end clothing companies like Filson and Barbour sell some very nice-looking waxed items, but they’re also very expensive. Lucky for you, you can do your own waxing at home for about $15, and come away with windproof and waterproof clothing and gear.
Here’s how to do it.
Supplies
- Wax
- Hair dryer (or heat gun)
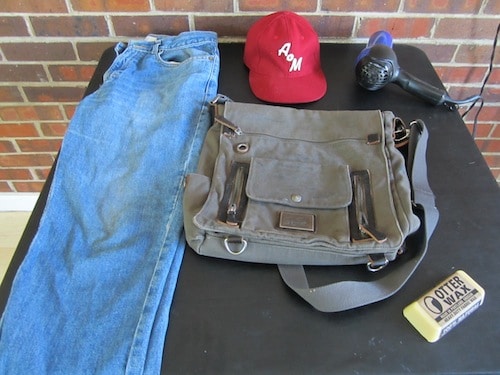
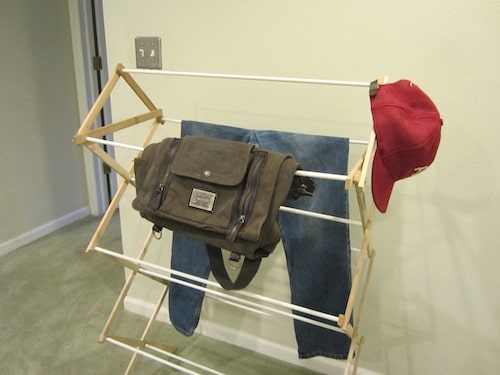
- Clothing/gear to wax — I used:
- Denim jeans
- Wool AoM cap
- Canvas messenger bag
A Note On Supplies
Wax — Using paraffin is definitely the old school way to go, but it has it downsides. Filson, for instance, makes a paraffin wax, though it’s specifically for maintaining already waxed items. Sure, you can apply it to your non-waxed clothing, but you won’t get the same result, and the application is a bit more difficult and involved.
Paraffin is also the byproduct of fossil fuels, and is found to be toxic in some uses. In candles, for instance, it has been found to be a source of indoor air pollution. When you wax with paraffin you have to make sure the room is well-ventilated, and it’s a substance you just may not want infused into your clothing.
For these reasons, I decided on using Otter Wax (we have no affiliation, nor is this an ad). It’s the only natural waxing product out there, which appealed to me. It’s also specially formulated to treat and waterproof non-waxed items and has the easiest application process of any product out there, as you’ll see below. It’s also the only wax carried and endorsed by Huckberry, so you know it’s a winner.
Clothing/Gear — While the wax is theoretically made for canvas fabric items (like the bag above), it can be used on virtually any material. It should go without saying, but if you want an item of clothing to remain breathable, waxing is not the way to go, as it will seal up the fabric’s pores of ventilation.
I tested three materials, and while they certainly had different cosmetic effects, the end result of being windproof and waterproof was the same across the board. Try it on flannel (warning — flannel and wool will look much different after waxing), your canvas tent, your camera bag — whatever you want.
If you’re worried about how the wax will affect the appearance of the item, test the wax on a small and inconspicuous piece of fabric before diving in.
Before you get started, be sure your items are clean and dry.
Step 1 – Heat Wax and Clothing Just A Little Bit
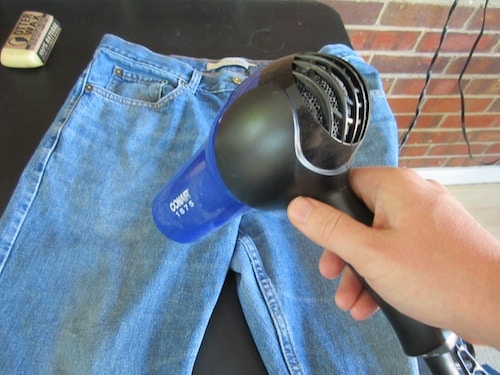
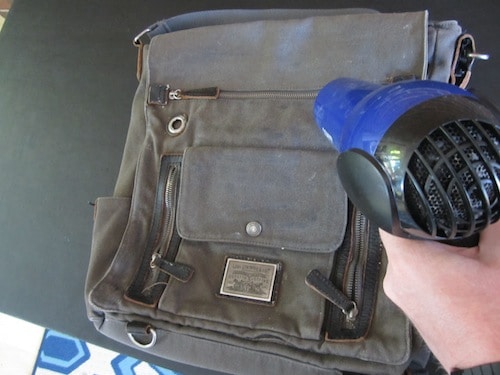
The directions from Otter Wax say to just rub the wax on with no prep. Unfortunately, that just didn’t work all that well for me. I let the wax heat up by just laying it in sunlight for a few hours so it was a little softer. I also heated up the items themselves with a hair dryer. Made the whole process much smoother.
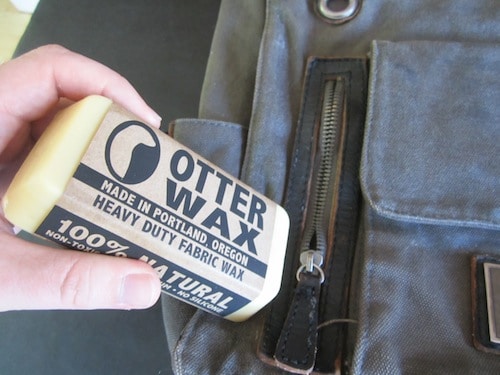
Step 2 – Apply Wax
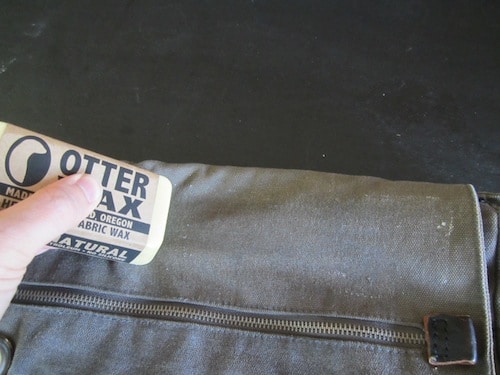
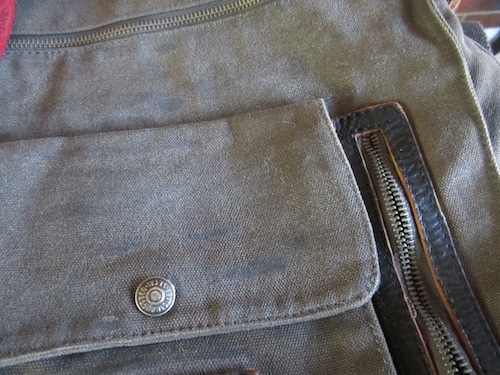
To apply the wax all you do is rub it across the fabric like a bar of soap. The pressure and friction ensures the wax transfers to the fabric — you can see the line on this bag of one stroke of the wax. Now, you may have to apply more pressure than you expect based on what you’re trying to wax. For the hat, I didn’t have to apply much pressure. For this bag, the more pressure the better. You’ll be able to tell what you need to do to get a nice even coat once you start in.
Use the corners of the bar to get those smaller, hard-to-get areas of fabric.

After you’ve applied the wax, use your hands/fingers to rub it evenly across the fabric and spread it out.
You can see that wax will chunk up a little bit on the metal pieces (buttons, zippers, etc.). Be sure to wipe those areas off with a rag or your finger.
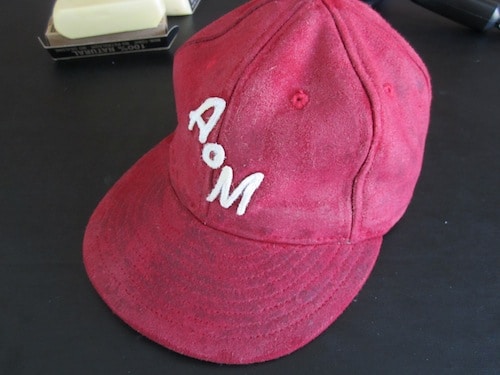
The wool cap. You can see it has a much different look on wool vs. canvas. With the green canvas bag, it was more of a subtle cosmetic change. With the hat, the wax definitely gave it a whole new look.
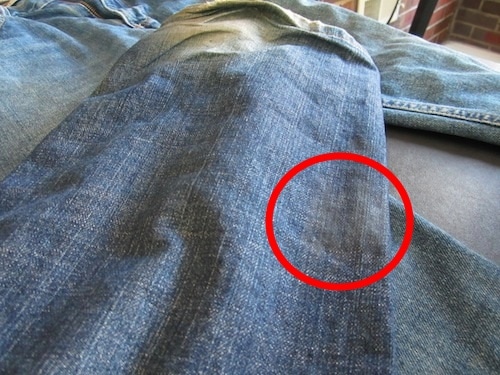
I waxed a lighter pair of denim, and there was virtually no change in how it looked. I tried a dab of the wax on a darker pair of jeans, and it was definitely more noticeable (a little hard to distinguish, but it’s the area circled above). In my own little experiment, how the wax will make your items look is a crapshoot and very dependent on the fabric you’re working with. If you’re worried/curious, test out the wax on a small, discrete area of the fabric to see how it looks.
Step 3 – Heat Again
After you’ve applied the wax and spread it out, heat it again, and give it another once over with your hands to smooth and even.
Step 4 – Dry & Cure
After you’ve waxed your items, let them cure for at least 24 hours in a dry, warm place. Your items will still be a little viscous until they’re fully cured.
Step 5 – Use Your Newly Waxed Items
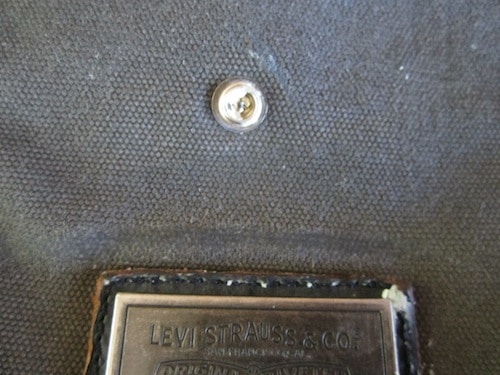
The canvas bag after curing and drying. You can see it adds a nice weathered and vintage look. On this fabric, it’s not a huge change, but more of a subtle darkening and texturing of the bag.
PThe wax had a much more noticeable visual effect on the hat. You can see a couple spots where it wasn’t applied quite evenly. I thought it would dry evenly, but it ended up drying pretty much as it looked right after application. I’ll go back and re-apply in a few of those areas. This effect is similar to what flannel would look like when waxed.
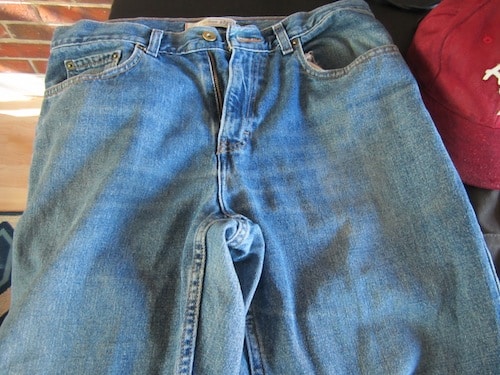
On these light-colored jeans, the visual effect was nil. But, they’re water resistant, so it works for me!
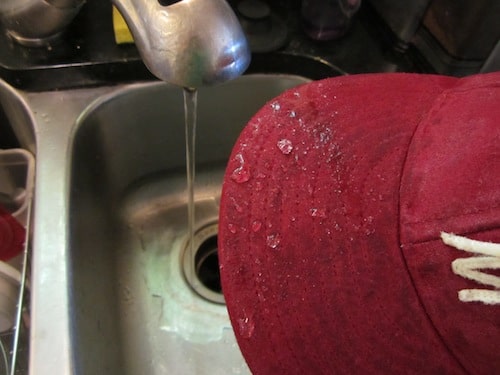
In the name of science and manliness — I had to test it out a little bit. You can see how the water beads and drips right off — works like a charm!
Caring For Your Waxed Items
- It’s recommended that you re-apply wax every year or so to maintain its performance. I’m not sure that’s a hard and fast rule, so just re-apply as you feel is needed as the performance starts to suffer a little.
- You shouldn’t wash your hand-waxed items in the washer with other garments. Wash them in a bucket with cold water and mild soap, gently scrubbing areas that need it. Let items air dry.
- You’ll notice a waxy odor after waxing your items — on the pieces I did, it went away after a few days. Otter Wax notes that the smell can be removed by placing items in the freezer overnight.