Want to make your next DIY wood project look a bit sharper and more professional?
Countersink your screws.
Countersinking involves enlarging the rim of a pilot hole so that the head of the screw sits flush or just below the wood’s surface.
What happens when you don’t countersink a screw. Ugly.
When drilling a screw into softwoods, like pine boards, you can indeed get the screw to go below the surface, but it typically chews up the wood at its entry point, leaving you with a rough finish. Countersinking your pilot hole prevents that chewed-up look from happening.
Countersinking is really dang easy, especially if you have the right tools for the job. It’s so easy that my 10-year-old was able to pick it up in a few minutes. He and I had a blast countersinking screws together the other day. Great bit of know-how to impart on a rainy afternoon.
If you’re ready to give your wood projects a bit of extra polish, here’s how to countersink a screw.
How to Countersink a Screw
The Easiest Way: Use a Countersink Drill Bit
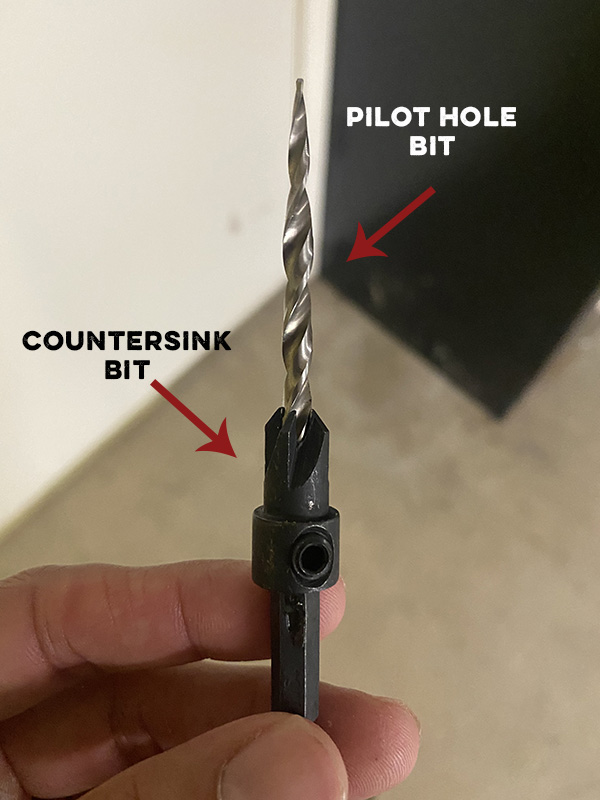
The easiest way to countersink a screw is to buy a drill bit that drills a pilot hole and creates the countersink divot at the same time.
You can pick up a set for $20.
Once you’ve got your countersink drill set, follow these steps:
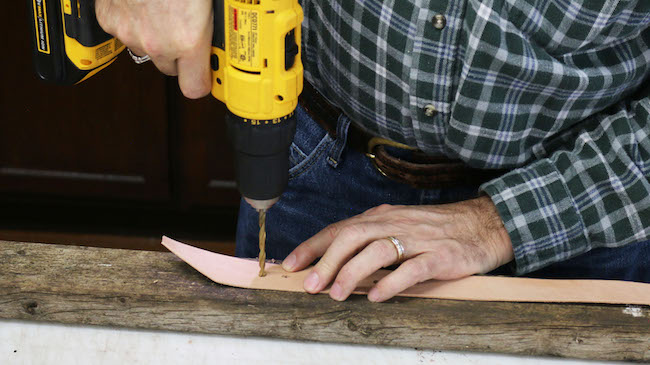
1. Select the drill bit that matches up with the size of your screw.
2. Adjust the countersink drill bit to match the length of your screw. You use an Allen wrench to do this.
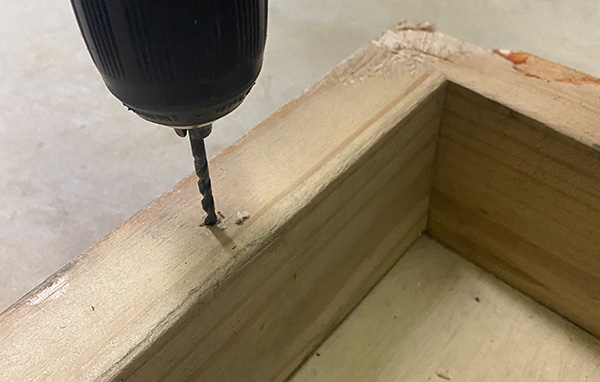
3. Drill your pilot hole.
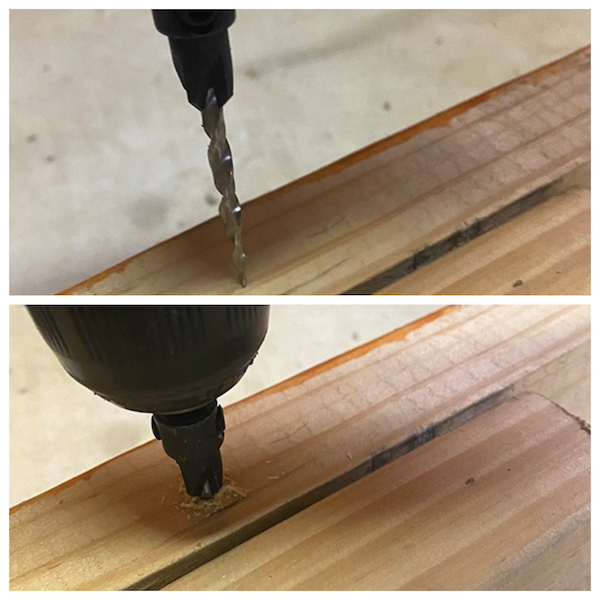
When the countersink bit gets to the wood, slow the drill down a bit so that you don’t tear the wood up or go too far down.
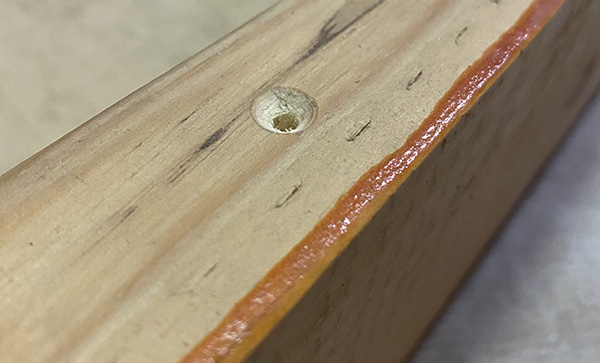
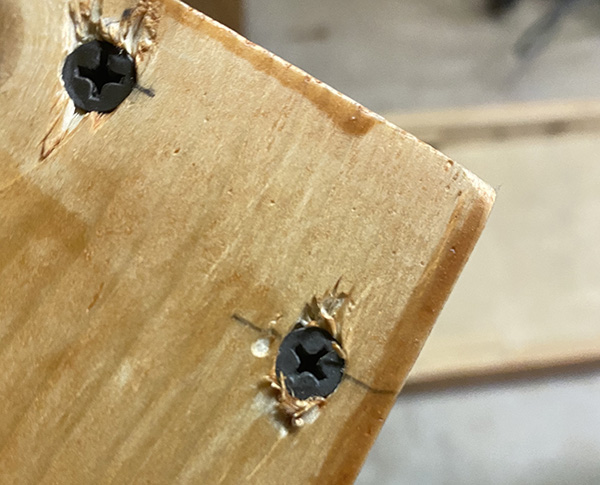
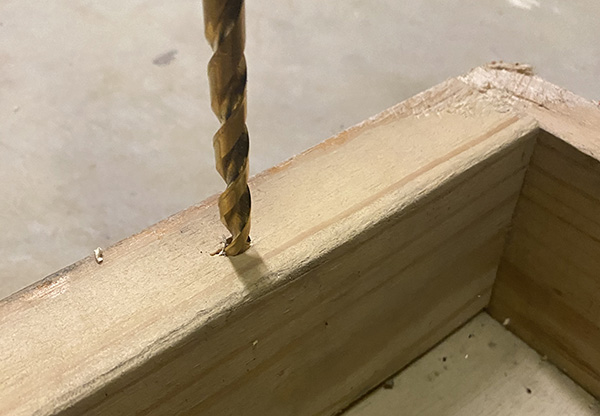
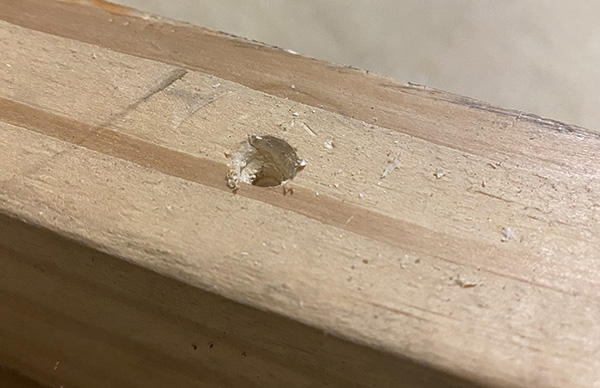
You should have a hole that looks something like this.
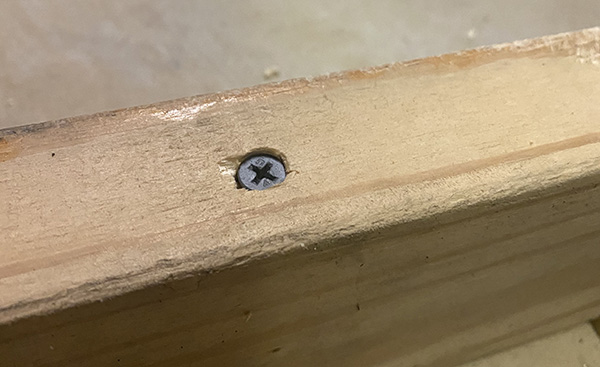
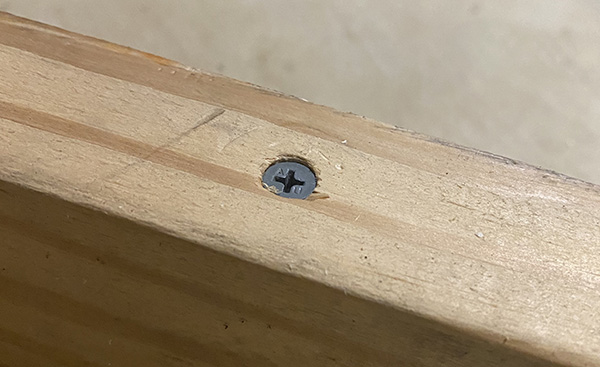
4. Switch the drill bit for a screw bit and screw in your screw. If you did everything right, your screw head will sit flush with the wood’s surface or just below the surface.
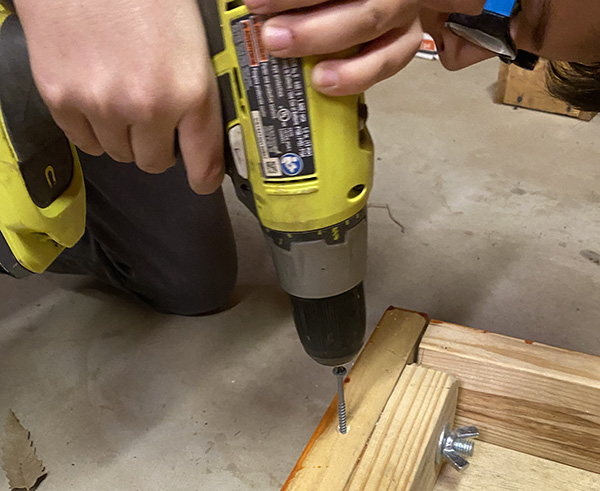
Gus screwing the screw into his countersink hole.
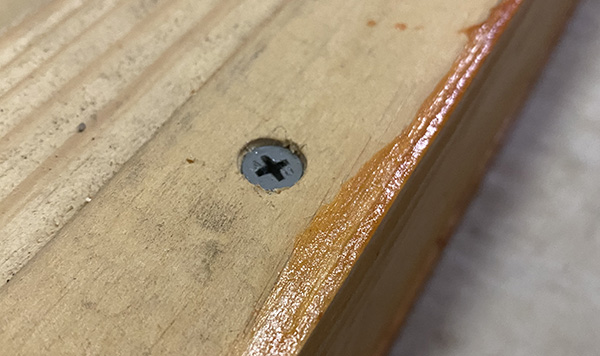
A nice-looking countersink by Gus McKay, age 10.
If it’s just below the surface, you can make the finished job look even prettier by filling the countersink divot with some wood putty and then painting over it. It won’t even look like you have a screw there.
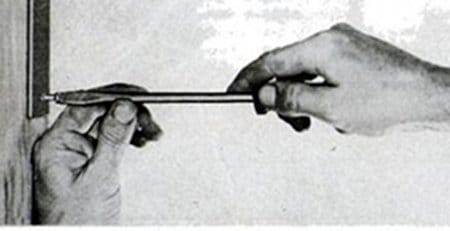
The Second Easiest Way: Use a Separate Countersink Drill Bit
Instead of using a drill bit that both drills the pilot hole and creates a countersink divot, you can opt to make a pilot hole with a regular drill bit and then swap your bit for a countersink drill bit to create the countersink. Once that’s done, switch the drill bit for a screw bit and screw in your screw.
This takes a bit more time because of the additional swapping you have to do, but it works.
Don’t Have a Countersink Drill Bit? Here’s How to Countersink in a Pinch
If you don’t have a countersink drill bit, you can still countersink a screw. Here’s how:
1. Drill your pilot hole with the appropriate-sized drill bit.
2. Swap out the bit for a drill bit that’s slightly larger than your screw head. Drill a shallow divot into your pilot hole so that the screw head can sit just below the surface.
3. Switch the drill bit for a screw bit and screw in your screw.
Improvised countersink. It’s not as clean as using a countersink bit, but it will work in a pinch.
Another improvised way to countersink a screw is to drill your pilot hole with your regular drill bit and then use a Phillips head bit to hollow out a countersink divot to a depth where the screw head can lie flat. This method furnished a surprisingly clean-looking hole.
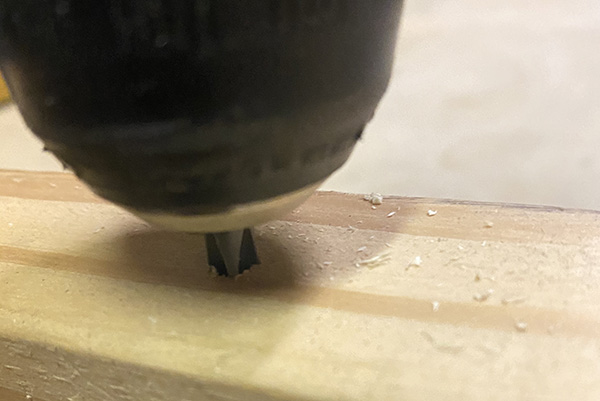
Using a Phillips head bit to create a countersink.
What the hole looks like using the Phillips head bit.
Finished Phillips head countersink
There you go. How to countersink a screw. Your best bet is to get a set of countersink drill bits, but outside of that, you’ve still got options.