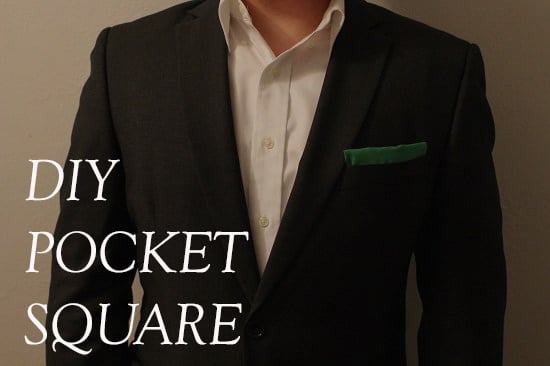
Every suit needs a pocket square. In a sea of navy and gray get-ups, it helps you stand out and actually have some personality with your style. They can get expensive, though. A nice one can set you back anywhere from $10-$30. Isn’t it just a piece of fabric? Indeed it is! Which is why you can make your own handsome pocket square for a fraction of that.
There a few methods to go about DIYing this accessory, but they all accomplish the same thing, which is really just creating a hem on all four sides of the fabric. After first attempting multiple methods for the purposes of this article, I came to the conclusion that there would be just one method I’d recommend here: hem tape.
Many crafters and home tailors consider this stuff a modern miracle. It’s called tape, but the variety I use isn’t actually sticky at all. It’s basically a roll of tape-looking glue which bonds with fabric when ironed. Yup, you just iron on the hem.
I also tried a hand-sewn rolled hem, but after multiple attempts, I realized it just wasn’t going to look as good as I wanted it to. It’s hard to keep a consistent hem when doing it by hand, and it requires some sewing skills that should be learned separately. Same goes for using a sewing machine. If you’ve never used one, it will take quite a while for you to feel comfortable making a straight line, let alone traversing corners.
Hem tape is truly the way to go whether you need a new accessory for a business pitch, or a fun and unique gift for a friend or family member. Below, I take you through the steps for making your own pocket square; it won’t cost you more than a few bucks and couple hours.
Supplies
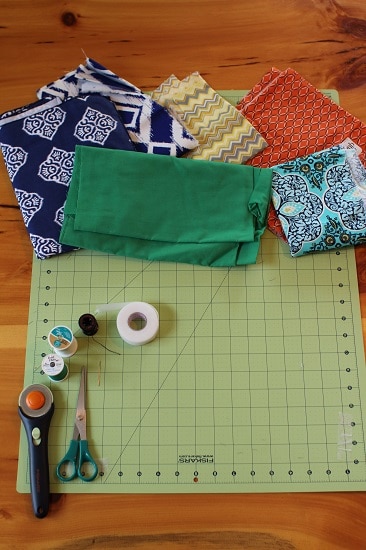
Thread is pictured here, but you won’t need it unless you’re diving in to hand-sewing or using a sewing machine.
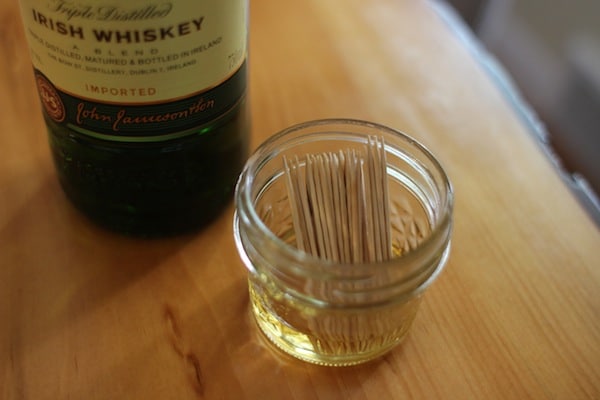
The supplies for this project are minimal. My wife is an avid crafter, so I happen to have some specialized accessories as well as a bunch of spare fabric. Your necessities are:
- Fabric — cotton is your best bet here, but you can also use silk, flannel, blends, etc. I’ve seen gents use an old shirt for making a pocket square, so don’t feel like you’re limited to buying fabric at a store. If you are buying fabric, you don’t need much. It’s generally bought by the yard; you could get half a yard and have plenty of leftovers for when (not if) you mess up.
- Hem tape
- Fabric shears or rotary cutter. If you have a crafter in your home, a rotary cutter is the way to go (bottom left in the picture). If you don’t have one, just be sure you have a sharp pair of scissors. Fabric shears are best, as they’re super sharp — you don’t want your edges to fray.
- Cutting mat (optional) — this is strictly if you have one, but it makes life a lot easier for measuring and cutting.
1. Cut Your Fabric to Size
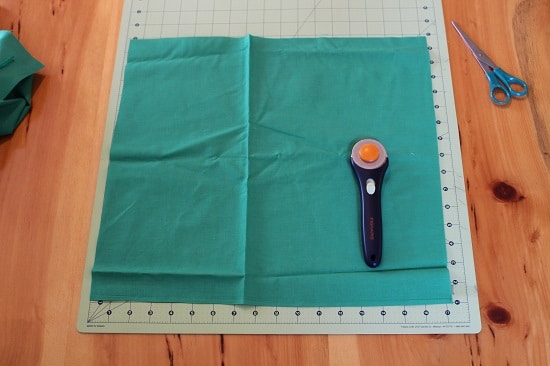
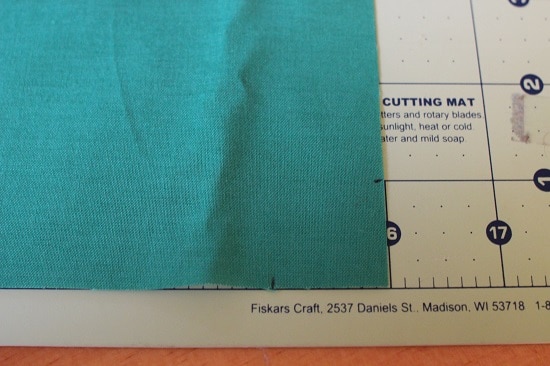
A pocket square can be found in many sizes; I went with 16″. You’ll want to cut your fabric one inch larger, which allows for half-inch hems, so I cut a 17″ square out of my fabric.
2. Cut the Corners
To make good, clean corners on your pocket square, you’ll need to lop off the corners of your fabric. Measure one inch in each direction from your corner, make a mark (on the inside of the fabric), and cut a diagonal line with your scissors.
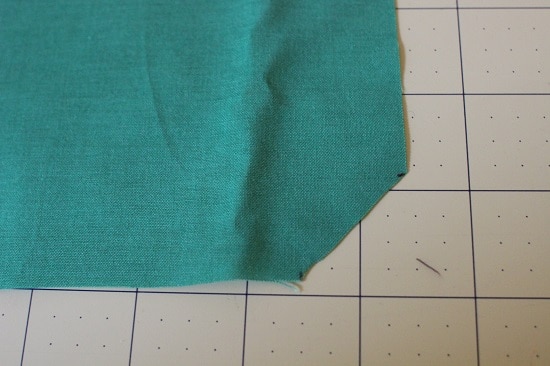
After the diagonal cut.
3. Iron Your Fabric
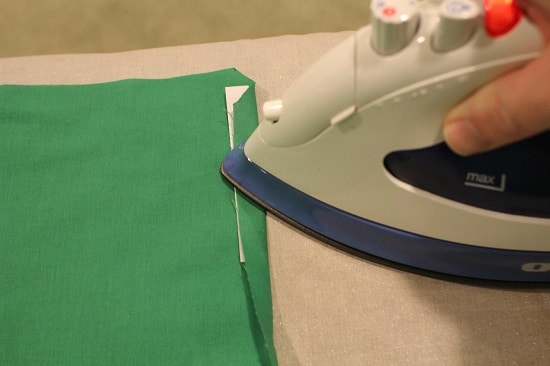
Iron your fabric so it’s nice and smooth. Then, fold up each side 1/2 inch and iron a crease. This will ultimately be your hem, and the crease makes it much easier in the next steps. I cut a small sheet of paper to 1/2 inch to use as a guide.
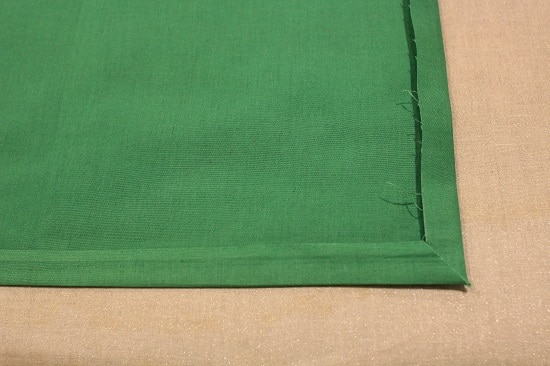
Since you cut the corners of the fabric, it comes together perfectly to make the corners of your pocket square.
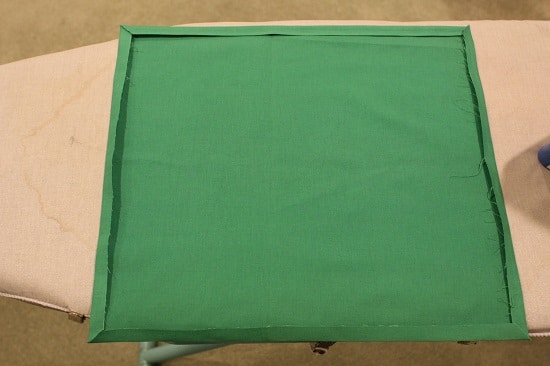
All four sides with ironed creases.
4. Apply Hem Tape
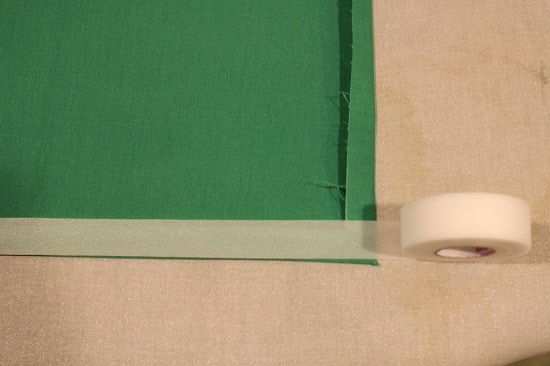
Cut your hem tape according to the length of your pocket square. You can also see that it’s wider than the 1/2-inch hem, so I cut the tape in half the long way.
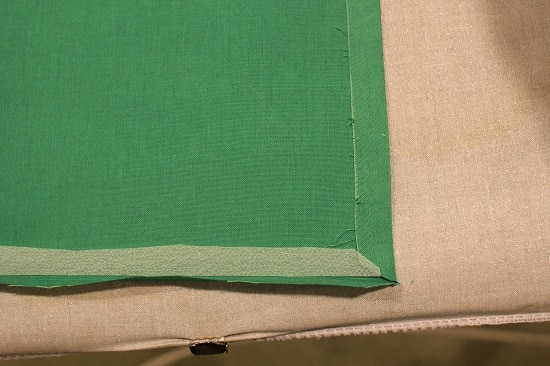
Stick the hem tape inside your ironed crease, with the bumpy side of the tape down. Also trim the corner so it matches the diagonal cut of the fabric. Just be sure the tape fits completely under the hem; you don’t want the iron touching the hem tape directly. Then, simply iron the crease again like you did above, but a little slower. The hem tape needs about 3-5 seconds under medium heat from the iron to bond with the fabric. Do this on all four sides.
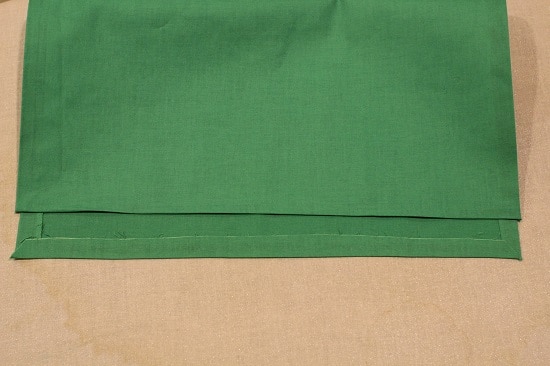
What the finished hem looks like from both the top side and underneath. The hem tape really does work wonders, and creates a nice even and clean edge.
5. Rock the Square!
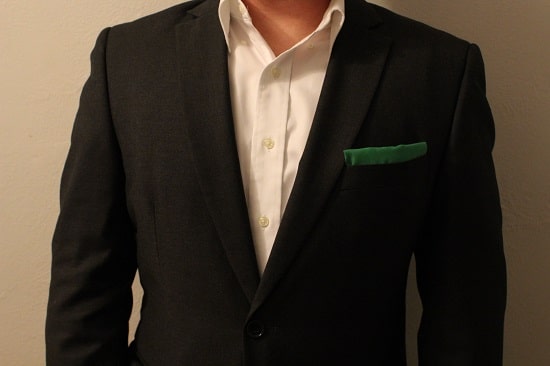
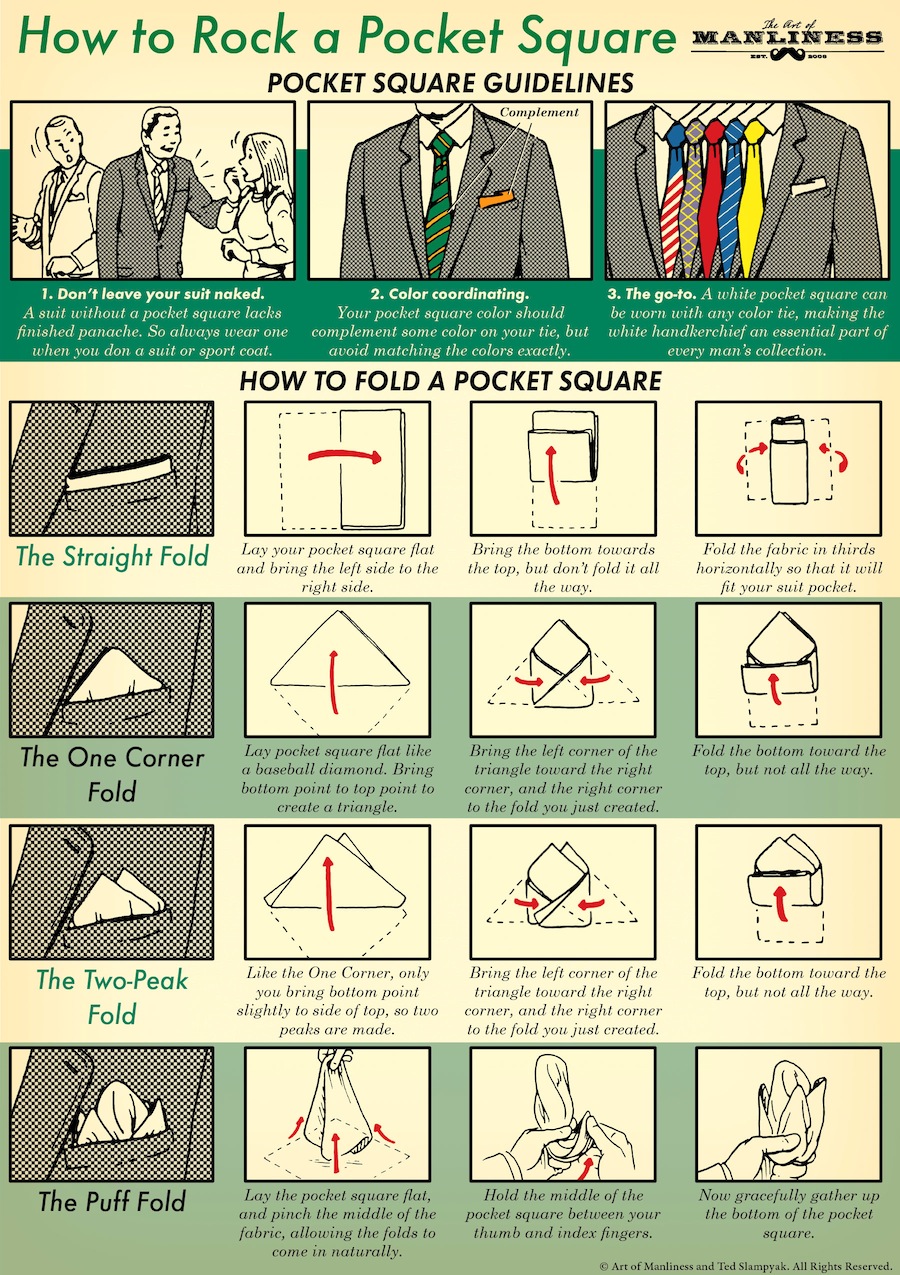
Check out our tips for properly rocking a pocket square.