Slings are an ancient weapon. Often called shepherd’s slings or rock slings, these primitive devices may date back as far as 40,000 years, when bows, arrows, and spears were first making their debut. Perhaps most famously, it was a sling that allowed a pint-sized David to take out Goliath. But they weren’t just for taking out giants and other human enemies; they were also used for hunting small game.
The mechanics of a sling are relatively simple. At the center is a piece of woven cordage or fabric, like leather, that forms a pouch. Attached to each side of the pouch are two lines. One line ends in a loop that goes over your finger, the other line ends in a knot that you hold onto while swinging.
After loading the sling, you swing it to build up momentum. When you’re ready to fire, you release the line with the knot, which opens the sling and allows the projectile to release. With the right technique, a sling can send a projectile well over a thousand feet. That’s a huge improvement over your average arm toss.
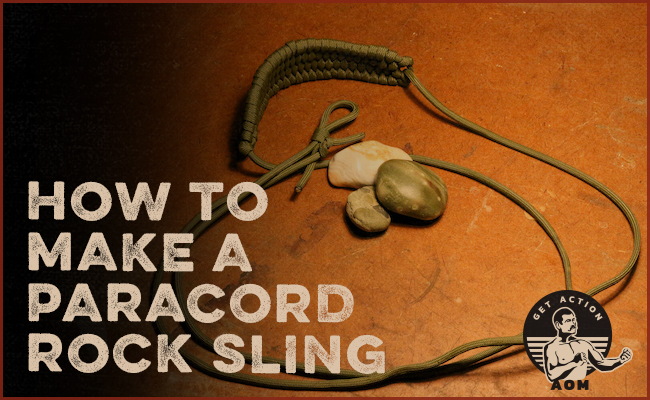
Making your own sling is easy. While various materials can be used in its construction, you can create one in which both the lines and the pouch are made of something that has a bunch of other survival uses to boot: paracord. Below we’ll show you how.
Supplies
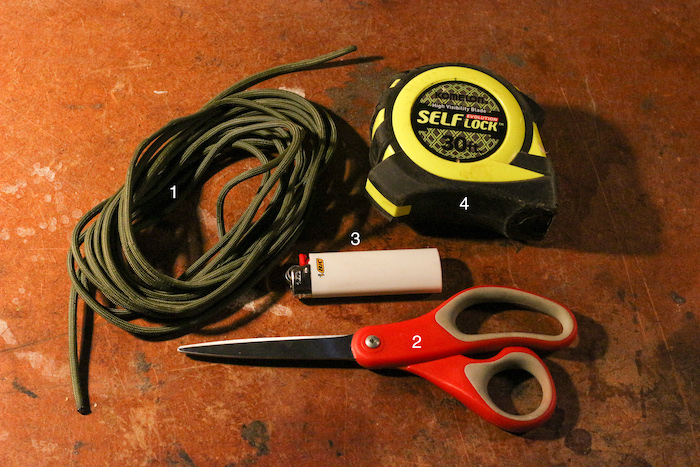
- 15 feet of paracord
- Scissors (for cutting paracord if you have more than 15 feet)
- Lighter (for singeing the end after cutting)
- Measuring tape
Making a Paracord Rock Sling
Step 1
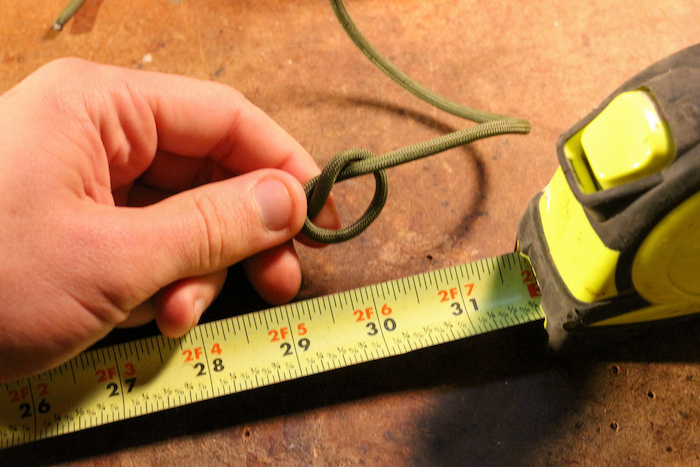
Tie a simple overhand knot about 30 inches from one end of your paracord. This knot will serve as a marker for where your sling pouch begins.
Step 2
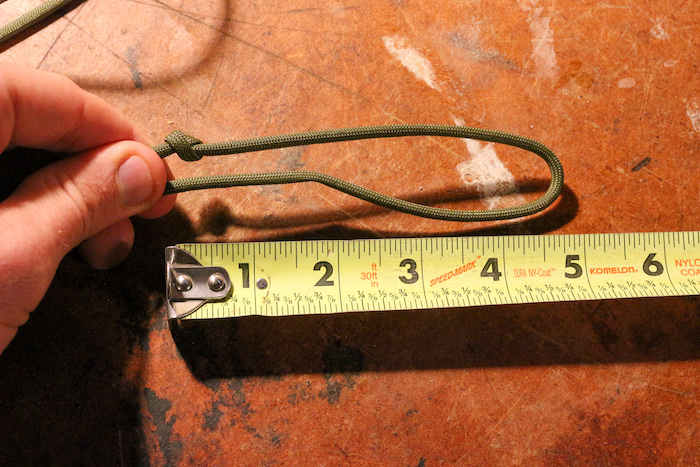
From your knot, make a loop that’s about 5 inches long. The length of this loop determines the size of your pouch. You can make your pouch bigger or smaller, depending on the type of projectile you plan on using.
Step 3
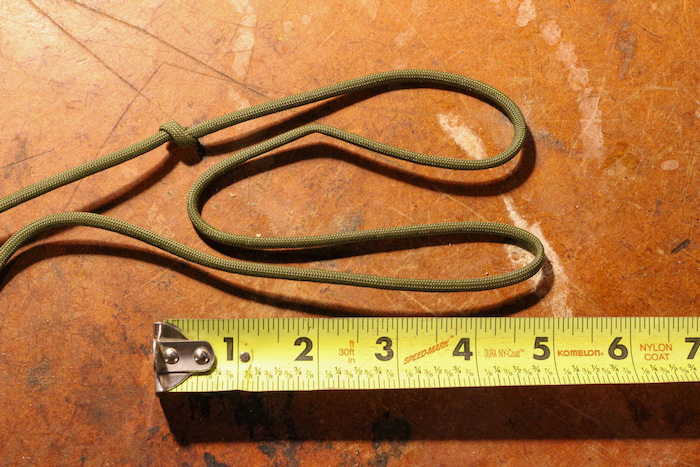
Make another loop of the same length, directly “below” the first one (that is, with the paracord that comes after the first loop). You should end up with an “M” shape, starting from your overhand knot and ending with the long side of your paracord.
Step 4
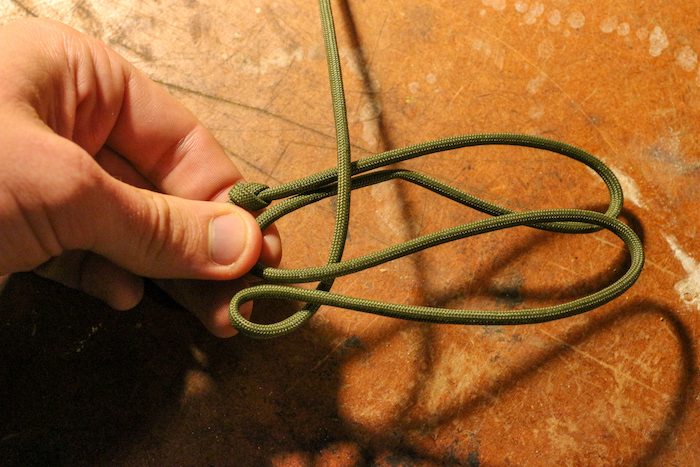
While holding onto the base of your loops, take the long end of your paracord and bring it under the bottom loop, and over the top loop.
Step 5

Now take the long end and pass it back through the loops, alternating your weave over and under each piece of paracord as you go. Once you’ve pulled the paracord through your first weave, start weaving back, following the over-under method.
Step 6
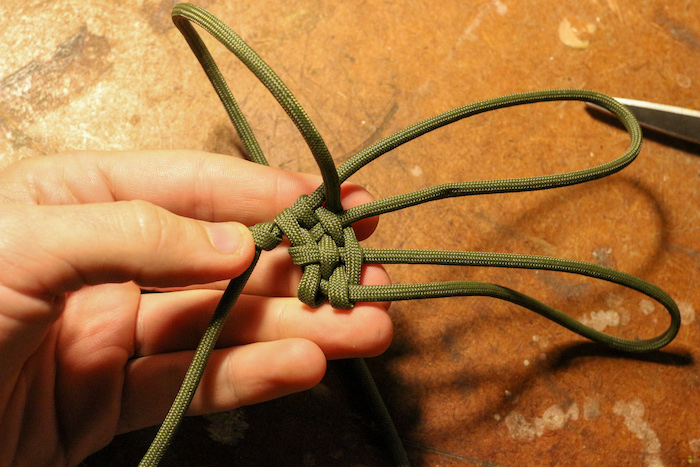
After making a few passes, pull your weaves tight against your original overhand knot. This will keep your pouch weave tight, and make it easier to hold everything together.
The method I found most useful was to use one hand to pull on the loop ends and the other hand to pull the weave tight to one side. See the video for more detail.
Step 7
Continue weaving until you can no longer pass your paracord through the loops.
Step 8
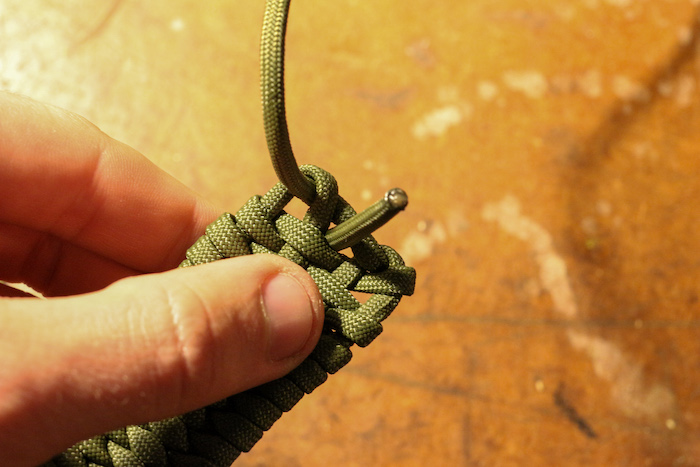
With your pouch fully formed, end your weave by passing the paracord through the hole in the center of the pouch.
Step 9
Step 10
Step 11
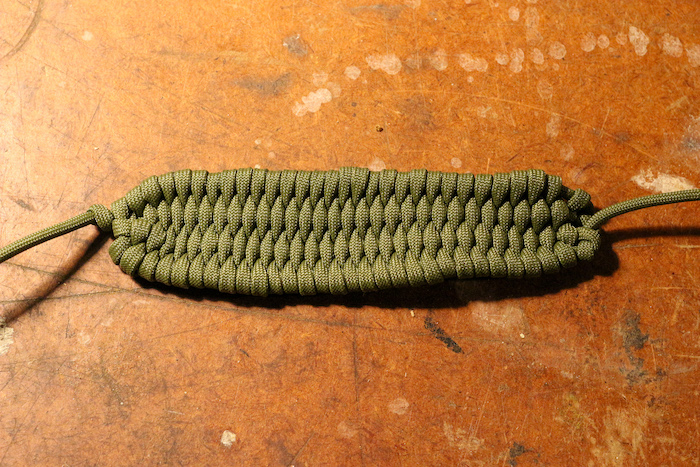
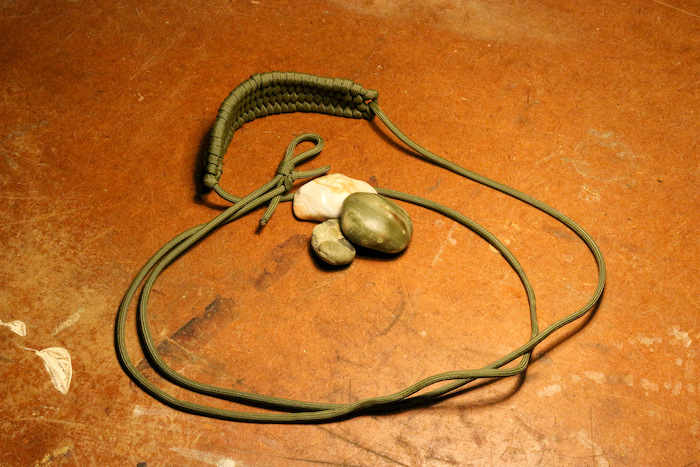
You’re done!
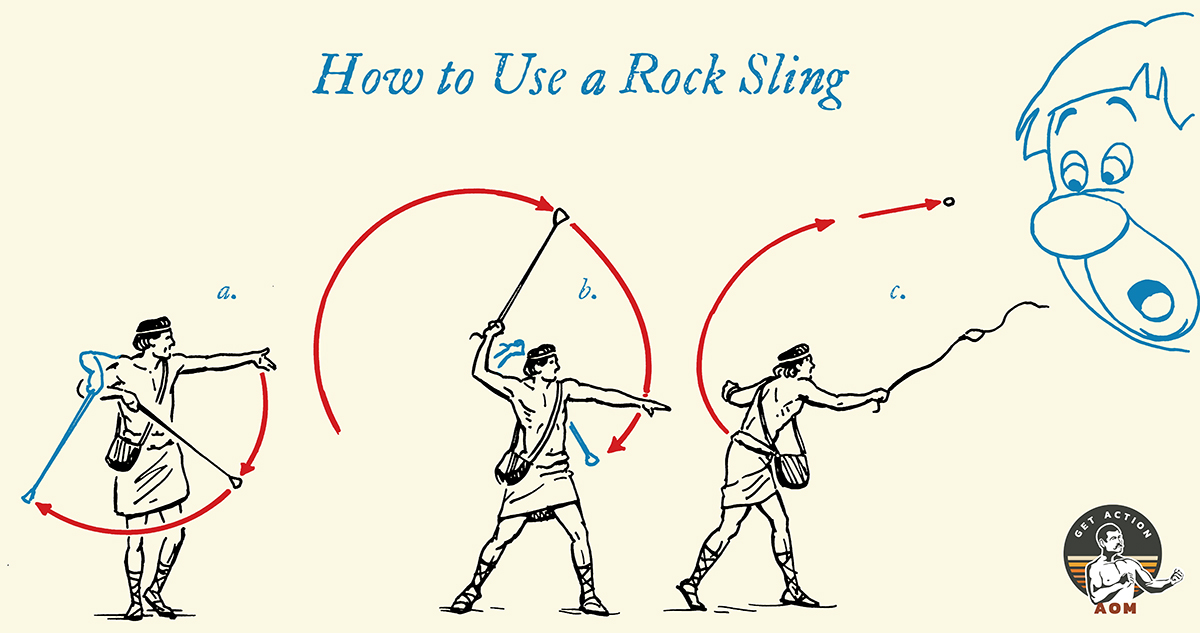
How to Use a Rock Sling
Now that you’ve got your ancient projectile hurler all set, it’s time to head outside, load up your pouch, and start slinging. Here are a few basic steps to get you started.
- Load your pouch with a projectile. You may have to pinch the pouch shut for the first few uses until it begins to soften and break in.
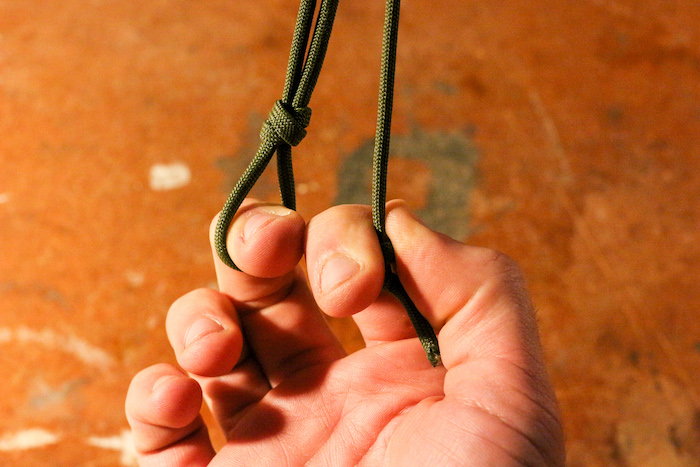
- Put your middle finger through the paracord loop and then hold the knotted end between your thumb and forefinger.
- Begin swinging the sling in a circle next to your body, like a jump rope.
- Release the knotted end as the sling swings out in front of you, pointing your finger in the direction you want the projectile to go. Pro tip: marshmallows are great ammo to get started with, and for kids. They still fly far and make it less likely that you’ll accidentally break a window.