An important part of manhood has always been about having the competence to be effective in the world — having the breadth of skills, the savoir-faire, to handle any situation you find yourself in. With that in mind, each Sunday we’ll be republishing one of the illustrated guides from our archives, so you can hone your manly know-how week by week.
There are countless ways to build a fire, each suited to different circumstances. Today, we’re spotlighting an ancient method designed for a very unique and specific scenario: evading a human tracker.
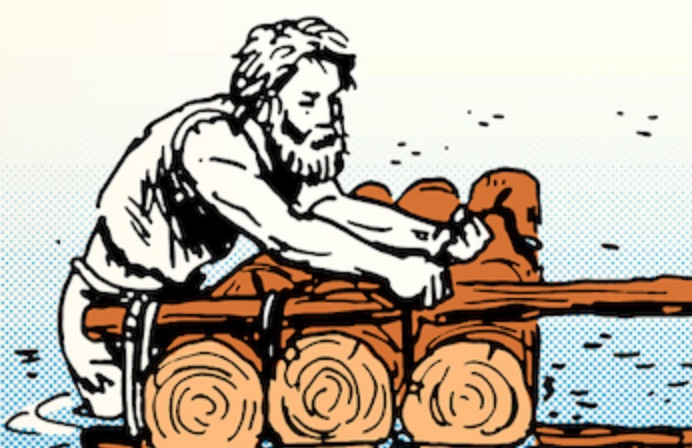
Dakota fire holes were often used by American Indians to create easily concealed, highly efficient fires that burned clean, even in windy conditions. Dakota fire holes are not what you want if you’re trying to create a big bonfire to warm you and a bunch of friends. But, they are ideal for cooking and for staying hidden if you’re trying to have a fire without being seen.
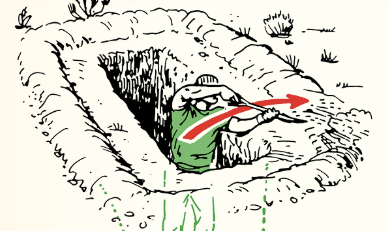
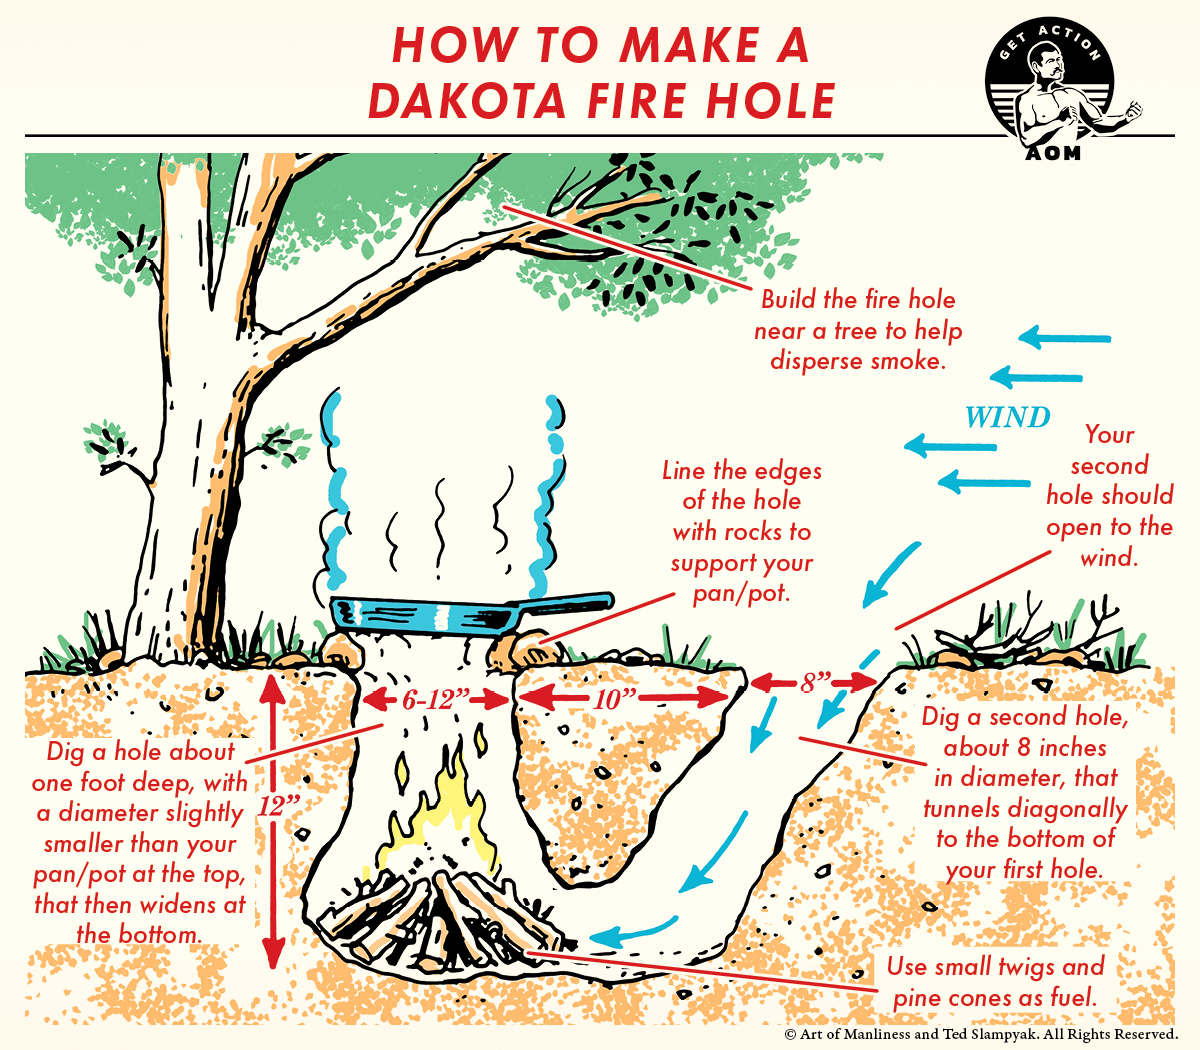
Dakota fire holes work by creating two holes that connect at the bottom. One hole should be made in a vertical orientation while the other should angle down to connect to the first hole’s base. When you make a fire in the vertical hole, air is drawn into the angled hole to feed the fire with oxygen. Because of the concentrated air supply, only a handful of twigs or pine cones are required for fuel. And, by placing rocks around the lip of your vertical hole, you can create an ideal surface to set a pot or pan on for cooking. As for tending, you can toss in more twigs to keep the flames going, as well as tend to the fire with a longer stick (remember that the fire is just a foot down, so it’s still accessible).
Beyond the diagram above, there are only a couple other things to know about creating an effective fire hole:
First, learn how to detect wind direction, because you should always locate the second hole you make — your air supply hole — in the direction that the wind is coming from. In some cases, wind direction is obvious. But if it’s calm out, try wetting your entire index finger and then holding it up in the air. Whichever side of your finger feels cooler is the windward side.
Second, remember to keep the dirt you excavated to fill in your holes when you’re done. Not only does this extinguish the fire fully, but it also helps to conceal any evidence that you were there. If digging your hole required removing vegetation, like plants or grasses, carefully replace them to take your concealment one step further.
Like this illustrated guide? Then you’re going to love our book The Illustrated Art of Manliness! Pick up a copy on Amazon.