Editor’s note: This is a guest post from Todd Kuslikis.
Men strive for efficiency. We are creatures that look for ways of getting the maximum amount of benefit from the least amount of time invested. We look for the straightest path to achieve our goals. That’s why I am always confused why so many men wake up hours before work to fight traffic to get to the gym, elbow people while looking for a locker, and wait for others to get off exercise machines…Ugh! No thank you.
I prefer to stay at home and do a short and intense workout before heading off to work. But as I mentioned above, men care about efficiency AND results. We want the big biceps and chiseled chest and we know that doing a bunch of no-weight push ups and squats just ain’t gonna cut it. We need to do exercises that challenge our muscles in new ways and force them to fatigue in low rep ranges (which is the key to muscle growth).
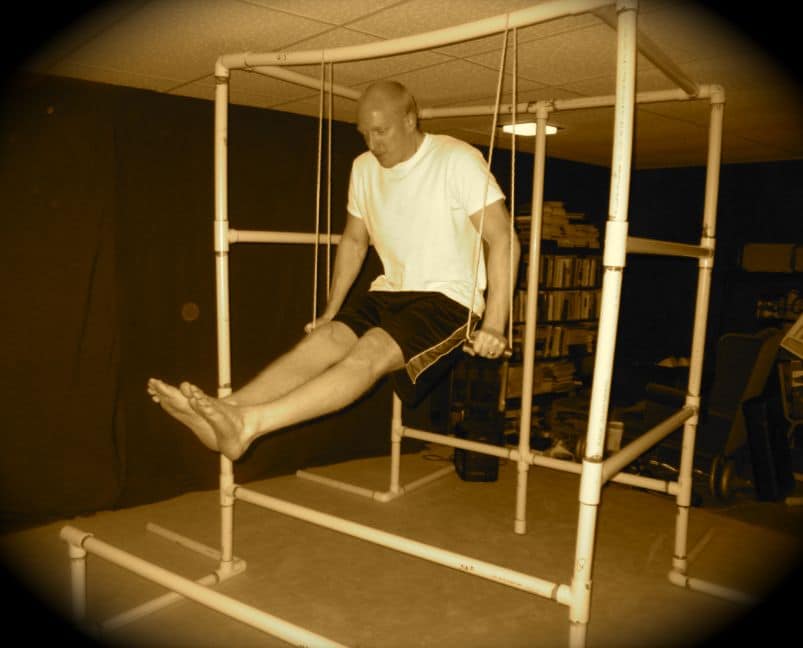
If you don’t have the resources to shell out $1,000 for a Bowflex or other home gym system I have the perfect solution for you. A complete home gym made out of PVC. There is nothing manlier than building your own piece of fitness equipment.
I am going to lead you step-by-step through the process of creating your own PVC home gym. And it will cost you less than $150. Also at the end of the article I will give you a full 3-month routine that you can follow on your new PVC home gym. Stay tuned towards the bottom of the post as well for a video that shows how to do the various workouts, as well as vocal directions on building the gym.
You might be thinking to yourself, “I could never build something like that. The last thing I built was a mangled bird house in high school shop class and even a freezing bird in a hail storm wouldn’t step foot in it.” Let me tell you that I am much more like Tim Taylor than Bob Vila. I have never built a deck, fixed a leaky faucet, or even assembled a model airplane. If I can do it you can too.
What Equipment Do I Need?
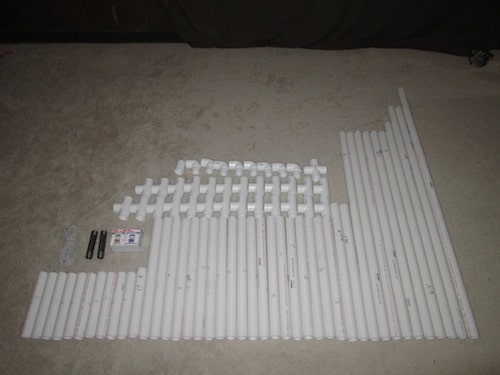
This picture shows you everything you need. Bring the below list with you to Home Depot or your nearest hardware store and have them cut the PVC for you. Trust me when I say it will be a lot easier than doing it yourself and it won’t cost you anything extra.
Here is a full list of everything you need:
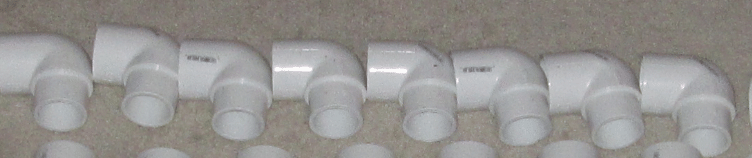
PVC Fittings (everything below is 1.5 inches wide)
- Eight elbow pieces (one end needs to be male and the other female)
- One cross piece

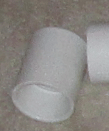
- One connector piece
- 25 “T” section pieces

PVC Pipes (everything is 1.5 inches wide; if you weigh more than 180lbs, I recommend getting 2-inch-wide PVC pipes)
- 10 1-foot PVC pipes
- 1 1-foot 1-inch PVC pipe
- 18 2-foot PVC pipes
- 2 2-foot 3.5-inch PVC pipes
- 6 4-foot PVC pipes
- 1 4-foot 3-inch pipe
- 2 4-foot 8.5-inch pipes
- 1 5-foot 3.5-inch pipe
Other Important Materials
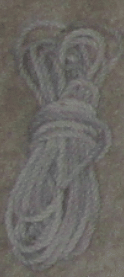
- Rope (you’ll use this for hanging rings)
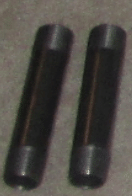
- 2 1-inch-wide, 6-inch-long metal pipes (or you can use 6-inch PVC pipe pieces which is what I ended up using)
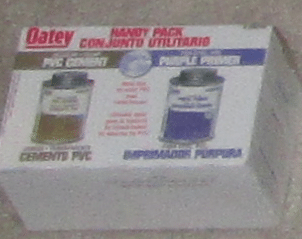
- PVC Cement and Primer (You use this to chemically bond the pieces together. In the video near the bottom of this post, I’ll show you which pieces to bond together and which ones to keep separated so you can still transport the gym if you decide to put it in another room. Also, before you cement the pieces together make sure that you know how to put everything together properly.)
PVC Gym Blueprint Guide
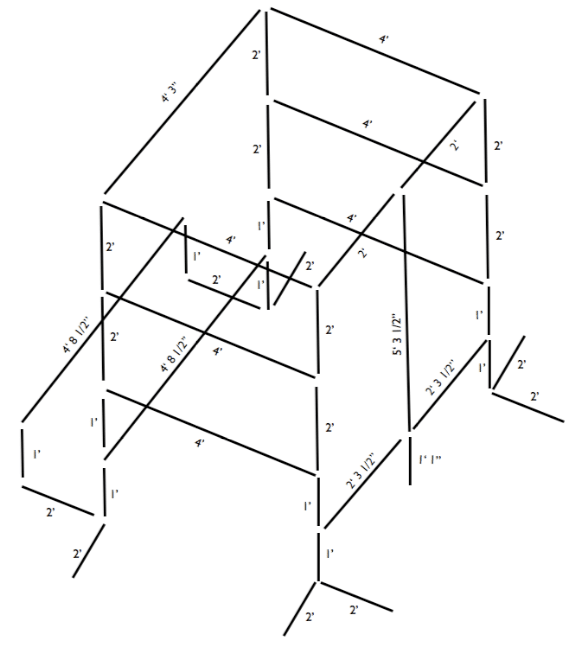
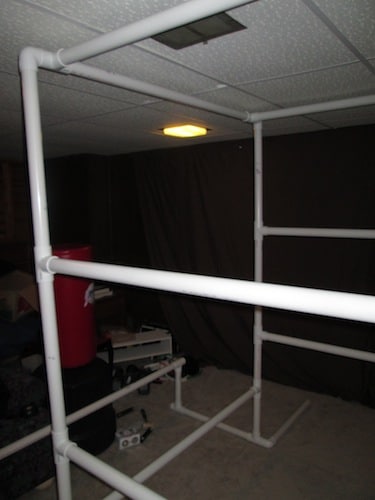
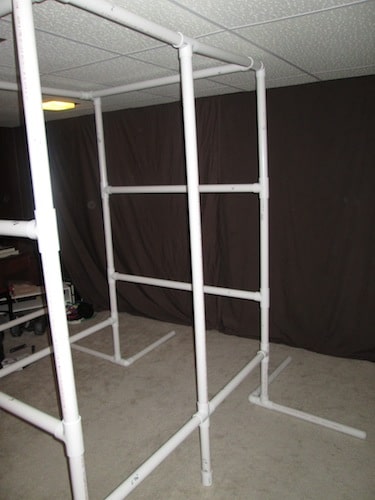
How to Build Your PVC Home Gym
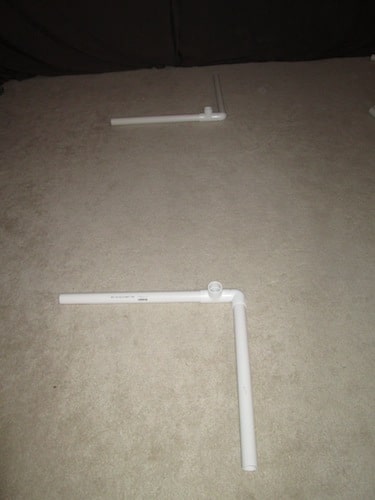
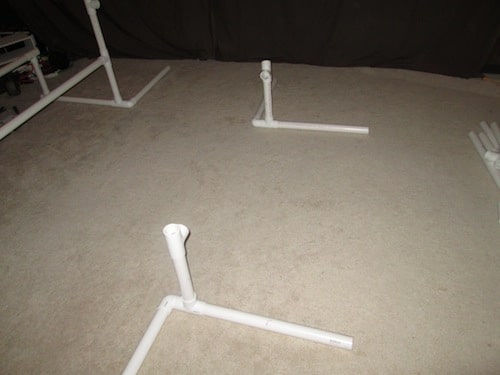
Step 1: Attach your two-foot pipes into a T section and elbow as shown above. This will be one side of the base of the gym. Make sure the opening of your T section is pointed up.
Step 2: Attach a T sections and 1-foot pipe on the left end as shown. Also attach a 1-foot pipe into the T section you had already placed. You are creating your parallel bars now.
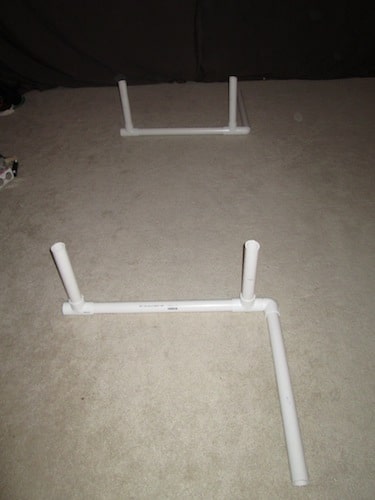
Step 3: Attach T sections to the top of the one-foot sections. Make sure to pay attention to how they are attached. One set will be horizontal (left side). The other set will be vertical (right side). Both should have openings toward each other.
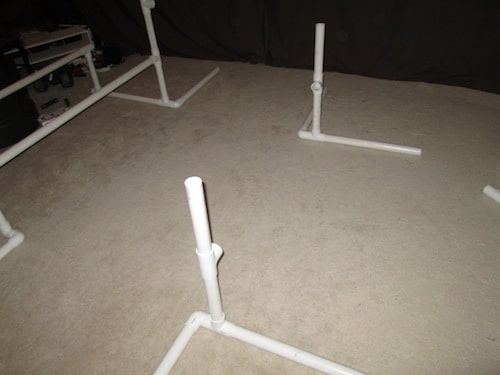
Step 4: Insert your two 4-foot 8.5-inch sections as your cross bars.
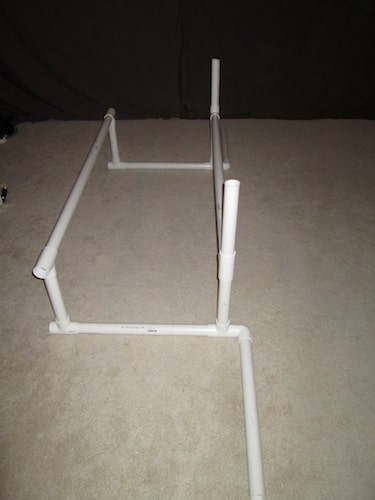
Step 5: Insert two 1-foot pipes into the T sections on the right side.
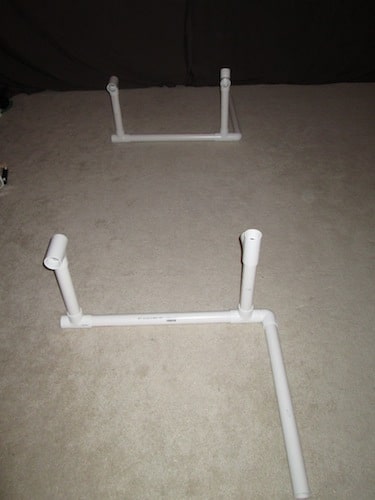
Step 6: Insert two T sections and two 2-foot pipes on top of the 1-foot pipes you just attached.
Step 7: Insert two more T sections and two more 2-foot sections on top of what you just attached.

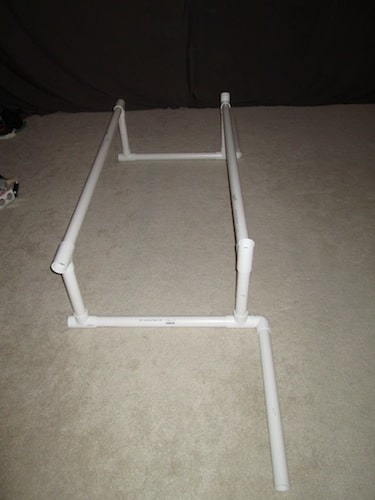
Step 8: Start building the base for right side of the gym. Insert two 2-foot pipes into your T section (pointed up) and elbow piece as shown. Do this twice.
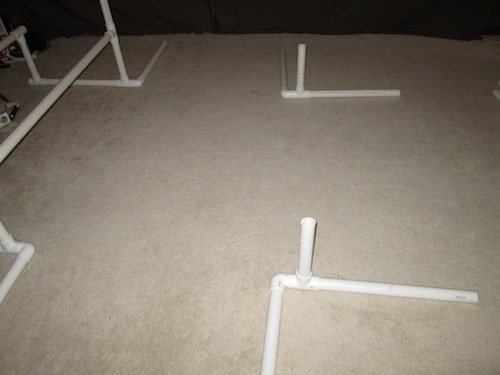
Step 9: Insert 1-foot pipes into the T section openings.
Step 10: Insert two T sections so that the openings are facing each other.
Step 11: Insert 1-foot pipes into the top of the T sections.
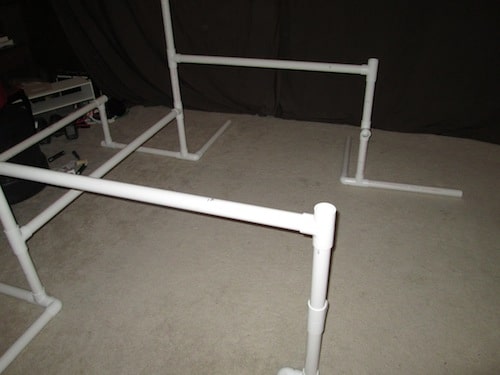
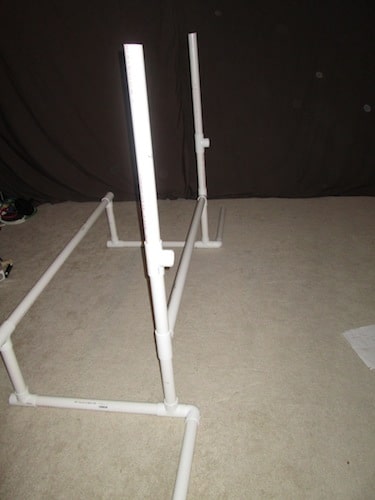
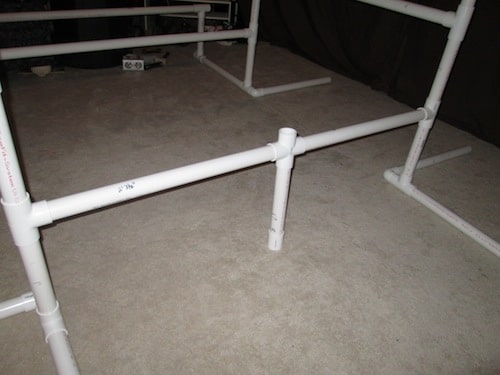
Step 12: Insert a T section on top of the one-foot PVC pipe you just attached and make sure the opening is facing towards the other side of the gym. Then insert a 4-foot pipe as a cross beam for your gym.

Step 13: Insert a two-foot pipe into the top of the T section and another T section on top of that. Make sure it is pointed inward towards the other side of the gym.
Step 14: Place your next cross beam (4-foot pipe) into the ends of the open T sections.
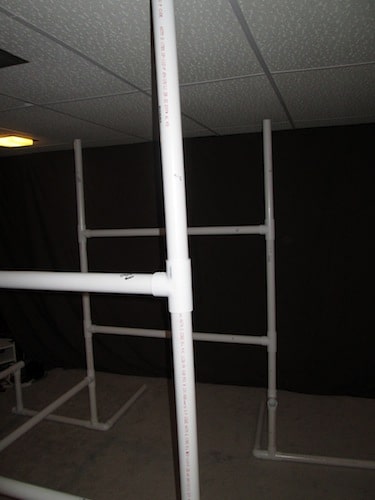
Step 15: Place your last 2-foot pipes into your open T sections.
Step 16: Insert your elbow joints so that the smaller openings are facing inward and towards each other, perpendicular to the cross beams.
Step 17: Attach T sections so that the middle opening is facing horizontally from your elbow joints. This is critically important to get right, so before you cement everything in place make sure you have this correct.
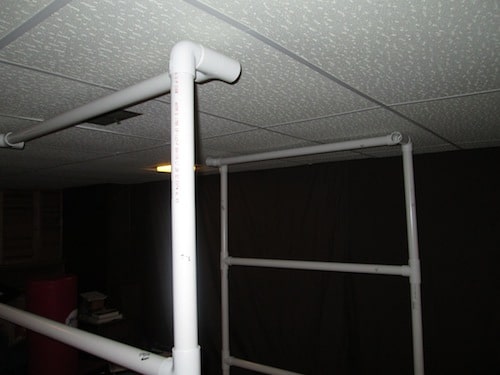
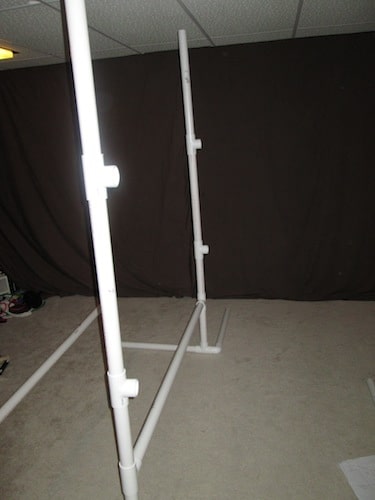
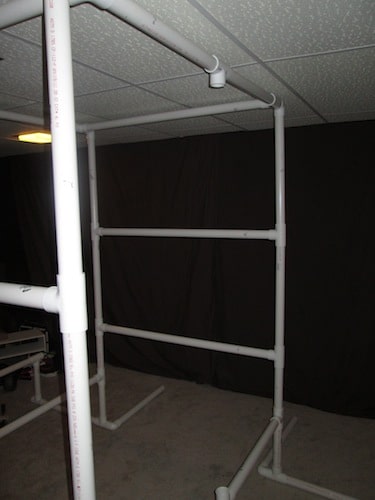
Step 18: Insert your last 4-foot PVC pipe sections into the T section openings.
Step 19: Insert your 4-foot 3-inch section into the open T section holes above the parallel bars.
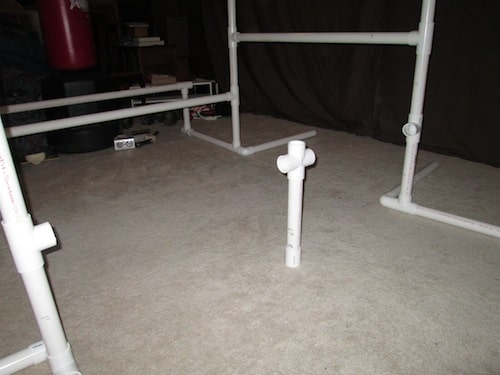
Step 20: Insert your 1-foot 1-inch PVC pipe into the cross section. Attach the connector piece at the other end.
Step 21: Insert your 2-foot 3.5-inch pipes on both sides of the cross section as shown.
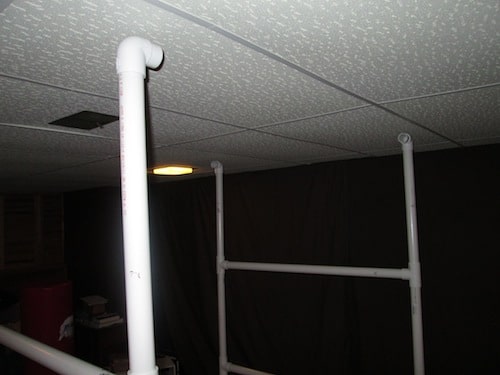
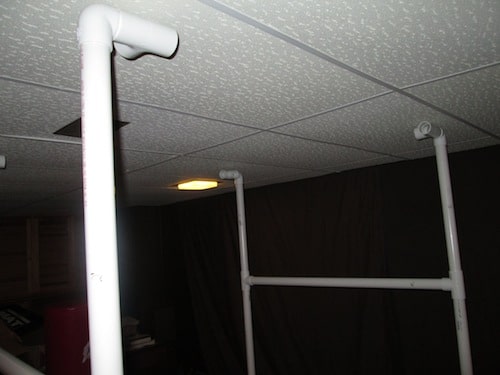
Step 22: Insert your 2-foot sections on both sides of your last open T sections and put another T section facing downward in between the 2-foot pipes.
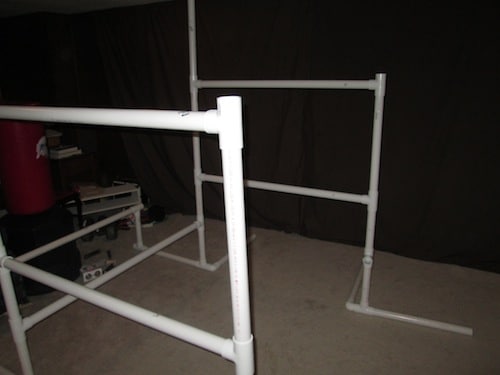
Step 23: Insert your 5-foot 3.5-inch pipe vertically into the open T sections as shown.
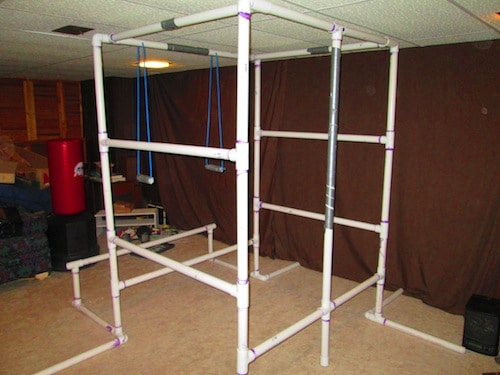
Step 24: Cement in place and attach rings and duct tape for grip. To see specifics of taping/cementing, jump to the 15-minute mark of the video below.
Full Video On How To Build The PVC Home Gym and 27 Exercises To Do On It
What Exercises Can I Do On The PVC Gym?
To learn how to do the below exercises, watch the video above.
Shoulder Exercises:
- Handstands
- Handstand Push Ups
- Supported Iron Cross
- L Sit To Half Handstand on Parallel Bars
Bicep Exercises:
- Traditional Chin Ups
- Close Grip Chin Ups
- Wide Chin Ups
- Pole Climbs
Tricep Exercises:
- Dips
- Hanging Dips
- Parallel Bar Dips
- Half Muscle Up
Ab Exercises:
- Hanging Dragon Flag
- L Sit
- Reverse Ab Crunches
- Oblique Crunches
- Sit Ups
Back Exercises:
- Traditional Pull Up
- Wide Pull Up
- Front Lever
Chest Exercises:
- Parallel Bar Push Ups
- Decline Push Up
- Stretch Push Up
Leg Exercises:
- Squats
- Pistol Squats
- One Legged Hops
- Two Legged Hops
The 3-Month PVC Training Plan
Month 1 – The PVC Prince
This month will get you used to working out on PVC pipes. The exercises aren’t too advanced but you’ll see some major benefit when the week is over. Weeks 1-3 will be your active weeks and Week 4 will be an active recovery. This means that you will NOT do any type of weight training or bodyweight exercises. Use this week to jog, play tennis, swim, or any other activity you like to do. This is important! Don’t break this rule. Your exercise sessions will be 3 X per week. For example: Mon/Wed/Fri or Tues/Thurs/Sat. Once you are done with Month 1, move on to Month 2.
Exercise Schedule
Week 1: 3 X Per Week
Week 2: 3 X Per Week
Week 3: 3 X Per Week
Week 4: Active Rest Period
Exercise Routine
Do each exercise until you reach full fatigue. Don’t rest in between sets. Beginners will only go through the cycle once. If you are more advanced you can go through it two or three times.
5 Upper Body Exercises
- Handstand Holds
- Decline Push Ups
- Traditional Pull Ups
- Traditional Chin Ups
- Dips
2 Lower Body Exercises
- Hindu Squats
- Two Legged Hops
2 Core Exercises
- Hanging Leg Lifts
- L Sits (tuck your knees if you can’t get your legs out)
Month 2 – The PVC Conqueror
Month 2 is really intense. I hope you enjoyed your active recovery week; you will be glad you did it now that the plan is starting up again. You will be working out three times per week just like Month 1 but you will be adding some exercises to the plan. Again, this month you will get an active recovery week.
Exercise Schedule
Week 1: 3 X Per Week
Week 2: 3 X Per Week
Week 3: 3 X Per Week
Week 4: Active Rest Period
Exercise Routine
Do each exercise until you reach full fatigue. Don’t rest in between sets. Beginners will only go through the cycle once. If you are more advanced you can go through it two or three times.
7 Upper Body Exercises
- Handstand Holds
- Supported Iron Cross
- Parallel Bar Push Ups
- Decline Push Ups
- Traditional Pull Ups
- Traditional Chin Ups
- Dips
4 Lower Body Exercises
- Hindu Squats
- Two Legged Hops
- Pistol Squats
- Falling Tower
3 Core Exercises
- Hanging Leg Lifts
- L Sits (tuck your knees if you can’t get your legs out)
- Sit Ups
Month 3 – The PVC Master
This is where you become a PVC Master. You will be doing the below exercise routine 4 X per week. For example: Mon/Tues, Thurs/Fri. Make sure you get through all the exercises. Weeks 1-3 will again be the training weeks and Week 4 will be your active recovery.
Exercise Schedule
Week 1: 4 X Per Week
Week 2: 4 X Per Week
Week 3: 4 X Per Week
Week 4: Active Rest Period
Exercise Routine
Do each exercise until you reach full fatigue. Don’t rest in between sets. Beginners will only go through the cycle once. If you are more advanced you can go through it two or three times.
9 Upper Body Exercises
- Handstand Push Ups
- L Sit To Half Handstand on Parallel Bars
- Wide Chin Ups
- Pole Climbs
- Hanging Dips
- Half Muscle Up
- Front Lever
- Wide Pull Up
- Stretch Push Ups
4 Lower Body Exercises
- Hindu Squats
- Pistol Squats
- Falling Tower
- One Legged Hops
4 Core Exercises
- Dragon Flag
- L Sits (tuck your knees if you can’t get your legs out)
- Reverse Ab Crunches
- Oblique Crunches
______________________________
Todd Kuslikis is the founder of a popular body weight exercise blog called AShotofAdrenaline.net. He is also the creator of the The Complete Bodyweight Training System which can be downloaded for free from the site.